Fix: High CPU Usage by audiodg.exe
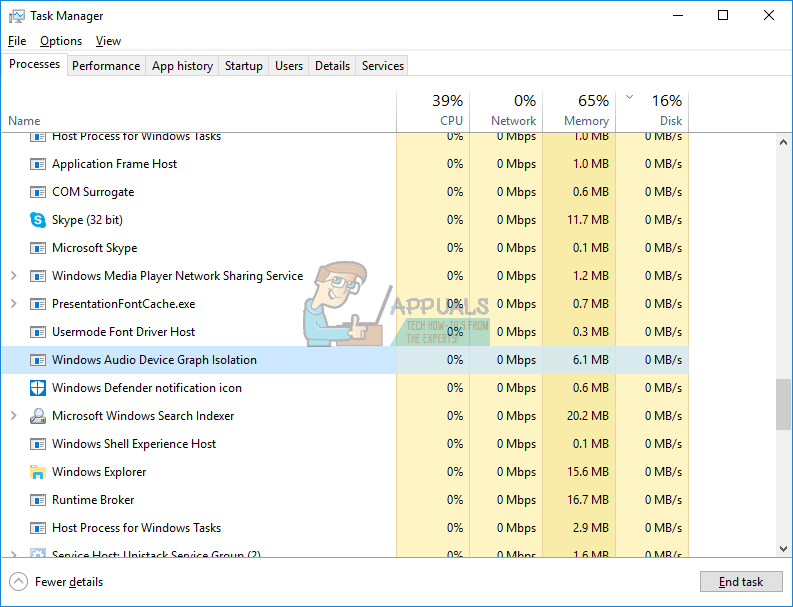
If you opened Task Manager you should saw process named Windows Audio Device Graph Isolation. Maybe you asked yourself what process is doing in Windows, maybe not, but do not worry, we will explain you more about this process. Actually, audiodg.exe is process represented as a Windows Audio Device Graph Isolation. Audio Device Graph Isolation enables sound driver to run under a separate session as the user profile that is currently logged in. Audiodg.exe is located in C:\Windows\System32. Some users tried to delete this file, because they think it is a malware. You do not need to do that, because it is not malware, it is file integrated in Windows.
One of the issue with audiodg.exe is consuming more CPU usage, then it is expected by this process. Based on end user experience, audiodg.exe is consuming from 5% – 50% CPU usage. That is not normal and we will explain you how to solve this issue.
Before we explain you how to solve this issue, you need to know why this issue occurred. One of the problems is audio effects which are enabled, not up to dated sound driver and software and not up to dated software and drivers for gaming devices, including headset.
There are few solutions which you can try to solve your problem.
Method 1: Disable audio effects
First solution will be disabling audio effects. Audio effect are integrated in Windows and they are here to make your sound perfect. Also, if you are using third party software to improve sound quality, they can make a problem with audiodg.exe.
For Windows, Windows 7, Windows 8, Windows 8.1 and Windows 10
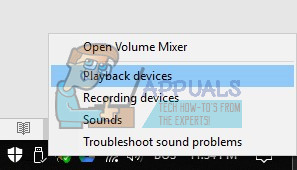
- Right click on speaker in the lower right corner on taskbar
- Select Playback devices
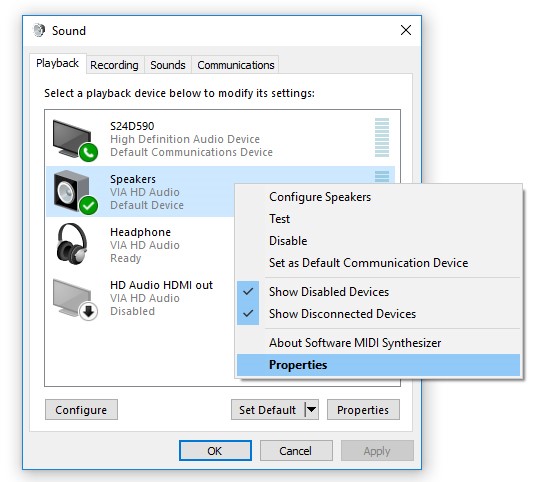
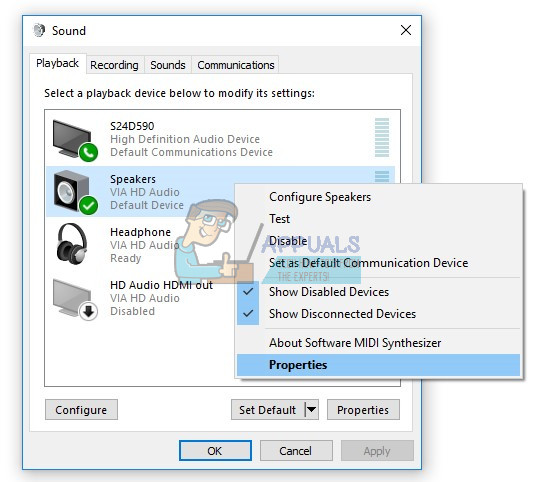
- Select your playback device which has green check mark
- Right click on your playback device, speaker or headphone, and click Properties
- Open Enhancement tab
- Select Disable all enhancements

- Click Apply and then OK
- Open Task Manager and check Windows Audio Device Graph Isolation process

Method 2: Disable volume adjustment
The same problem can occurred if you are using newer operating system including Windows 8, Windows 8.1 and Windows 10. To solve this issue, you need to reconfigure communication settings in Sound applet.
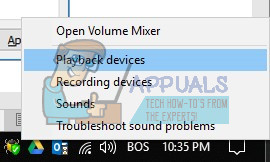
- Right click on speaker in the lower right corner on taskbar
- Select Playback devices
- Choose Communications
- Select Do nothing
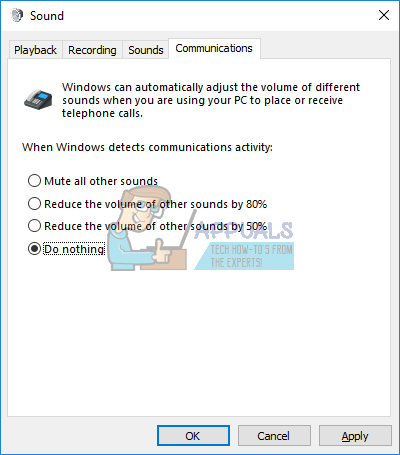
- Click Apply and then OK
- Open Task Manager and check Windows Audio Device Graph Isolation process

Method 3: Update driver for sound card
If first two methods did not solve your problem, next step will include updating sound drivers. We will show you how to update sound driver in Windows Vista, Windows 7, Windows 8, Windows 8.1 and Windows 10. Procedure is really simple. If you are using Window Vista, you need to download sound driver for Windows 7. Please do not download sound driver for another operating system. Also, you need to download sound driver based on your operating system architecture, including 32-bit and 64-bit.
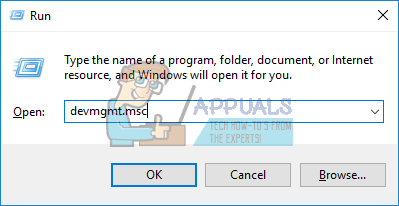
- Hold Windows logo and press R
- Type devmgmt.msc and press Enter. Device Manager will open.
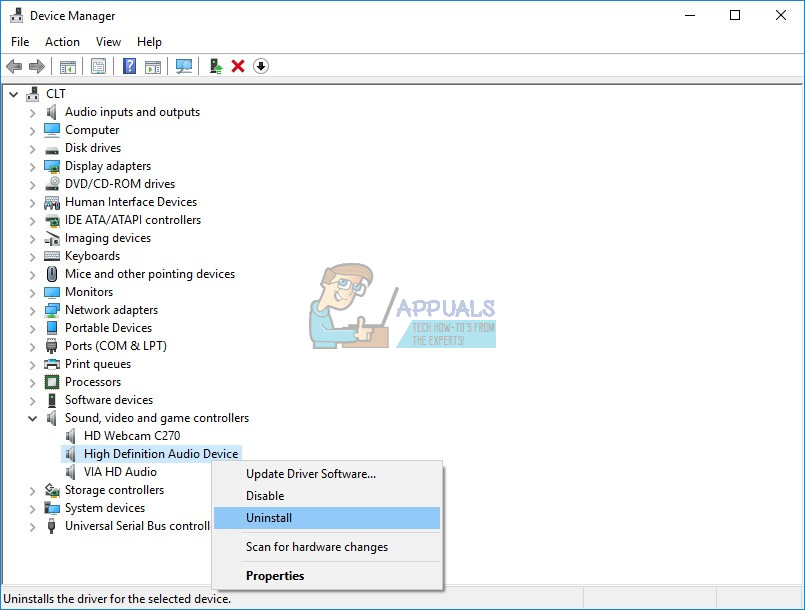
- Expand Sound, video and game controllers
- Right click on sound card and click Uninstall
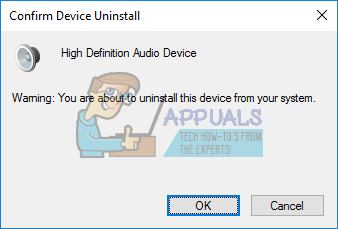
- Click OK to confirm device uninstallation
- Restart your Windows
- Download latest audio driver from vendor site. If you are using integrated sound card, you need to download sound driver from vendor who manufactured motherboard. For example, if you are using motherboard Asus X99-DELUXE, you will need to visit Asus’s website and download the latest sound driver. If you are using HP motherboard, then you will need to visit HP’s website to download the latest sound driver. Next, if you are using external audio card you will need to visit vendor’s website to download the latest sound driver.
- Install sound driver
- Restart your Windows
- Open Task Manager and test audiodg.exe process
Method 4: Update software and driver of gaming devices
Few users solved problem with audiodg.exe by updating software and drivers for gaming devices. If you are using additional devices for gaming, like headset, you will need to uninstall current software and driver, and after that you will need to install the latest driver for your device. We will show you how to do it with Logitech G930 headset. Procedure is the same for Windows Vista, Windows 7, Windows 8, Windows 8.1 and Windows 10.
- Hold Windows logo and press R
- Type appwiz.cpland press Enter
- Select software you want to uninstall. In our example it is Logitech Gaming Software 8.94
- Right click on Logitech Gaming Software 8.94 and press Uninstall/Change

- Click Yes to uninstall Logitech Gaming Software 8.94

- Click Finish when Windows finished procedure of uninstalling Logitech Gaming Software 8.94
- Restart your Windows
- Download the latest software from Logitech’s website. To download the latest software for this headset, you need to open this LINK
- Install software
- Restart your Windows
- Open Task Manager and test audiodg.exe process
Method 5: Change audio sample rate
Few users solved their problem by changing audio sample rate. Sample rate is the number of samples of audio carrier per second. It is measured in Hertz or kilo Hertz. You will need to change sample rate on your playback devices.
For Windows Vista, Windows 7, Windows 8, Windows 8.1 and Windows 10
- Right click on speaker in the lower right corner on taskbar
- Select Playback devices
- Select your playback device which has green check mark
- Right click on your playback device, speaker or headphone, and click Properties
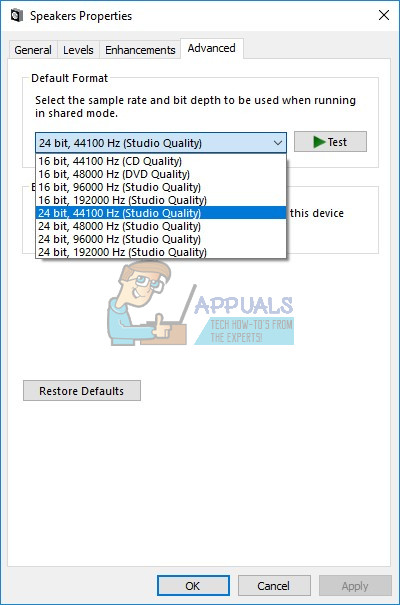
- Open Advanced tab
- Change audio sample rate to lower or higher frequency. We are recommending you to test which frequency is the best for your speakers or headphones.
- Click Apply and then OK
- Open Task Manager and check Windows Audio Device Graph Isolation process.
Method 5 worked for me, thanks!