Fix: Google Chrome ‘Waiting for cache’
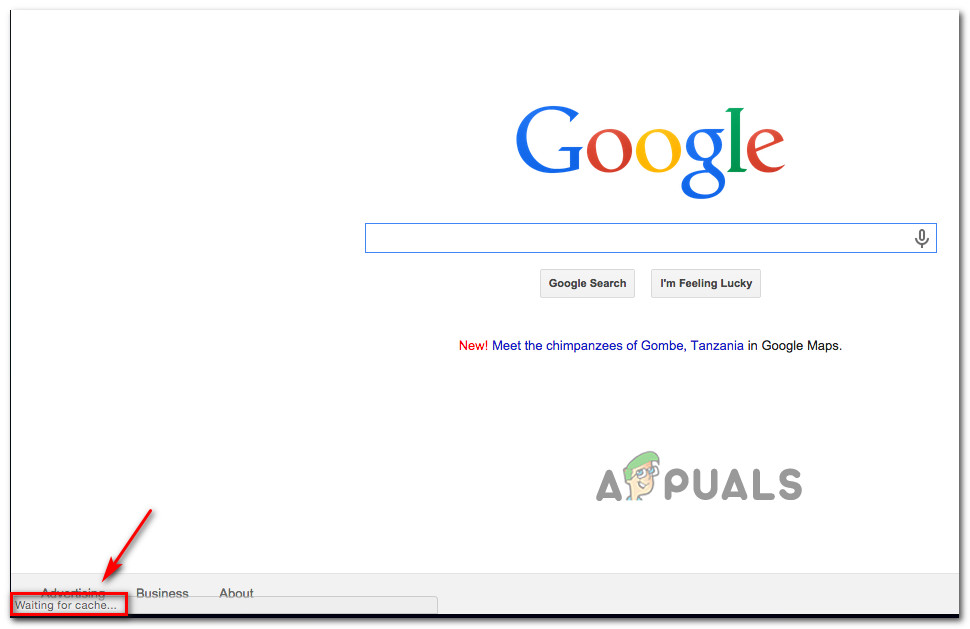
Some users are reporting that their Chrome browser randomly stalls/ freezes. Although there’s no apparent error message, the progress bar at the bottom is stuck on ‘Waiting for cache’. The issue is mostly reported to occur on Windows 10 in instances where the Chrome browser is installed on an SSD drive. Most affected users report that the freeze/stall lasts for about 20-30, then the browser returns to its normal behavior.
What is causing the ‘Waiting for cache’ issue on Chrome?
We investigated this particular issue by looking at various user reports and the repair strategies that other affected users have used to get the issue resolved. From what we gathered, there are several common scenarios that will end up triggering this particular error message:
- SSD write cache is filling up too quickly – As it turns out, this behavior will mostly occur when the browser has to cache files from a process that requires a lot of consistent bandwidth. With some solid state drives (SSD), this will end up filling the cache too quickly, which will make the browser freeze. In this particular case, the fix that is usually effective is disabling the Write Cache on the SSD or to install an extension that will clear the cache before every page-load.
- Corrupted browser profile – This particular issue can also be caused by a corrupted user profile. Several users finding themselves in a similar situation have managed to get the issue resolved either by creating a new user profile or by resetting Chrome’s settings to the default.
If you’re looking for ways to resolve this annoying Google Chrome behavior, this article will provide you with several troubleshooting steps. Down below, you will discover a collection of methods that other users struggling to resolve the same problem have used.
Since the ‘Waiting for cache’ issue has multiple potential culprits that might trigger this behavior, we advise you to follow the methods below in the order that they are presented. We ordered them by efficiency & severity, so one of them is bound to resolve the issue for your particular scenario.
Method 1: Disabling Write Cache on the SSD drive
Some users encountering this particular issue have reported that the issue was no longer occurring after they disabling the write cache on their SSD (Solid State Drive).
While disabling the write cache on your SSD might seem like a quick fix, keep in mind that doing so might end up slowing your drive writes. This feature allows data to be initially stored in DRAM or SLC NAND and then written on the drive NAND, which ends up accelerating the writes considerably.
If you are prepared to live with these repercussions for the sake of resolving the ‘Waiting for cache‘ error, follow the steps below to disable the write cache on your SSD drive:
- Press Windows key + R to open up a Run dialog box. Then, type “devmgmt.msc” and press Enter to open up Device Manager.
- Inside Device Manager, expand the Disk drives drop-down menu.
- Right-click on your SSD drive and click on Properties. If you have multiple SSD drives, right-click the one on which you installed Google Chrome.
- Inside the Properties menu of your SSD drive, go to the Policies tab and disable the checkbox associated with Enable write caching on the device.

If you’re still encountering the issue after following the steps above or you’re looking for a different method that doesn’t involve disabling write caching, move down to the next one below.
Note: If this method is not effective, remember to reverse engineer the steps above to re-enable the writing cache before starting with the next methods below.
Method 2: Creating a new user browser profile
Another fix that is sometimes effective in resolving the “Waiting on cache” issue on Google Chrome is to create a new user browser profile on Chrome. This will make you lose your user preferences and bookmarks, but you can easily import them to your new profile if this method ends up resolving the issue for you.
Here’s what you need to do in order to create a new user browser profile on Google Chrome:
- Click on your current profile Icon (top-right corner). Then, click on Manage people from the newly appeared menu.

Accessing the Managing People menu - Then, from the next menu, click on Add Person.
- Add a name and an icon for the new profile, then click on Add to create a new browser profile for Chrome.
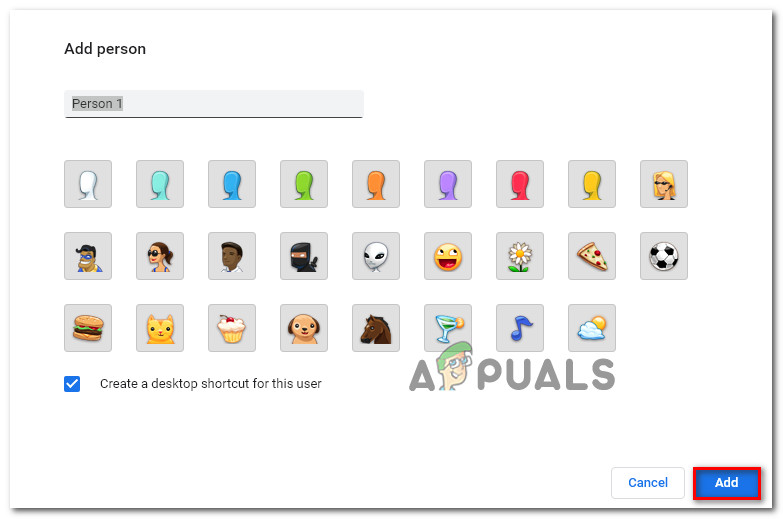
Adding a new user profile on Google Chrome - Chrome will then restart logged into the newly created profile. Test if the issue has been resolved by replicating the same behavior that was previously triggering the ‘Waiting on cache‘ error.
Note: If you find that the issue is no longer occurring, you can easily sign in with your Google account in order to retrieve your old bookmarks and other user preferences.
If this method didn’t allow you to resolve the ‘Waiting on cache’ error, move down to the next method below.
Method 3: Reset Chrome’s browser settings to defaults
Several users have reported that the issue was no longer occurring after they reset their Chrome browser settings. As you can imagine, this will irreversibly reset all user preferences, startup items, and extensions, so only do it if you understand the consequences.
Here’s how to rest Chrome’s browser settings to the default:
- At the top right section of the screen, click on the more icon (three dot), then choose Settings.
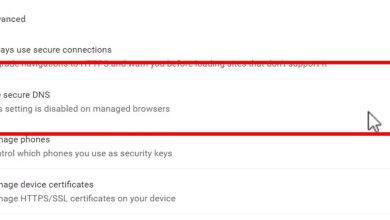
- Inside the Settings menu, scroll down to the bottom of the screen and click on Advanced to unlock the hidden settings.
- Under Reset and cleanup, click on Restore settings to their original defaults.
- Click on Reset settings to confirm that you want your Chrome settings to be reset to the defaults.
- After your browser has been reset, restart the application and see if the ‘Waiting on cache’ issue is still occurring.
If you’re still encountering the same ‘Waiting on cache’ issue, move down to the next method below.
Method 4: Using a ‘cache killer’ extension
If none of the methods above have managed to get the issue resolved, you’ll most likely be able to do it via an extension. Classic Cache Killer is a Chrome extension that will automatically clear your browser cache before loading a page. This will end up resolving the problem if the issue is caused by corrupted cache data.
Here’s what you need to do to install Classic Cache Killer:
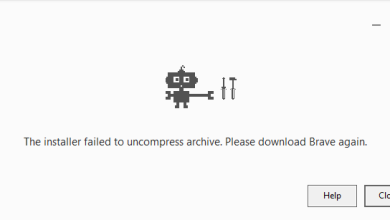
- Visit this link (here) and click on Add to Chrome to install the Classic Cache Killer extension on your computer.

Installing the Classic Cache Killer extension - Click on Add extension to confirm the installation.
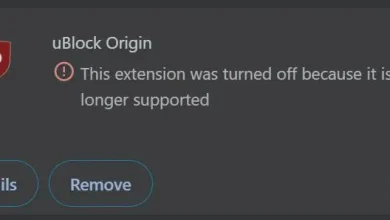
- Once the Classic Cache Killer extension has been installed, click on its icon (top-right corner) to enable it.
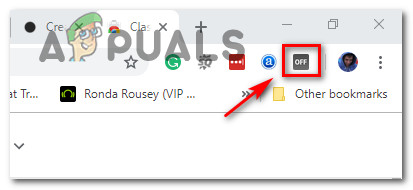
Enabling the Classic Cache Killer extension - Once the extension has been enabled, it will automatically clear your browser’s cache before loading a page. You can turn it off just as easily by clicking on the same extension icon.


Switches off the caching SSD and still this issue occurs! Wile firefox just breezes on through. Chrome just sucks on w10!