Fix: Wireless Charging Stopped Working in Galaxy S8
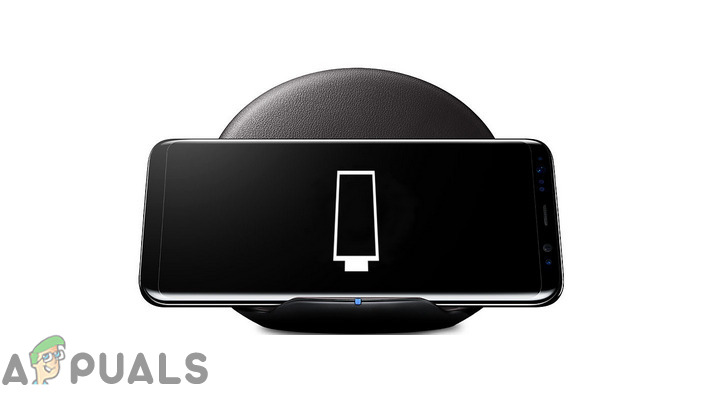
The Galaxy S8 is the 8th addition to Samsung’s flagship Galaxy lineup of mobile devices. The Galaxy S8 became very popular due to its innovative screen design and enhanced features that were quite unique at its time. The mobile continued the support for wireless charging like its predecessors. However, things became complicated when the wireless charging stopped working for many users after an update.
What Prevents the Wireless charging feature from working on the Galaxy S8?
After receiving numerous reports from multiple users we decided to investigate the issue and devised a set of solutions which eradicated the problem for most of our users. Also, we looked into the reasons due to which this problem is triggered and listed them below.
- Outdated Software: In some cases, the wireless charging feature only stopped working after the phone received an update to the Android versions. Often developers acknowledge these types of bugs and provide fixes for them in their newer updates.
- Faulty Application: It is possible that a specific application might be interfering with important elements of the system features and preventing the phone from charging wirelessly.
- Cache: All applications store cache on the device’s partition to reduce loading times and provide a smoother experience to users. This cache mostly contains certain launch configurations however, over time it can be corrupted due to which it can interfere with important elements of system features. It can also interfere with the wireless charging feature and prevent it from working properly.
- Hardware Issue: It is also possible that the wireless charging feature of Samsung stopped working due to an issue with the internal hardware components. If that is the case then the phone will have to be taken for service and most likely a replacement will be provided to you.
- Cover: If you are using a cover on the Phone while trying to charge it wirelessly then it is recommended for you to take off the cover. The phone needs to be directly in contact with the charger in order to work. Also, be careful as there is often a screen protector installed on the back of the phone which can also interfere with the charging process.
- Faulty Charger: In some cases, the charger that you are using to charge the phone wirelessly might be faulty due to which it is not charging the phone correctly.
Now that you have a basic understanding of the nature of the problem we will move on towards the solutions. Make sure to implement these solutions in the specific order in which they are provided to avoid any conflicts.
Solution 1: Changing the Charger
It is possible that the wireless charger that you are using to charge the device might not be working properly. Therefore, it is recommended to try to charge the phone with a different charger or try to charge a different phone with the charger and check to see if it works properly. If the phone charges properly with another charger it means that the problem lies with the wireless charger and it needs to be replaced.
Solution 2: Identification of The Problem
In the first step, we will be identifying whether the problem is with the software or the hardware. For that, we will launch the phone in Safe Mode which will prevent third-party applications from launching.
- Press and hold the power button on the side of the phone until launch options appear on the screen.
- Long press on the “Power Off” button and then tap on the “Safe Mode” option.
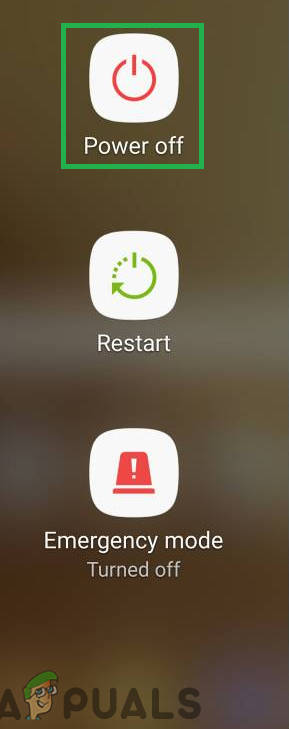
Pressing and holding on the “power off” button - The phone will now restart in the Safe Mode and the words “Safe Mode” will be written on the lower left of the screen.
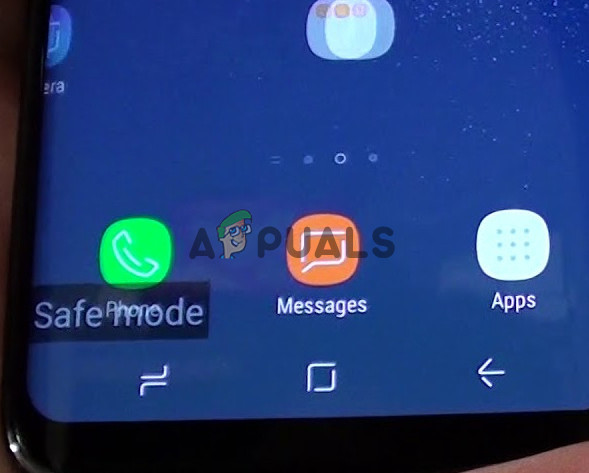
Safe Mode written in the lower left corner of the screen - Connect the wireless charger and check to see if the issue persists.
- If the phone starts to charge it means that the issue is related to software and most probably a faulty application. You can try to troubleshoot which application was causing the problem.
- Navigate to the launch screen and long press on the icon of an application.
- Select “Uninstall” from the list of options that appears and tap on “Yes” in the message prompt.

Long pressing on an application and selecting “Uninstall” from the list - Now restart into normal mode and check to see if the issue persists.
Solution 3: Updating Software
Sometimes, developers push updates to fix certain bugs and glitches in the smartphone’s software. Therefore, in this step, we will be checking to see if an update is available to the Software. For that:
- Drag down the notifications panel and select the “Settings” icon.

Dragging down the notification panel and tapping on the “Settings” icon - Inside the settings, scroll down to the bottom and tap on “Software Update“.
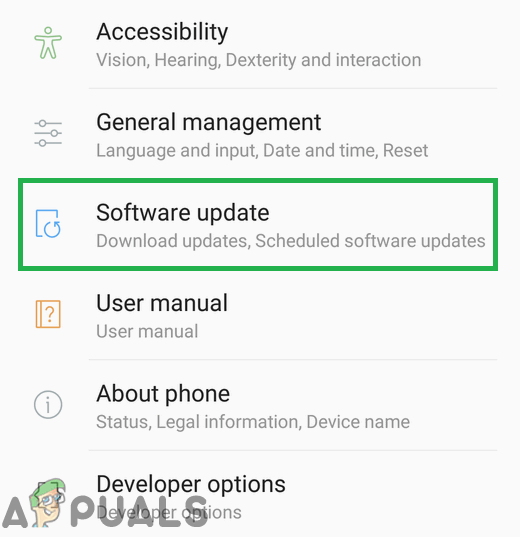
Tapping on the “Software Updates” option - Tap on the “Check for Updates” option and wait until the phone completes the checking process.
- Click on the “Download Updates Manually” option and the download will now begin.
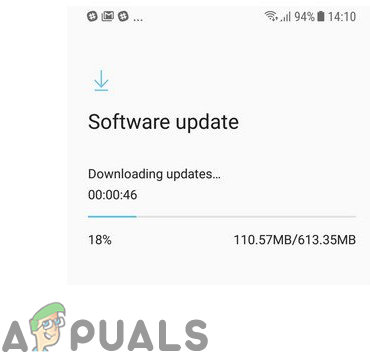
Tapping on the software update option - After the download finishes, tap on the “Install Now” option.

Tapping on the “Install Now” option - Your phone will now automatically be restarted and important updates will be installed.
- After the phone finishes bootup, connect the charger and check to see if the issue persists.
Solution 4: Deleting Cache
If the cache of a certain third party application or a system application has been corrupted it can interfere and jeopardize important system features. One of them is the wireless charging feature. Therefore, in this step, we will be deleting the system cache. For that:
- Press and hold the “power” button and tap on the “Switch off” option.
- When the device is completely turned off, Press and hold the “Volume Down” and the “Bixby” key. Then in the same instance also press and hold the “Power” button.
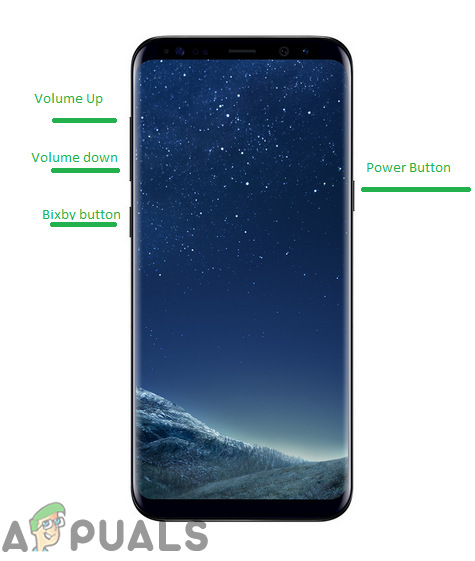
Button location on the S8 - When the green Android logo is shown, release all the keys. The device might display “Installing System Updates” for a while.
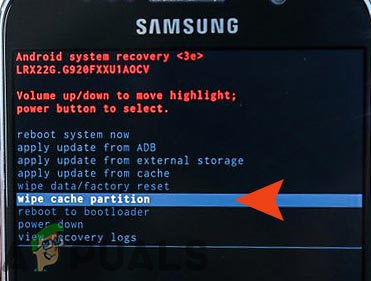
- Use the volume down key to highlight the “Wipe Cache Partition” options and when it is highlighted press the “Power” key to select it.
Highlighting the Wipe Cache Partition option and pressing the power button - After the wiping process is completed, highlight the “Reboot System Now” option by pressing the “volume down” key and press “power” button to select it.
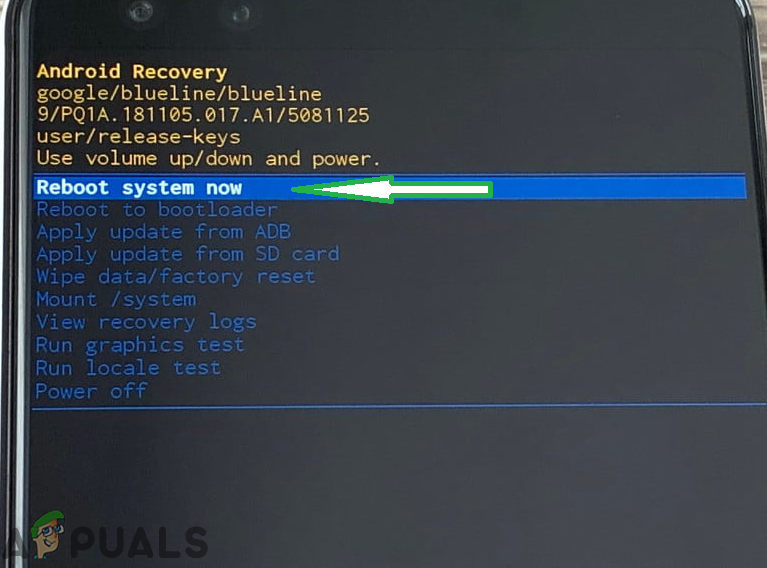
Highlighting the “Reboot System Now” option and pressing the “Power” button - The phone will now be restarted normally, check to see if the issue persists.


