Fix: DRIVER VERIFIER DETECTED VIOLATION Blue Screen on Windows 10
The worst kind of errors which can occur to you is the Blue Screen of Death which occurs every once in a while. If an error occurs too often, it becomes almost impossible to treat it properly because you don’t have access to your computer long enough to treat the error.
Driver Verifier can cause these errors if there is a faulty driver on your computer which needs to be repaired. Unfortunately, Driver Verifier can also be triggered by false alarms or simply outdated drivers which are still working properly. Follow the solutions below in order to try to solve the DRIVER VERIFIER DETECTED VIOLATION BSOD on Windows.
Solution 1: Disable Driver Verifier From Starting
If Driver Verifier is enabled by default or if it has started on its own, you can always try to disable it. Disabling Driver Verifier is easy when you have uninterrupted access to all settings on your computer but things can become tricky if the BSOD appears each couple of seconds or minutes or if you are not able to access your computer at all. Luckily, there is a way to fix that as well.
Preparation
In order to perform any of the troubleshooting introduced in this article, you will need to prepare a Windows installation DVD or USB which you will use to troubleshoot the error. For older versions of Windows (older than Windows 10) you will need to use the original disc you received with the operating system. However, for Windows 10, you can create it in no time.
- Download the Media Creation Tool from Microsoft’s official website. Double-click on the downloaded file called MediaCreationTool.exe in order to open the wizard. Tap Accept.
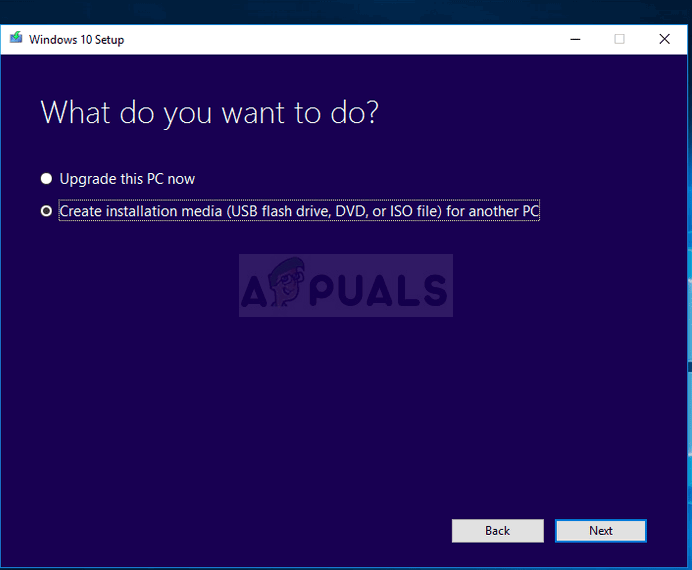
- Select the Create installation media (USB flash drive, DVD, or ISO file) for another PC from the initial screen.
- The language, architecture, and edition of the bootable drive will be chosen based on your computer’s configuration, but you should uncheck the Use the recommended options for this PC in order to select the correct settings for the PC which is encountering the error (you are probably creating this on a different PC).
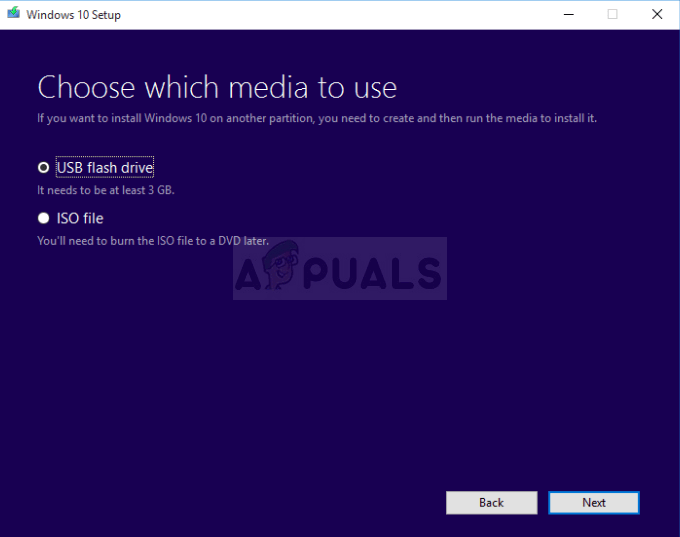
- Click Next and click on the USB flash drive or DVD option when prompted to choose between USB or DVD, depending on which device you want to use.
- Click Next and choose the drive from the list which displays the storage devices connected to your PC.
- Click Next and the Media Creation Tool will proceed to download the files necessary to install create the installation device.
Now it’s time to use this recovery media to fix your computer.
- Insert the recovery drive you own or which you created for your operating system and start your computer. The following steps are different from one operating system to another so follow them accordingly:
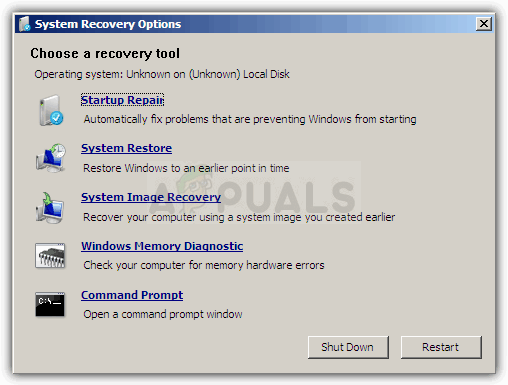
WINDOWS XP, VISTA, 7: Windows Setup should open prompting you to enter the language along with time and date settings. Enter them correctly and choose the Repair your computer option at the bottom part of the screen. Keep the first radio button as your choice when prompted with Use recovery tools or Restore your computer and click on the Next button. Choose Command Prompt when prompted with the Choose a recovery tool screen.
WINDOWS 8, 8.1, 10: You will see a Choose your keyboard layout screen so choose the one you want to use. The Choose an option screen will appear so click on Troubleshoot >> Advanced Options >> Command Prompt.
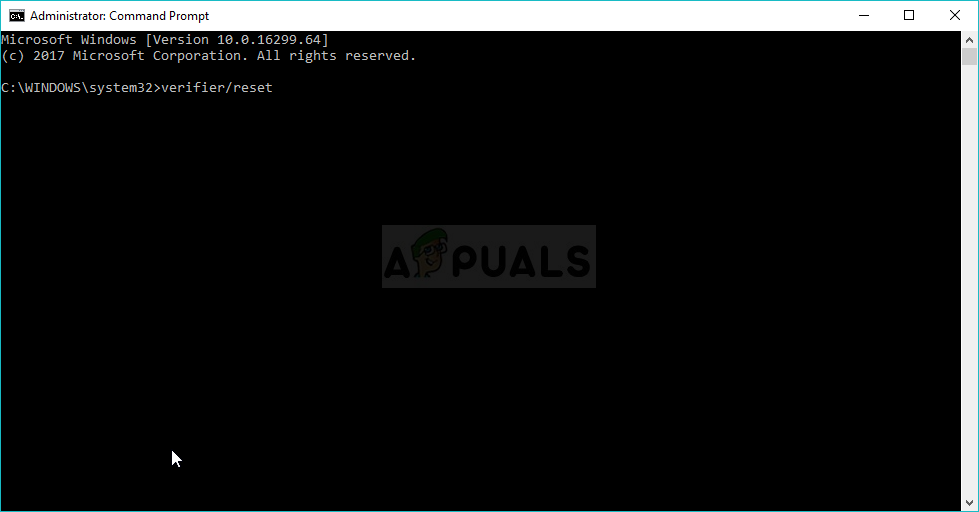
- Once Command Prompt opens successfully, type in the following command and make sure you click the Enter key after you finish:
Verifier /reset
- Restart your computer without the recovery media and check to see if the problem still appears.
Since Driver Verifier is a trustworthy tool, it’s quite possible that one of your drivers has indeed malfunctioned and it’s only a matter of time before other weird errors begin to take place on your computer. That is why it’s important to update all of your drivers as soon as you are able to boot into your computer without constant BSODs.
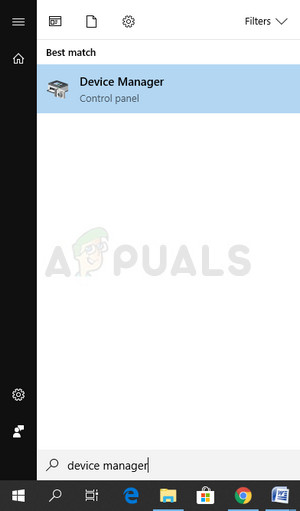
- Select the Start button, type in Device Manager, and select it from the list of results at the top.
- Expand one of the categories to find the name of the device you want to update, then right-click on it, and select Update Driver. For graphics cards, expand the Display adapters category, right click your graphics card and select Update Driver.
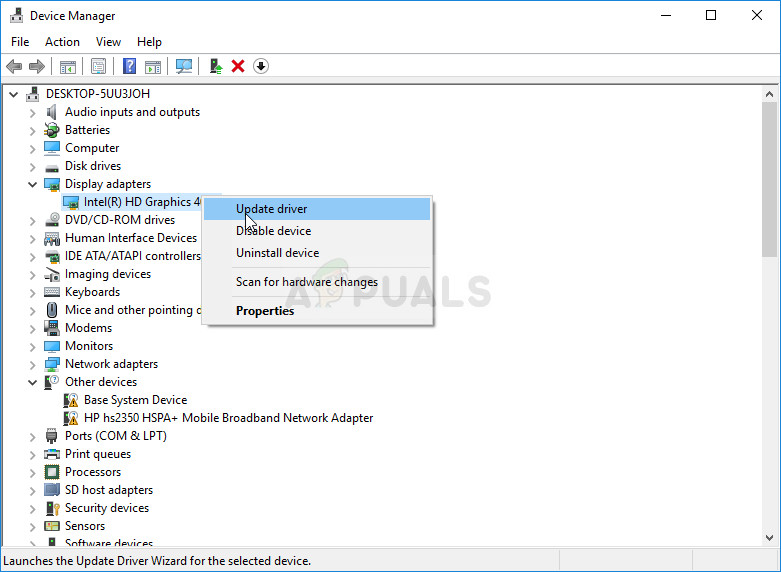
- Select Search automatically for updated driver software.
- If Windows doesn’t find a new driver, you can try looking for one on the device manufacturer’s website and follow their instructions. You will need to repeat the same process for all devices or you can use an automated tool to do this for you.
Note: If you are using Windows 10, latest drivers are often installed alongside other Windows updates so make sure you keep your computer up to date. Windows Update is run automatically on Windows 10 but you can check by following the instructions below for a new update.
- Use the Windows Key + I key combination in order to open Settings on your Windows PC. Also, you can search for “Settings” by using the search bar located at the left part of the taskbar.
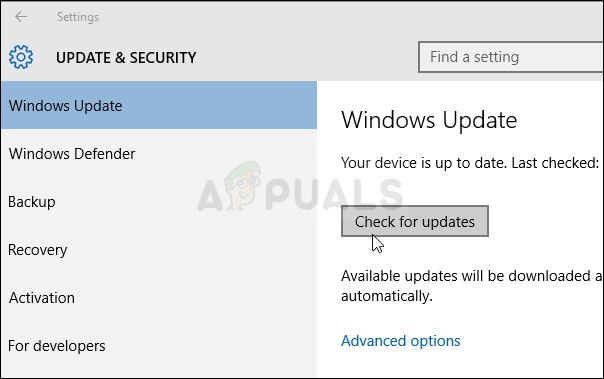
- Locate and open the “Update & security” submenu in the Settings app.
- Stay in the Windows Update tab and click on the Check for updates button under the Update status in order to check whether there is a new version of Windows available.
- If there is one, Windows should proceed with the download process automatically.
Bonus Solution: If the Problem Appears with a Steam Game
If the BSOD error appears when trying to run a Steam game or while trying to perform additional actions such as installing an update or an extension to the game, users have reported that verifying the game’s cache can generally help and solve the problem instantly, preventing the BSOD from appearing again. Make sure you check this out!
Verifying the integrity of game cache is an option available solely to Steam users who have downloaded the game from there. This is quite a good fix since this option will search through your game’s files in search for a broken one and it will also automatically download any missing or corrupt files. Follow the steps below in order to achieve this.
- Open your Steam client by double-clicking on it or by searching for it in the Start menu and navigate to the Library tab.
- Right-click on the game which is causing these issues and select Properties from the drop-down menu.
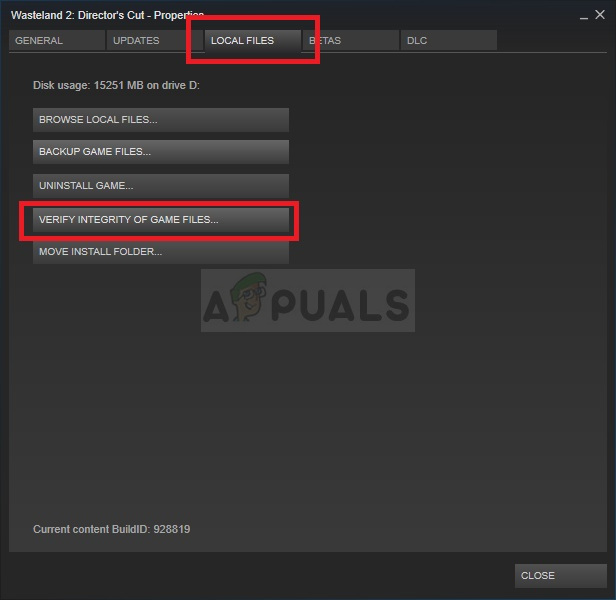
- Navigate to the Local Files tab and click on the Verify Integrity of Game Files… option.
- Try running the game and check if the DRIVER_VERIFIER_DETECTED_VIOLATION BSOD still appears.


