Fix: DisplayLink Windows Not Working
Some users have reported that their DisplayLink device has suddenly stopped working with Windows 10 Anniversary or Creators update. This issue is reported to occur when the user finishes installing a big Windows update (Anniversary Update, Creators Update) or right after the DisplayLink driver is updated via WU (Windows Update).
While there’s no actual error message, all devices that make use of the DisplayLink technology will simply stop functioning under Windows.
What is DisplayLink?
DisplayLink is a graphics transport technology that allows users to connect any display to any computer that supports USB or WiFi. It’s also an excellent universal docking solution to any platform, making it a great solution for enabling multiple displays.
What causes the DisplayLink Windows 10 Not working error?
After investigating this particular issue and looking at various user reports, we have compiled a list will culprits that might be causing the issue:
- Windows Update updates DisplayLink with an incompatible driver – This typically occurs on computers that were previously using the cached version of the DisplayLink driver.
- DisplayLink driver file is corrupted – There are instances where certain dependencies of DisplayLink drivers might become corrupted and crash the client altogether.
- DisplayLink driver is connected to a USB 2.0 port – This is only to occur with monitors that require more power than USB 2.0 ports are able to provide.
- Nvidia Share (ShadowPlay) is conflicting with DisplayLink – There are a couple of instances where DisplayLink is confirmed to crash on Windows 10 as long as Nvidia Share is enabled.
- The Universal Serial Bus controller is broken – This issue can also occur if your USB ports are not working correctly.
How to resolve the DisplayLink Windows 10 Not working error?
If you’re struggling to resolve an error with your DisplayLink driver, this article will provide you will a series of quality troubleshooting steps. Below you have a selection of methods that other users in a similar situation have used to get the normal functionality back.
For the best results, start with the first method and work your way down to the rest of them in the order that they are presented. Since the potential fixes are ordered by efficiency and severity, you should be able to find an effective method that resolves the problem before you’re done with it. Let’s begin!
Method 1: Using the Hardware and Devices troubleshooter
Let’s start things off by making sure that Windows is not equipped to handle the issue automatically. The Hardware and Devices troubleshooter is a built-in utility that will scan your system for any related inconsistencies and apply various repair strategies according to the identified issue.
Here’s a quick guide on using the Windows Hardware and Devices troubleshooter:
- Press Windows key + R to open up a Run box. Then, type “ms-settings:troubleshoot” and press Enter to open the Troubleshooting tab of the Settings app.
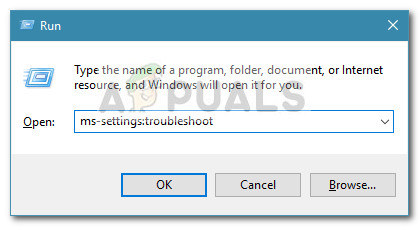
Run Dialog: ms-settings:troubleshoot - Inside the Troubleshooting tab, scroll down to Find and fix other problems. Down there, click on Hardware and Devices and then click on Run the troubleshooter to start the utility.
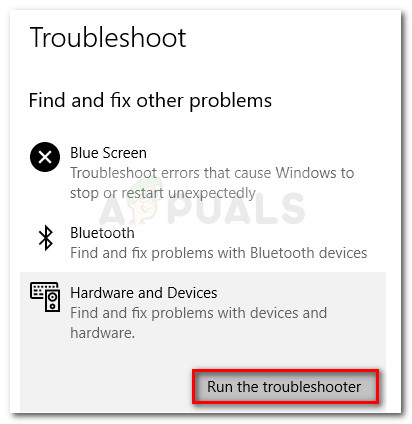
Run the troubleshooter - Wait until the initial scan is complete, then click on Apply this fix if any viable repair strategies are identified. If further steps are required, follow the on-screen prompts to complete the repair.
- Once the process is complete, close the troubleshooter and reboot your machine. At the next startup, see if the issue was addressed.
If your DisplayLink device is still not working, continue down with the next method below.
Method 2: Uninstall DisplayLink and reconnect docking station
Let’s continue by uninstalling the DisplayLink software. By removing every trace of the program and reconnecting the software, you’ll force the DisplayLink software to be reinstall. If the error was caused by a bad installation or a corrupted driver file, these steps would be enough to get the issue resolved.
Some users in a similar situation have reported that the issue was fixed after they uninstalled the driver from Programs and Features and forced a reinstallation. Here’s how:
- Disconnect the docking station or any other device that uses DisplayLink.
- Press Windows key + R to open up a Run box. Then, type “appwiz.cpl” and hit Enter to open up the Programs and Features window.
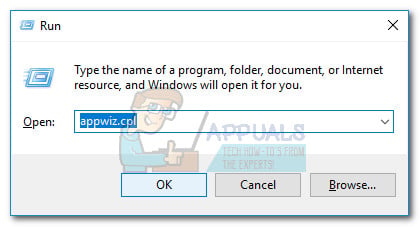
Run dialog: appwiz.cpl - Inside the Programs and Features windows, scroll through the application list, right-click on the DisplayLink driver and choose Uninstall.
- Follow the on-screen prompts to remove the Display Link driver from your system.
- Visit this link (here) and download & install DisplayLink Installation Cleaner. Then, use this software to remove every trace of the DisplayLink driver and restart your computer.
- At the next startup, re-connect your docking station (or any other device that uses DisplayLink) and follow the on-screen prompts to reinstall the required drivers.
- Restart your computer again and see if the issue has been resolved at the next startup.
If the issue is still not resolved, continue down with the next method below.
Method 3: Use a USB 3.0 port
If you’re encountering this issue with a monitor that you’re trying to connect via DisplayLink, make sure that you’re using a USB 3.0 port. Several users have reported that certain monitors (particularly newer models) will not work with DisplayLink while connected to a USB 2.0 port because they can’t provide enough power to run the monitor.
If you are unsure which ports are USB 3.0 and which aren’t, simply connect the monitor to a different port and see if the issue is resolved.
If this doesn’t solve your problem or you don’t have any USB 3.0 ports, continue down with the next method below.
Method 4: Disabling Nvidia Share (ShadowPlay)
As per various user reports, the problem is often caused on Windows 10 by Nvidia Shadowplay (former Nvidia Share). This streaming feature that allows players to stream their gaming sessions on the internet and keep track of their FPS is often reported to crash DisplayLink monitors.
To test whether this theory holds true, either turn off ShadowPlay or uninstall the software completely and reboot your computer. At the next startup, see whether your DisplayLink monitor is working properly.
Method 5: Reinstalling the Universal Serial Bus controller
If all the fixes above have proven to be ineffective, let’s see whether the problem originates from the Universal Serial Bus controller. A malfunctioning USB port can often be fixed by uninstalling the Universal Serial bus controller.
Some users struggling to fix DisplayLink on their Windows 10 PC have reported that the issue was resolved after they reinstalled the USB controller. Here’s a quick guide on how to do this:
- Press Windows key +R to open up a Run box. Then, type “devmgmt.msc” and press Enter to open up Device Manager.
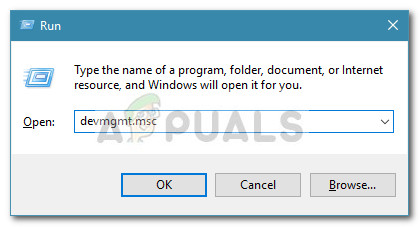
Run dialog: devmgmt.msc - Expand the drop-down menu associated with Universal Serial Bus controllers.
- Right-click on every Host Controller and click on Uninstall Device.
- Once every entry has been uninstalled reboot your computer in order to force your operating system to reinstall the required drivers.
- At the next startup, wait until the drivers are reinstalled and see if the issue has been resolved.
Method 6: Using a System Restore Point
If none of the methods above have enabled you to resolve the problem and resume the normal functionality of the DisplayLink driver, you might have better luck with a System Restore.
If you have a System Restore point that is older than the date in which the update that broke DisplayLink was pushed, you can restore your machine to a previous state where all was functioning properly. However, without instructing your OS to not install the DisplayLink driver update again, the same issue will occur in several days.
Here’s a quick guide on using System Restore and Windows Update Diagnostics to ensure that WU doesn’t crash the DisplayLink driver again:
- Press Windows key + R to open up a Run window. Then, type “rstrui” and press Enter to open up the System Restore wizard.
Run dialog: rstrui - In the System Restore initial screen, click on Next and then check the box associated with Show more restore points.

Next” width=”567″ height=”461″> Enable Show more restore points - Now from the list of System Restore points, select a restore point that is older than the date in which you got the update that broke the DisplayLink component and hit Next again.
- Click Finish and then click on Yes to start the restoring process. Your computer will restart shortly and the older state will be enforced at the next startup.
- Now, to make sure that the same update doesn’t get pushed by WU again, follow this article (here) on using Windows Update Diagnostics to hide that specific update.


