nvlddmkm Driver Stopped Responding? Try these fixes
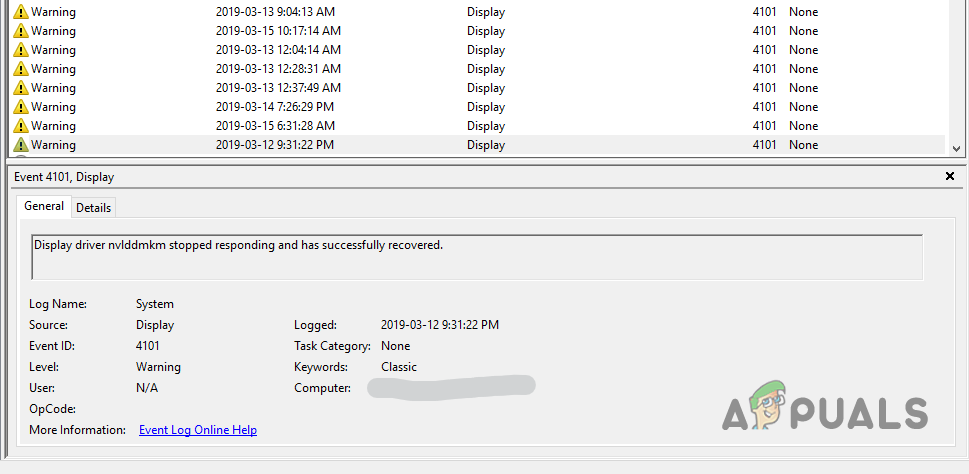
Multiple users have been encountering an issue where their system freezes for a second, the audio goes away and even a black screen is displayed before everything comes back together. In addition to that, some users face the issue while playing a game that ends up crashing as a result of all of this. An error log of “Display Driver nvlddmkm stopped responding and has successfully recovered” is displayed in the Event Viewer. This can happen due to a number of reasons which include the third-party apps that are installed on your system along with the state of your graphics card. In this article, we are going to show you how to resolve the problem in question so just follow through.
As it turns out, the display driver is an essential part of a computer system as it communicates with the graphics card that you have installed in your system. There are various cases where a display driver stops working and often, you can easily resolve this issue as long as it is not a hardware related fault. Before we get started with the different methods that you can use to resolve this problem, let us first go through the various causes of the error message in question so that you have a better understanding.
Now that we have gone through the possible list of causes of the problem in question, let us get started with the different methods that you can use to resolve the issue. So, without further ado, let us jump into it right away.
Disable Hardware Acceleration
The first thing that you should do when you encounter the error message mentioned is turn off hardware acceleration in your web browser and other related applications that are open in the background while you are playing a game, such as Discord. This has been reported by other users who were facing a similar issue where the web browser running in the background would result in the problem.
Now, the exact steps for disabling hardware acceleration may vary depending on your browser, but the provided instructions give you a general overview. We will be using Edge to disable hardware acceleration and then follow it up with Discord. Follow the instructions down below:
- First of all, in your browser window, at the top-right corner, click on the More menu. From the drop-down menu, choose the Settings option.
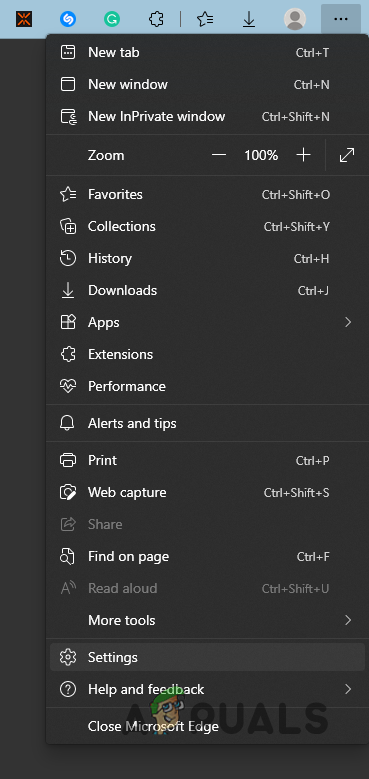
Opening up Edge Settings - On the Settings screen, simply search for hardware acceleration in your respective search bar.
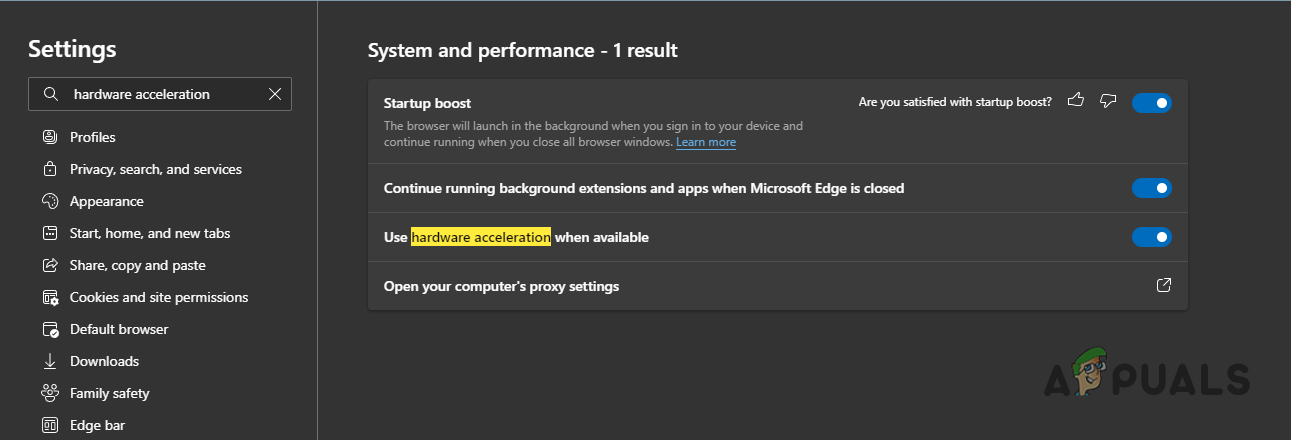
Disabling Hardware Acceleration in Edge - From the result shown, click on the hardware acceleration option and turn it off.
- With that done, if you have Discord installed, bring up the window.
- Click on the gear icon next to your username to go to user settings.

Opening up User Settings - Now, on the left-hand side, go to the Advanced tab.
- Once you are there, click on the Hardware Acceleration slider provided to turn it off.
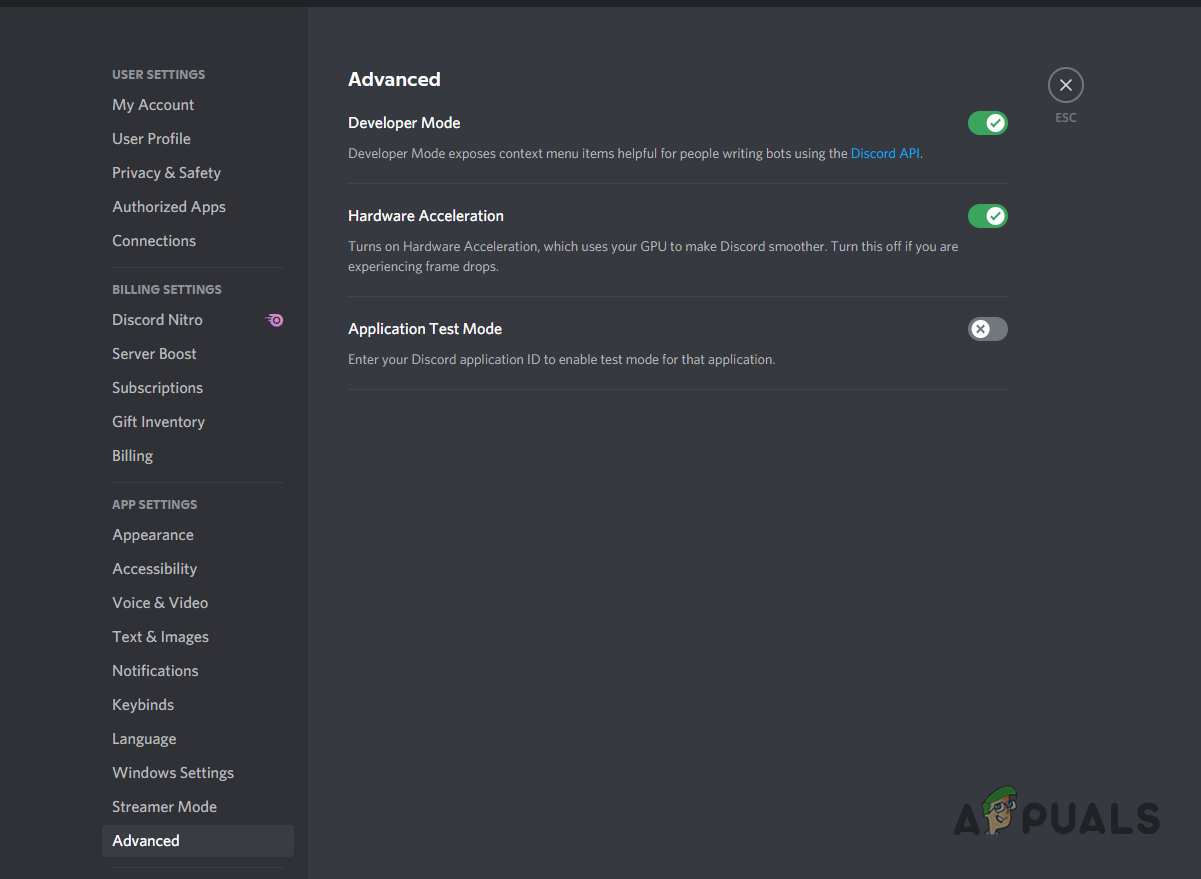
Disabling Hardware Acceleration in Discord - After doing that, play your game again to see if the problem still occurs.
Clean Install Display Drivers
In some cases, the problem that you are experiencing can just be due to the display drivers that are installed on your system. As it turns out, the display drivers may have been damaged by a recent update or something similar and as such, you will have to simply perform a clean install of the display drivers.
For this purpose, you will be using a third-party tool called Display Driver Uninstaller that completely removes your current installed drivers. The tool is very thorough as it gets rid of all of the redundant files as well along with clearing out the registry keys that are related to your display drivers. To do this, follow the instructions down below:
- To start off, download the Display Driver Uninstaller utility from here.
- Once downloaded, extract the zip file to the desired location and then make your way there.
- Run the DDU file and click Extract.
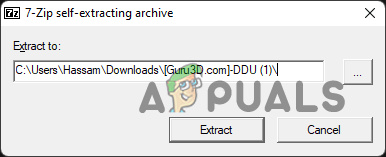
Extracting DDU - If you don’t change the default location, a new folder will be created for you within the directory. Open it up.
- Once you are there, double-click on the Display Driver Uninstaller.exe file to open it up.
- Under NVIDIA and AMD Specific Options, make sure you tick every checkbox depending on your graphics card.
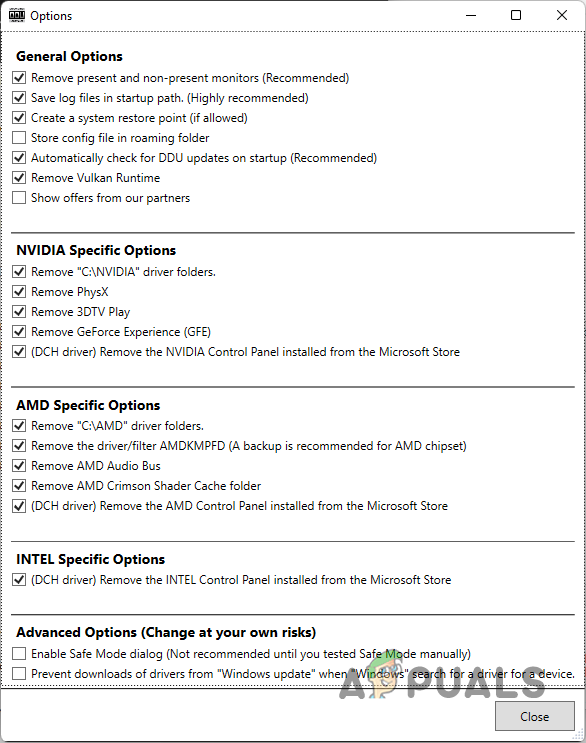
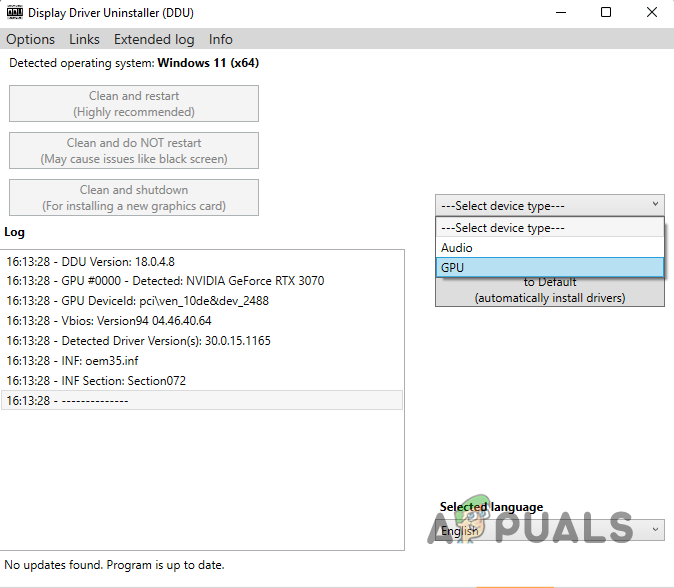
DDU General Options - After that, on the right-hand side, choose GPU from the Select device type drop-down menu.
Choosing GPU - With that done, click on the Clean and restart button provided.
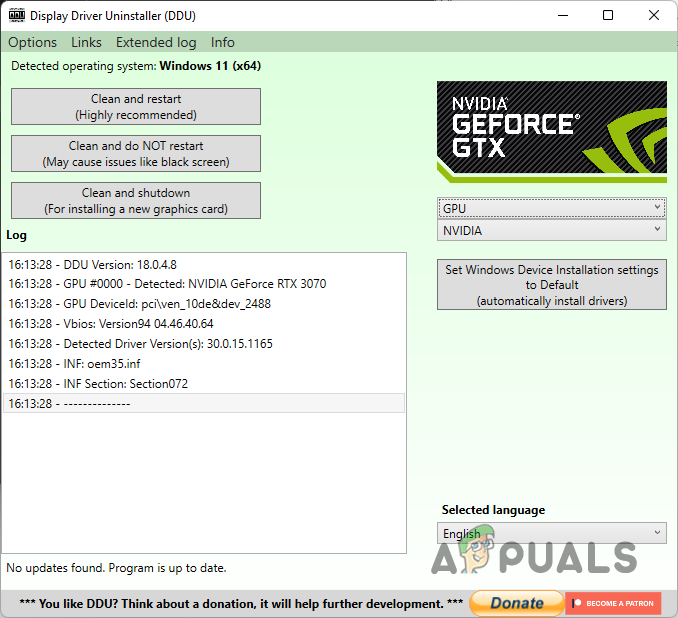
Removing Display Driver - Wait for your computer to be restarted.
- After your PC boots up, download the latest display drivers for your graphics card from your manufacturer’s website and install them. See if that resolves the issue.
Update BIOS
As it turns out, the BIOS version that you are using can also cause the problem in question in some scenarios. BIOS firmware is really important and more often than not, it is neglected because not many of us go into the BIOS menu often. Updating your BIOS firmware can sometimes help with resolving the issue in question.
As such, you will have to navigate to your motherboard’s manufacturer website and download the latest BIOS firmware update available. For this purpose, you will be requiring the model of your motherboard. The steps on how to install the update are often provided by the manufacturer. In addition to that, there are often utilities developed by your manufacturer that helps with this purpose. Once you have updated your BIOS firmware, see if the problem goes away.
Perform a Clean Boot
In some cases, the error message in question can be triggered due to the interference of a third-party application. This has been reported by multiple users who were facing the issue and different apps happened to cause the issue, such as ASUS Armoury Crate, Razer Synapse, Logitech software and more. As such, if you have either of these apps installed, you can try closing them out to see if that resolves the issue.
However, it is very likely that a different app might be causing the issue in your case. In such a scenario, to verify this suspicion, you can perform a clean boot. This will start your will with only the required services running in the background. In case the problem goes away once you have done this, it will be evident that the issue is indeed being caused by a third-party app. As such, you can turn on the services one by one to figure out the culprit. Follow the instructions down below to perform a clean boot:
- To start off, press the Windows key + R on your keyboard to open up the Run dialog box.
- In the Run dialog box, type in msconfig and then hit Enter.
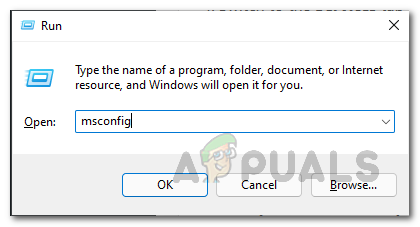
Opening up System Configuration - On the System Configuration window that comes up, switch to the Services tab.
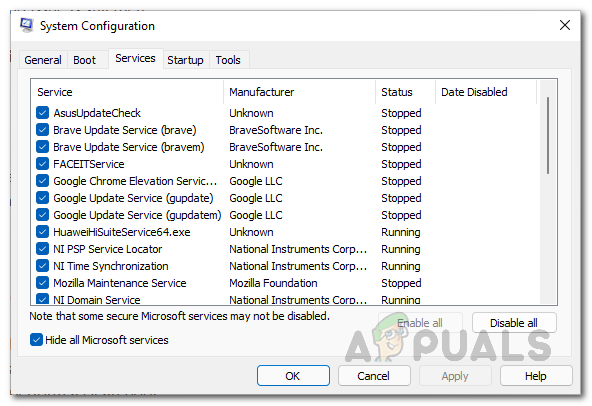
- There, go ahead and tick the Hide all Microsoft services checkbox provided.
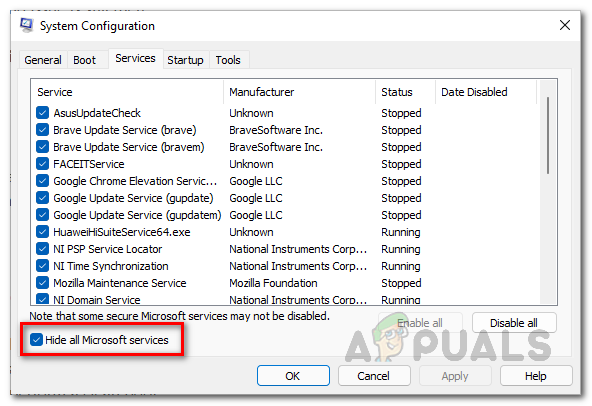
Hiding Microsoft Services - After that, click on Disable all and follow it up by clicking Apply.
Disabling Third-Party Services - With that done, switch to the Startup tab and click on the Open Task Manager window.
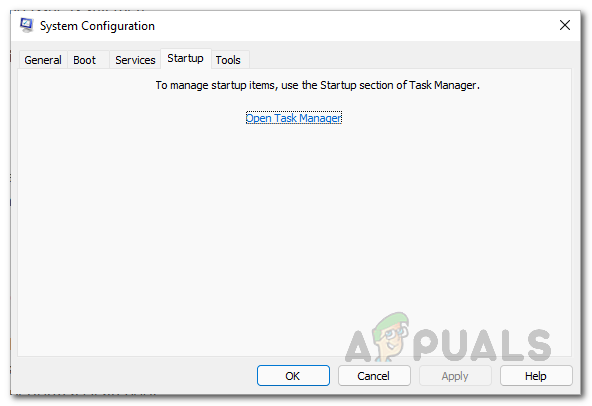
Opening up Task Manager - On the Task Manager window, select the apps given one by one and then click the Disable button.
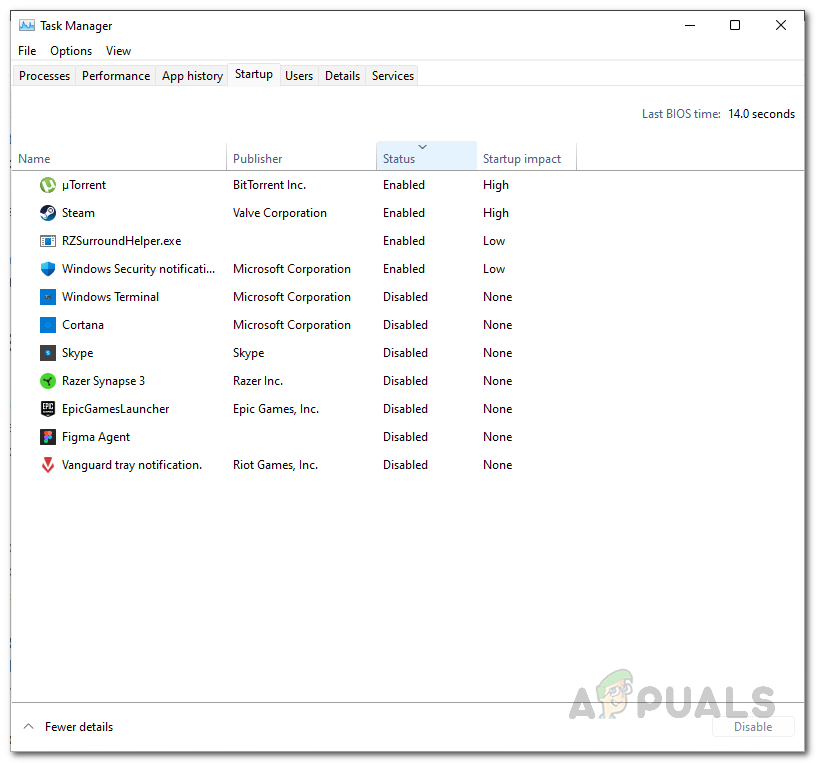
Disabling Third-Party Apps - Finally, go ahead and restart your computer.
- After your PC boots up, see if the problem is still there. In case it isn’t, start enabling the services one by one to find out which app is causing the issue.
Check your GPU
Finally, if none of the above methods has fixed the problem for you, then it is very likely that the issue is caused by your GPU. If this case is applicable, the first thing that you should do is to install your graphics card in a different slot on your motherboard. In addition to that, you can also check the PCIe cables and make sure they are correctly inserted. On top of that, if you have done any undervolting or memory clocking, we would recommend undoing that to see if that resolves the issue. If nothing seems to work, unfortunately, it would seem to be an issue with the graphics card itself and you might want to reach out to the retailer.


I fixed this problem by replacing the cooling paste of my GPU. It sometimes overheated, causing the GPU to crash.
It went from 70C to 90ish sometimes. Even though the paste wasn’t dried up completely, it was worth replacing it by something better the manufacturer had probably used.I used Thermal Grizzly Kryonaut. Hope this helps for you.