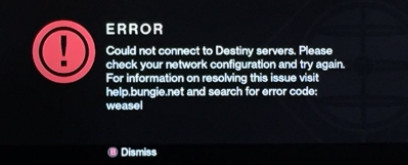
Fix: Destiny Error Code Weasel
The error code Weasel is definitely one of the most infamous error codes which can occur to users while playing Destiny and it usually occurs because of a packet loss or a disconnection between the user’s home network and Bungie servers. Usual causes are ISP saturation or general internet congestion. The problem can also be caused by a faulty WiFi or mobile hotspot setup.
It’s recommended that you try to switch to a wired Internet connection if you are using WiFi or a mobile data connection to play and check to see if the issue still occurs. If it does, try following the set of solutions presented below.
Solution 1: Replace Your Coax Cables and Splitter
It turns out that the problem regarding this error code was caused by people having bad coax cables and splitters used for their Internet connection. In most cases, those people used the cable Internet to play the game and it turns out that simply replacing these was able to solve the issue.
If you are a cable Internet user and if you haven’t replaced any of your gear for more than a couple of years, perhaps you should contact a technician from the cable company or simply buy and replace the cables and the splitter yourself.
Solution 2: Clan Invites
It seems that the problem was caused by faulty clan invite system and this appears to be the main concern for most people struggling with the Weasel error code. When someone invites you to a clan, that time is the most likely time that the error occurs. Make sure you have no pending clan invites in order to avoid receiving this error message until the Bungie team manages to deal with the issue.
- Have the clan admin kick you out of the clan which you joined in order delete the invite and avoid the error message.
- An alternative way to avoid the issue is to check on Bungie.net to see if you have a new clan invite under the Memberships page. If you do, join the clan and then immediately leave it in order to avoid receiving the error message at all.

Solution 3: Create a New PSN Account (PlayStation Users Only)
Creating a new PSN (PlayStation Network) account seems to have helped users from around the world fix their Weasel related error code while playing Destiny. The whole process may appear like too much simply to get the game working but it appears to be one of the only ways to play the game normally until the Bungie team fixes the issue.
Prerequisites for creating a new PSN account are that a local user needs to be connected to a PlayStation Network (PSN) account to play online or buy games and other content from PlayStation Store.
- Start up your PS4 and navigate to New User >> Create a User or User 1 on the PlayStation Log-in screen.
- This should create the local user on the PS4 itself, not a PSN account.
- Select Next >> New to PlayStation Network? Create an Account > Sign Up Now.
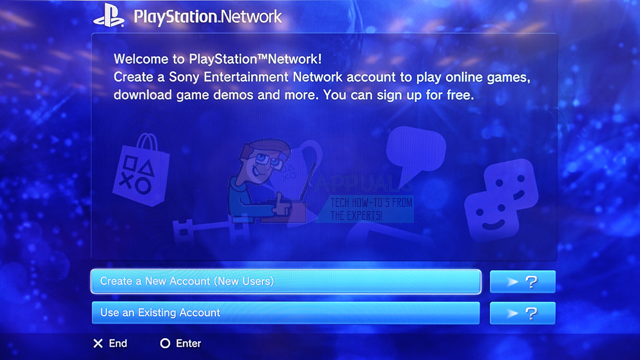
- If you select Skip you can choose the avatar and name for your local user and play offline right away. Go to your avatar on the PS4 home screen to sign up for PSN later.
- If this is the first time you’re using this PS4 go to User 1’s Profile on the PS4 home screen and enter your details and preferences and select Next on each screen.
- If you’re under 18 when you enter your birthday, you’ll create a local user for offline play and you’ll need to ask an adult to approve the account later.
- Don’t give an earlier date of birth because it’s against the PSN Terms of Use to give false information.
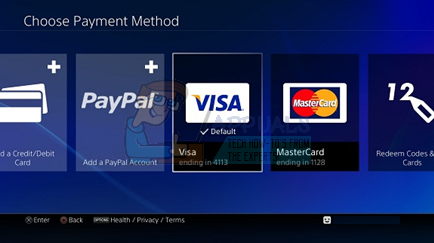
- If you’re over 18 and want to use your credit or debit card on PlayStation Store make sure the address you enter here matches your card billing address.
- Make sure you have access to the email address you enter because you’ll need to verify it.
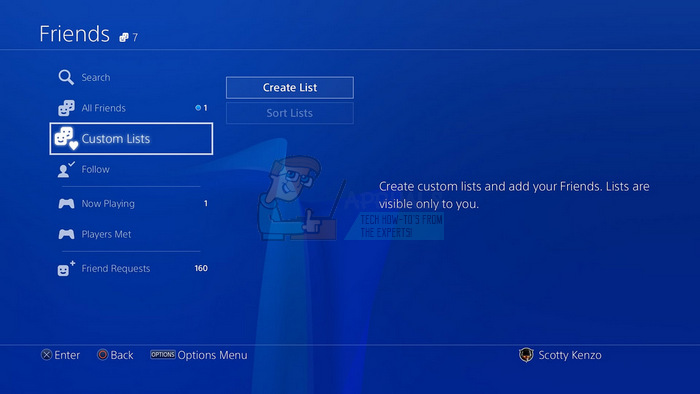
- Create an Online ID and enter your first and last name. Your Online ID is your publicly visible name that other users on PSN will see.
- Choose your Sharing, Friends and Messages settings (three screens). These are for your account only; they don’t affect what other users on the PS4 will see.
- If you’re under 18, account creation ends here and you can either ask an adult to sign in with their account to authorize PSN access or play offline until they do.
- Check your email and click the verification link. If you didn’t receive an account verification email, check the spam and junk folders.
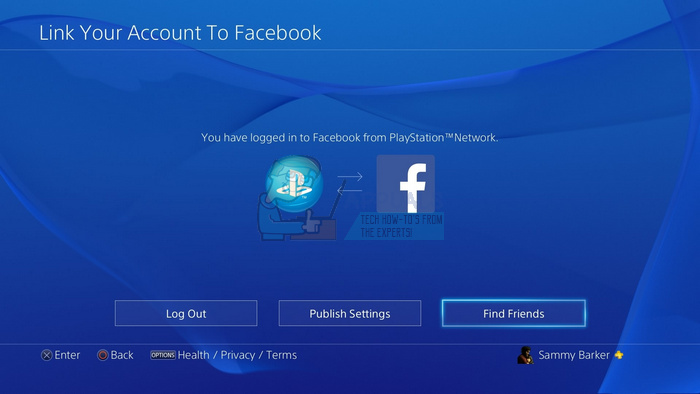
- If you still can’t find it, select Help to change your email address or ask us to resend the email. Select Log in with Facebook to link your PSN and Facebook accounts or Do This Later.
- Now you have a new PSN account and you can use to try and test the game out and check to see if the Weasel error code still appears on your computer.
Solution 4: Unlink Your Destiny App From Your Phone
It appears that this has worked for several users who have reported that unlinking the Destiny app from their account worked for them. The app is a companion app for smartphones which can prove to be useful in many cases but it appears that deleting it or unlinking it is a way to solve the problem.
- Sign in to Bungie.net using the authentication method that is NOT being removed in the steps below.
- Navigate to the Settings page and click on “Accounts & Linking”.
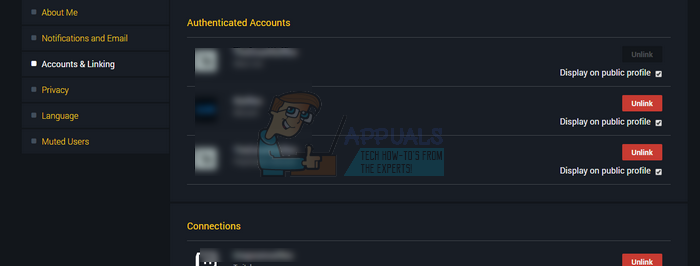
- Click “Unlink” next to the app authentication method to remove it from your account.
- Alternatively, you can simply uninstall it from your smartphone by holding its icon from the list of apps and dragging it towards the uninstall button if you are using an Android.
- If you are using an iPhone, hold one of the apps from the menu where all apps are located and they will start wiggling. Small “x” buttons will appear on most of them so locate the Destiny one and delete it by clicking on the “x” button and confirming your choice.

Solution 5: Clear Your Xbox One Cache
Clearing the cache has helped several people deal with their Weasel error on Xbox One and this process should prove to be quite helpful. However, make sure all of your games are synced online and backed up since this process may end up deleting them from your local Xbox One memory. There are two ways to delete the cache on Xbox One:
- Press and hold the power button at the front of the Xbox console until it shuts down completely.
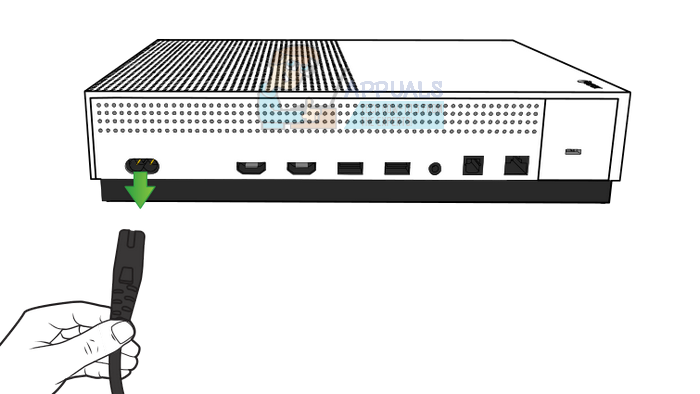
- Unplug the power brick from the back of the Xbox. Press and hold the power button on the Xbox several times to make sure there is no remaining power and this will actually clean the cache.
- Plug in the power brick and wait for the light located on the power brick to change its color from white to orange.
- Turn the Xbox back on as you would do normally and check to see if the Weasel error code still appears when you start Destiny or Destiny 2.
Alternative:
- Navigate to your Xbox One settings and click on Network >> Advanced Settings.
- Scroll down to Alternate Mac Address option and choose the Clear option which appears.
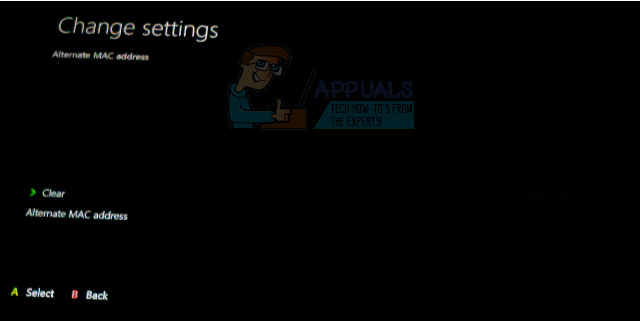
- You will be prompted with a choice to really do this as your console will be restarted. Respond affirmatively and your cache should now be cleared.
Note: If you are on a PS4, also try to clear its cache and see if that helps your case.
Solution 6: PowerCycling Consoles
In some cases, the issue is caused due to bad launch configurations and it triggers this particular error. Therefore, in this step, we will be completely power-cycling our consoles to rid of this problem. For that:
- Unplug the internet router and your console from the wall socket.

Unplugging the power from the wall socket - Press and hold the power button on the back of the router and on the front of the console for at least 15 seconds.
- Plug the router and the console back in and press the power button to turn them on.
plugging the Power cord Back in - Wait for the internet access to be granted and check to see if the issue persists.
Note: It is also recommended to change your NAT Type on whatever console you are playing the game and enable to it allow the game to connect to its servers. Also, try to check if cross save is enabled for the game if you play it on multiple consoles. If nothing else works, try using a VPN and check if the issue is fixed.