Fix: Configuration system failed to initialize
The error “Configuration system failed to initialize” occurs when the system is unable to correctly launch any target application and encounters such an error. In fact, this error message is very generic and is rooted to a number of different scenarios and cases.
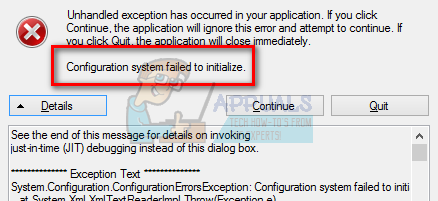
It usually occurs when you are trying to run a new application or when you boot up your computer. It is a very common error and the fixes range from uninstalling some application to changing the configuration files. Some third-party applications are also known to cause a problem. We have listed down a number of different workarounds; take a look.
Note: If this error occurs due to .NET framework, it is recommended uninstalling it and downloading the latest version from Microsoft’s official website before following all the solutions listed below.
Solution 1: Running System File Checker
This error might be generated because of bad configurations present on your computer. Whenever your computer comes across these errors it is unable to proceed with the operation it is executing; hence the error message. We can try running the SFC scan and check if there are any integrity violations. If there are, we can run the DISM command to fix them.
- Press Windows + R to launch the Run application. Type “taskmgr” in the dialogue box and hit Enter to launch your computer’s task manager.
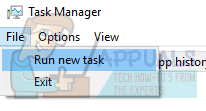
- Now click on File option present at the top left side of the window and select “Run new task” from the list of options available.
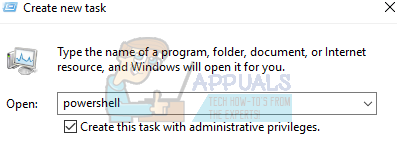
- Now type “powershell” in the dialogue box and check the option underneath which states “Create this task with administrative privileges”.
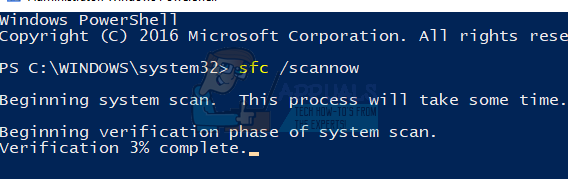
- Once in the Windows Powershell, type “sfc /scannow” and hit Enter. This process may take some time as your entire Windows files are being scanned by the computer and being checked for corrupt phases.
- If you encounter an error where Windows states that it found some error but was unable to fix them, you should type “DISM /Online /Cleanup-Image /RestoreHealth” in the PowerShell. This will download the corrupt files from the Windows update servers and replace the corrupt ones. Do note that this process can also consume some time according to your internet connection. Don’t cancel at any stage and let it run.
If an error was detected and was fixed using the above methods, restart your computer and check if the error still pops up.
Solution 2: Checking your Configuration Files
We can check if this error is generated by the configuration files of Microsoft Framework. The .net framework contains a large class library and also provided language interoperability across several different applications and languages. Many applications depend on this for running and executing tasks in Windows operating system.
- Navigate to the following file path:
C:\Windows\Microsoft.NET\Framework64\v2.0.50727\CONFIG
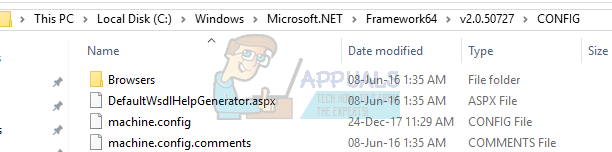
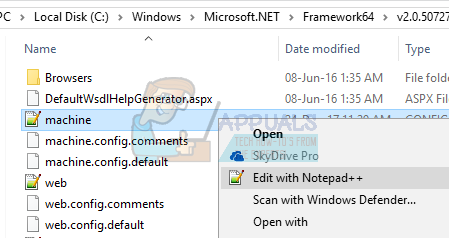
- Right-click on config file of the application of which the error occurs and select Edit (You can use Notepad++ for a clearer view of the config file instead of using the default notepad).
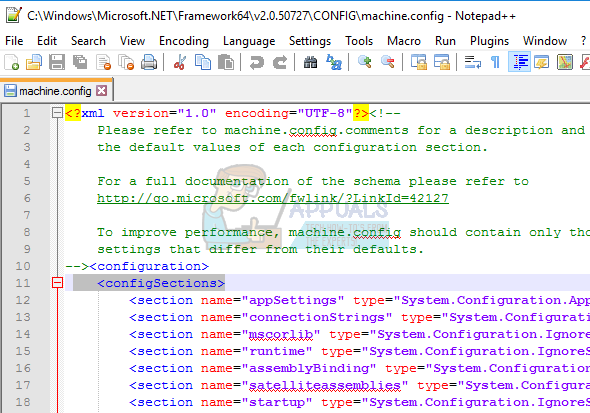
- Once inside the config file, make sure that the first child under the title <configurations> is “configSections”. If you are getting an error, it may be possible that this isn’t the case. If it is, remove the configuration element present between the parent title “configurations” and the child title “configSections”.
- Restart your computer and check if this solves the problem at hand.
Solution 3: Deleting the Configuration file of Application
There can be an instance where the configuration file of the application which is giving you the error is corrupted. In this case, we can delete the configurations and try launching the application again. When the application starts, the application will create new configuration files automatically and hopefully, will work as expected.
- Head over the following file paths:
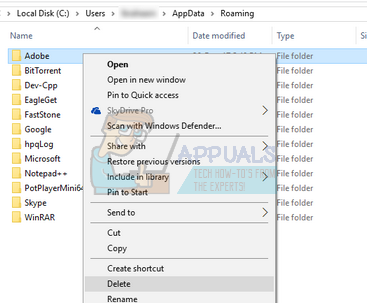
C:\Users\<Your Username>\AppData\Local
C:\Users\<Your Username>\AppData\Roaming
- In both cases, delete the application config file. You can delete or move the entire folder to a new location and rename it (in case you want to replace it back). Reboot your computer and check if this made any difference.
Solution 4: Performing a Clean Boot and Uninstalling Unwanted Applications
We can try Clean Booting your computer. This boot allows your PC to turn on with a minimal set of drivers and programs. Only the essential ones are enabled while all the other services are disabled. Then you can try launching the application and check if it turns on as required. If it does, you can enable all the applications/services one by one and determine which one was causing the problem. Once you determine the application that was causing the problem, you can uninstall it.
Note: There many feedbacks by the users stating that there were applications such as “web companion”, “ad adware” etc. which were causing the problem.
- Press Windows + R to launch the Run application. Type “msconfig” in the dialogue box and press Enter.
- Navigate to the Services tab present at the top of the screen. Check the line which says “Hide all Microsoft services”. Once you click this, all Microsoft related services will be disabled leaving behind all the third-party services.
- Now click the “Disable all” button present at the near bottom at the left side of the window. All the third-party services will now be disabled.
- Click Apply to save changes and exit.
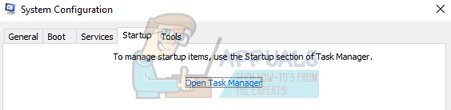
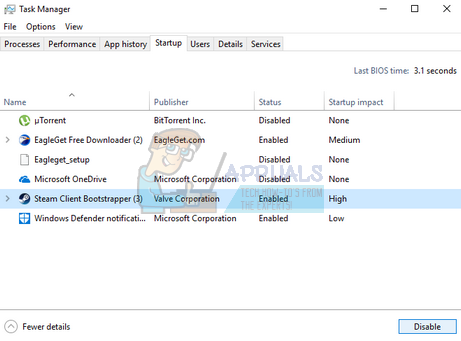
- Now navigate to the Startup tab and click the option of “Open Task Manager”. You will be redirected to the task manager where all the applications/services which run when your computer starts will be listed.
- Select each service one by one and click “Disable” at the bottom right side of the window.
- Now restart your computer and check if the error still appears. If it doesn’t, it means there was an external program which was causing the problem. Search through your installed programs and determine which application is causing your problems.
Solution 5: Making a New Local Account
If all the above solutions don’t work, we can try making a new local account on your computer and check if the error persists there as well. A local account is an account which isn’t associated with your Microsoft email. It only contains a username and a password. We check issues on a local account to make sure that the current account you are operating in isn’t corrupted or has wrong configurations set. If the error doesn’t reside in the new local account, you can transfer your data there and delete this current account safely. You can learn more about how to create a new local account by reading https://appuals.com/your-microsoft-account-wasnt-changed-to-a-local-account-0x80004005/.
Hey… the second last step in solution 2 is a little unclear for me… i need it in less technical terms; please assist.