How to Fix “com.process.systemui has stopped” Error?
The com.process.systemui has stopped error can come from various causes, such as a faulty custom ROM installation, a deleted OS file, or a problematic third-party app—often the latter. There have been reports of issues with the Firefox app causing this error.
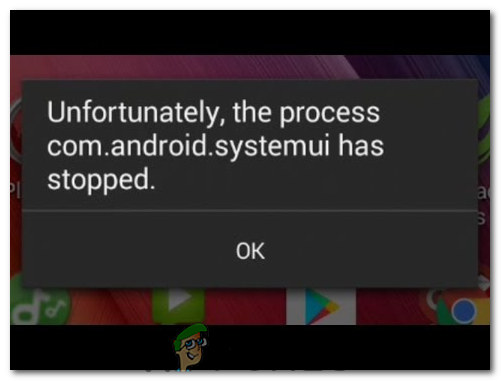
One of the most widespread issues affecting the Android Operating System is the com.android.systemui has stopped error. This error results in the entire User Interface of a device becoming unresponsive, sometimes lasting up to an hour.
Below are the most effective methods to troubleshoot and resolve this problem:
1. Download and Run CM Security
By installing and running CM Security—a well-known antivirus and anti-malware application—you effectively scan your Android device for potential threats. The app’s ability to identify and eliminate these threats can, in turn, restore smooth functionality to your Android system interface, thus potentially resolving the error in question.
- Head to the Play Store and search for CM Security.
- Install the CM Security app and open it.
- Conduct a scan, which should fix the problem.
2. Wipe the Device’s Cache Partition
This process removes temporary files that pile-up over time, which can sometimes cause operational issues and errors. By cleansing the cache, we encourage the device to rebuild and refresh these files, potentially resolving the error and improving overall performance.
- Power off the device.
- Boot the device into Recovery Mode by pressing and holding the Power, Volume Up, and Home buttons simultaneously.
- Once in Recovery Mode, use the Volume Rocker to navigate to the ‘Wipe Cache Partition‘ option.
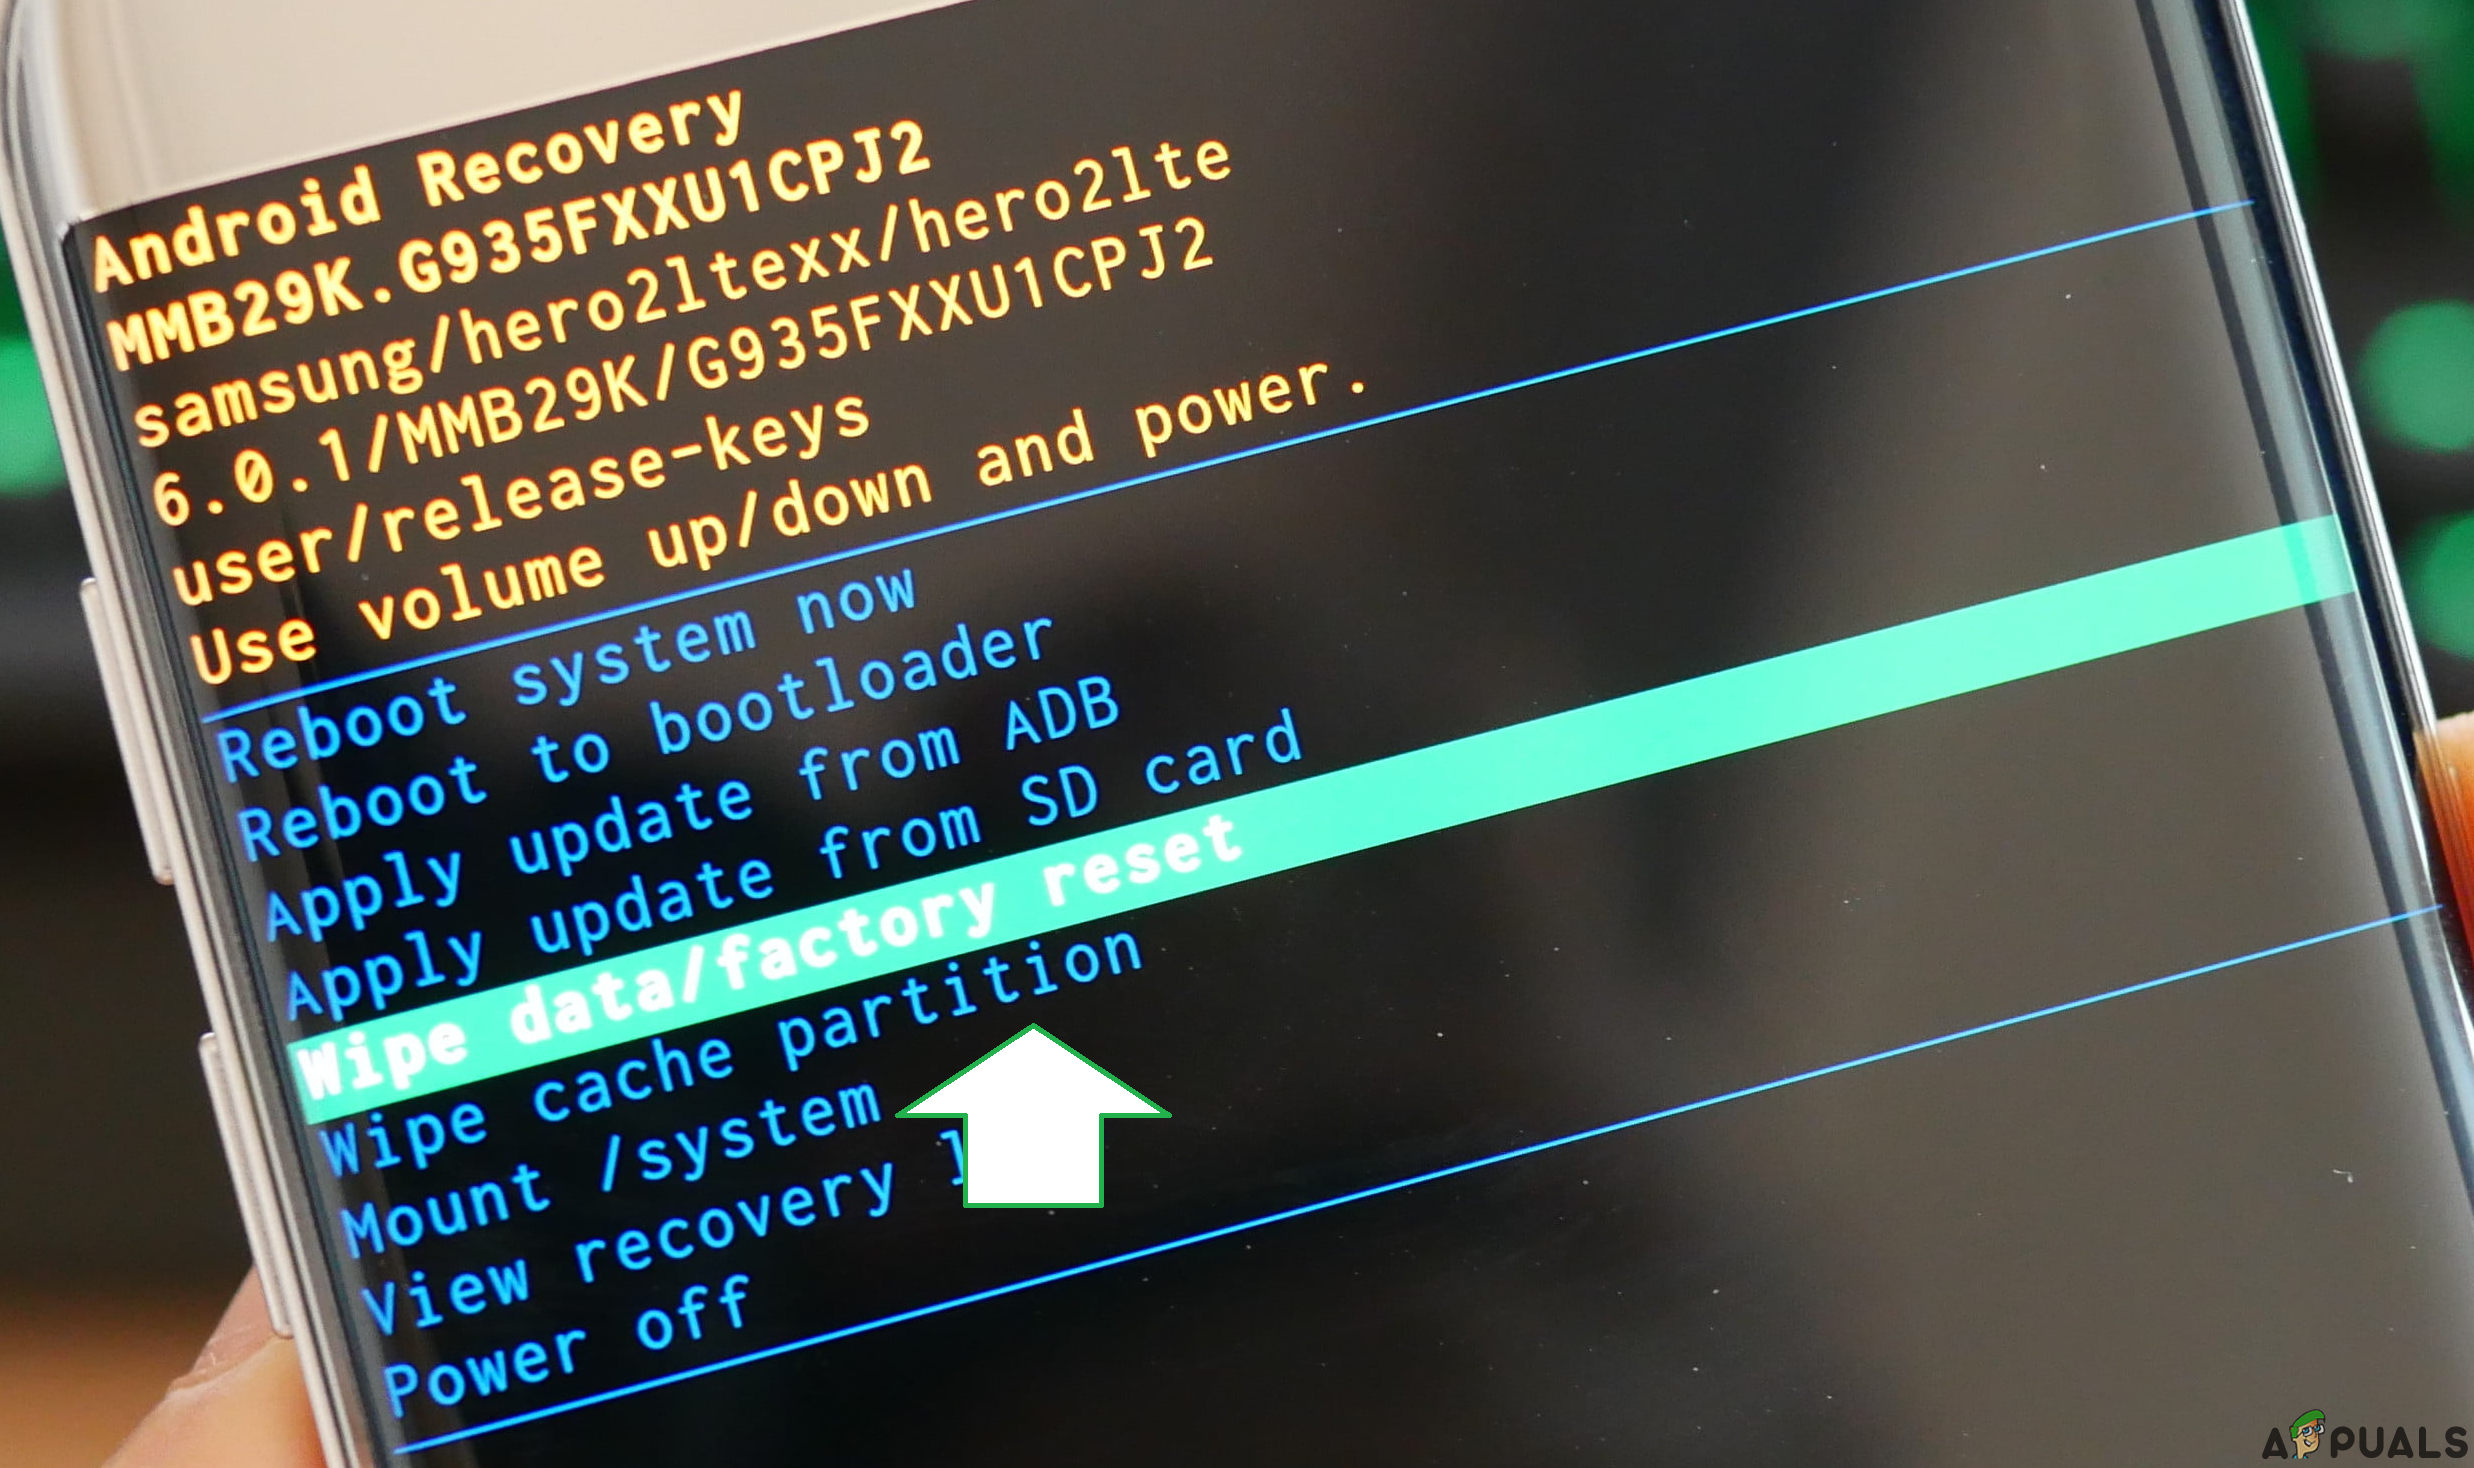
- Confirm the selection by pressing the Power Button.
- Once the cache is wiped, reboot the device.
3. Eliminate Any Third-Party Apps That Might Be Responsible
Firstly, verify if the com.android.systemui has stopped error is due to a third-party app by booting the device into Safe Mode and using it for a while to ensure the error doesn’t reoccur.
Examine the apps on your device to pinpoint the one that caused the issue, typically the one installed just before the problem arose.
Remove any apps you find suspect, then exit Safe Mode. If you suspect multiple apps, reinstall them one at a time to identify the actual cause.
4. Reinstall or Change the Device’s ROM (For Rooted Users)
Rooted devices offer the freedom to tweak the system extensively, and a custom ROM installation requires a precise process to ensure smooth operation. However, if the data and cache partition weren’t thoroughly wiped during this customization, it can lead to instability and errors, including the com.android.systemui has stopped message.
By re-flashing the ROM—which means reinstalling it—or choosing a different, perhaps more stable ROM and executing a clean wipe of the data and cache partitions, you’re basically giving your device a fresh start. This can eliminate remaining system conflicts or corrupted files that might be causing the interface to crash.
Remember, this process should be approached with caution and is usually recommended for more experienced users familiar with the variation of Android’s underlying framework.
5. Uninstall Google Updates
Sometimes, recent updates to Google apps may have compatibility issues with your current operating system, which can lead to unforeseen errors. By removing these updates, you basically revert the apps to a previous state that may be more in sync with your Android version, thus potentially eliminating the source of the error. It’s a simple process that could restore stability without drastic measures.
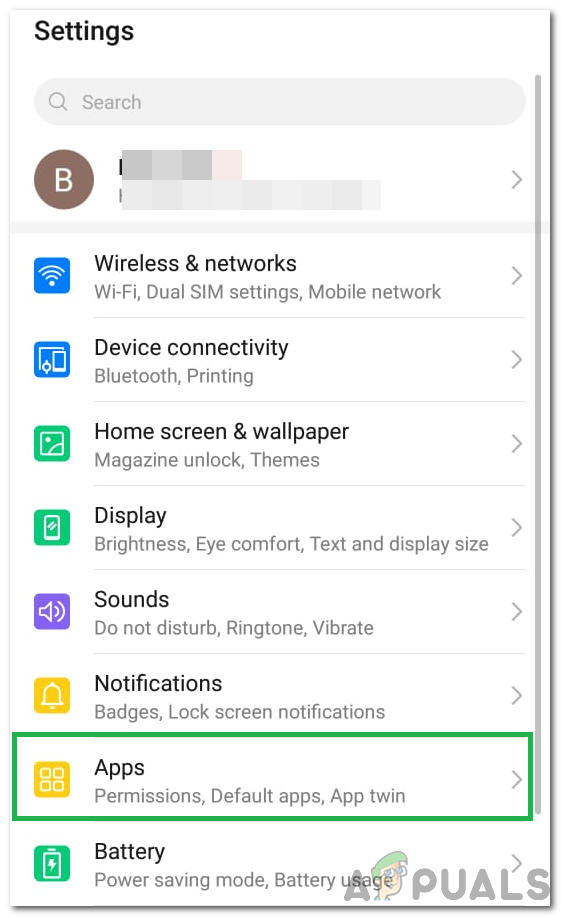
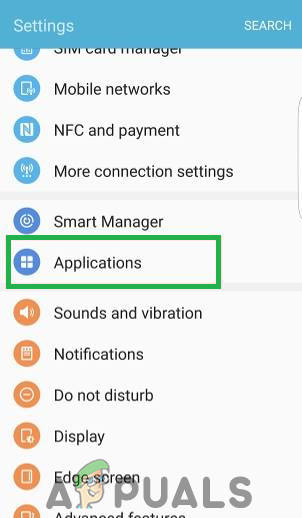
- Swipe down the notification panel and tap on Settings.
- Under Settings, click on Applications and then select Apps.
- Tap on the Three Dots at the top right and select Show System Apps.
- Find and tap Google App.
- Select Uninstall Updates to remove all installed updates for the Google App.

- Follow any prompts, then check if the error persists after the uninstallation.
6. Clearing Cache/Data
This simple yet powerful action clears temporary data that can slow down your device’s performance. When you clear the cache, you give your phone a fresh start, removing any temporary files that may have become corrupted and are causing the error. It’s like giving your phone a mini detox; it can breathe easier and operate more efficiently without the baggage of unnecessary data.
- Access Settings from your home screen.
- Select Applications followed by Apps to open the app management panel.

- Tap on Three Dots at the top right and choose Show System Apps.
- Select Google Play Store.
- Click Storage then Clear Cache.
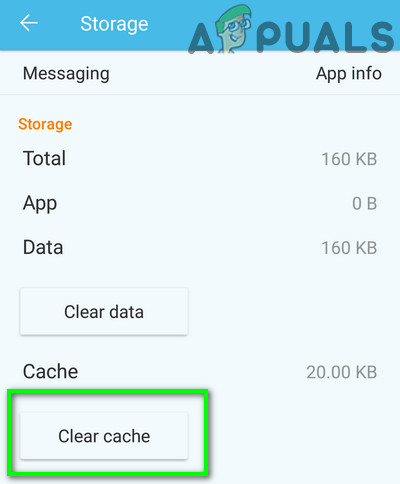
Tap on Clear Cache - Wait, then tap on Clear Data.
- Confirm prompts, and check if the issue is resolved.
7. Disabling Auto-Updates
Taking control of when your apps update is a strategic move to maintain stability on your Android device. Disabling auto-updates prevents the automatic installation of new versions that could introduce bugs or incompatibilities with your current system UI.
By managing updates manually, you can wait to see if any issues are reported with the latest versions before committing to the change, effectively reducing the likelihood of encountering the error.
- Launch Google Play Store from your home screen or app drawer.
- Tap on the Menu and select Settings.
- Under Settings, tap on Auto-Update Apps.
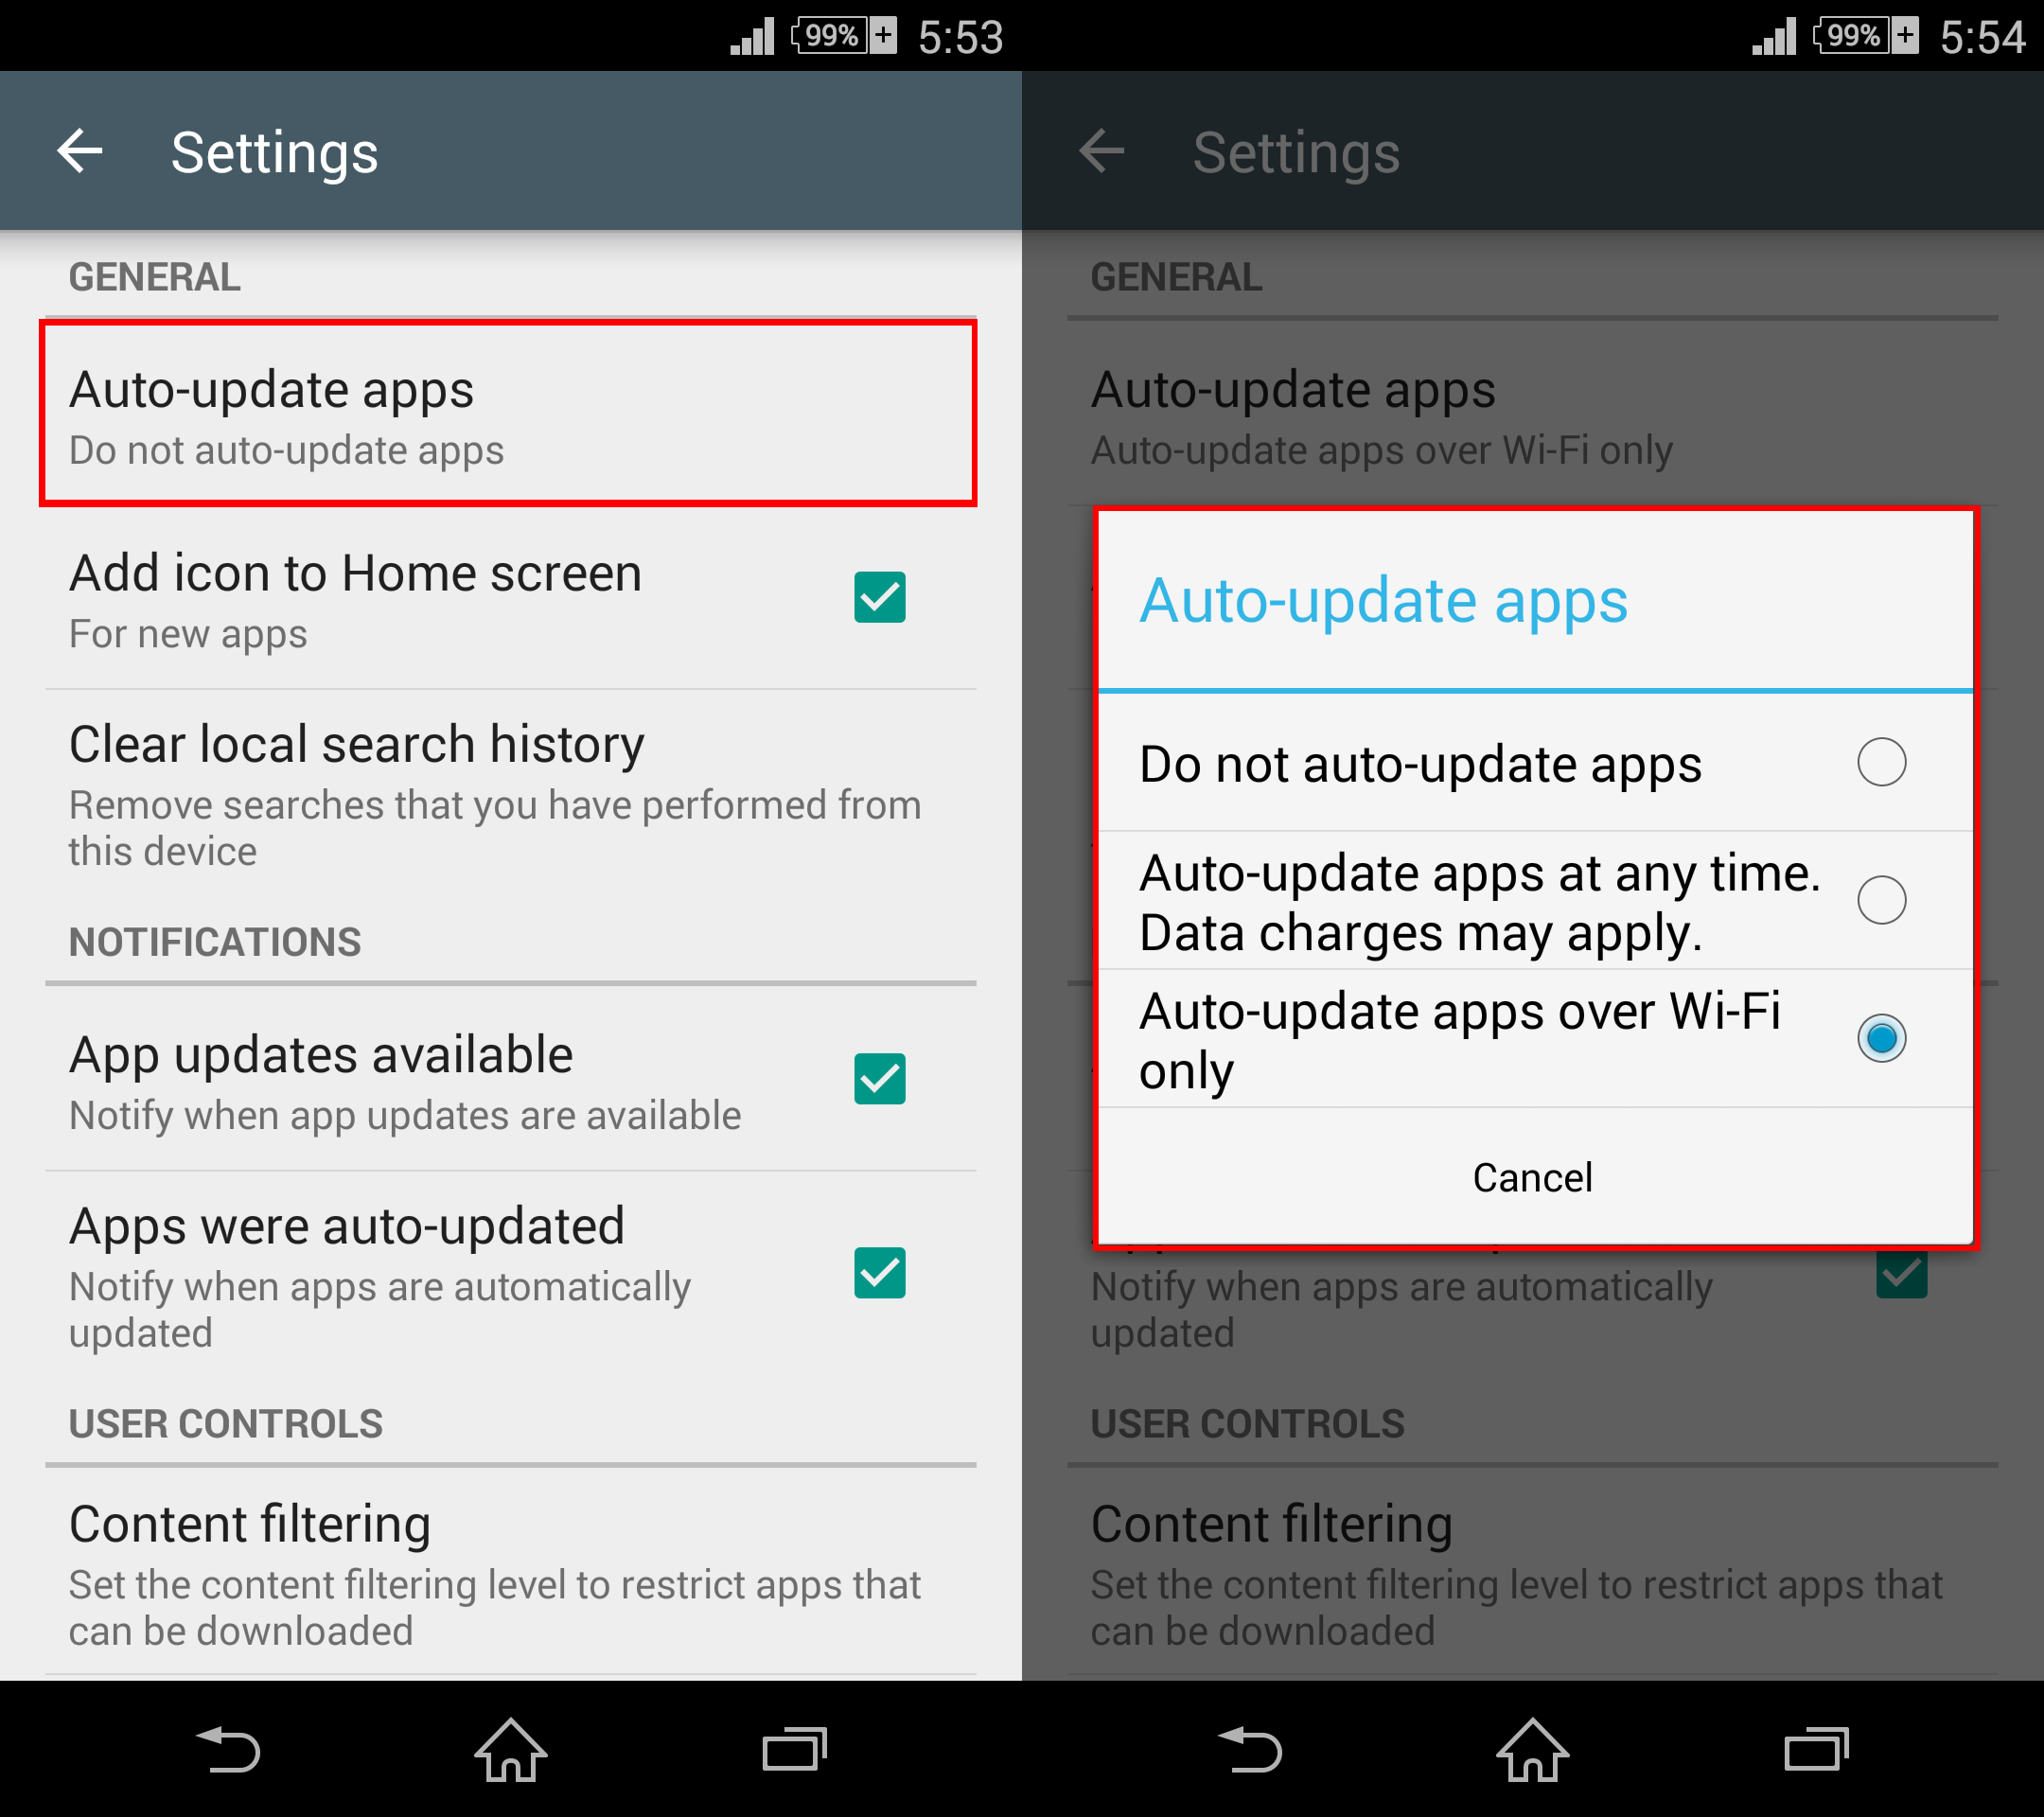
Selecting Do not auto-update apps - Choose Do not auto-update apps and confirm with OK.
- Verify if this resolves the issue.
8. Disable Auto-Start Management
When certain apps automatically initiate upon startup, they may interfere with essential system processes. By disabling Auto-Start Management, you prevent these apps from launching by themselves, thus reducing potential conflicts that might lead to the error.
This action allows you to rule out interference from auto-starting applications, creating a more stable environment for your device’s system user interface to operate.
- Swipe down from the top to access the notification panel and tap on settings.
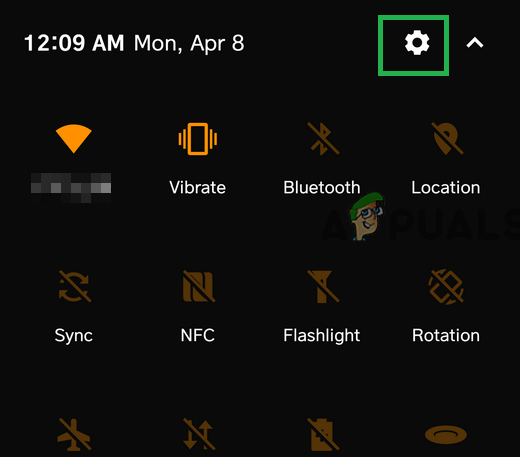
Accessing settings from the notifications panel - Scroll to Security and tap Auto-start Management.
- Unmark the checkboxes for all listed apps and save your changes.
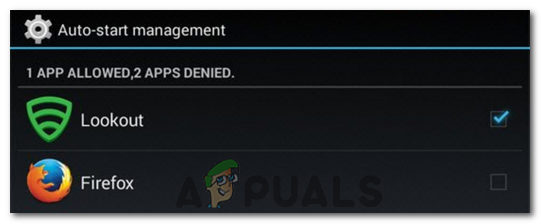
Adjusting Auto-start permissions - Check if the issue is resolved after these changes.
9. Clearing the System Interface Cache
This specialized cache holds temporary data that optimizes the performance and responsiveness of UI elements. Over time, however, it can accumulate corrupted files, leading to errors such as the “com.android.systemui has stopped” error. By clearing this cache, you’re essentially giving the system interface a clean slate to rebuild its temporary data from scratch, which often eliminates glitches and restores normal operation.
- Go to Settings on your home screen.
- Tap Applications and then Apps.
Accessing the Applications option - Select Three Dots at the top right and Show System Apps.
- Choose System Interface and then Storage.
- Tap on Clear Cache and Clear Data.
Clearing Cache - Check if the error is resolved post-clearance.
10. Allowing System UI to Draw on Top
Granting the System UI permission to display over other apps is like giving it a VIP pass to operate smoothly across your device. By enabling this feature, you make sure that the System UI can properly render notifications, status bars, and other elements on top of active applications, which can resolve errors associated with interface disruptions. It’s a quick toggle that can restore order to your smartphone’s visual experience.
- Select Settings from your screen.
- Tap on Applications and Application Manager.
Opening Settings and tapping Applications option - Hit the Three Dots at the top right, and select Apps That Can Appear on Top.
- Click on System UI and enable the permission.
- Confirm that this resolutions the issue.
Workarounds:
- Install an alternative launcher from the Play Store, like Nova Launcher.
- Consider a factory reset for your device if all else fails.
I just rooted my tablet swipe 3d life plus. Just to change its notification bar and buttons theme, i replaced its systemui.apk file to another sytemui.apk file i have downloaded from the internet. After five seconds of replacing that apk, the error ” systemui has stopped working” came. And again and again it is showing the same error. I tried to factory restore the and wipe the cache and data, but still it is not working. I flashed an new ROM but then also nothing happened.