Fix: Chrome Spellcheck Not Working
Chrome is a cross-platform browser developed by Google. The browser was released in 2008 for Microsoft Windows but later released for IOS, Android, Linux, and MacOS. The browser is also the main component for ChromeOS. Chrome is used the most used browser and as of 2019, it was reported to be used by 62% of the people using browsers.
However, quite recently a lot of reports have been coming in of the spellcheck feature of the browser not working. In this article, we will discuss some of the reasons due to which this problem can arise and provide you with viable solutions in order to ensure complete eradication of the problem.
What Causes the Spellcheck to Stop Working on Google Chrome?
The cause of the problem is not specific and the problem can arise due to a lot of reasons some of which are:
- Cache and Cookies: Applications store cache in order to decrease the loading times and cookies are stored by the sites in order to provide a more smooth experience and provide better connection speeds.
- Extensions: If you have any extensions related to spellchecking or grammar installed on the browser they can cause conflict with the built-in spell-check feature and as a result, neither of them would work.
- Malware: There could be certain malware on your computer that is interfering with the functionality of the browser and hindering you from using certain features. Therefore, causing issues with the spell-check.
- Disabled Spellcheck: In some cases, the spell-check feature of Chrome can get disabled automatically so make sure that the feature is enabled.
- Language: Also it is a possibility that the language of the spellcheck is not English and that can also cause issues if you require the spellcheck feature for English.
Now that you have a basic understanding of the nature of the problem we will move on towards the solutions.
Solution 1: Check to see if the Feature is enabled.
Sometimes the Spell-check feature can get disabled automatically due to a bug. Therefore, in this step, we are going to make sure that the feature is enabled on chrome. For this:
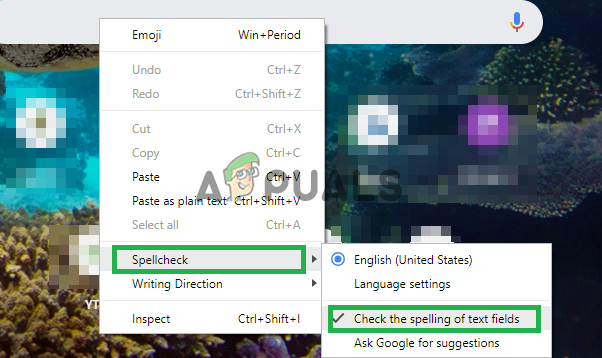
- Open a new tab in the browser.
- Right-click on the empty text field and select “Spellcheck“
- Make sure that the “Check the spellings of text fields” option is enabled.
Enabling the spellcheck feature
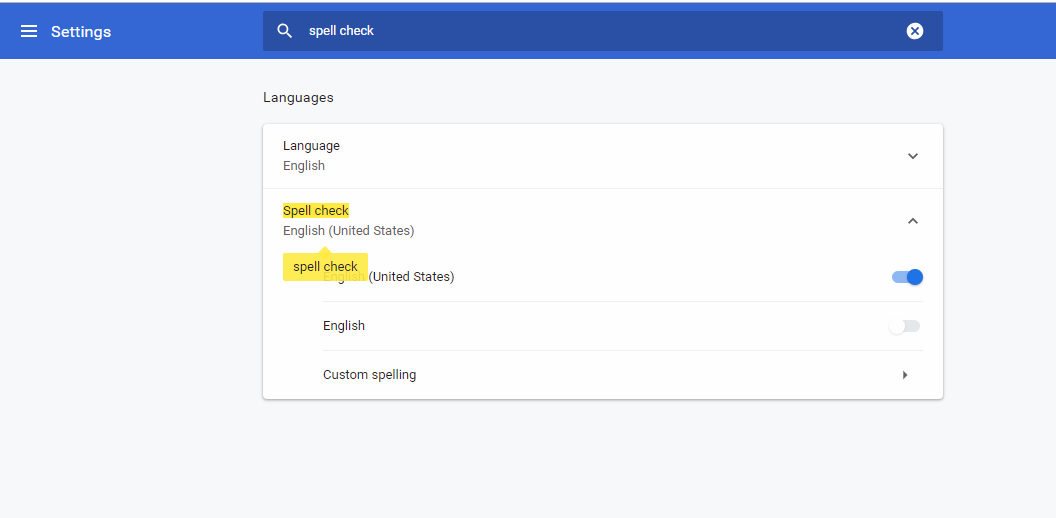
Solution 2: Confirming the Language.
If the language of selected in the spellcheck settings and the language for which you want to use the spellcheck feature is not the same it will not work therefore in this step we are going to ensure that the Spellcheck settings are configured to check the spelling of the right language.
- Open a new tab in the browser.
- Right-click on the empty text field, move the cursor to “Spellcheck” and select “Language Settings“.
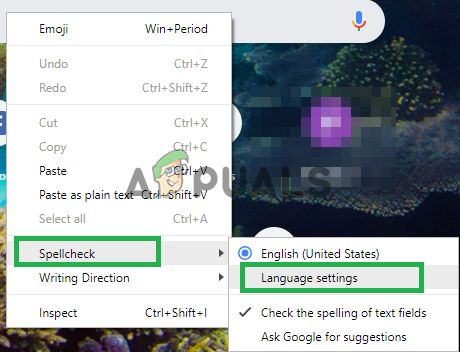
Opening Language settings - Make sure that the language settings are configured for the right language.
- Also that the Spellcheck settings are enabled for the language that you selected.
Solution 3: Clearing Chrome Cache and Cookies.
Applications store cache in order to decrease the loading times and cookies are stored by the sites in order to provide a more smooth experience and provide better connection speeds. Therefore, in this step, we are going to be deleting the browser’s Cache and Cookies.
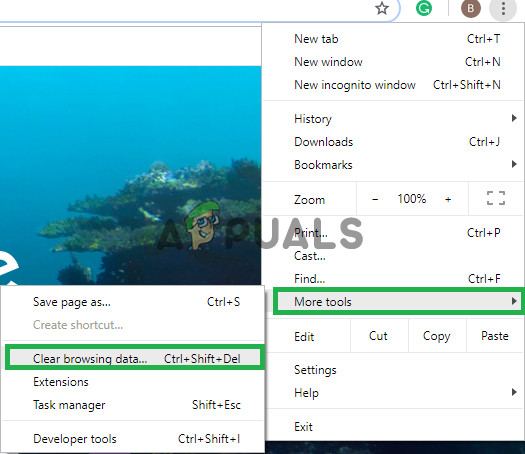
- Open Chrome on your computer and click on “More button” on the top right.

Pressing the Menu button - Select “More tools” from the list and click on “Clear Browsing Data“.
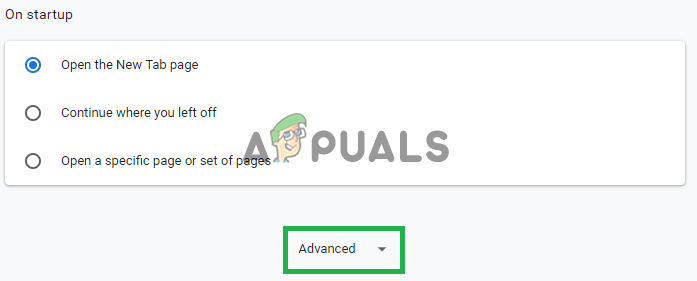
Clicking on “Clearing browsing data” - This will open up a new tab, select “Advanced” in the new tab.
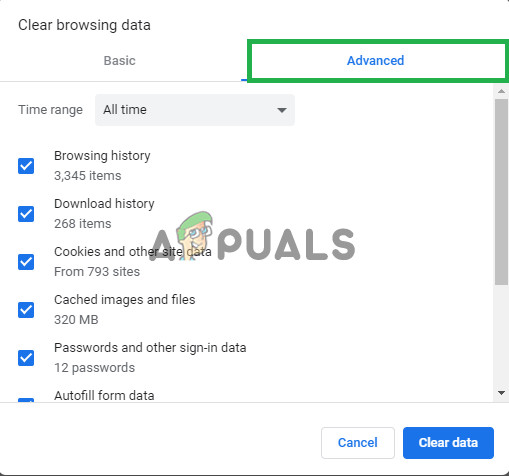
Selecting the advanced tab - Select “All time” as the time range, and check all the boxes.
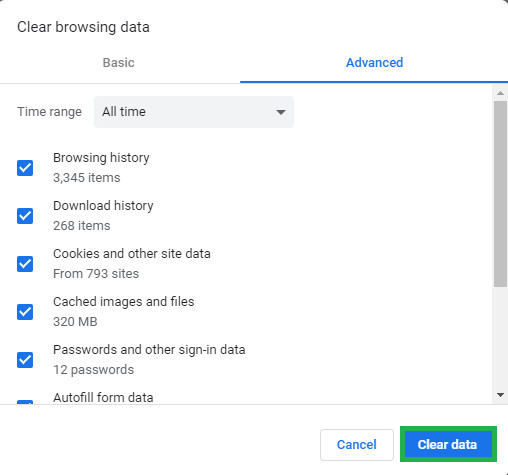
- Click on “Clear Data”.
Clicking on clear data
Solution 4: Disabling Extensions.
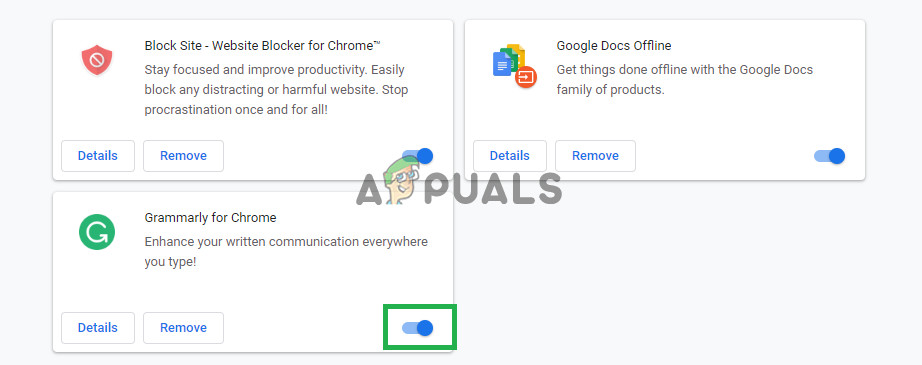
If you have any extensions related to spellchecking or grammar installed on the browser they can cause conflict with the built-in spell-check feature and as a result, neither of them would work. Therefore, in this step, we are going to be disabling all the writing-related Extensions.
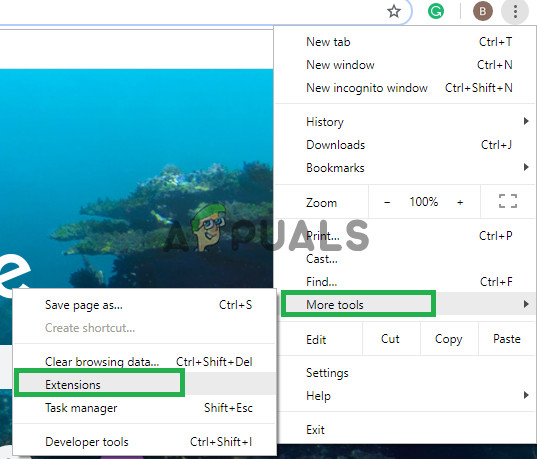
- Click on the “More” icon on the top right.
Selecting the Menu button - Select “More tools” and click on “Extensions” in the list.
Opening Extension Settings. - Now turn off all the extensions related to writing and grammar.
Disabling extensions related to writing
Solution 5: Using Incognito Mode.
Using the incognito mode disables certain features of the Chrome such as tracking your history and cookies. These features are known to sometimes interfere with certain elements of the browser and cause issues. One such element is the spellcheck feature therefore, in this step we are going to be browsing in Incognito mode for which:
- Open the browser and open a new tab.
- Once inside the browser, press “Ctrl+shft+N”
- This will open up an Incognito tab.
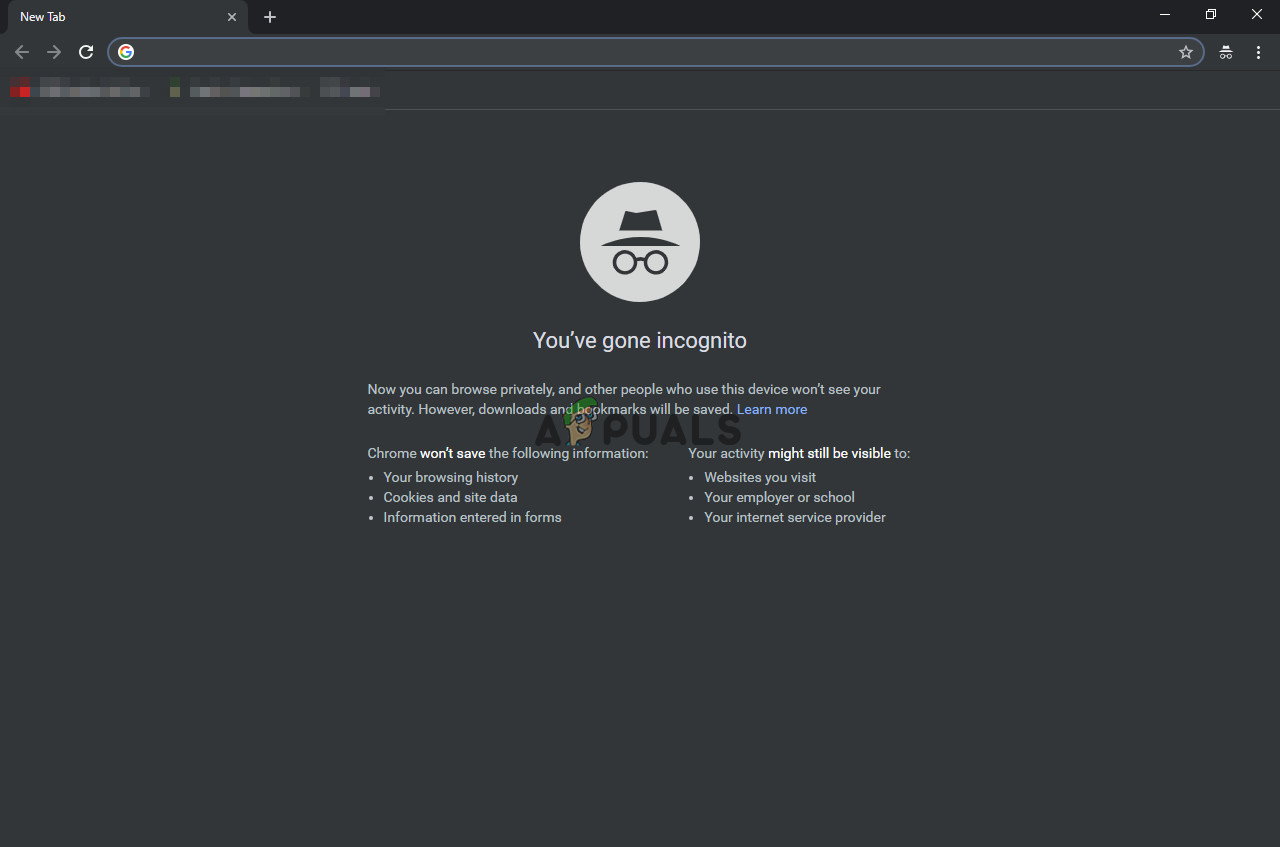
incognito tab - Now check to see if the spellcheck feature of the browser works.
Solution 6: Scanning For Malware.
There could be certain malware on your computer that is interfering with the functionality of the browser and hindering you from using certain features. Therefore, causing issues with the spell-check. In this step, we are going to be using the browser to see if there is any application or malware that is interfering with it. For which:
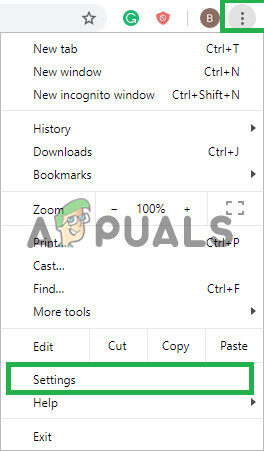
- Click on the Menu icon on the top right and select “Settings”.
Opening settings - Scroll down to the bottom and click on “Advanced” to open up advanced settings.
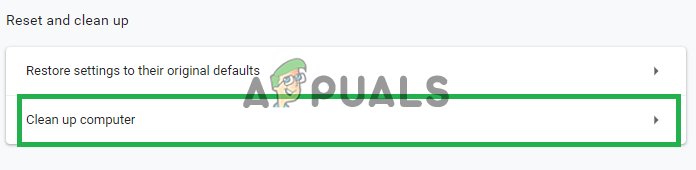
Opening Advanced Settings - Scroll down further to the “Reset and Cleanup” tab.
- Click on the “Clean up the computer” button.
Clicking on “Clean up Computer” - Click on the “Find” button right next to the “Find and remove harmful software”
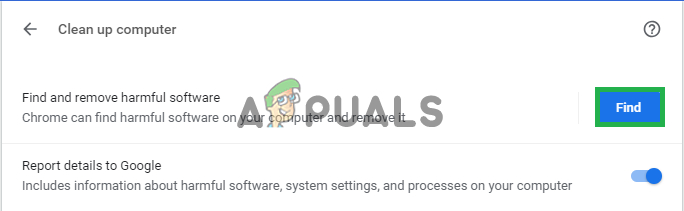
Clicking on the “Find” button - This will remove all the software and malware that was interfering with the functionality of the browser.
Solution 7: Resetting Chrome.
If you could not bring the spellcheck feature to work with any of the solutions above as a last resort you can try to reset the chrome to its original defaults this will totally reinitialize every setting you ever changed and might help to solve the issues. For this:
- Click on the Menu icon on the top right and select the “Settings” button.
Opening settings - Scroll down and click on the “Advanced” button to open up advanced settings.
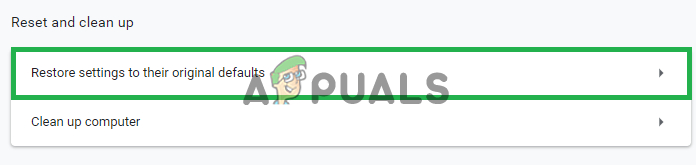
Opening Advanced Settings - Scroll down further and under the “Reset and Clean up” tab click on “Reset Settings to original defaults”.
Clicking on the button - Click on “Reset Settings” wait for the browser to complete the process and check to see if the issue persists.
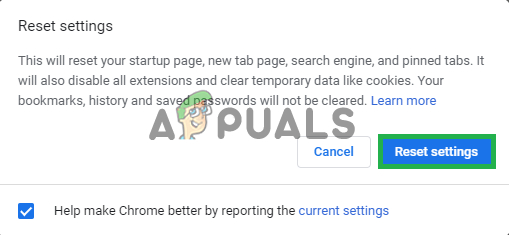
Clicking on “Reset Settings”