Fix: Broadcom 802.11n Network Adapter Not Working
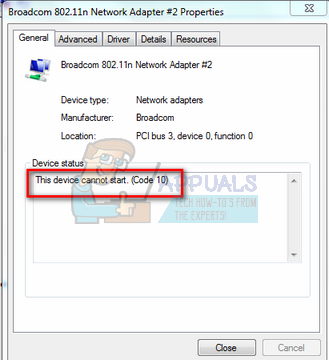
The network adapter ‘Broadcom 802.11n’ is well known to cause several problems when you try to use it to connect to the internet. These problems usually arise when the driver software is not up to date, the drivers are corrupted due to any reasons or there is a problem with the registry etc.
The conditions under which this phenomenon occurs vary as each computer configurations is different and it isn’t necessary that this problem only occurs on some predefined conditions. After researching and experimenting thoroughly, we have come up with a number of different workarounds. Start with the first solution and work your way down in order.
Solution 1: Running Network Adapter Troubleshooter
It is worth a shot running the Network Adapter Troubleshooter. Windows has an inbuilt collection of troubleshooters meant to troubleshoot problems in various categories. We can try running this troubleshooter and check if it detects any problems and fixes them. Usually, there are problems present in the configuration of different adapters. Most of the time, the adapter is reset properly by Windows and the issue gets resolved.
- Press Windows + R, type “control panel” in the dialogue box and press Enter.
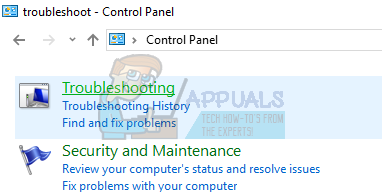
- Type “troubleshoot” in the search bar of the control panel at the top right side of the window.

- Select “Troubleshooting” heading from the list of results returned.
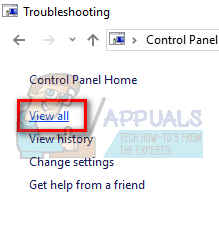
- Once in the troubleshooting menu, click “View all” present on the navigation pane at the left side of the window. Now Windows will populate all the troubleshooters available on your computer.
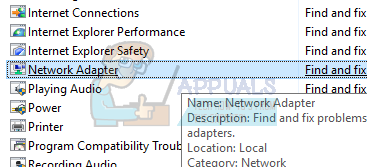
- Navigate through the options until you find “Network Adapter”. Click it.
- Check both the options “Run as administrator” and “Apply repairs automatically”. These options will ensure that you find maximum problems and the repairs are applied fast as well.

- Follow the on-screen instructions and wait for the troubleshooting to complete.
Solution 2: Rolling back to Default Drivers or Updating them
The possibility that you have incorrect drivers installed are almost ignored when this error occurs. Windows automatically update all the driver updates using Windows Update. It is possible that the current driver installed on your computer isn’t compatible or fit for your Broadcom hardware. We can try rolling back drivers and check if this solves the problem.
- Press Windows + R, type “devmgmt.msc” and press Enter.
- Once in the device manager, expand network adapters and locate your adapter hardware. Right-click on it and select “Uninstall”.
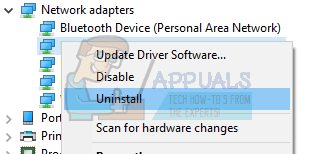
- Windows might pop up a UAC confirming your actions. Press Yes and proceed. After uninstalling the driver, right-click on any empty space and select “Scan for hardware changes”. Windows will now automatically detect your hardware and install the default drivers. Reboot your computer and check if the problem got solved.

If rolling back drivers don’t do the trick, we can try installing the latest drivers. You should head over to your manufacturer’s website and download the latest drivers to an accessible location. Make sure you download the drivers according to your system specifications.
- Open device manager, right-click on your Ethernet hardware and select “Update driver software”.
- Select the second options “Browse my computer for driver software”. Browse to the driver you downloaded and install it accordingly. Reboot your computer and check if the adapter works as expected.

Solution 3: Checking Registry Settings
Another reason why this error might be occurring is that your registry settings might not be set according to the configuration required. We can try changing the registry settings by deleting one entry and check if this solves the problem at hand.
- Press Windows + R, type “regedit” in the dialogue box and press Enter.
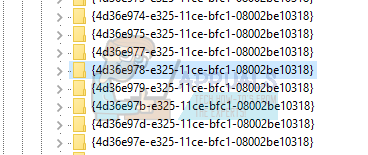
- Once in the registry editor, navigate to the following address:
HKEY_LOCAL_MACHINE\SYSTEM\CurrentControlSet\Control\Class\4D36E978-E325-11CE-BFC1-08002BE10318
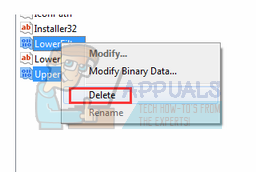
- Check if that folder contains the key “UpperFilters” and “LowerFilters”. If you find it, delete the keywords and restart your computer for the changes to take effect.
- After restarting, check if the problem gets fixed.
Note: Registry Editor is a powerful tool. Editing the keys which you don’t know about can hamper your computer and even make it unusable. It is recommended to back up your registry before implementing any changes to make sure that you can always restore if anything goes wrong.
Solution 4: Restoring from last Restore Point/ Doing a Clean Install
If all the above methods don’t work, we are left with no choice but to restore Windows to the last restore point. If you don’t have the last restore point, you can install a clean version of Windows. You can use the utility “Belarc” to get all your licenses saved, backup your data using external storage and then perform a clean install.
Here is the method on how to restore Windows from the last restore point.
- Press Windows + S to launch the start menu’s search bar. Type “restore” in the dialogue box and select the first program which comes in the result.

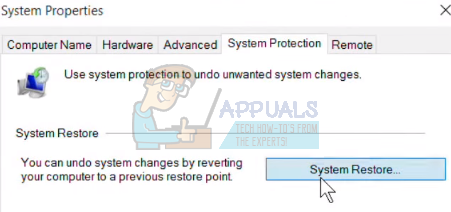
- Once in the restore settings, press System Restore present at the beginning of the window under the tab of System Protection.
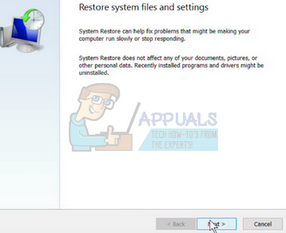
- Now a wizard will open navigating you through all the steps to restore your system. Press Next and proceed with all the further instructions.
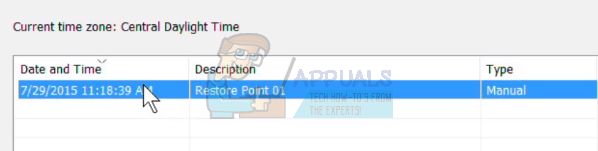
- Now select the restore point from the list of options available. If you have more than one system restore points, they will be listed here.
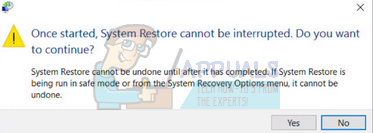
- Now windows will confirm your actions for the last time before it starts the system restore process. Save all your work and backup important files just in case and proceed with the process.
- Once you have restored successfully, log into the system and check if the error at hand got fixed.
If you don’t have any restore points, you can do a clean install of Windows using bootable media. You check our article on how to create a bootable media. There are two ways: by using a media creation tool by Microsoft or by using Rufus.
Thank you so much Kevin, this was a huge help, I really appreciate you writing this article. Very grateful to you, please keep it up!