Fix: Battle.net Issues Can’t Download Data or Install Game Files
The Battle.net desktop application is an extremely nifty little program for gamers – especially those who own and/or play Blizzard games – capable of both installing and patching Blizzard games. Installing a patching a Blizzard game through Battle.net is much faster than any conventional method, which is a pretty impressive and valuable feature. Battle.net helps organize all of your Blizzard games in one place, with you only having to log in once to access all of them. Also, the cherry on top of the ice cream sundae that is Battle.net is the fact that the application is capable of automatically downloading and installing game updates for all of your Blizzard games!
Battle.net relies almost entirely on a process called Agent to install and patch Blizzard games. Unfortunately, countless Battle.net users have reported Agent sometimes not being able to download any data or install any game files. Since Agent is responsible for the Battle.net application’s most coveted functionality, this is an extremely significant issue. If Agent is unable to download data and/or install game files for you, the following are some of the most effective solutions that you can use to try and successfully resolve the issue and get Agent to go back to normal.

Solution 1: Restart Your Computer and Network Devices
Let’s start with the simplest course of action – restart your computer and network devices. The PC reboot is going to close, reset and then restart the Agent process, which might just get Agent downloading data and installing game files like it usually does again.
Solution 2: Switch to a wired internet connection
Wireless internet connections are known to be pretty shaky, and an inconsistent internet connection can lead to Agent being unable to download data and/or install game files. Switch to a wired internet connection and see if that gets rid of the problem. If you are using any proxies/VPN, then disable them and check if you can use Battle.net without any issue. Do not forget to check your “Hosts files” if they are creating the problem.
Solution 3: Disable or uninstall any third-party security programs
Update your security program to the latest definitions and built, then run a full system scan to rule out any malware infection is causing the issue.
Also, third-party antivirus, antimalware and firewall applications can sometimes clash with the Agent process and cause it to be unable to download any data and/or install game files. If a third-party security program is the cause of your sorrows, simply disable (or better yet, uninstall) any third-party security programs installed on your computer. Once that’s done, check to see whether or not the fix worked. If you would like to uninstall a third-party security program installed on your computer but don’t know how to do so, use this guide.
Solution 4: Update Your Computer and Router
- Open the Start Menu.
- Click on Settings.
- Click on Update & security.
- Click on Windows Update in the left pane.
- In the right pane, click on Check for updates.
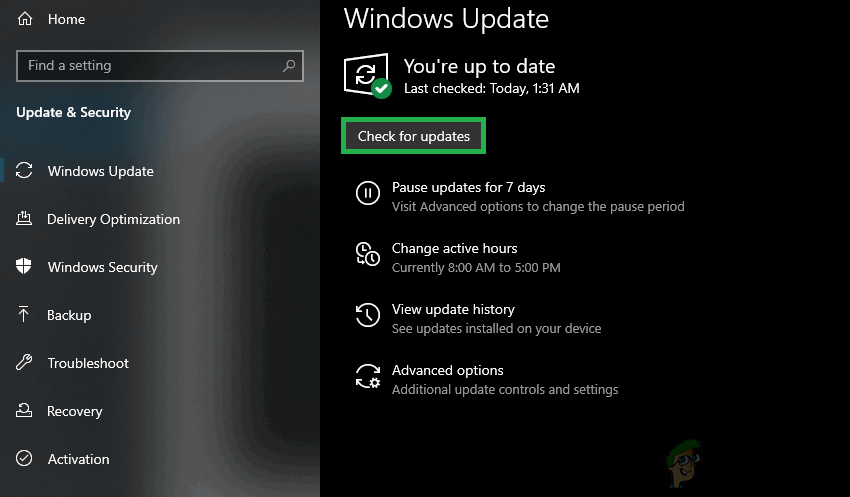
Select the “Check for Update” - Wait for Windows Update to check for and retrieve any available updates for your computer.
- If there are any updates available for your computer, download and install them and then just wait for the process to be completed.
- Remember that your router/modem old can cause issues with complex gaming connections. To rule that out, update the firmware of your router. Follow the instructions provided on the manufacturer’s website to apply firmware updates.
Once your computer is up to date, restart it and check to see whether or not the problem persists once it boots up.
Solution 5: Disable Any Game Addons
Some specific add-ons for games (add-on managers for World of Warcraft, for example) can interfere with Agent’s functionality and prevent the process from downloading and/or installing any files. Check to see whether or not you have any such game add-ons on your computer, and get rid of any that you do have.
Solution 6: Uninstall Agent and Force Battle.net to Reinstall it
Corrupted Agent files can often be the cause of this problem. If that’s the case in your instance, all you need to do to resolve the problem is close the Battle.net application, delete the application’s Tools folder and then launch the Battle.net application, forcing it to download a fresh instance of Agent – one that will hopefully be free of this issue.
Solution 7: Make sure that the Windows Secondary Logon service is Running
The Windows Secondary Logon service is used to enable to disable the starting of processes under alternate credentials, and this service needs to be enabled and running for Agent to not only be able to do its thing but to even just start. To make sure that the Secondary Logon service is enabled and running, you need to:
- Press the Windows logo key + R to open a Run
- Type services.msc into the Run dialog and press Enter to launch the Services Manager.
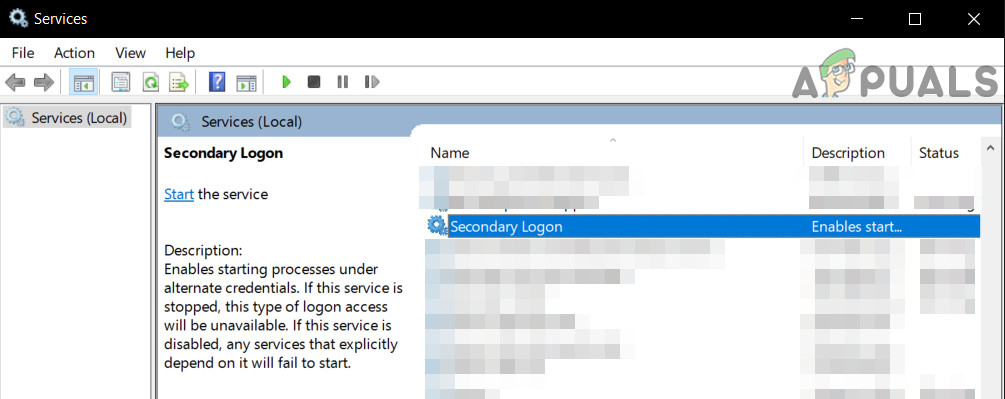
Type “services.msc” into the Run dialog and press Enter - Scroll down through the list of services, locate the Secondary Logon service and double-click on it.
Open Secondary Logon Service - Open the dropdown menu in front of Startup type: and click on and select Automatic.
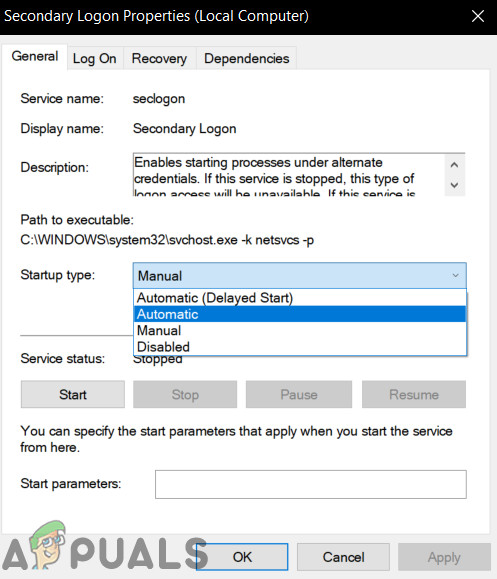
Set Startup Type to Automatic - Make sure that the service is running. If the service is not running, click on Start. If the service is running, simply skip this step.
- Click on Apply.
- Click on OK.
- Close the Services Manager and restart your computer.
When the computer boots up, check to see whether or not the Battle.net Agent’s ability to successfully download data and/or install game files has been restored.
Solution 8: Ensure that your internet browser and Flash Player are up to date
For the Battle.net client’s Agent process to work, the user’s computer needs to have the latest versions of both its default internet browser and Adobe Flash Player. If you are suffering from this issue, you should check whether or not you are using the latest versions of your default internet browser and Adobe Flash Player, and download and install the latest versions if you determine that you are not.
Solution 9: Make sure that you have the latest version of Battle.net
An outdated version of the Battle.net client can also be the cause of this problem. If you are experiencing this problem, you should look into whether or not you have the latest version of the Battle.net application. If you are using an outdated version of Battle.net, simply update to the latest version and see if that fixes the problem for you.
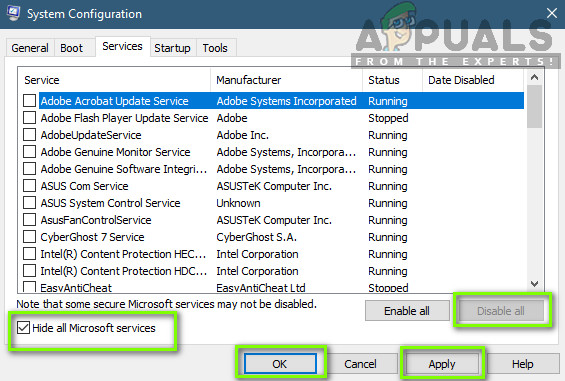
Solution 10: Clean Boot Windows
Clean booting is a process where the computer system stops third-party services and applications from running in the background. This results in only the system services running. From there, you can launch Battle.net client and see if it works properly. If it does, you can start enabling the third-party applications/services one by one and rule out which was causing the problem. Then you can uninstall it accordingly (press Windows + R, type “appwiz.cpl” and press Enter.
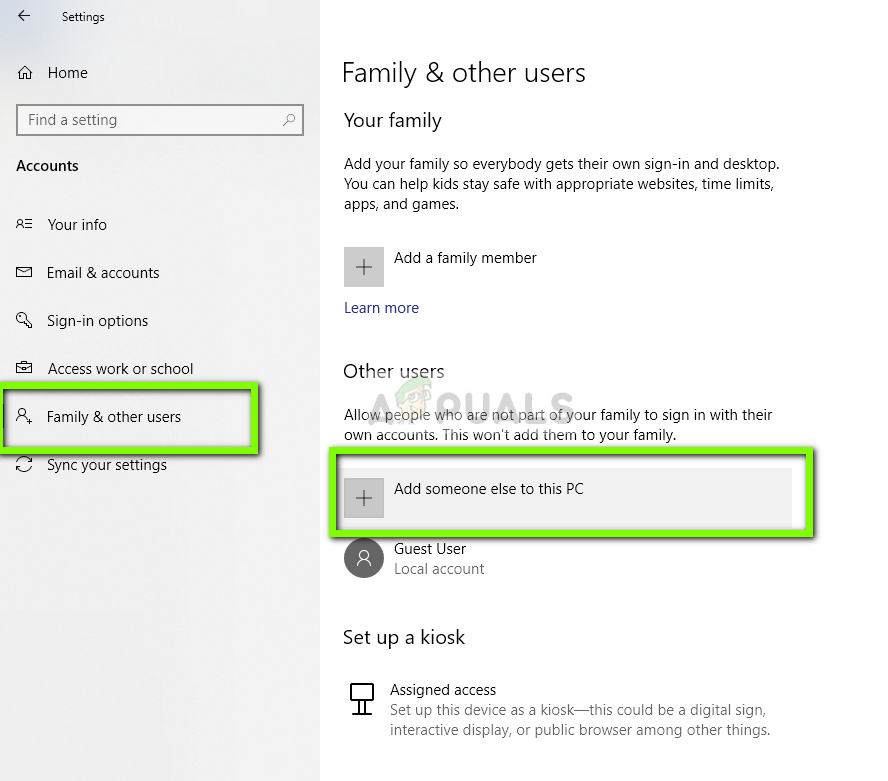
Solution 11: Create a New Local Administrator Account
Each user account has a set number of permissions and other custom profile settings and configurations. When you launch Battle.net, it first fetches information and preferences from your user account settings and loads accordingly. If these preferences are somehow corrupt/incomplete or your very account mechanics are not working as expected, you will not be able to download Battle.net data. In that case, create a new local administrator account and running the Battle.net through that account may solve the problem.
Solution 12: Delete the Battle.Net Folder
If the very installation files are incomplete or corrupt, Battle.net might fail to download data or games. This usually happens when you manually move the installation contents to another hard drive location or copy the installation files instead of installing the client. In some cases, an incomplete update might also cause the problem. In that case, deleting the Battle.net program data folder may solve the problem. When Battle.net launches the next time, it will notice that the folder is missing and automatically download a fresh copy for replacement.
- Close all Battle.net processes (Agent, Blizzard, and game processes) via Task Manager.
- Go to to the following folder:
C:\ProgramData\
- Now find and delete the Battle.net folder.
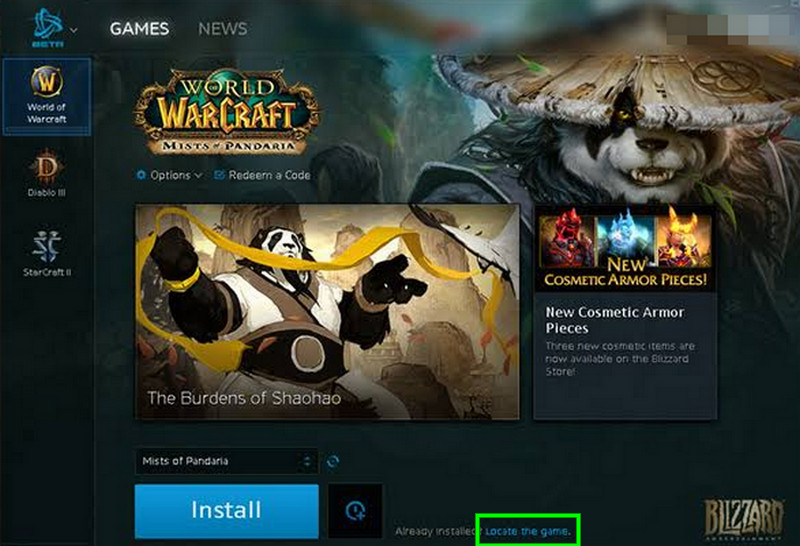
- Now run the Blizzard Battle.net app and update the game. Do note that this step may cause the app to “forget” the game install locations and you will see Install on the game tab instead of Play. To find that location, click on “Locate this game“. You can also run the game launcher.
Solution 13: Disable Automatically Detect Settings
By default, Windows is programmed to automatically detect the settings of your network connection. Wrongly configured network setting can cause Battle.net’s download error. In that case, disabling “Automatically Detect Settings” of LAN settings may solve the problem. Do note that you might need to manually input the network settings in some situations.
- Press Windows key, type Internet Options and in the search results, click on “Internet Options“.

Open Internet Options - Now click on the Connections tab and then click on LAN settings.

Open LAN settings in Internet Options - Now uncheck the option “Automatically Detect Settings“.
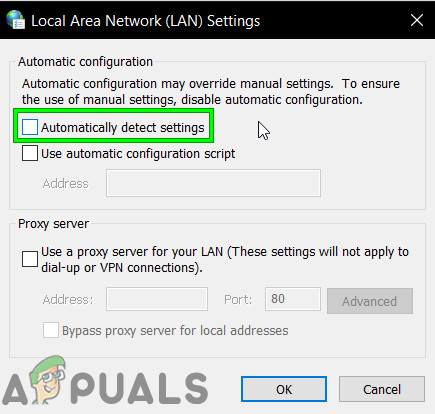
Uncheck the Option Automatically Detect Settings - Now restart your system and then check if the Battle.net app is functioning normally.
Solution 14: Uninstall and reinstall Battle.net
If none of the solutions listed and described above has worked for you, you still have one last resort – uninstalling and reinstalling Battle.net. In theory, uninstalling Battle.net and then reinstalling it should get rid of this download problem and also get the latest files available. Make sure that you have your credentials at hand before starting the uninstallation process.
- Press Windows + R, type “appwiz.cpl” in the dialogue box and press Enter.
- Once in the application manager, search for Battle.net, right-click on it and select Uninstall.

Uninstalling the Battle.net app - Now restart your computer and navigate to Battle.net’s official website and download the latest version and install it.