Fix: Bad_Module_Info in Fortnite
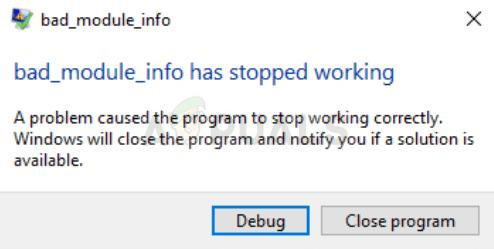
This error occurs to Fortnite players along with the game crashing and the error message appearing along the “bad_module_info has stopped working” lines. This is a serious issue for gamers and there have been many different discussions on what to do in order to resolve the problem entirely.
Fortnite is a battle-royale game and it won’t punish you that much for abandoning the game but the error will definitely spoil the overall experience for you. That is why you should check out the methods below in order to resolve the problem entirely!
What Causes the Fortnite Bad Module Info Error?
The error is caused by quite a few known causes but there are still unknown effects which can mess with your gameplay. Here is the list:
- Disabling fullscreen optimizations: Disabling this option from the game executable’s Properties has done wonders for some users and you should definitely check this out.
- Enabling Game bar: The Game bar is a nifty feature for gamers and also helped some Windows 10 users in fixing the issue.
- Administrative Privileges: The administrative privileges are required by certain elements of the game in order to function correctly. If these permissions are not provided the game might face certain conflicts and complications due to which the launching process might be affected. Due to this, the “bad_module_info” error can be triggered,
- Missing Files: The game requires all of its files to be present and intact in order for all of its elements to function correctly. If certain files are missing or have been corrupted it can prevent the game from launching correctly and can even cause crashes during the gameplay.
- Graphics Card Drivers: If the graphics card drivers are old and have not been updated they can also cause conflicts with the game. The game is quite recent and requires the graphics card drivers to be updated to the latest version provided by the developer in order to function correctly.
- Compatibility: It is possible that the Windows 10 Operating System might be interfering with certain elements of the game. Windows 10 is known to cause conflicts with a lot of games and Fortnite is one of them. But the operating system features a “Compatibility Mode” in which the user can run a program in the “Compatibility Mode” of other Microsoft developed operating systems.
- Old and outdated drivers are the primary reason for this problem and updating them is definitely the first step you should take when troubleshooting the problem.
Solution 1: Providing Administrative Privileges
The administrative privileges are required by certain elements of the game in order to function correctly. If these permissions are not provided, the game might face certain conflicts and complications due to which the launching process might be affected. Therefore, in this step, we will be providing the game with administrative privileges.
- Navigate to the game installation folder.
- Right–Click on the “FortniteClient-Win64-Shipping“, select “Properties” and click on the “Compatibility” tab.
- Make sure to check the “Run as Administrator” box and click on “Apply“.
- Similarly, right–click on the “FortniteClient-Win64-Shipping-BE“, select “Properties” and click on the “Compatibility” tab.
- Check the “Run as Administrator” box and click on “Apply“.
- Lastly, right-click on the “FortniteClient-Win64-Shipping-EAC“, select “Properties” and click on the “Compatibility” tab.
- Check the “Run as Administrator” box and click on “Apply“.
- Also, repeat this process for “FortniteLauncher.exe”.
- Now run the game and check to see if the issue persists.
Solution 2: Verifying Game Files Integrity
If certain files are missing or have been corrupted it can prevent the game from launching correctly and can even cause crashes during the gameplay. Therefore, in this step, we will be verifying the integrity of the game files through the Epic Games Client.
- Open the Epic Games Client and log in to your account.
- Click on “Library” on the left pane.
- Click on the “gear icon” by the “Launch” option in the Fortnite tab.
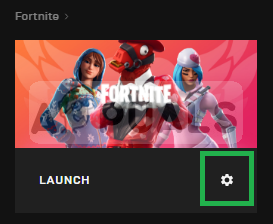
Clicking on the “Gear Icon” by the “Launch” Option inside the Fortnite tab. - Now select “Verify” and the game will begin to scan the game files.
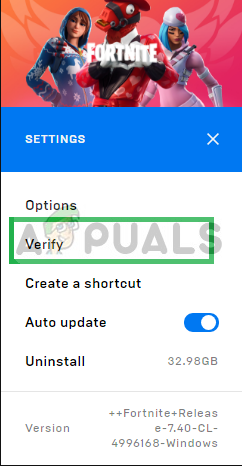
Selecting the “Verify” option. - When the verification process finishes, run the game and check to see if the problem persists.
Solution 3: Changing Fullscreen Optimizations
Fullscreen optimization is a feature introduced by Windows to help applications improve their graphics quality. However, sometimes this feature can cause FPS drops or even the game to crash. It’s a good idea to try disabling it and see if this helps you get rid of the bad module info error. Follow the steps below in order to disable it:
- Locate the Fortnite’s main executable and change its properties by right-clicking its entry either on the Desktop, the Start menu or the Search results window and choose Properties. Navigate to the Compatibility tab in the Properties window and check the box next to the Disable fullscreen optimizations.
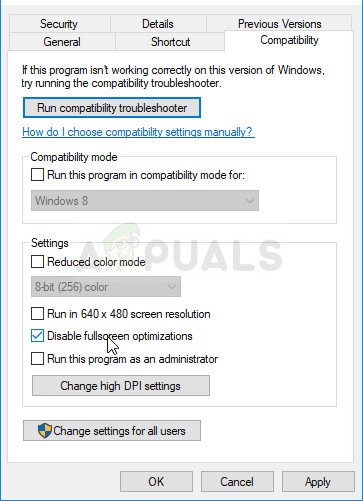
- Make sure you confirm any dialogs which may appear for you to confirm with admin privileges and Fortnite should launch without fullscreen optimizations from now on. Repeat the same process for the launcher. Open it by double-clicking its icon and try to see if the Bad Module Info error still appears.
Solution 4: Changing Compatibility Settings
It is possible that the Windows 10 Operating System might be interfering with certain elements of the game. Therefore, in this step, we will use the “Compatibility Mode” feature to run the game in compatibility mode of another operating system.
- Navigate to the game installation folder.
- Right–Click on the “FortniteClient-Win64-Shipping“, select “Properties” and click on the “Compatibility” tab.
- Check the “Run this program in compatibility mode for” box, click on the dropdown and select “Windows 8″
- Click on Apply and then on “OK“.
- Similarly, right-click on the “FortniteClient-Win64-Shipping-BE“, select “Properties” and click on the “Compatibility” tab.
- Check the “Run this program in compatibility mode for” box, click on the dropdown and select “Windows 8″
- Click on Apply and then on “OK“.
- Lastly, right-click on the “FortniteClient-Win64-Shipping-EAC“, select “Properties” and click on the “Compatibility” tab.
- Check the “Run this program in compatibility mode for” box, click on the dropdown and select “Windows 8”
- Click on Apply and then on “OK“.
- Also, repeat this process for “FortniteLauncher.exe”.
- Now run the game and check to see if the issue persists.
Compatibility Mode Settings.
Solution 5: Turn on Game Bar for the Game
This method is quite easy to perform but it can only be used for Windows 10 users because it consists of enabling Game Bar for the game. Somehow, this will improve the performance of the game and enable it to run without crashing for a longer period of time. Follow the steps below in order to enable Game Bar for Fortnite:
- Locate the Fortnite’s main executable and open it by double-clicking its entry either on the Desktop, the Start menu or the Search results window.
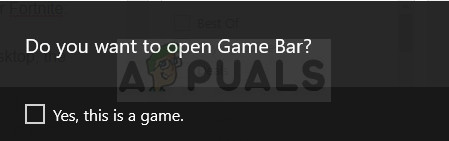
- While in the game, use the Windows Key + G button in order to initiate Game Bar. A message will appear asking you whether you wish to open Game Bar. Select the Yes, this is a game option which will appear.
- When its window appears, click the cog button in order to open Game bar settings. Under the General section, check the box next to the Remember this is a game After that, exit the settings, and the error should cease to appear!
Note: The steps above will work if Game bar is enabled on your computer. If it’s not, you might need to enable it using Windows 10 settings. Steps required to do so are presented just below!
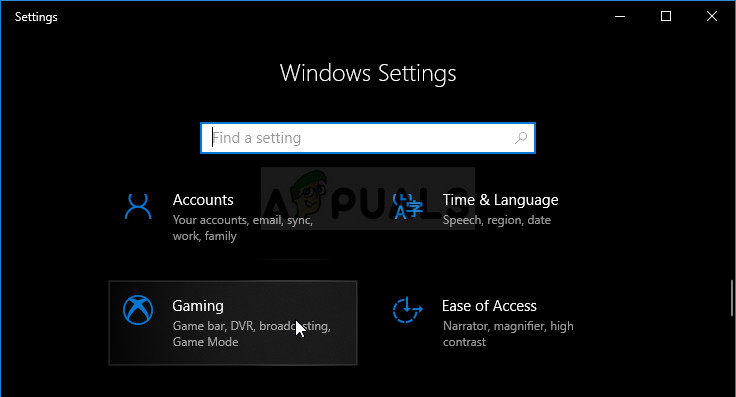
- Use the Windows Key + I key combination to open Settings on your Windows 10 PC. Alternatively, you can search for “Settings” by using the search bar located at the taskbar or you can click the cog icon right above the Start menu button after it opens
- Locate and open the “Gaming” sub-entry in the Settings app by clicking on it once.
- Navigate to the Game bar tab and check for the Record game clips, screenshots, and broadcast using Game bar option. Slide the slider underneath to On and exit Settings afterward.
Solution 6: Updating Graphics Card Drivers
The game is quite recent and requires the graphics card drivers to be updated to the latest version provided by the developer in order to function correctly. Therefore, in this step, we are going to be updating the graphics card drivers in an attempt to resolve the issue.
For Nvidia Users:
- Click on the Search bar on the left-hand side of the taskbar

Search bar - Type in Geforce Experience and press enter
- Click on the first icon to open the application
Opening Geforce Experience - After signing in, Click on the “Drivers” option on the top left.
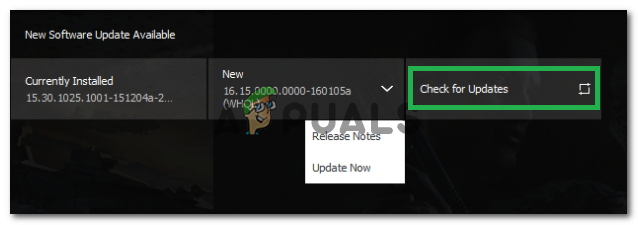
- In that Tab, Click on the “Check for Updates” option on the top right
- After that, the application will check if new updates are available
Checking for Updates - If the updates are available a “Download” button will appear

Click on the Download button - Once you click on that the driver will begin to download
- After the Driver is downloaded the application will give you the option for “Express” or “Custom” installation.
- Click on the “Express” installation option and the Driver will automatically be installed
- After the installation is completed, run the game and check to see if the problem persists.
For AMD Users:
- Right–Click on the Desktop and select AMD Radeon Settings
Opening AMD Radeon Settings - In the Settings, click on Updates in the lower right corner
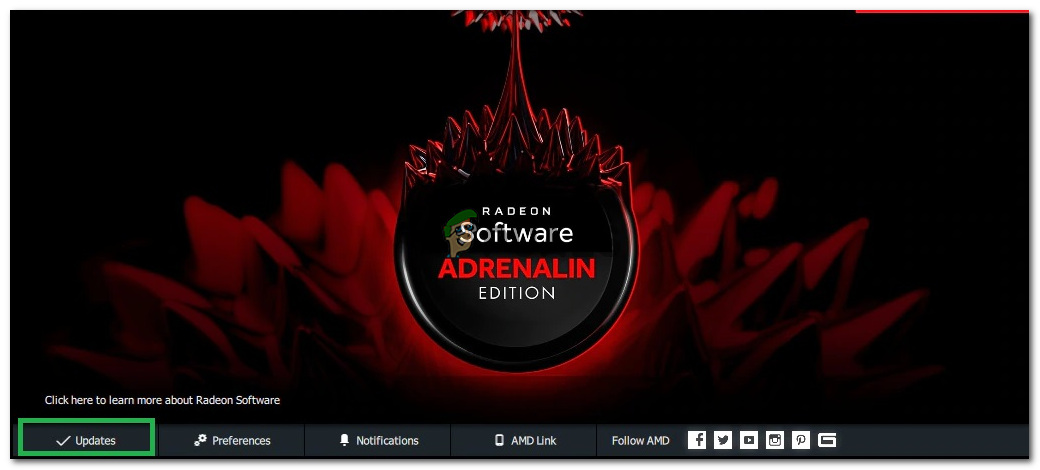
Clicking on Updates - Click on “Check For Updates”
Clicking on “Checking for Updates” - If a new update is available a new option will appear
- Click on the option and select Update
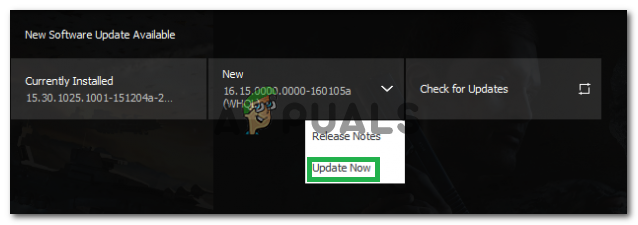
Clicking on “Update Now” - The AMD installer will start, click on Upgrade when the installer prompts you to
- The installer will now get the package ready, check all the boxes and click on Install
- This will now download the new driver and install it automatically
- Restart your computer and try to run the game.


