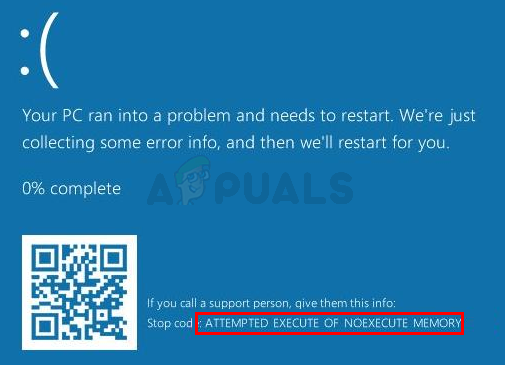
Fix: Attempted Execute of NoExecute Memory Blue Screen
Attempted execute of noexecute memory is an error that usually appears on a BSOD. BSOD, if you don’t already know, is a Blue Screen of Death. These are a special category of errors that always appear on a blue screen. These are system critical errors and the system have to restart after these type of errors. These errors show an error message or code to help the user in figuring out the cause of the problem. You might see the Attempted execute of noexecute memory error like “ATTEMPTED_EXECUTE_OF_NOEXECUTE_MEMORY” on the BSOD. This error can happen at any time without any specific pattern or trigger. The frequency of this error appearing on your screen will vary as well. For some it might appear once a day whereas other users might see this error multiple times in an hour.
The problem with BSOD’s is that they can be caused by a wide range of things. But, the most common thing that causes this BSOD is a problem with the drivers. If the problem is happening during a specific activity then the drivers related to that activity should be checked first. Generally, whenever you are seeing a BSOD, it is a good practice to update all your drivers. Another very common reason for this issue is problematic RAM. If you started experiencing the BSOD after making a hardware change or after building your own PC then the culprit might be a faulty or incorrectly connected hardware piece.
So, let’s start with checking and updating the drivers and then we can move to the hardware.
Method 1: Check and Update Drivers
This should be the first thing on your list after seeing this BSOD. There are a lot of devices and drivers and it is very hard to pin point the exact driver that is causing the issue especially if we can’t see the dmp file. But, if you are seeing the error during a specific activity then that should give you a nice idea about where to start. For example, if you seeing this error when playing a game then the most likely issue can be with the display drivers. However, if you aren’t seeing any pattern then the best thing to do is to update all the drivers on your system. This might take a little bit time but it isn’t rocket science. The steps for checking your drivers for an update are very easy.
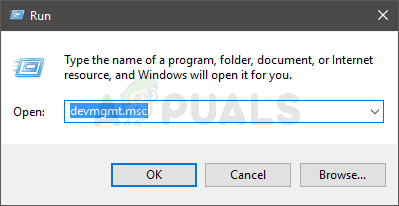
- Hold Windows key and press R
- Type devmgmt.msc and press Enter
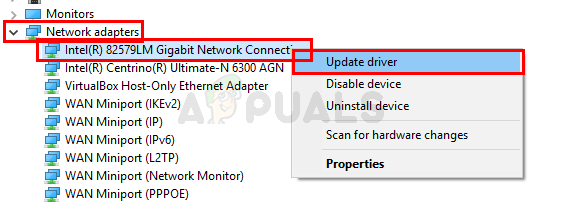
- Locate and double click Network Adapters (or a specific device that, you think, might be causing the issue).
- Locate and right click your network drivers
- Select Update driver
- Click Search automatically for updated driver software
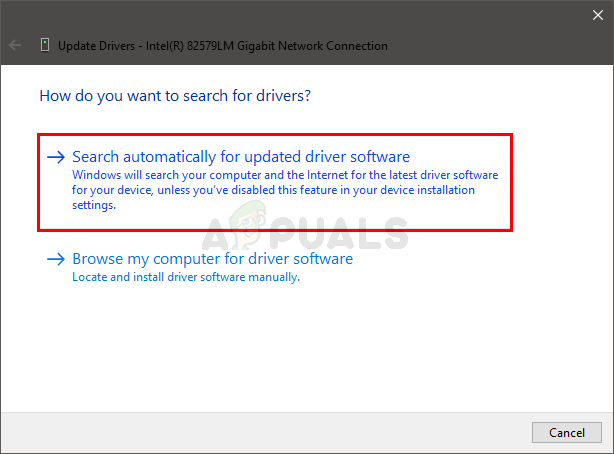
If your system finds an updated version of the driver then follow the on-screen instructions and install the drivers. Once done, repeat the steps given above for all the major devices in your device manager. The main ones to check should your display drivers, network drivers, audio drivers, and USB controller drivers.
Method 2: Check RAM
The second major cause of this issue is a problematic RAM. This can simply be a loosely connected RAM or a completely faulty RAM stick. If you started experiencing this issue after inserting a new RAM or you are facing this issue on a newly built computer then there’s a high chance of RAM being the culprit behind this.
There are plenty of applications available for checking you’re RAM for any issues. However, we will only consider 2 of the most reliable and well known programs. The first one is the Windows own memory testing utility and the second one is the Memtest.
Windows Memory Diagnostic: The first one in the list is the Windows own Memory Diagnostic Tool. It comes pre-installed with the Windows and provide decent accuracy in detecting any RAM related issues. This isn’t the best choice when it comes to RAM check but it is suitable for people who are more comfortable in using Windows own tools.
Here are the steps for using the Windows Memory Diagnostic tool
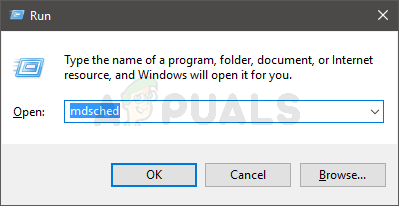
- Hold Windows key and press R
- Type mdsched and press Enter
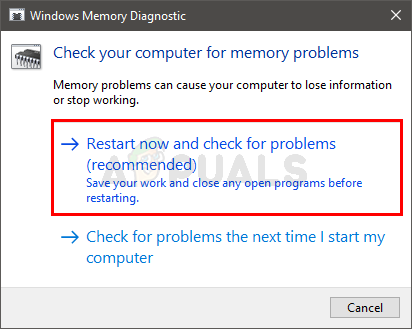
- Click Restart now and check for problems (recommended)
Note: If it gives any errors or if it doesn’t work then follow the steps below
- Press Windows key once
- Type Memory diagnostic tool in the Start Search
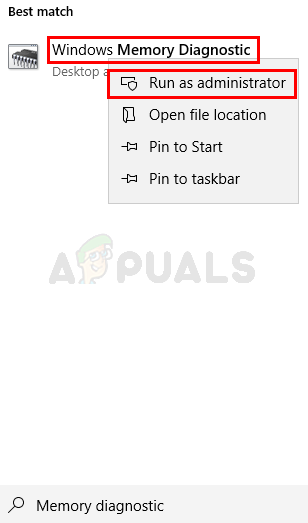
- Right click Windows Memory Diagnostic from the search results and click Run as administrator
- Click Restart now and check for problems (recommended)

RAM testing will begin on the restart. Everything will be checked automatically so all you have to do is wait. Once the tests are done, you will have to login to the Windows in order to see the results. In fact, results will automatically come up on the screen once you log in. These test will give you an idea about the health of your computer’s memory. If the results are bad then its time to replace your RAM.
Memtest
Memtest is basically a program that is used to test the conditions of your RAM. It takes a lot of time but it is quite useful in checking the condition of your RAM. Go here and follow the steps in method 1 to check your RAM.
Method 3: Check Hardware Components
If you started seeing this error after installing a new hardware piece then you should check the hardware first. Firstly, take out the newly installed hardware and check if you are seeing the BSOD or not. If there is no BSOD then you have your answer. Also make sure that your hardware is properly connected.
If you are having this problem on a newly built system then take out all the unnecessary hardware from the system. Ideally, you should only have your essentials in your system like CPU, motherboard, RAM, and keyboard/mouse. Check if this eliminates the BSOD. Also, try to replace your RAM with another set of RAM and check if the BSOD still appears or not. You should also try to replace the CPU with another one to check if the CPU is causing the issue or not. You can get these parts from another computer or ask a friend. These are only for checking purposes. These troubleshooting steps should help you reach the problematic hardware. Usually it’s a RAM or, in rare cases, a bad CPU. Replacing these components will surely eliminate the BSOD.


sheee