Fix: The Application Was Unable to Start Correctly (0xc00004ac)
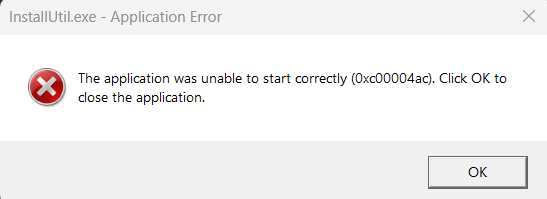
The error message “The application was unable to start correctly (0xc00004ac)” typically occurs when Windows prevents an application from launching due to security or system integrity issues.
This error can occur for several reasons, including:
- Corrupted or missing application files – Critical executables or dependencies may be damaged or deleted.
- Incomplete installations – The program may not have been installed properly, leaving components unregistered.
- System update conflicts – Recent Windows updates can sometimes modify system libraries or security policies that applications rely on.
One of the most common causes is Memory Integrity (part of Core Isolation), a Windows security feature that enforces hypervisor-protected code integrity (HVCI).
Memory Integrity runs critical security checks in a protected virtualized environment (the hypervisor) to prevent malicious code injection. While effective against exploits, it can:
- Block legitimate applications that use older drivers.
- Prevent software with unsigned low-level components from running.
- Interfere with programs that perform direct system access (common in gaming/performance tools).
Due to this strict enforcement, even trusted applications may trigger the 0xc00004ac error when Memory Integrity is active. Below, we’ll explore solutions to resolve this issue.
1. Disable Memory Integrity Checks
If this error occurs while launching a third-party application, the program may lack a valid digital signature or be incompatible with Windows security features like Virtualization-Based Security (VBS). Specifically, Memory Integrity (Hypervisor-protected Code Integrity or HVCI) blocks the execution of unsigned or untrusted drivers and executables.
When security checks block the application, it can result in the 0xc00004ac error. Disabling Memory Integrity allows Windows to bypass signature verification for certain drivers, which may help launch restricted applications.
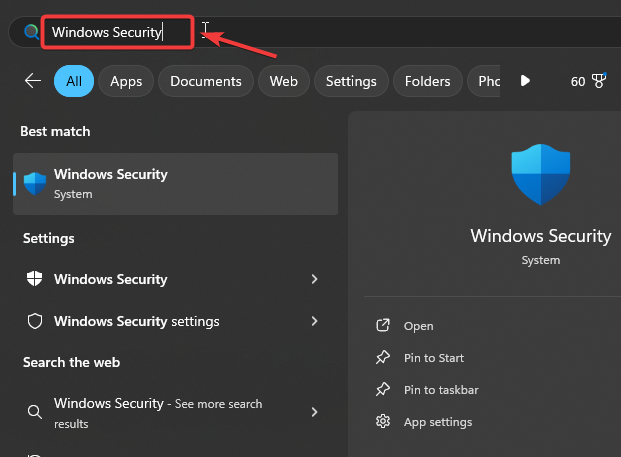
- Open the Start Menu, type Windows Security, and press Enter to launch the app.
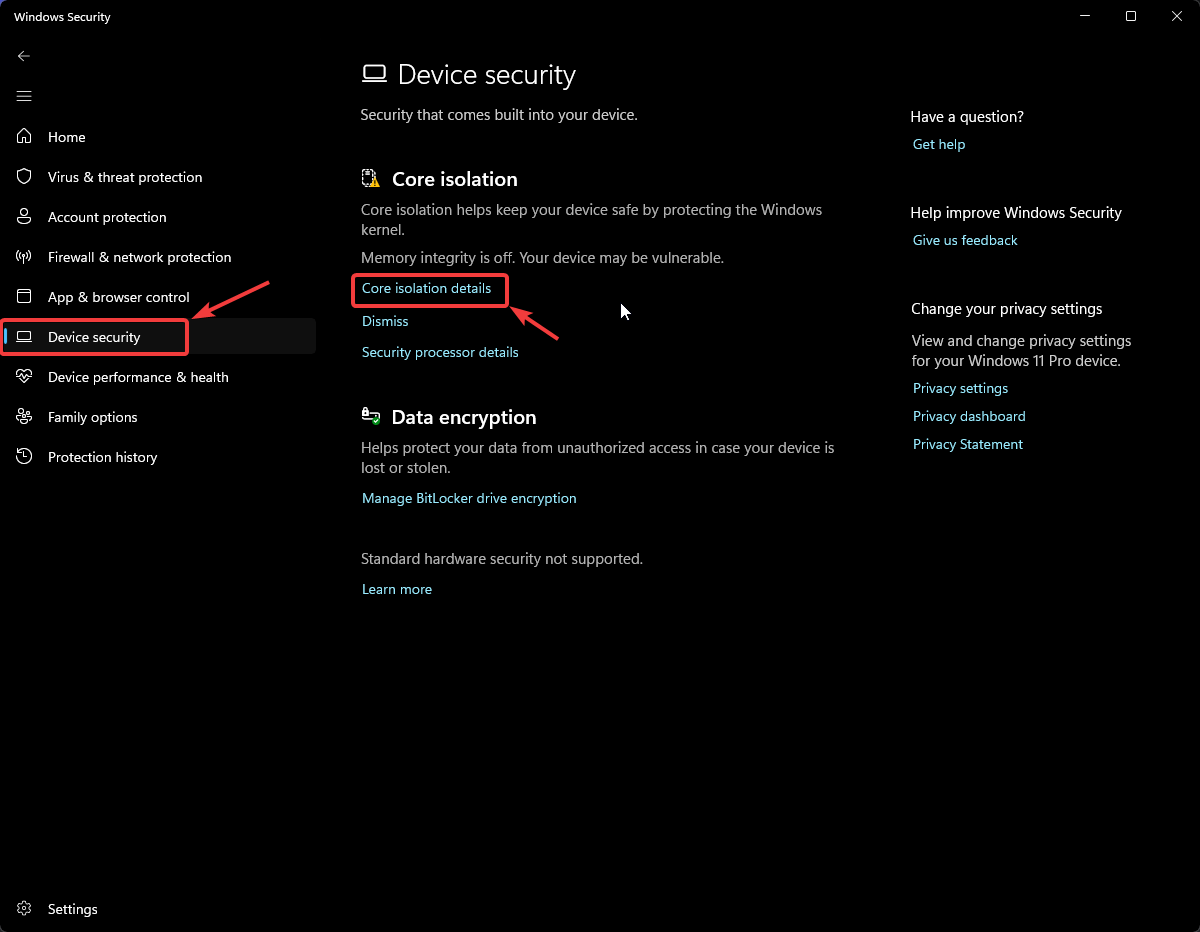
- In the Windows Security app, select Device Security from the left sidebar, then click Core Isolation Details.
- Locate the Memory Integrity toggle and switch it to Off.
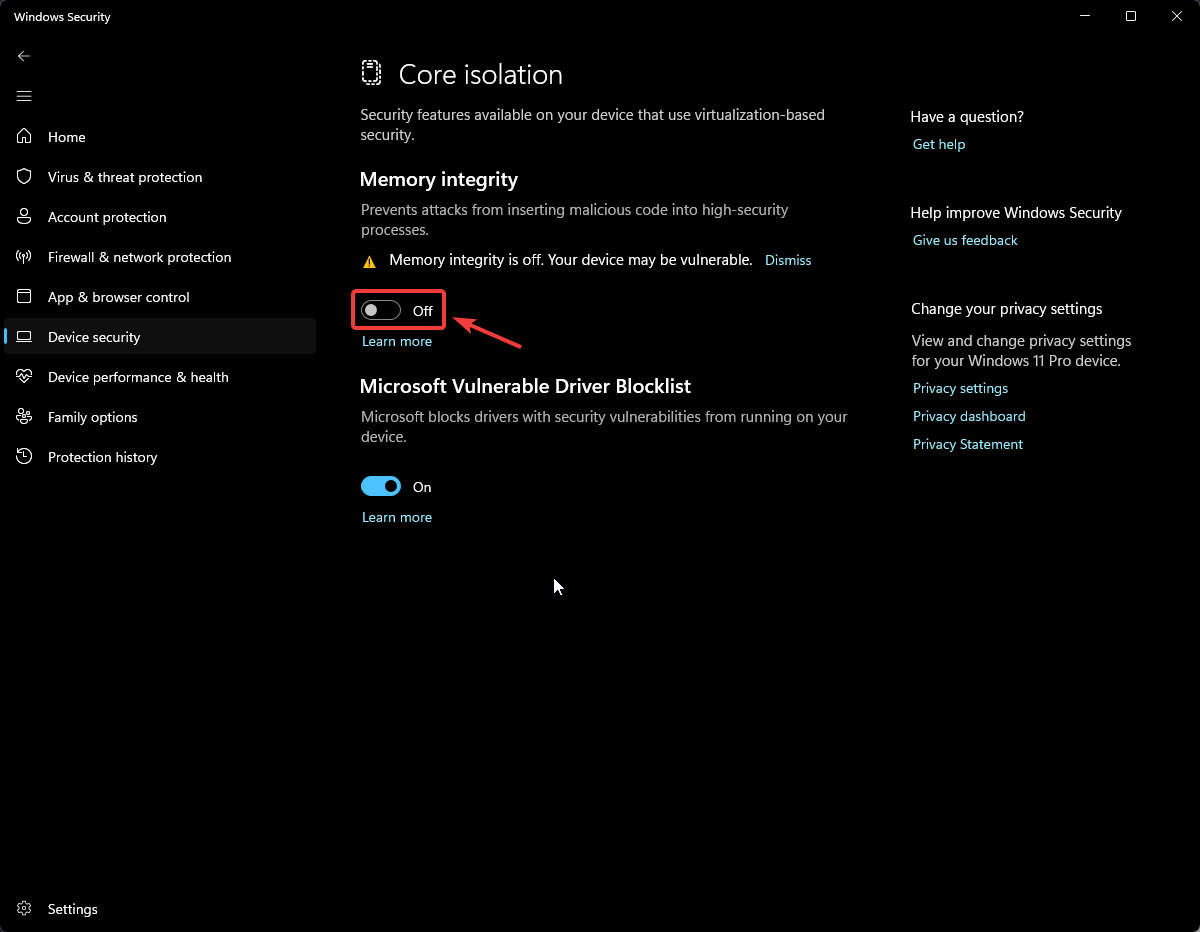
- Restart your computer for the changes to take effect, then check if the error persists.
2. Disable Conflicting Startup Programs
Third-party applications—such as antivirus tools, performance overlays, or background services—can interfere with system-level processes required for secure app execution. At startup, these programs may hook into system memory, block driver loading, or conflict with security services like Credential Guard or Application Control.
To isolate the issue, perform a clean boot by disabling non-essential startup programs. This ensures no conflicting processes prevent the application from launching.
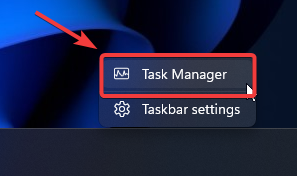
- Open Task Manager by right-clicking the taskbar and selecting Task Manager.
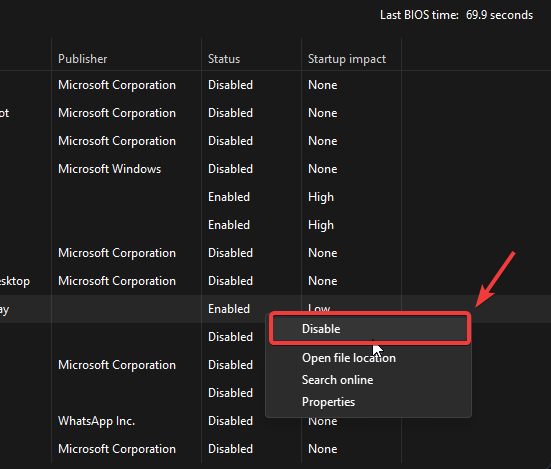
- Switch to the Startup tab to view programs launching at startup. Watch for potential conflicts like:
- Antivirus software
- Game overlays (Discord, Xbox Game Bar)
- Peripheral control software (Razer Synapse, Logitech G Hub)
- Disable suspicious programs by right-clicking each one and selecting Disable.
- Restart your computer to apply changes, then relaunch the application to check for the error.
3. Reinstall or Repair the Application
If the error persists, corrupted or incomplete application files may be preventing proper initialization. Repairing the installation can restore missing or damaged components without a full reinstall. If repair fails, a clean re-installation ensures all files are refreshed.
- Press Win + I to open Windows Settings.
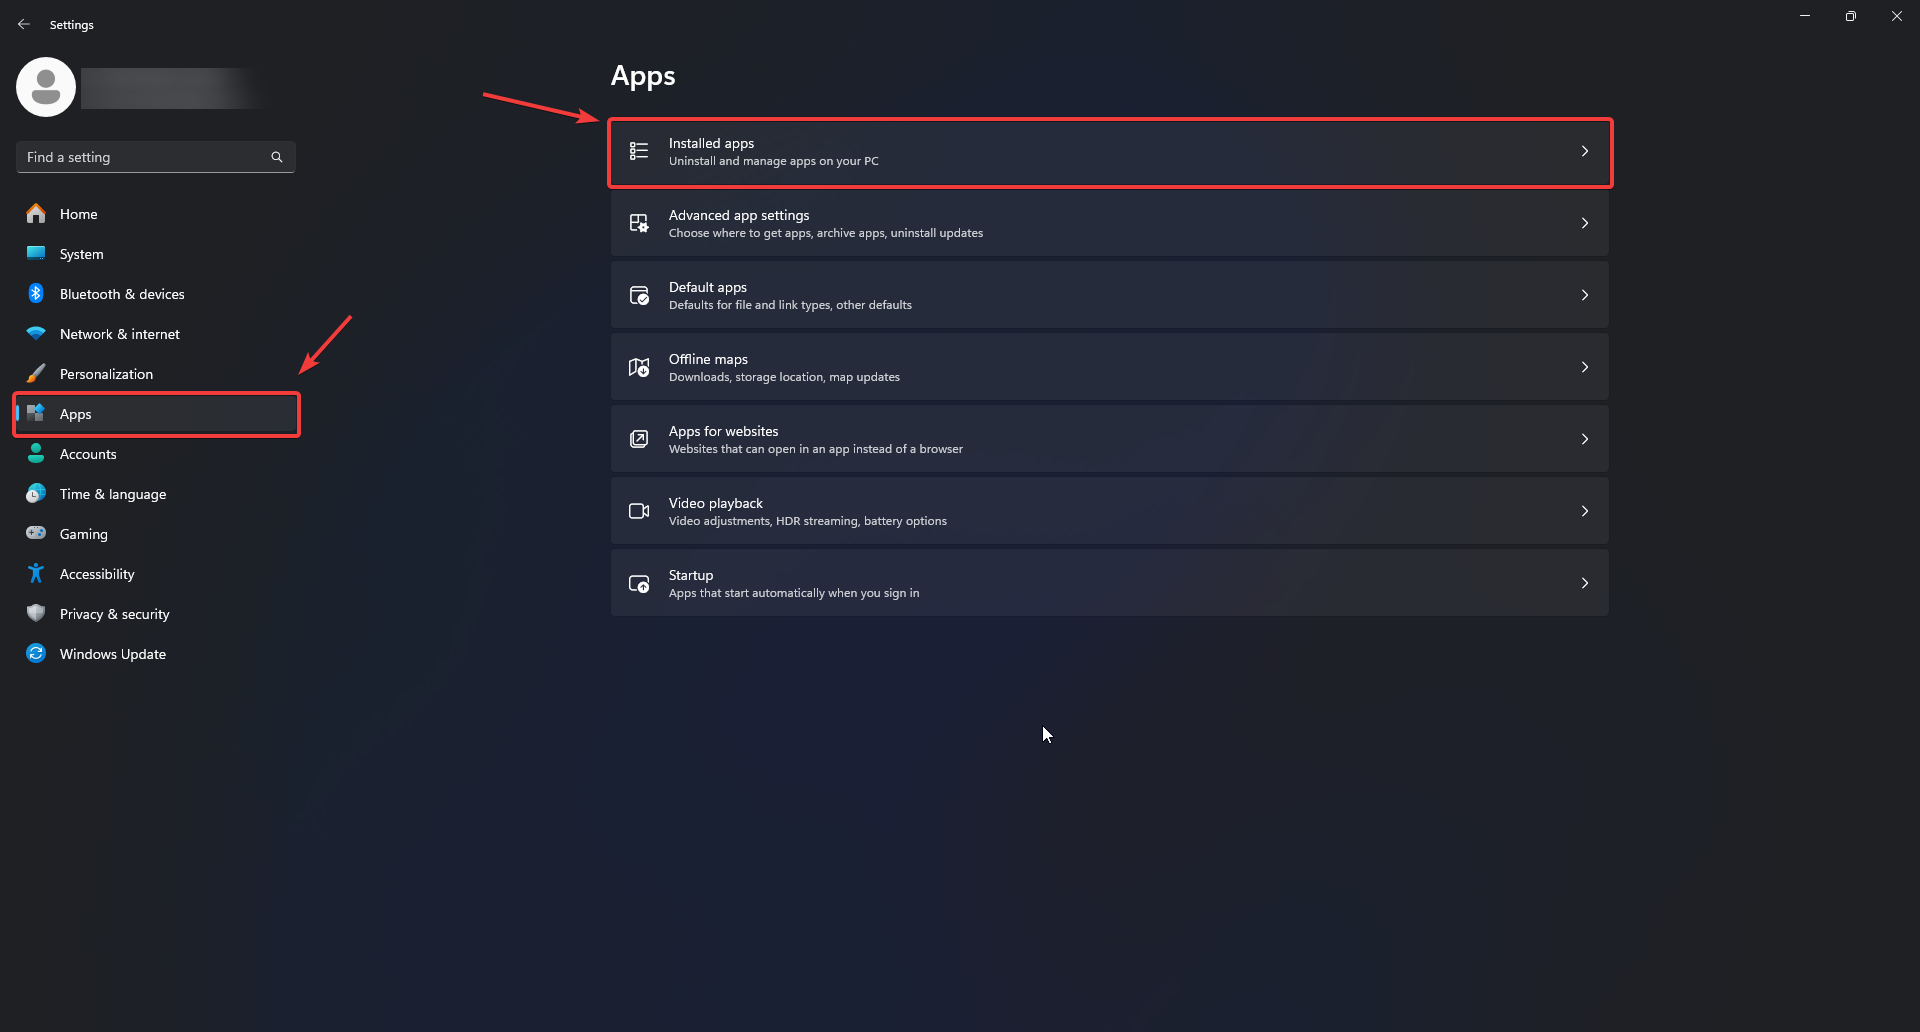
- Navigate to Apps > Installed apps.
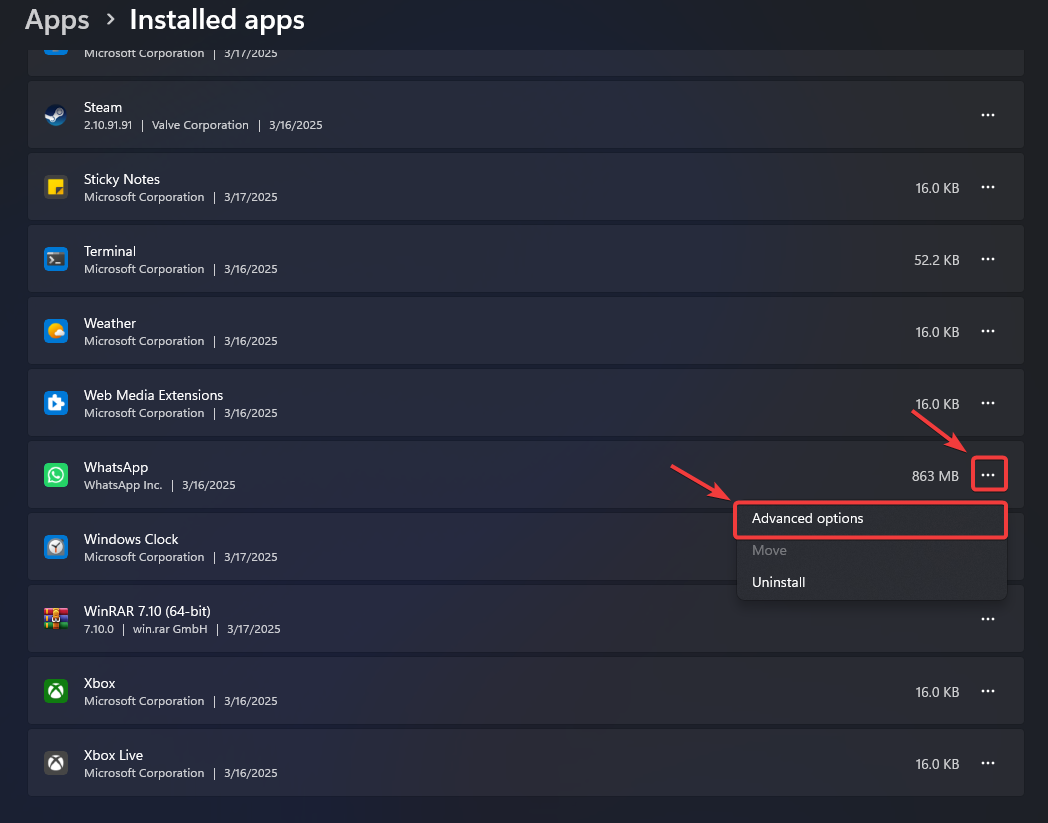
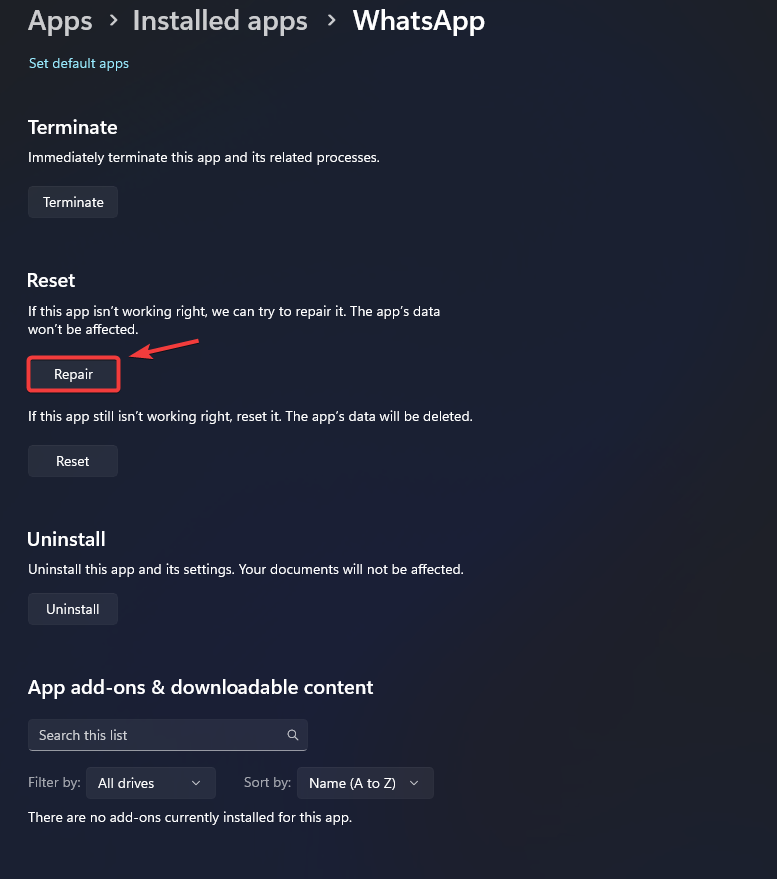
- Locate the problematic application, click the three-dot menu, and select Advanced options.
- Scroll down and click Repair to attempt fixing the application without data loss.
- If the error persists, return to Settings > Apps > Installed apps (Win + I).
- Find the application again, click the three-dot menu, and select Uninstall.
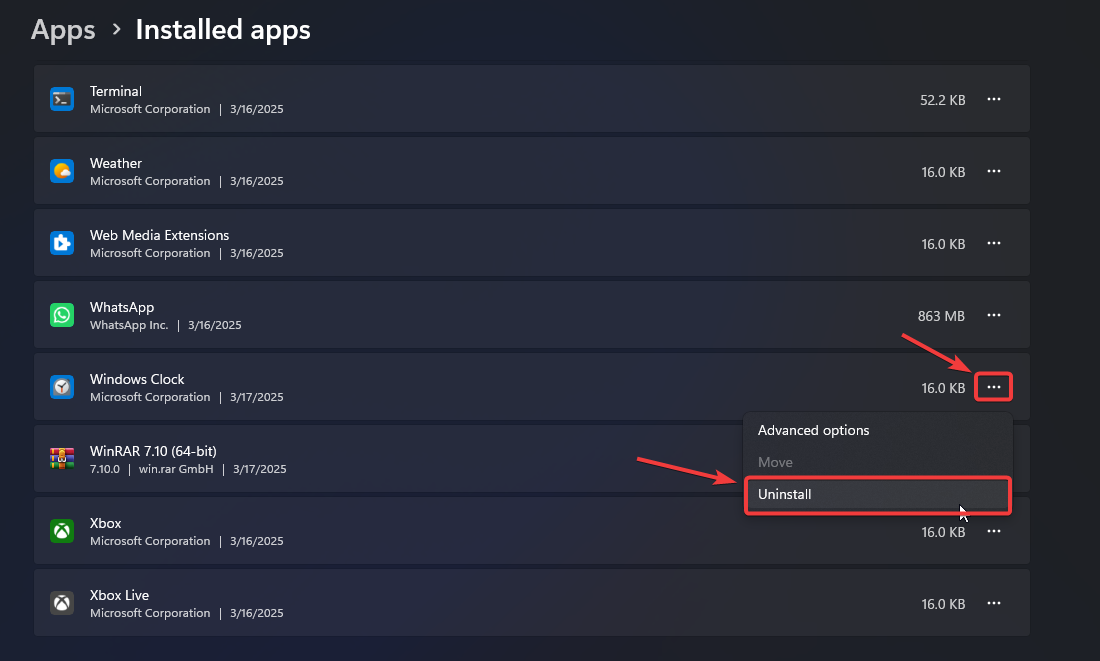
- Confirm the uninstallation when prompted.
- Download and install the latest version from the official website.
- Restart your computer and verify if the error is resolved.
4. Perform a System Restore
If reinstalling doesn’t resolve the issue, the root cause may be a system-level change (e.g., Windows update, driver installation, or registry modification). System Restore can revert your system to a previous state where the error did not occur.
Note: This requires a valid restore point created before the issue arose.
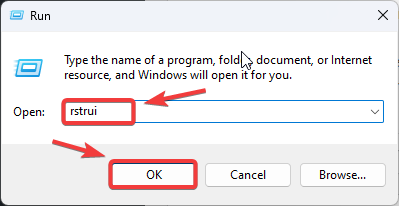
- Press Win + R to open the Run dialog.
- Type rstrui and click OK to launch System Restore.
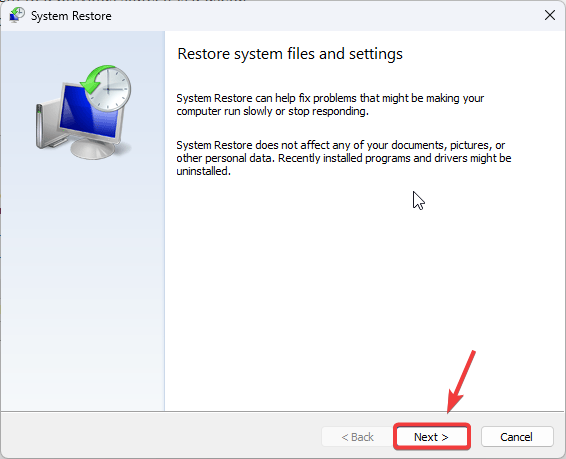
- In the System Restore window, click Next to view restore points.
- Select a restore point from before the error occurred.
- Click Next, then Finish to confirm.
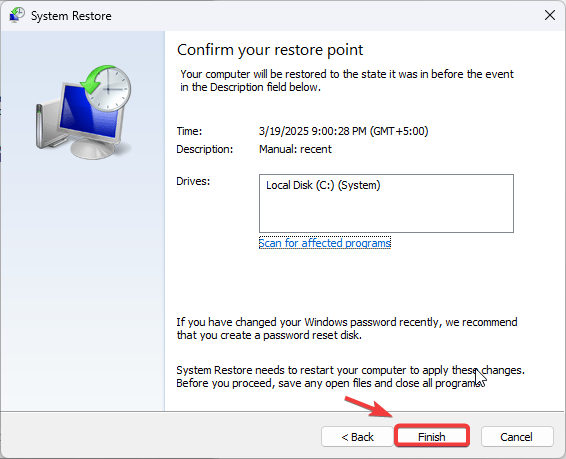
- Your system will restart and revert to the selected configuration.
If no restore points are available, you can reset Windows without losing personal files. This reinstalls Windows while preserving documents and photos, potentially resolving system file corruption causing the error.


