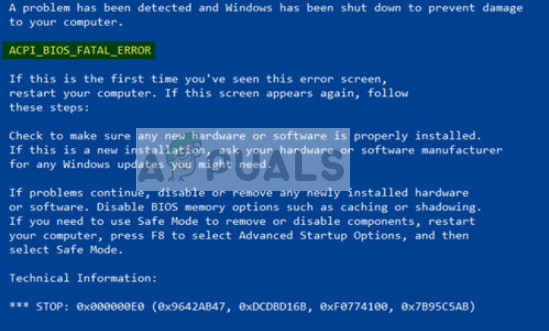
Fix: ACPI_BIOS_ERROR
The blue screen of death “ACPI_BIOS_ERROR” means that there is some problem with booting the operating system from your hard drive or Windows was not installed properly on your computer. Furthermore, there can also be a problem with your CMOS battery present in your motherboard.
The workarounds for this blue screen of death are a little different from other blue screens as this requires a little expertise in updating the BIOS or setting the boot configuration correctly. If you are completely novice in the computing world, it is recommended that you seek an expert who can do these steps for you without complicating more things.
Solution 1: Removing SSD and Updating BIOS
The first and foremost thing you should check is your primary storage devices on your computer. If you recently installed a new hard drive or SSD on your computer, it may mean that the problem stems from it. Furthermore, you should also make sure that your BIOS is updated to the latest build available.
- Remove your SSD/HDD and insert another HDD which has preinstalled Windows operating system.
- Once inside, update your BIOS to the latest build available. Once you have updated the BIOS, reinsert your old SSD/HDD and try booting the computer again. Hopefully, the problem will be solved.
Solution 2: Checking CMOS battery
The CMOS is a physical component of your motherboard and it is a memory chip which contains all the settings configurations on your PC and is powered by a battery. The CMOS will be reset and all the configurations will be lost if your battery loses power. There is also the possibility that your CMOS module is not working properly and whenever the settings are saved, they are not written properly because of the battery.
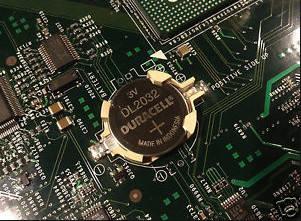
You should consider changing your CMOS battery and see if this proves any results in your case. If the battery is working perfectly, make sure that you followed the first solution before moving on to the new ones listed below. Also, make sure that you reset the CMOS module completely and try if the computer boots up.
Solution 3: Checking BIOS Settings
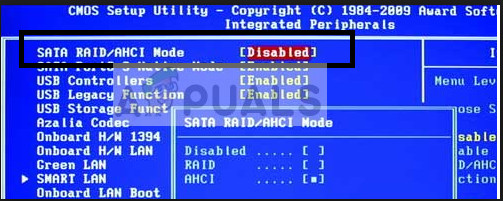
Incorrect settings in the BIOS might also be the culprit in causing the error message. Every BIOS have different settings which you can use to tweak your experience with your computer. Make sure that the BIOS is updated and the settings set are according to your requirement.
Another tip is to disable Legacy USB and Legacy BIOS in the BIOS settings if you are trying to install the 64-bit version of Windows. You can also make sure that you enable AHCI before you plug in the installation drive in your computer.
Furthermore, you should make sure that your machine is using IDE (Integrated Drive Electronics) mode instead of SATA (Serial Advanced Technology Attachment). You can also try checking the extracted setup. If it is in NTFS format, you should extract the ISO in FAT32 and use the setup to install Windows. Also, if these don’t produce any results, try setting ACPI mode to S1.
Solution 4: Resetting ACPI Complaint Control Method
Advanced Configuration and Power Interface (ACPI) provides an open standard which operating systems can use to detect hardware and perform power management. It also monitors the status of your device and provides the information for other processes.
It is possible that there are some misconfigurations with this module on your computer which are leading it to believe there is no battery present. We can try resetting it and check if the problem at hand gets solved.
Note: In order to perform this solution, you have to enter Safe Mode and then follow the methods.
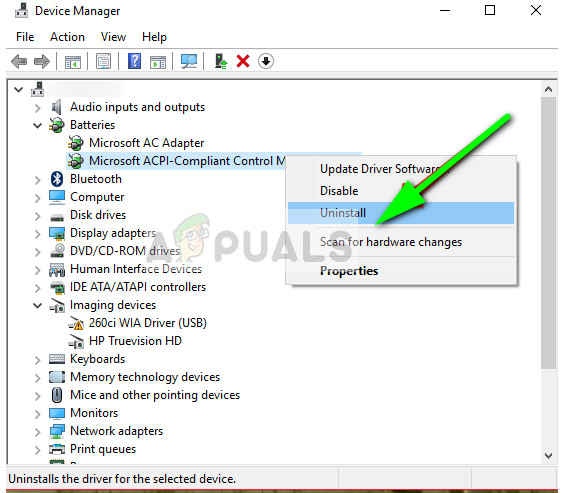
- Press Windows + R, type “devmgmt.msc” in the dialogue box and press Enter.
- Expand the “Batteries” section, right-click on “Microsoft ACPI-Compliant Control Method Battery” and click on Uninstall.
- After disabling the module, click on any empty space and click “Scan for hardware changes”.
- Now check if the problem is solved when booting the computer in normal mode.
If you are still receiving the error, you can update this component either manually or automatically using Windows update. In many cases, Windows automatically detects the latest drivers and install them.
In addition to the above methods, you can also try:
- Disabling any overclocking on your computer.
- Also, try changing the OS image ID in your BIOS. Navigate to Advanced > System Components > OS Image ID > Windows. Once you have selected Windows, reset your entire system and check if the problem is solved.
- You can also try installing a fresh copy of Windows in UEFI mode.
- Resetting your BIOS may seem like a viable option if each and every method fails to get you past the error message.


