Fix: A Webpage is Slowing Down Your Browser
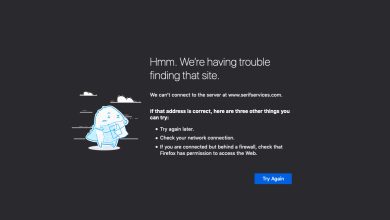
After a recent update for the Firefox browser, users have reported that the browser began to slow down significantly before displaying the error message from the title. This problem is not exclusive to Windows users only since Mozilla Firefox users from other platforms also complained about the error occurring to them.
There are several methods people have used in order to get their browser to work properly once again and all of these methods are listed in this article. Make sure you follow them all in order to solve your problem!
Which Webpage is it?
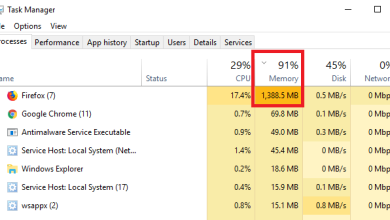
Firefox gives you the pop-up but it doesn’t tell you which webpage is slowing down your browser exactly. However, you can find it out by using Firefox’s task manager. You can access the task manager by putting the command address in the URL section.
For the Latest Firefox:
about:performance
For the Older Firefox:
about:processes
Type the address accordingly and you should be presented with a task manager on Mozilla Firefox. Now simply determine which webpage, extension or process is slowing your browser down and if it’s not important you can simply end it.

Solution 1: Disable Adobe Flash Protected Mode
This solution as aimed at folks using 32-bit computers since this option doesn’t even exist on browser running on 64-bit versions of Windows. The protected mode option is designed to keep you safe from intruders and malicious attacks but even the folks at Mozilla acknowledge that it may cause constant crashes and errors such as this one. That is why you can disable it and check to see if that will solve your problem.
For 64-bit Windows users, there is a different method located below this one and it’s a little more advanced.
- Open your Mozilla Firefox browser by double-clicking its icon on the Desktop or by searching for it in the Start menu.
- Click on the menu button located at the top right part of the browser’s window and click on Add-Ons.
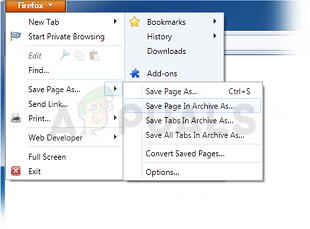
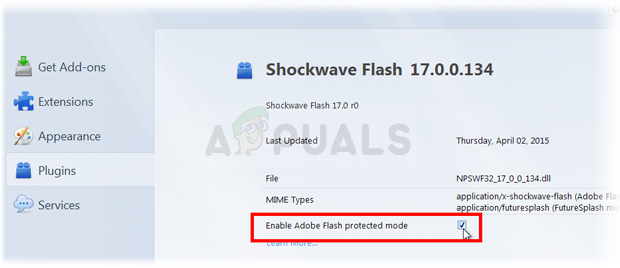
- At the right pane of the screen, locate and click on the Plugins option in order to view the full list of plugins installed in your browser. Click on Options next to the Shockwave Flash entry and remove the check mark next to the “Enable Adobe Flash protected mode” entry.
- Check to see if the problem is solved after restarting your browser.
Windows 64-bit OS Users:
- Open your File Explorer and try navigating to this location from either My Computer or This PC:
C:\Windows\SysWOW64\Macromed\Flash
- If you are unable to see any of the folders in the process, that is because the hidden files are disabled from your system and you will need to enable the view of them.
- Click on the “View” tab on File Explorer’s menu and click on the “Hidden items” checkbox in the Show/hide section. File Explorer will show the hidden files and will remember this option until you change it again.
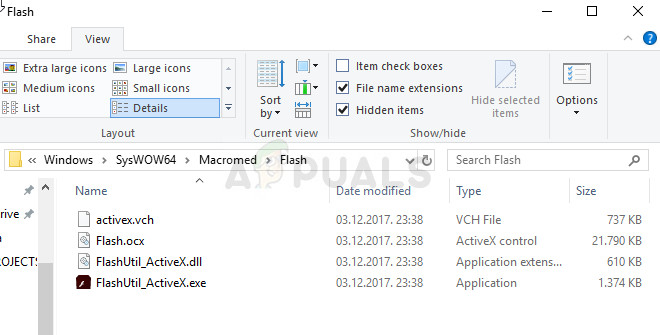
- Locate a file named mms.cfg. Right-click on it and choose Edit. Note that you will need to have administrator permissions in order to do so. If the file does not exist, right-click anywhere in the Flash folder and choose New >> Text File. Save the file as “mms.cfg” and set the Save as type option to All types.
- Either way, open the mms.cfg file and put the following line at the bottom of the document:
ProtectedMode=0
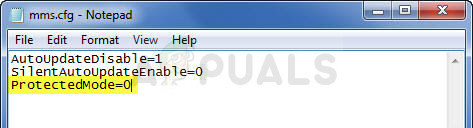
- Save the changes and close Notepad. This change will be applied only after the Flash plugin is completely not in use which means you will need to close Firefox and wait for a couple of minutes.
Solution 2: Clear Firefox’ Browsing Data
If a corrupt file managed to find its way on your computer via the browsing data Firefox uses, it can be expected to see some change in performance. This can only be fixed by getting rid of this file so make sure you do so by deleting the Firefox’ browsing data such as cookies, temporary files, etc.
- Open your Mozilla Firefox browser by double-clicking its icon on the Desktop or by searching for it in the Start menu.
- Click on the library button located at the top right part of the browser’s window (left from the menu button) and click on History >> Clear Recent History…

- There are several options for you to set. Under the Time range to clear option, choose Everything by clicking the arrow which will open the dropdown list.
- Click on the arrow next to Details where you can see just what will be deleted when you select the Clear history option. History on Firefox means a lot more than it does on Chrome since history in Firefox includes cookies, temporary data, etc.
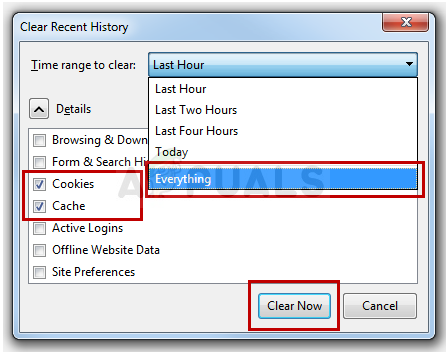
- We recommend you choose at least the Browsing & Download History, Cookies, Cache and Active Logins before you click on Clear Now. Wait for the process to finish and restart your browser. Check to see if the problem is gone now.
Solution 3: Update your Graphics Card Driver
Having up to date drivers is a must even if you are not experiencing any issues at the moment because outdated drivers can only create such issues. This time the video graphics card driver can be blamed if you are using your browser to visit graphics power-consuming websites. Update the driver and check if the problem still appears.
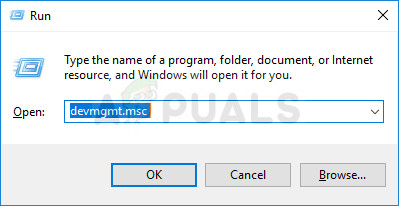
- Select the Start button, type Device Manager, and select it from the list of results. You can also use the Windows Key + R key combination in order to open the Run dialog box where you can type esc before clicking OK.
- Expand one of the categories to find the name of your device, then right-click (or tap and hold) it, and select the Update Driver option. For graphics cards, expand the Display adapters category, right click on your graphics card and select Update Driver.
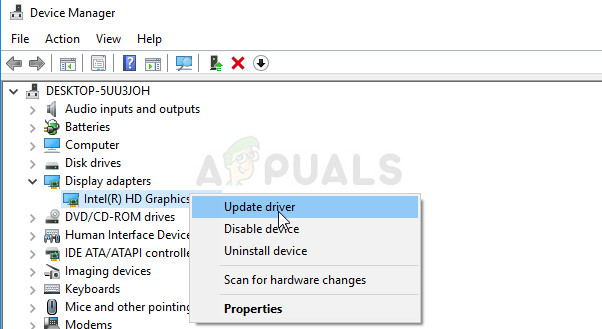
- Select Search automatically for updated driver software and follow the instructions on screen in order to install it.
If this doesn’t help you can also visit the site of the manufacturer which made your graphics card and download the latest driver from their site. They usually provide assistance when it comes to choosing the correct driver for your system. Also, sometimes new drivers are posted on the manufacturer’s website way before it appears in Windows’ automatic search.
Afterwards, it’s always good to check if Firefox video settings are okay by following the steps below:
- Open your Mozilla Firefox browser by double-clicking its icon on the Desktop or by searching for it in the Start menu.
- Type in the following address in the address bar or just copy it. Click Enter after you have finished:
about:preferences#privacy
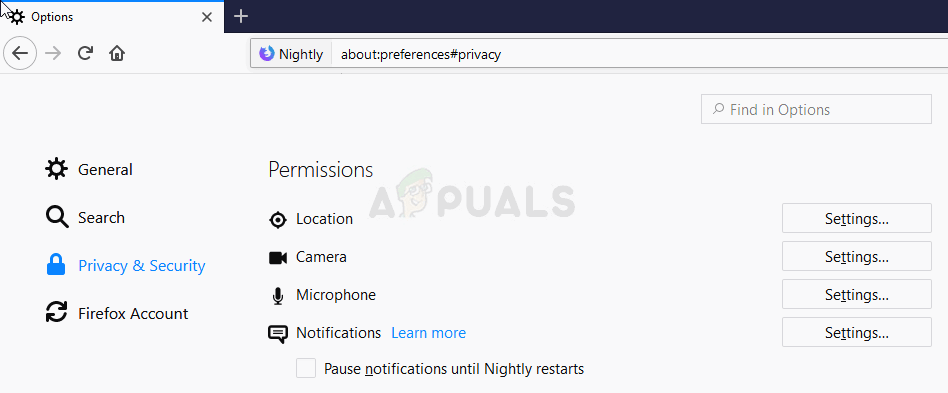
- Navigate to the Permissions section at the bottom of the window and check to see if there is a check mark next to the Prevent accessibility services from accessing your browser option. If the check mark is not there, set it yourself.
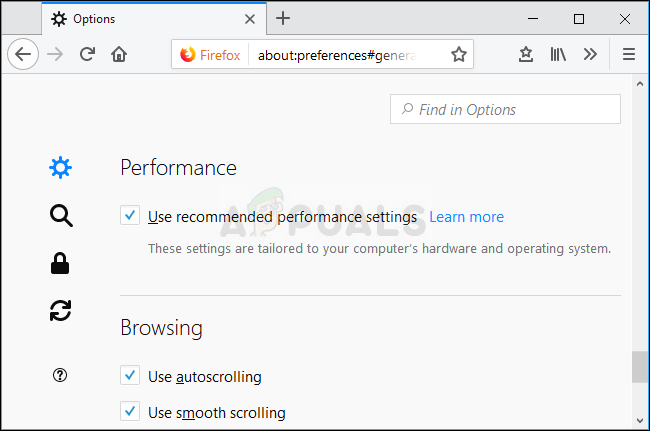
- Navigate to the top of this window to General >> Performance and try unticking all options. Change the recommended size lower but don’t go below 2. Try tweaking these settings until you hit it just right.
Solution 4: Error Occurring with YouTube
If this problem occurs only with YouTube, it may be because of their new design which can be buggy at times. It is also very resource-consuming and reverting back to the old version of YouTube may just solve the problem for you immediately.
- Open your Mozilla Firefox browser by double-clicking its icon on the Desktop or by searching for it in the Start menu. Type in the “youtube.com” address in the address bar or just copy it.
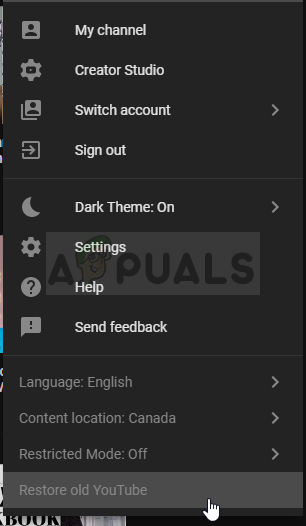
- Locate the profile picture icon at the top right part of the windows and click on the arrow pointing downwards.
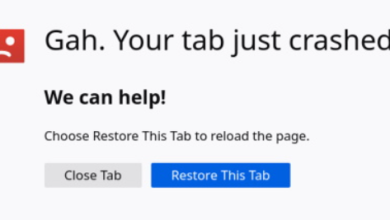
- Locate the Restore Old Youtube option from the dropdown menu. Answer the Google’s questionnaire about the reason you are switching to the old version of the site and check to see if Youtube is still displaying the same error message.
Solution 5: Disable Two Settings in about::config
Disabling these settings in config managed to solve the problem for several users who were experiencing it. That is why you can now find the solution at most tech blogs which covered this problem. Follow the instructions and good luck.
- Open your Mozilla Firefox browser by double-clicking its icon on the Desktop or by searching for it in the Start menu.
- Type in the following address in the address bar or just copy it. Click Enter after you have finished:
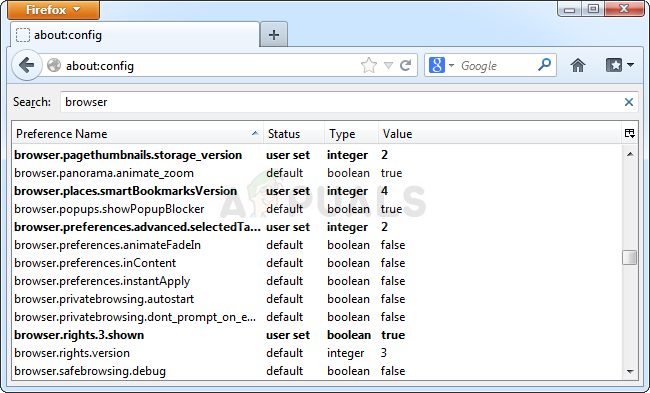
about:config
- Search for processHang in the search bar at the top of the page and you should be able to see two entries named “dom.ipc.processHangMonitor” and “dom.ipc.reportProcessHangs. Double-click on both of these entries and change the status from true to false.
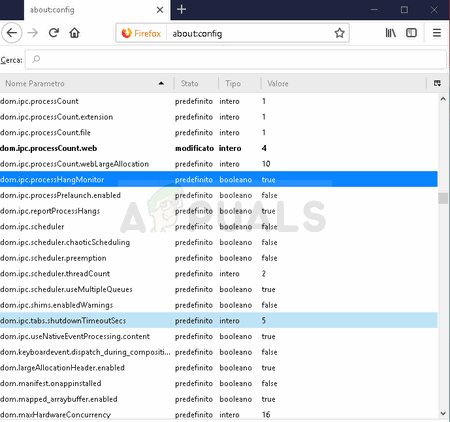
- Save the changes and restart your browser in order to apply them. Check to see if the problem is solved.
Nice job, except in Solution 1 – In my file, there is no EDIT function. I can add a FOLDER, not a text file.
Otherwise, did exactly as you suggested except I could not complete.
Ongoing issue makes me crazy.
Trying about config again, even though it never worked in the past.
Thank you.