Windows Guide: Hide the Firewall and Network Protection Area
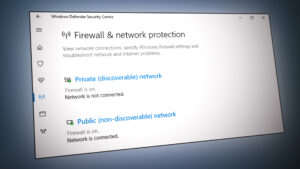
The Windows Security Center has seven areas and one of them is Firewall and network protection area. In this area, users can manage the settings of the firewall and monitor the network & internet connections. However, as an administrator, you can disable this area from other users. Most enterprises and organizations will keep the settings private from standard users. In this article, we will show you methods through which you can disable the Firewall & network protection area. The Firewall & network protection area will no longer appear in the Windows Defender Security Center app.
The Local Group Policy Editor is only available for the Windows 10 Pro, Windows 10 Education, and Windows 10 Enterprise edition. For Windows 10 Home users, we have also included the Registry Editor method.
Method 1: Using the Local Group Policy Editor
The Local Group Policy is a Windows feature through which users can manage a wide variety of advanced settings. The collection of settings it contains can be configured to define what a system will look like and how it will behave for specific users. We have provided steps through which you can disable the Firewall & network protection area through the Local Group Policy Editor.
Note: The requirements of this setting are at least Windows Server 2016 or Windows 10 Version 1709.
- Press the Windows and R keys on your keyboard to open the Run dialog box. Now type “gpedit.msc” and press the Enter key to open the Local Group Policy Editor.
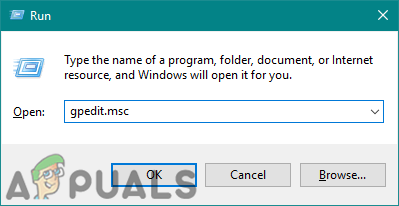
Opening the Group Policy Editor - In the Local Group Policy Editor window, go to the following location:
Computer Configuration\Administrative Templates\Windows Components\Windows Security\Firewall and network protection\
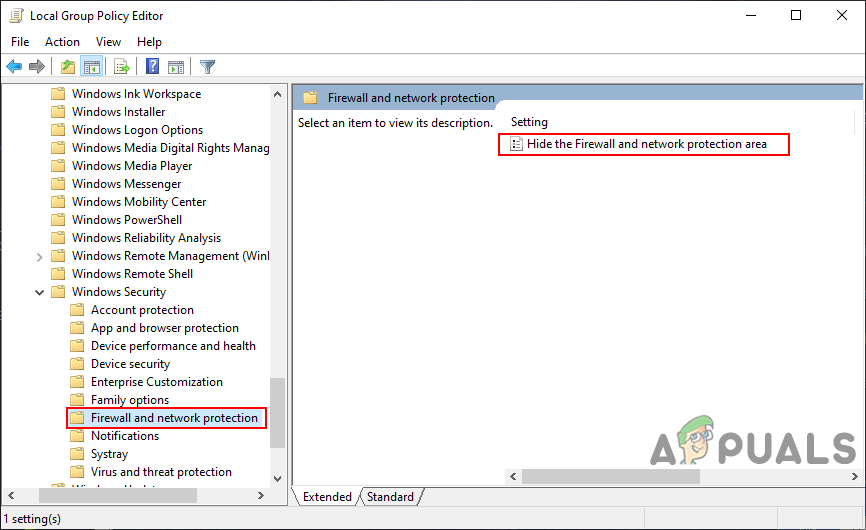
Navigating to the setting - Double-click on the setting named “Hide the Firewall and network protection area” and it will open in another window. Now in this window, change the toggle option from Not Configured to Enabled.
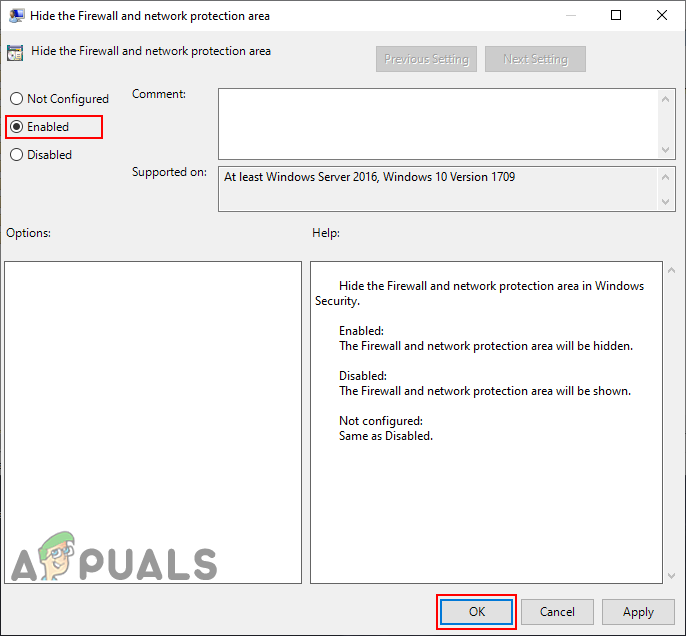
Enabling the setting - Click on the Apply button and then the Ok button to save the changes. It will automatically update the changes and disable the Firewall and Network Protection page.
- However, if it doesn’t automatically update the group policy, then open the Command Prompt as an administrator.
- Now type the following command in Command Prompt (Admin) and press the Enter key to force the group policy update. You can also do this by rebooting the system.
gpupdate /force
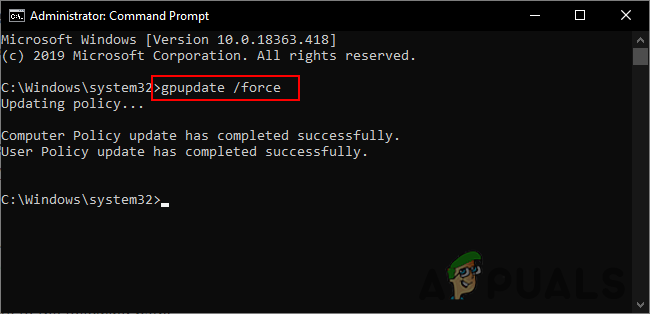
Force updating the group policy - You can always enable it back by changing the toggle option to Not Configured or Disabled in step 3.
Method 2: Using the Registry Editor
The Windows Registry Editor or regedit is a graphical tool through which users can make changes in their registry. Users can create, rename, manipulate, and delete registry keys and values to configure the settings. However, a wrong configuration in the registry can render a Windows machine unusable or worse. By following the below steps, you can safely configure the setting that you are trying:
- Hold the Windows key and press R to open the Run command box. Now type “regedit” in the box and press the Enter key to open the Registry Editor window.
Note: if prompted by UAC (User Account Control), then choose the Yes button.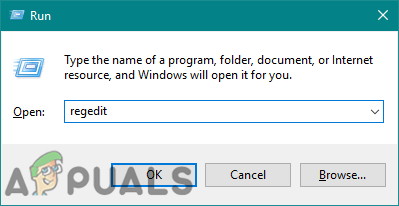
Opening the Registry Editor - You can also create a backup before making any new changes by clicking on the File menu and choosing the Export option. Name the file and provide the location where you want to save it, then click on the Save button.
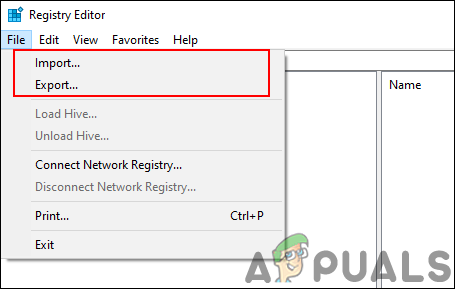
Creating a registry backup Note: You can restore the backup by clicking on the File > Import option and then choose the file that you saved previously.
- In the Registry Editor window, go to the following location:
HKEY_LOCAL_MACHINE\SOFTWARE\Policies\Microsoft\Windows Defender Security Center\Firewall and network protection
Note: If any of the following keys are missing, right-click on the existing key and choose the New > Key option to create them.
- Right-click on the right pane of the Firewall and network protection key and choose the New > DWORD (32-bit) Value option. Now name the value as “UILockdown“.
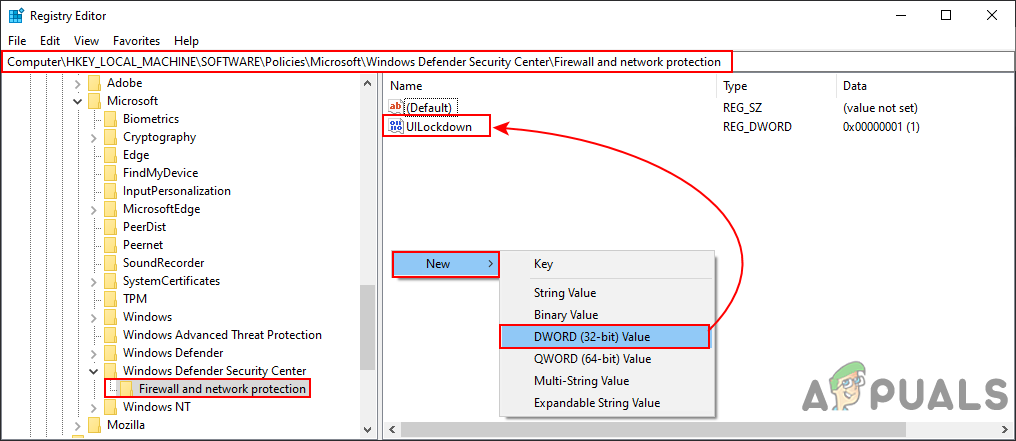
Creating a new value - Double-click on the value to open it and then change the value data to 1.
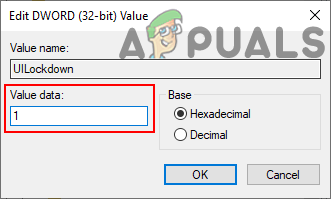
Changing the value data - After making all these changes, make sure to reboot the computer to apply the changes.
- You can always enable it back by changing the value data to 0 or by simply removing the value from the Registry.


