How to Fix File System Error -2147219196 on Windows 10/11
The file system error -2147219196 occurs when the users try to run any software/program that comes built into Windows. It can occur in both Windows 10 and 11.

This issue is typically caused due to corrupt system files, glitches in the Microsoft apps, and a generic corruption error within the system. In this guide, we will go through the troubleshooting methods that have helped other affected users fix the issue in no time.
1. Run the Windows Store Troubleshooter
If a Windows Store app is causing issues while running or launching, the best way to fix it is by running the Windows Store troubleshooter. Microsoft specifically designs this utility to detect issues preventing the apps from working properly.
Here is how you can run the Windows Store Apps troubleshooter:
- Type Settings in the search area of the taskbar and click Open.
- Choose System from the left pane and then navigate to Troubleshoot > Other troubleshooters section.
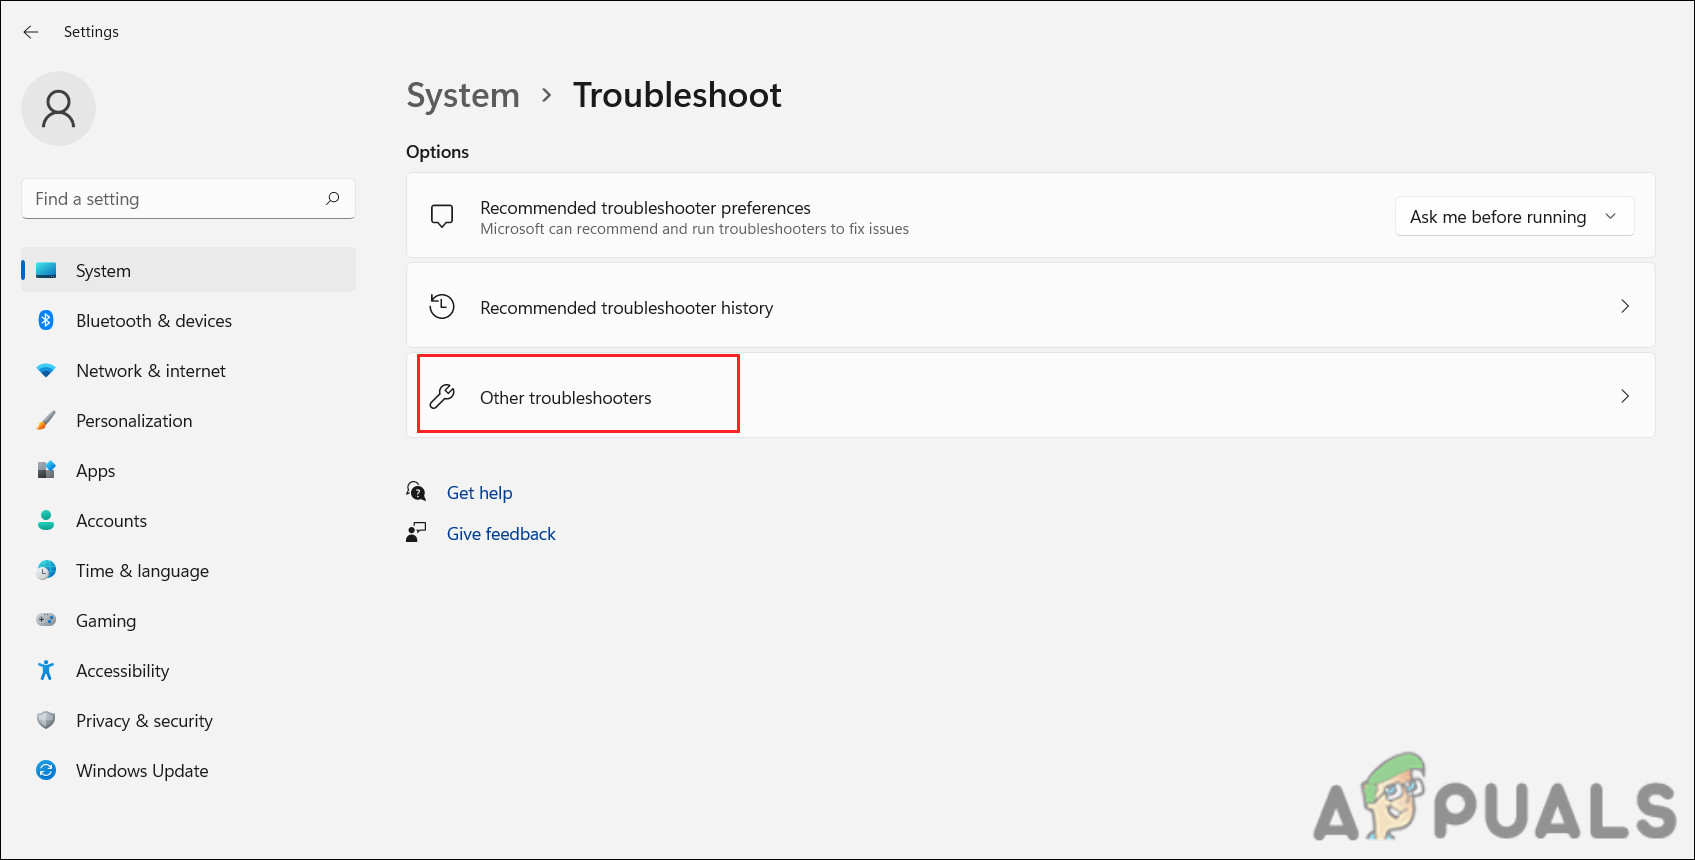
Click on Other troubleshooters - Now locate the Windows Store Apps troubleshooter and click on the Run button. This will launch the troubleshooter.
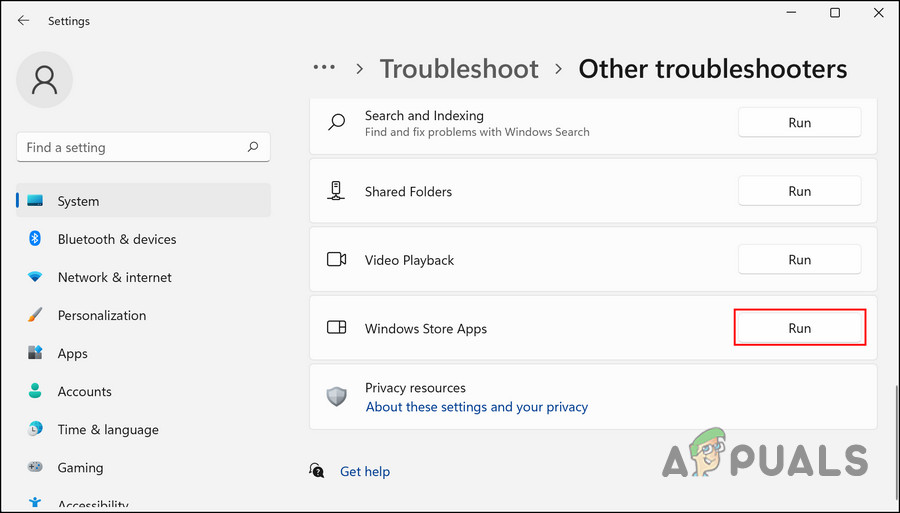
Run the Windows Store Apps troubleshooter - If any issues are found, it will notify you. Click on Apply this fix in the dialog to apply the suggested fixes.
Once the troubleshooter finishes, check if the Microsoft Store applications work fine now.
2. Re-register Microsoft Store
Reregistering the Store application can also resolve issues related to the Microsoft Store apps. This method is a bit different than resetting the application, and you will not lose any data on the Microsoft Store by using this method.
Follow these steps to proceed:
- Right-click on the Windows icon on the taskbar and choose Windows Terminal/Powershell (Admin) from the context menu.
- Alternatively, you can type Powershell in the search area of the taskbar and click on Run as administrator.
- Choose Yes in the User Account Prompt.
- Type the following command and hit Enter to re-register Store for current users:
Get-AppXPackage *Microsoft.WindowsStore* | Foreach {Add-AppxPackage -DisableDevelopmentMode -Register “$($_.InstallLocation)\AppXManifest.xml”}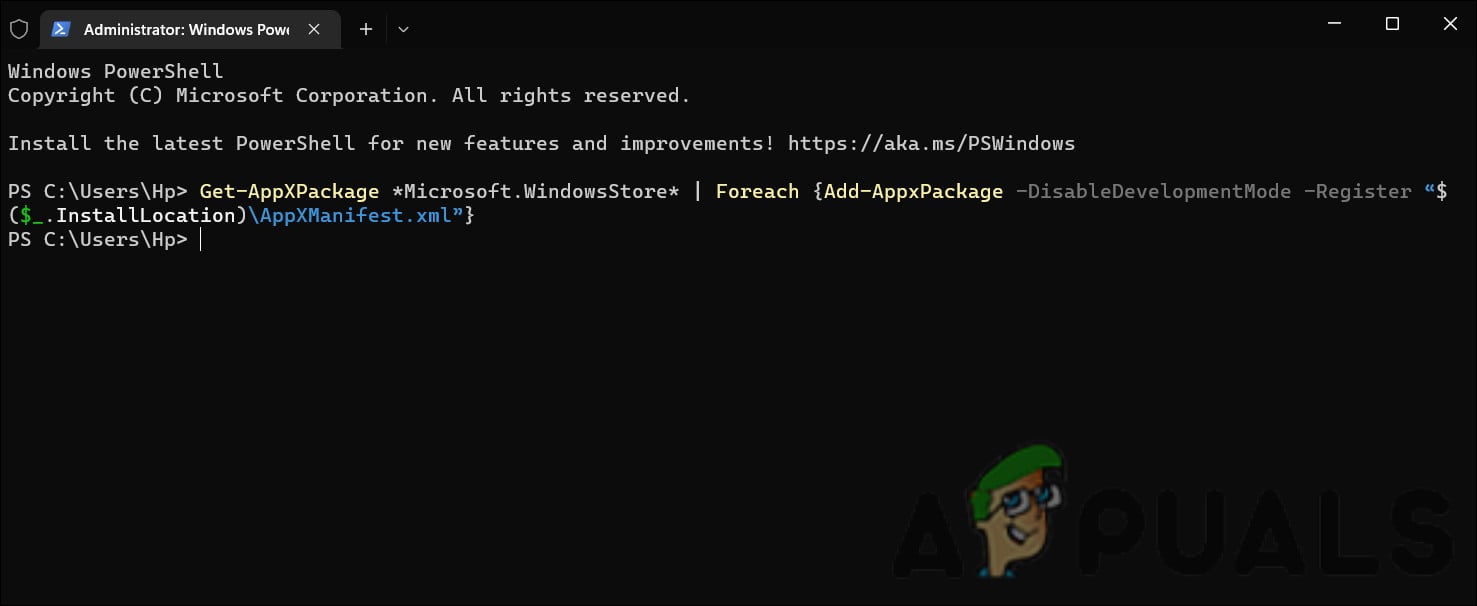
Re-register the Microsoft Store for current users - Execute the following command to re-register the Store for all users:
Get-AppXPackage WindowsStore -AllUsers | Foreach {Add-AppxPackage -DisableDevelopmentMode -Register “$($_.InstallLocation)\AppXManifest.xml”}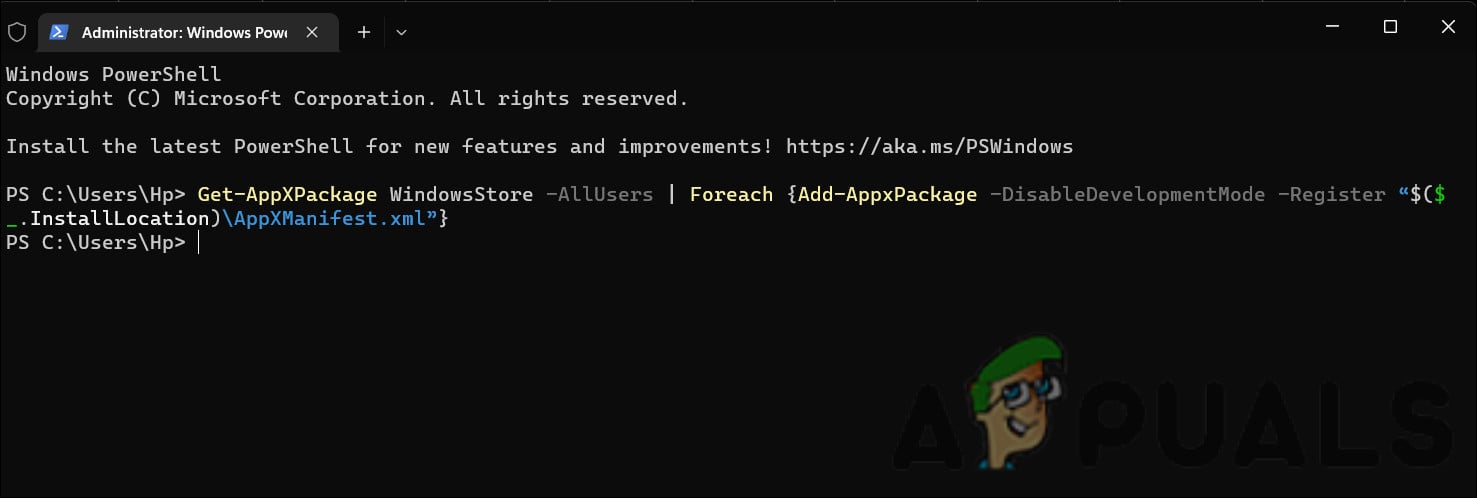
Re-register the Microsoft Store for all users
3. Run DISM and SFC Scans
Another reason behind the error at hand is the corruption within the system that can cause the applications to act up. There are several reasons why they occur, but fortunately, they are quite simple to diagnose and fix.
DISM and SFC are the first utilities you should run if you encounter a problem. These tools can be run via Command Prompt.
Here is how you can run both utilities:
- Press the Win + R keys together to open a Run dialog box.
- Type cmd in the text field of the dialog box and press Ctrl + Shift + Enter to launch Command Prompt with administrative privileges.
- In the Command Prompt window, type the command below and press Enter.
DISM.exe /Online /Cleanup-image /Restorehealth
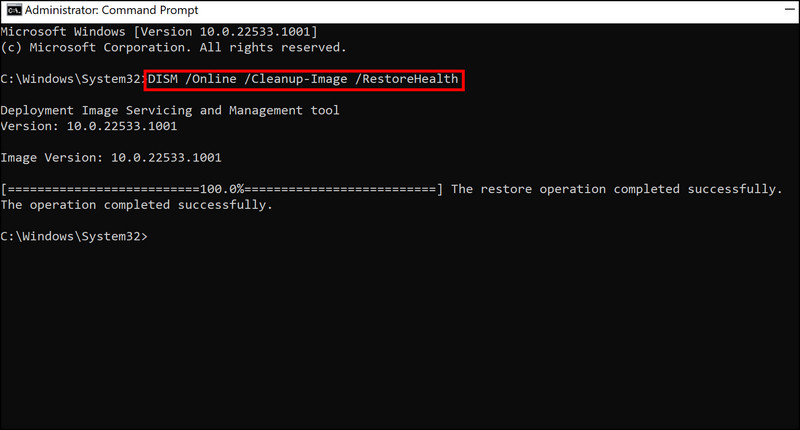
Run the RestoreHealth command - Wait for the command to be executed successfully and once it is done, execute the following command in the same window.
sfc /scannow
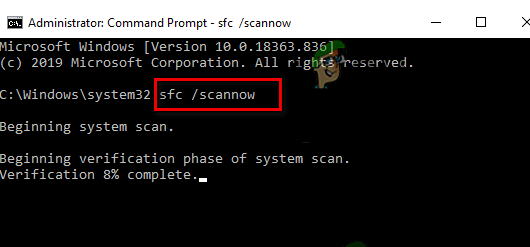
Deploy an SFC scan
Finally, restart your PC and check if the error is resolved.
4. Use System Restore
Using the system restore utility, Microsoft Windows creates restore points periodically. If something goes wrong, you can use these restore points to restore your operating system from a snapshot of your system.
In this method, we will be using the System Restore utility to go back to a state where the targeted apps were working fine. However, it is important to note that any changes made to the system after the restore point was created will be lost during this process.
Follow the steps below to proceed:
- Open a Run dialog by pressing the Win + R keys together.
- Type control in Run and click Enter.
- Then, use the search bar at the top-right to find System restore.
- Select Create a restore point as shown below.
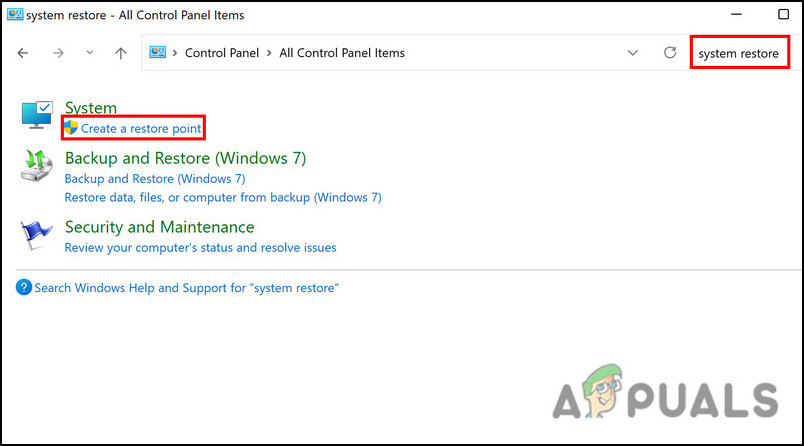
Create a restore point in Control Panel - In the next dialog, click on the System Restore button and choose a restore point.

Click on the System Restore button - Hit Next to proceed.
- Follow the on-screen instructions to proceed.
5. Perform a Clean Boot
Clean Boot launches Windows using only the most basic set of programs and drivers. Normally, this state helps the user determine if any background applications are causing the problem.
Once you are in the Clean Boot state, check if you can now launch the targeted application successfully. If not, then it implies that a recently installed program is causing the issue. In this case, you can locate the faulty application and then remove it from the system.
In the event that the error persists after a Clean Boot, move on to the next method.
6. Perform a Reset or a Repair Install
By this point, if you have not found a viable solution, it implies that conventional troubleshooting methods will not be able to fix the issue.
As a last resort, you can reset Windows to its default state, giving your system a fresh start. In essence, if you choose this method, you will be removing all the applications you installed yourself on the system and restoring Windows to its original state.
Another option is to perform a repair install, in which your personal files and programs will not be affected during the installation of fresh Windows files.
In general, both methods are believed to solve the problem, so you can choose whichever method you prefer.


