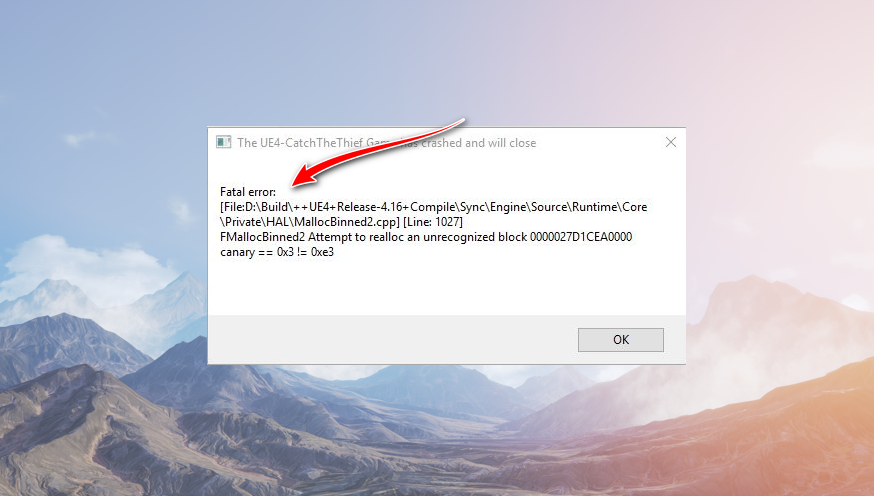
How to Resolve “Fatal Error!” in Unreal Engine 4 Games?
The error message “Fatal error!” commonly appears when launching a game built on Unreal Engine 4. It indicates a critical failure that prevents the game from starting properly. One of the most reported causes is a conflict with Epic Games’ backend servers, which can sometimes be resolved by blocking certain server requests. Other potential causes include unstable GPU overclocks, corrupted configuration files, misconfigured RAM settings, or faulty update patches.
Now that we’ve identified the possible causes, the next step is to apply effective solutions. Fortunately, we’ve compiled a list of proven fixes that have helped many users resolve this exact error. Go through each one to find out which solution works best for your system.
1. Modify the Host File to Block Epic Games Servers
If you’re encountering this Unreal Engine 4 error, it may be caused by server-related connectivity issues—specifically, your computer having trouble communicating with Epic Games’ servers. In some cases, blocking these servers via the Windows host file has resolved the error for many users. By adding specific entries to the host file, you can prevent your system from attempting to connect to the problematic servers, which may stop the error from occurring.
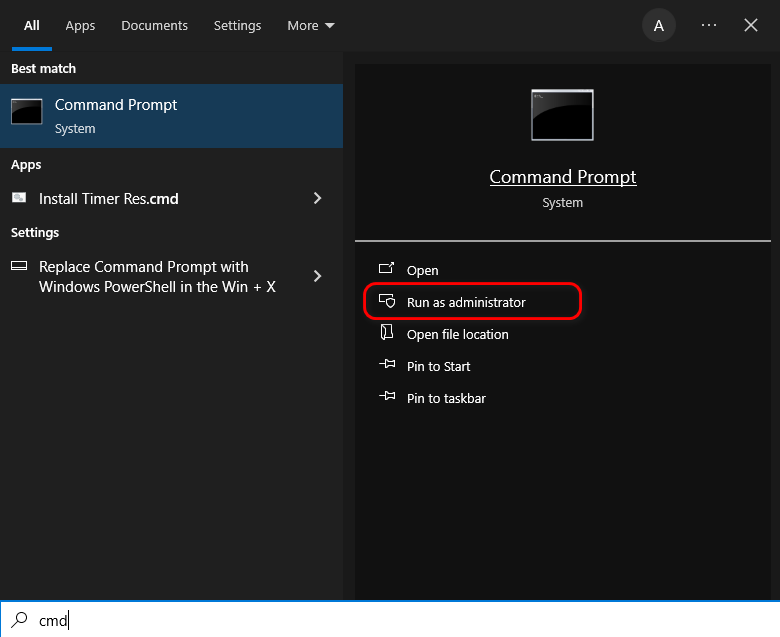
- Open Command Prompt as administrator by searching for “cmd” in Windows search, right-clicking on Command Prompt, and selecting Run as administrator.
- Type the following command and press Enter to open your hosts file:
notepad %windir%\system32\drivers\etc\hosts
 (If prompted by User Account Control, click “Yes” to continue)
 - Your hosts file will open in Notepad. Scroll to the bottom and add these two lines on new lines:
0.0.0.0 datarouter.ol.epicgames.com
0.0.0.0 datarouter-weighted.ol.epicgames.com
These entries will block connections to Epic Games’ data routing servers.
- Save the file by clicking File → Save in Notepad’s menu bar.

- Close Notepad and restart your computer to apply the changes.
- After restarting, check if your original issue has been resolved.
2. Adjust GPU Settings
In some cases, your GPU being overclocked or configured with aggressive performance settings can cause instability in certain applications—Unreal Engine 4 included. This instability may lead to crashes or trigger the “Fatal error!” message. Adjusting your GPU to a more stable configuration can help resolve the issue. Simple tweaks like reducing clock speeds, enabling Eco mode, or manually adjusting fan curves can reduce strain on your system and improve stability during game launches.
For NVIDIA GPUs
- Right-click your desktop and open NVIDIA Control Panel
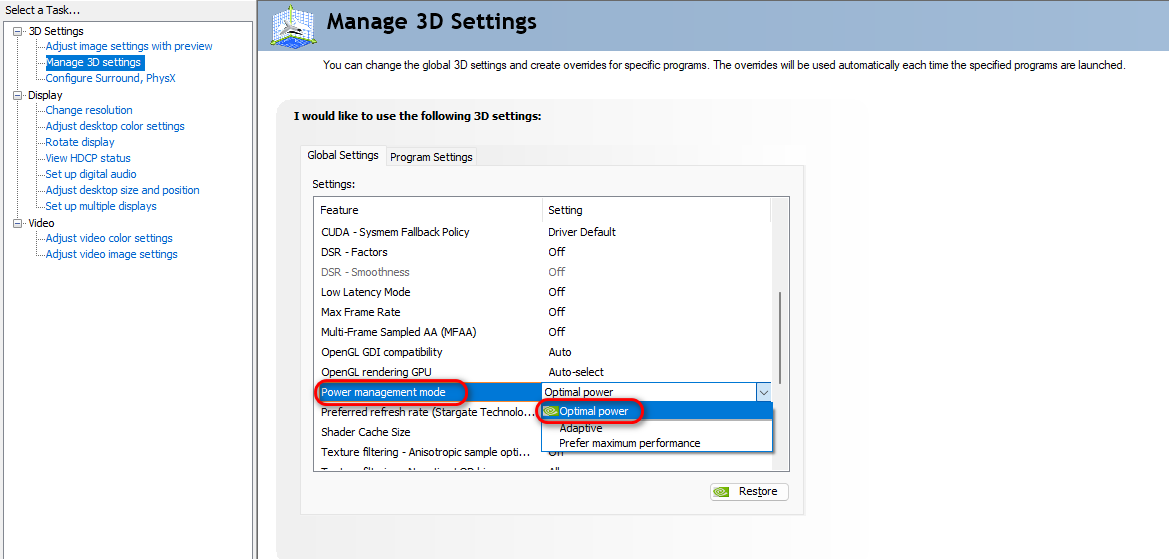
- Go to Manage 3D settings and click Restore to reset to default settings
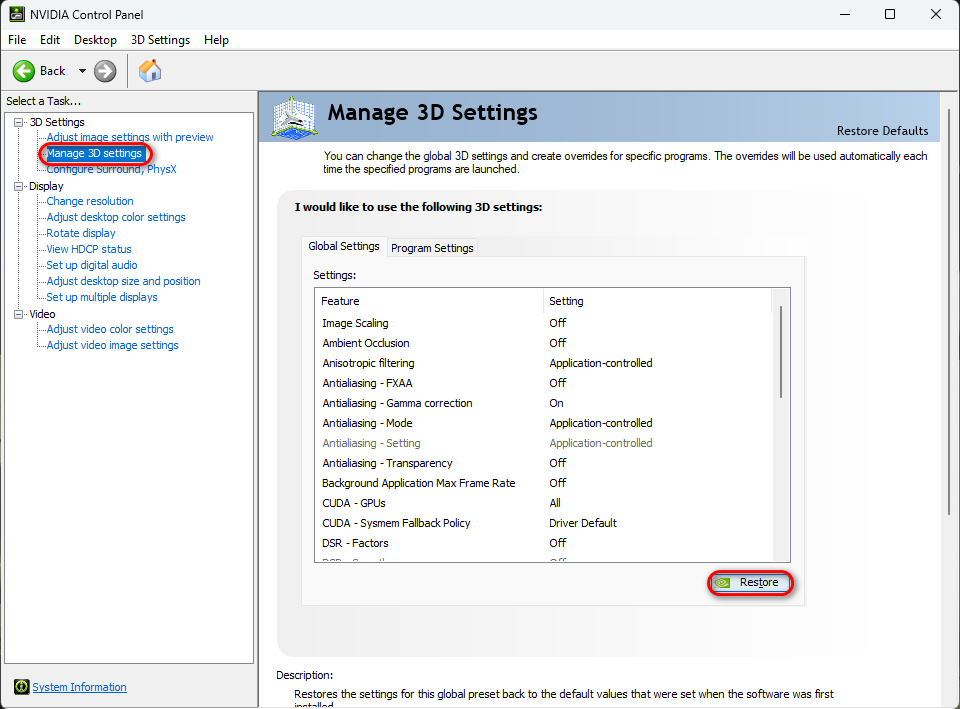
- Under Global Settings, find Power management mode and set it to Optimal Power
- For fan control, open MSI Afterburner and increase your GPU fan speed as needed
- Save changes and restart your computer
For AMD GPUs
- Right-click your desktop and open AMD Radeon Settings
- Navigate to the Performance tab and click Reset (top-right) to restore defaults

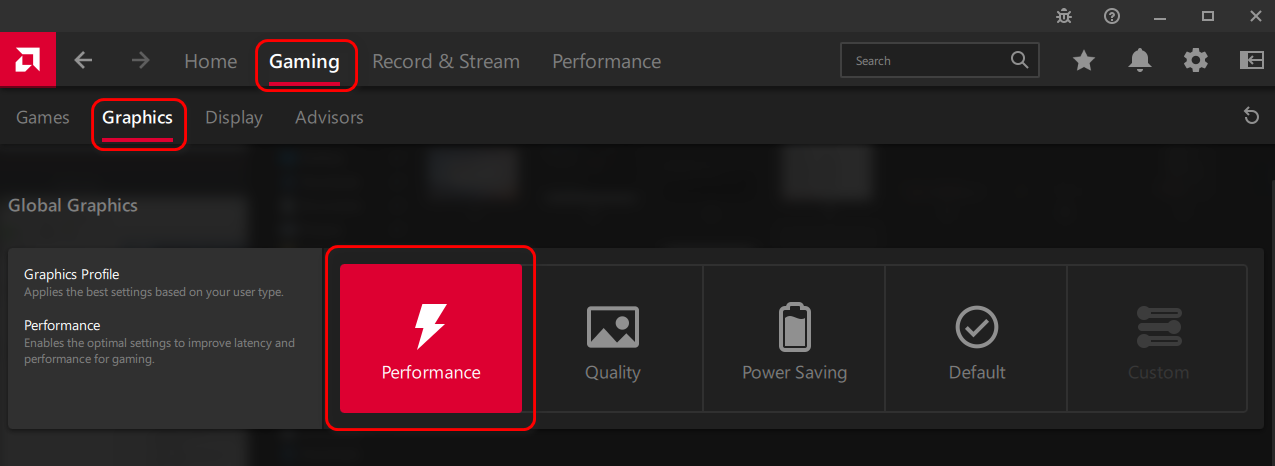
- Go to Gaming > Graphics and set Graphics Profile to Performance
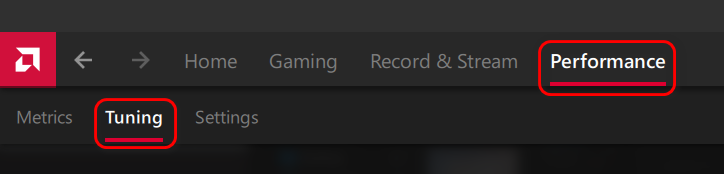
- For fan control, go to Performance > Tuning
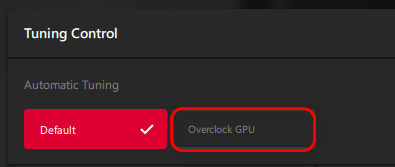
- Enable Manual Tuning and adjust fan speed as desired
- Apply changes and restart your computer
3. Adjust RAM Settings
After updating your BIOS, memory-related settings such as RAM frequencies or timings may change automatically. This can lead to system instability in certain applications or games, including those built on Unreal Engine 4. To restore stability, reset your RAM settings to their default or manufacturer-recommended values in the BIOS. This ensures that your memory is operating at safe and compatible timings and frequencies.
- Restart your computer and immediately press the BIOS key (typically F2, DEL, or F12) during startup to enter BIOS settings.
- Navigate to the Memory or RAM settings section in your BIOS menu (this may be under “Advanced” or “Overclocking” settings).
- Locate the XMP (Extreme Memory Profile) option – this is Intel’s technology for applying optimized RAM timings.
- Enable the XMP Profile that matches your RAM’s rated speed (e.g., 3200MHz, 3600MHz, etc.). Most motherboards will show the correct profile automatically.

- Save changes by pressing F10 (or your BIOS’s designated save key), then select Yes to confirm and exit.
- After your computer reboots, check if your memory-related issues have been resolved. You can verify the applied speed in Windows Task Manager (Performance tab).
4. Delete Config File
A configuration file stores the settings and preferences for a game, including graphics, input, and system-related options. However, these files can become outdated or corrupted due to failed updates, system crashes, or hardware/software changes. Deleting the config file for an Unreal Engine 4-based game forces it to regenerate a fresh default configuration, which often resolves errors caused by corrupted settings.
- Open File Explorer and navigate to this path (replace “[Your Username]” with your actual Windows username):
C:\Users\[Your Username]\AppData\Local\UnrealEngine
Note: The AppData folder is hidden by default – you may need to enable “Hidden items” in File Explorer’s View tab.
- Sort the folder contents by Date modified (click the column header) and open the most recently modified folder.

- Inside this folder, open the Saved folder.

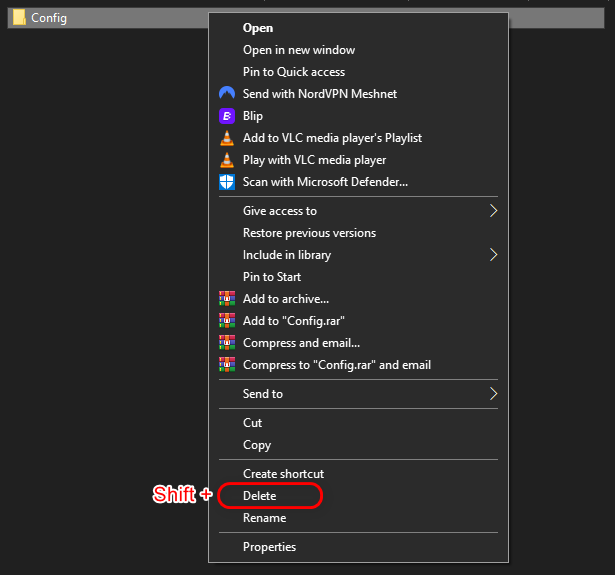
- Locate the Config folder, then hold Shift while right-clicking it and select Delete (this bypasses the Recycle Bin).
- Restart your computer to ensure all changes are properly applied.
- After rebooting, launch your game to verify if the issue has been resolved.
5. Reinstall Game Updates by Clearing Patches
Just like core game files, update patches can become corrupted or misconfigured due to installation errors, interrupted downloads, or faulty patch releases. Clearing the patch data will remove any problematic files and force the game to redownload and reinstall the updates correctly, ensuring you’re running the latest stable version.
- Launch the game and wait until you reach the main title screen.
- Locate the Tools option in the menu and click on it.
- Select Clear Patches from the available options.
- The game will now begin reinstalling essential updates.
- Once the process is complete, check if the issue has been resolved.