How to Fix the Fatal D3D Error in Monster Hunter Rise?
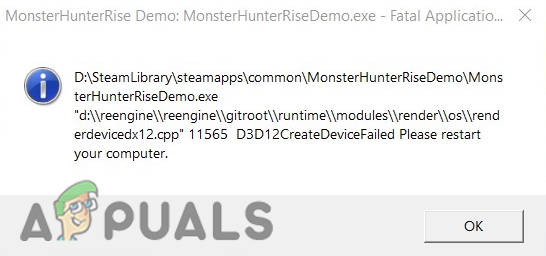
Several users have reported that they are getting a Fatal D3D error in Monster Rise, d3d or Direct3D is a graphics application programming interface for Microsoft Windows, that is used to render three-dimensional graphics in video games, Mostly the error occurs when the d3d program is damaged or the system requirement does not match with the game or you are running the game in pretty high settings.
We had a look into this and we have discovered some causes below:-
- Outdated Video drivers- Outdated video drivers generally can cause d3d errors, it is advised to update your video drivers.
- Running a game in high settings- If the graphics settings are not compatible with your hardware means that the graphics settings are high then you might get this error.
- Overclock Graphics card- Overclocking the GPU means gradually increasing the graphics card core frequency to boost the performance, according to the users, there might be chances that the Fatal d3d error occurs because of overclocking.
- Overclock Ram- Overclocking the Ram increases the speed of your Ram more than normal and it can also be the cause of Fatal d3d error.
We know the causes let’s jump into some effective troubleshooting methods that helped users to fix a fatal d3d error.
Modify the Graphics Preference
Changing the graphics preference to high performance will increase the graphics preferences of the game in simple words, it will force the graphics card to run the game on a high.
Here is how you can change the graphics preference:-
- Press the Windows key and type Graphics settings in the search box.
- Open the graphics setting and click on the Browse option to select the Monster Hunter Rise.

Select the Browse option in graphics settings - After selecting the Monster Hunter Rise, click on the selected Monster Hunter Rise to view the further settings.
- Click on the options button, and select the High performance option to change the game preference.
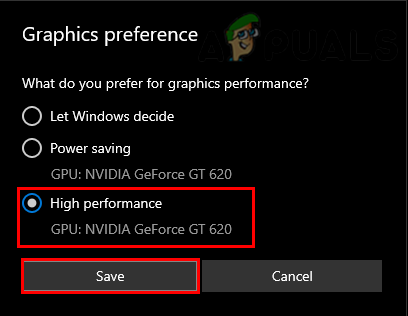
Select High performance - Click on the Save button to apply the settings.
Insert -dx11 in Launch Option Field
Modifying the game launch option might fix your fatal d3d error, we gonna put -dx11 in the launch option field, however, it will disable some DirectX features but it can fix your error and it will not do anything wrong with your game.
Follow the steps to add -dx11 in the launch field:-
- Open the Stream Launcher and go to the Library tab.
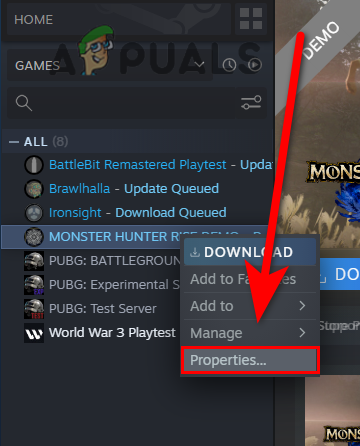
- Right-click on the Monster Hunter Rise, then select the Properties.
- You should see a launch input field option.
- Insert -dx11 in the input field.
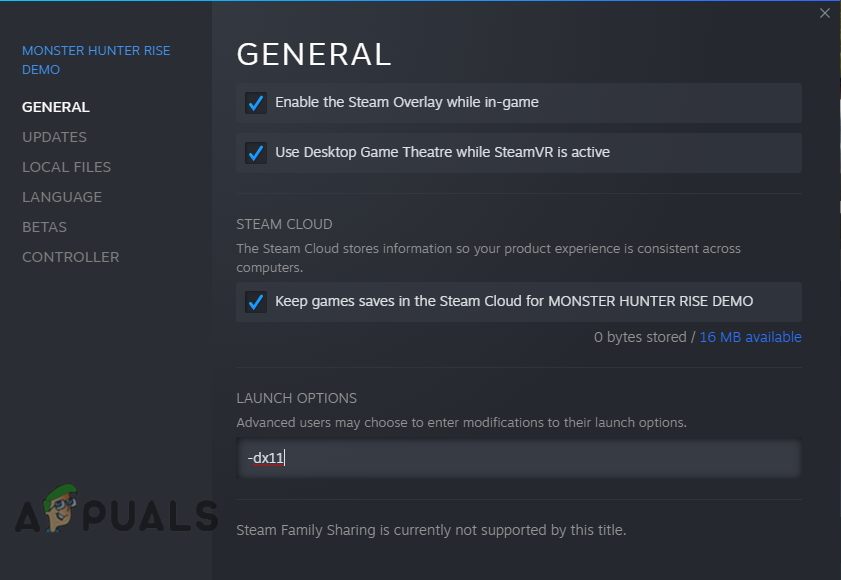
Add -dx11 in the launch field - Run Monster Hunter Rise and check if the error persists.
Varify Your Game files
Missing or corrupted game files can be causes this error, you can use verify integrity option to verify all the game files, The utility replaces the corrupted and fulfills the missing game files.
Follow the steps to verify your game files:-
- Open the Stream Launcher and go to the Library tab.
- Right-click on the Monster Hunter Rise, then select the Properties.
Go to properties of Monster Hunter Rise - Go to the Local Files tab, then click on the VERIFY INTEGRITY OF GAME FILES.
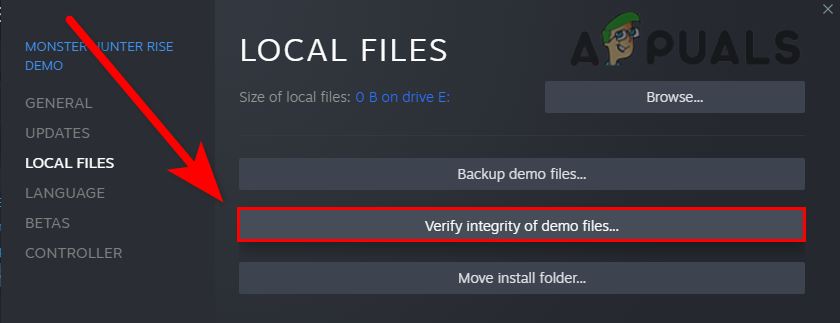
Click on the verify integrity of demo files - It should start the verification process, once done, check if the error persists.
Check Your system requirement
Check your minimum game requirement because if your graphics card is old and it does not supports DirectX or the minimum game requirement does not match with your computer then you could get errors, for that reason make sure your computer is compatible with the game requirement.
Match your system specs with the minimum game requirement of Moster Hunter:-
| OS | WINDOWS® 7, 8, 8.1, 10 (64-bit required) |
|---|---|
| Memory | 8GB RAM |
| Storage | 48GB or more of available space |
| Graphics Card | NVIDIA® GeForce® GTX 760 or AMD Radeon™ R7 260x (VRAM 2GB) |
| DirectX | Version 11 |
Reinstall Graphics driver with DDU
If the graphics driver were corrupted, then reinstalling the graphics driver will fix the error.
we gonna use DDU to uninstall the graphics driver.
DDU or display driver uninstaller used for clean uninstallation of graphics drivers. Generally, it is not recommended to uninstall your graphics driver with the normal method such as device manager, you can use DDU in normal mode but for the absolute result and clean uninstallation, we will use this tool in safe mode.
Uninstall Graphics Drivers
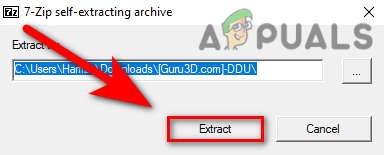
- Download DDU from here, once the download is completed extract the folder with WinRAR.
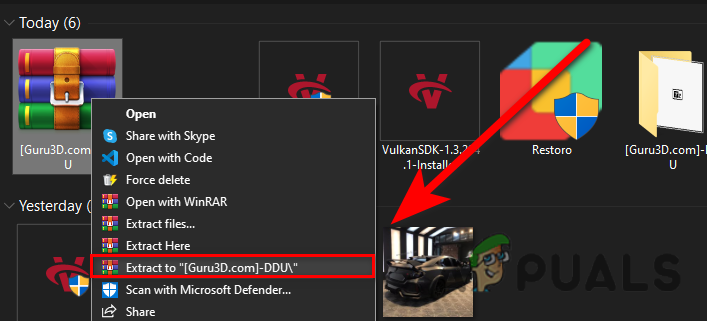
Extract DDU folder - Open the DDU folder and double click on the DDUv18.0.4.9 application to extract it once again.
Extract the DDU Application to run the DDU installer - Press the Windows key, hold the shift key and press the Restart button to open the computer in safe mode.
- Open the DDUv18.0.4.9 folder, then open the Display Driver Uninstaller application.
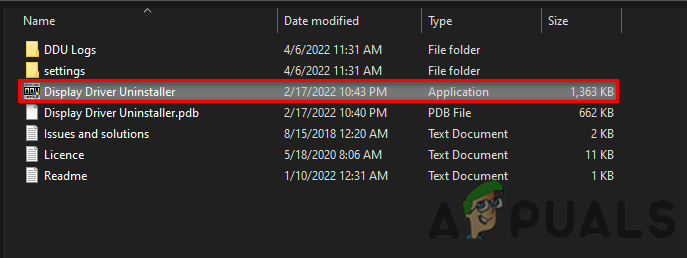
Run Display Driver Uninstaller - Select your device type on the top right then select your GPU manufacturer.
- Uninstall your graphics drivers by clicking on Clean and Restart, after uninstallation it will reboot your computer

Click on Clean and Restart on DDU

Install Graphics Drivers
If you are using Laptop then we recommend you to install your graphics drivers from the Laptop manufacturers’ website because they have the best graphics driver for each Model and also ensure the best gaming performance.
In case this method does not detect the latest drivers for your computer then we suggest you install your drivers from the manufacturer’s website.
- Press the Windows key and search device manager, open the device manager.
- Click on the drop-down menu of Display adapters, right-click on the Microsoft Basic Display Adapters then select the Properties option.

Click the Properties option in the device manager - Select the Update Driver option from the Driver tab.
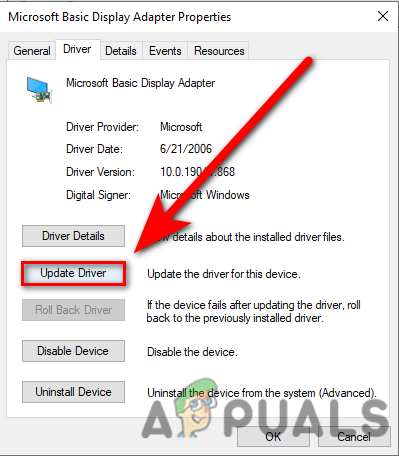
Click on Update Driver in the device manager - Click on the Search automatically for drivers, it will automatically install the best drivers for the computer.
Install or update direct X
As we mentioned before, DirectX includes d3d program files that are used to render 3d dimensions, D3d errors can also appear because of the outdated DirectX or missing files of DirectX.
DirectX installer installs the DirectX and if your DirectX is outdated it will automatically update.
follow the below steps to update and install the DirectX:-
- Open your favorite browser and search DirectX12 download.
- Go to the first link, the link must belong to Microsoft.
- Once the website is opened, It should start the downloading, if it’s not then click on the click here to download manually.
- After downloading, double click on the application and follow the instruction to install and update DirectX.
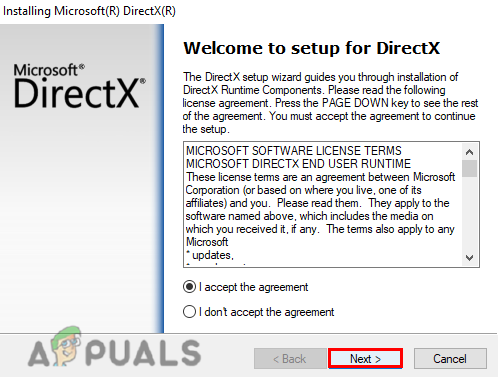
Install directX12
Disable Discord Overlay
Discord Game Overlay brings up Discord while playing a game. it shows messages and calls and also it will display users while they speak something.
Discord Overlay takes your Ram usage and if your computer specs are not high enough then it makes your game slow and it can throw errors, that’s why disabling the discord overlay might fix the D3D Error.
Follow the steps to disable the discord overlay:-
- Open discord, go to settings, and scroll down a left pane.
- Find the Game Overlay option under the Activity settings.
- You should see an Enable in-game overlay button on the top, disable that.
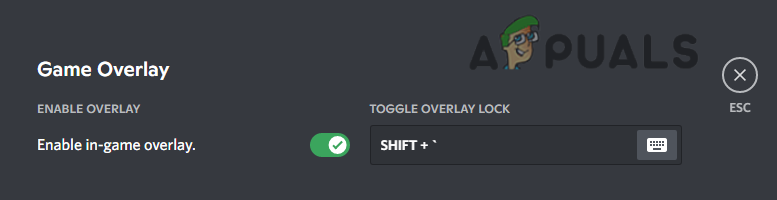
Disable game overlay from discord
Disable XMP from Bios
XMP or Extreme Memory Profiles allows you to change memory settings by simply selecting a different profile. Users enable XMP to take the advantage of this option for running a Ram at a higher speed than normal.
Basically, this option is designed for easily overclocking your Ram by changing some memory settings although this option is beneficial, it can cause the Fatal D3D error, users have reported in forms that disabling the XMP fixed their error.
Follow the steps to disable the XMP:-
- Shut down your computer and press the power button to open it again.
- Once you saw the logo screen, press the function key that will take you to bios settings.
- If you don’t know your Bios settings key, it should be on the bottom right or left of the logo screen.
- Once done, find the XMP setting and disable XMP.
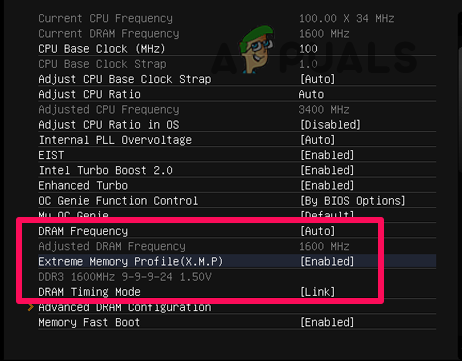
- Save your changes, restart your computer and check if the error persists.
Reset Bios settings
We know that some users are unable to find the XMP option in the BIos setting and they are no longer to disable that option because if your Ram is not advertised means if you have a basic motherboard Ram then you might not disable the XMP option in a profile, for that reason simply reset your bios setting will help you.
Here is how you can reset your Bios settings:-
- Restart your computer, once you saw the logo screen press the function key to access the bios settings.
- Press the F9 key to reset your settings to default.
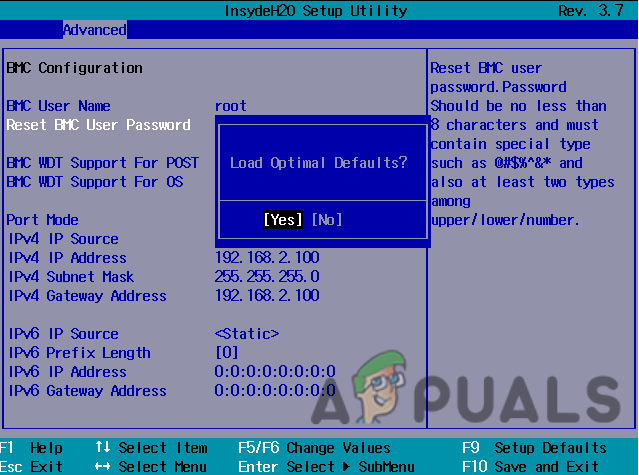
Reset Bios settings to default - Save your changes and restart your computer and check if the error persists.
Revert Overclock
If you overclock your Graphics card then revert it to default settings because it may fix your error, overclocking the Graphics card definitely increase the performance but it also can bring bad things for your graphics card like it can damage hardware component of your GPU and it can overheat your graphics card, for that reason, it can cause a Fatal D3d error.
Reset Overclock with MSI Afterburner (if applicable)
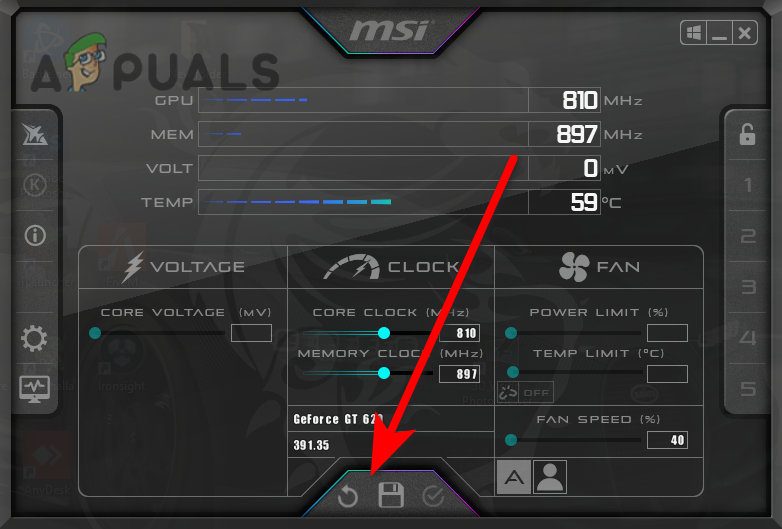
There are two ways to reset your overclock settings one is with Msi afterburner and the other is to uninstall the afterburner:-
- You can reset the overclock settings by just clicking on the reset button like below in the image.
- The other way is you can uninstall the Msi afterburner from the Control panel, it will automatically revert to default settings.
- Press Windows + R to open Run Window and type Appwiz. cpl then hit enter.
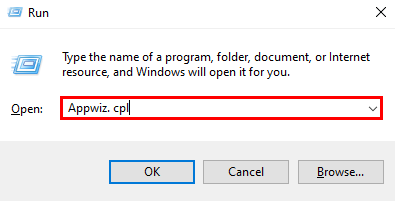
Type Appwiz.cpl in the Run Window - Double Click on MSI Afterburner to uninstall the MSI Afterburner.
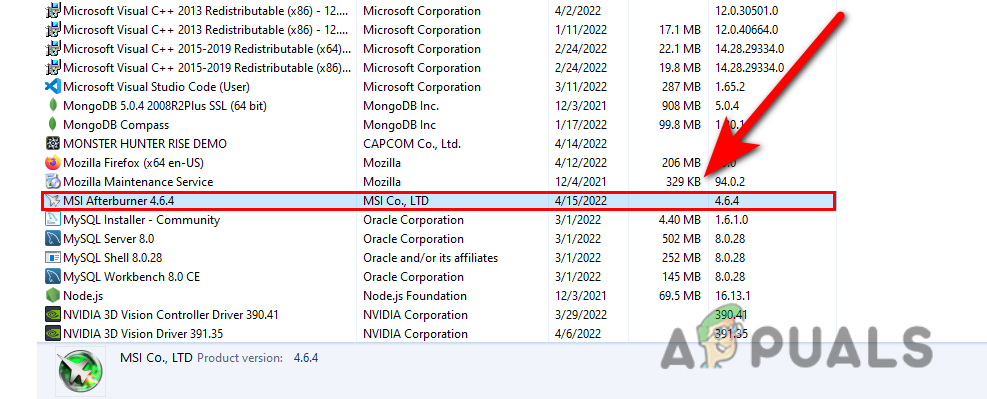
Uninstall the MSI Afterburner - once the uninstallation is finished, check if the error persists.
Run game in low settings
Change your game settings into Low because if your computer is unable to run Monster Hunter Rise in the default setting then you can apply the below settings to fix this:-
- Disable the Vsync option in the settings.
- Low your game resolution.
- Low your graphics settings.
- Disable all the onscreen stats
Delete Cache shader file from Monster Hunter Rise
This method is not a permanent fix, because you have to do it every time before the game starts basically users have reported that deleting the Cashe shader file from the game installation directory fixed their error and they are able to play a game without freezing, flickering and the game looks smooth.
- Open steam, go to the library, Right-click on Moster Hunter Rise and select properties.
- Click on Local Files and the open game directory by clicking on the browse button.
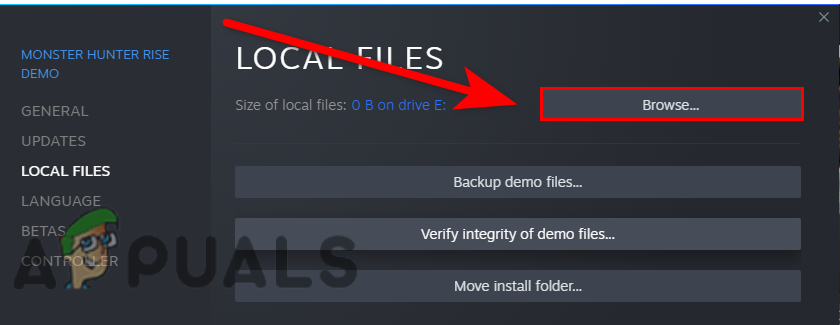
Browse the Monster Hunter Rise - Delete the shader.Cache2 file.
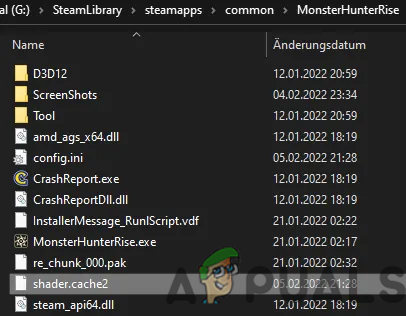
Delete the cache shader file - Once done check if the error persists.
If none of these methods are working for you can try to re-install your game.


real simple way to fix this is to raise pagefile to atleast 8096mb
which should be done anyways for dx12 titles
due to how dx12 caching works