Fix: “No Connection Could Be Established” on Farming Simulator 19
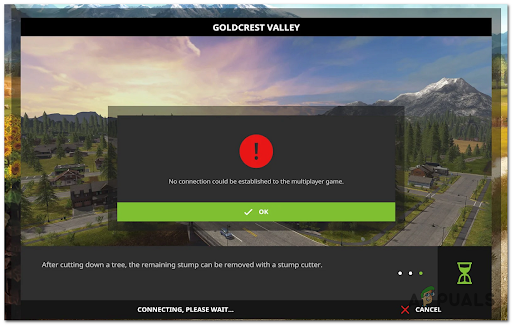
One of the most common errors that Farming Simulator 19 players have encountered is the “No connection could be established to multiplayer game.” error. While trying to join other players to play together, the message appears on their screen, not letting them play. This error is reported to occur encountered on PC, PlayStation, or Xbox consoles.
After many reports were made about this error, we’ve done an in-depth investigation and come up with a shortlist of potential culprits that might cause this error:
- Server issues – One of the principal causes for this error is the servers having problems. While the servers are under maintenance, you won’t be able to play the game. And this has happened consistently in the past. All you can do is to search online if there are problems with the server to not waste your time, and if there are you can only wait until they are fixed.
- Missing the latest update – Players suggest that this error could be also caused by your game being out of data. This is making the game incompatible with other players that have a different version. Make sure that you have the latest updates installed for this game.
- Inconsistent DNS – Another cause for this error could be a bad DNS range that is affecting your PC’s ability to establish connections with certain game lobbies. You can fix this by switching your DNS to the range provided by Google.
- Disabled UPnP – Some affected players suggest that another cause that might trigger this issue is the NAT not being opened for your network. If you have the UPnP option available on your router, you might be able to fix this by enabling the option from the router settings. If the option is not available, you can try to manually forward the ports used by Farming Simulator 19
- Corrupted cache files – Some corrupted temporary files that are being stored inside your console might be the cause of this error. This can be simply fixed by performing a power cycle on your console to clean the cache files.
Now that you are aware of all the possible causes for this error, here is a list of all the methods that will help you fix this Farming Simulator 19 error:
1. Check for server errors
Before you jump straight to the practical fixes, you first need to make sure that the servers are working properly, and there are no problems that might trigger this error.
Fortunately, you can always check the status of the servers on the official Giants forum. On this page, players always post about server errors, as well as other issues that they encounter while playing the game.
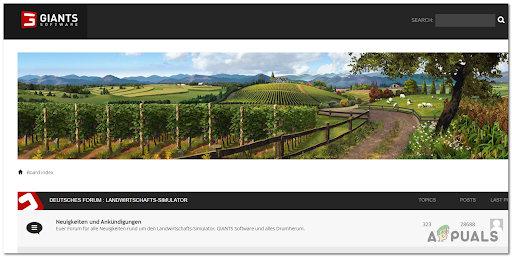
See if you can find any questions asked by players or reports and feel free to create your own post. This way, you will see if others encounter the same issue and if it is caused by the server.
If the cause for you “No connection could be established to a multiplayer game.” error is the servers being under maintenance, the only thing you can do is to wait until the developers solve the problem.
In case the servers weren’t the cause for this error, as there’s no ongoing problem that affects the game, move over to the next method below.
2. Install the latest multiplayer patch
Players are reporting that you need to make sure that you have the latest multiplayer patch installed on your PC, as well as your friends that you want to play with.
This error might be happening because your version of the game is incompatible with the mods that you’re using. In this case, the only option is to update the game to the latest version to make sure every maintained mod is supported.
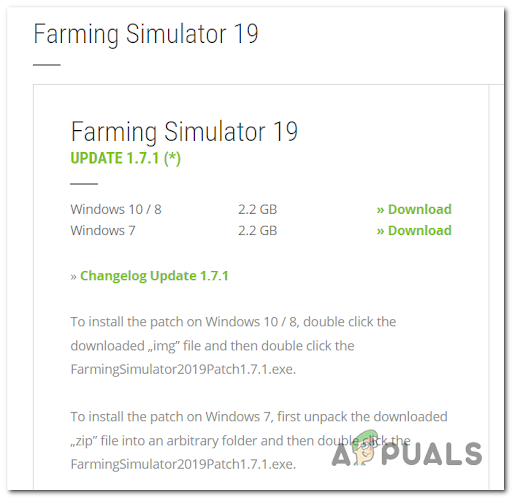
In case you think that the game is not up to date with the updates, you can visit the Farming Simulator official page where you will find the latest updates.
Download and install them to make sure that you are having the newest updates installed.
Note: In case you have the game on other platforms like Steam or Epic Games Store, your game will be automatically updated, so these updates will not be available.
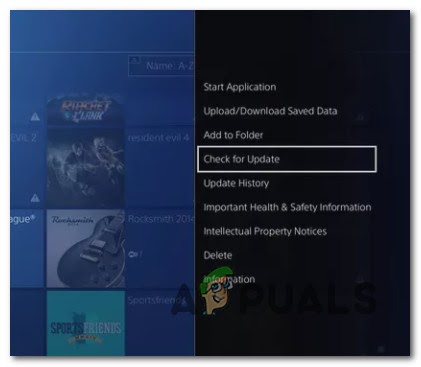
If you encounter this issue on PlayStation consoles, check manually for available updates from the Library.
If the error still occurs even after updating your game, check below the next potential fix.
3. Change DNS to Google (do for both PC and console)
Another cause for this error is could be the DNS (Domain Name Address) being inconsistent. This is a common thing that is happening for people with ISP (Internet Service Providers) that are using Level 3 nodes.
If this scenario is applicable, you can fix this by migrating the current DNS range to the one facilitated by Google.
But because the game is available on a lot of different platforms, the instructions you need to follow are different from platform to platform.
To make things clear for you regardless of the platform that you’re playing on, we’ve made a guide for every platform that people have reported encountering the error on.
Here are the guides you need to follow in order to change the DNS to Google:
Change the DNS to Google on PC
If you’re encountering this issue on PC, you need to access the Properties screen of the network you’re connected to, then you need to adjust the Internet Protocol Version 4 (IPv4) and Internet Protocol Version 6 (IPv6).
Here’s how you can do it:
- Open a Run dialog box by pressing the Windows key + R buttons, then type ‘ncpa.cpl’ inside the search box and press the Enter to open the Network Connection window.

Open the Network Connection menu - Now that you are inside the Network Connection window, right-click on Wi-Fi (Wireless Network Connection) or Ethernet (Local Area Connection), depending on which of these are you using.
- After that, you need to click on Properties from the newly appeared menu.
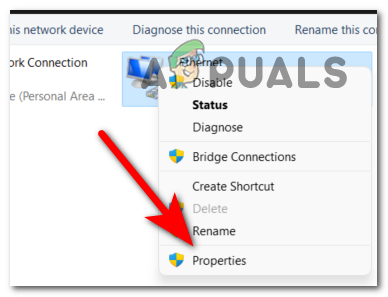
Accessing the Properties screen of network - Once the Proprieties are on your screen, access the Networking section, then navigate through the list named This connection uses the following items.
- Scroll down until you see Protocol Version 4 (TCP / IPv4) and check the box next to it, then click on Propreties.
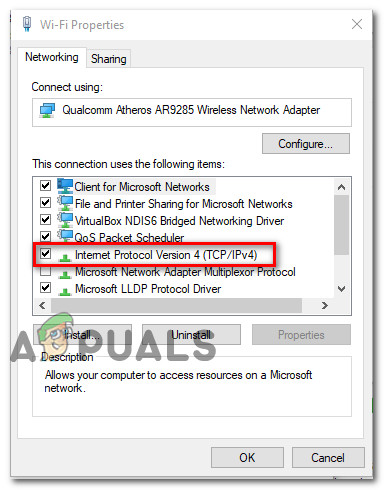
Accessing the Internet Protocol version - After that, you need to replace the Preferred DNS server with 8.8.8.8, and the Alternate DNS server with 8.8.4.4.
- Once you’ve done that, return to the initial menu and do the same thing for the Internet Protocol Version 6 – Change the Preferred DNS server with 2001:4860:4860::8888 and Alternate DNS server with 2001:4860:4860::8844.
- When you are done with that, restart your PC and test Farming Simulator 19 when it boots back to see if the error still occurs.
Change the DNS to Google on PS5
In case you are encountering this error on a PlayStation 5 console, all you have to do is to set up a new manual connection and choose to manually specify the DNS. Here’s how you do it:
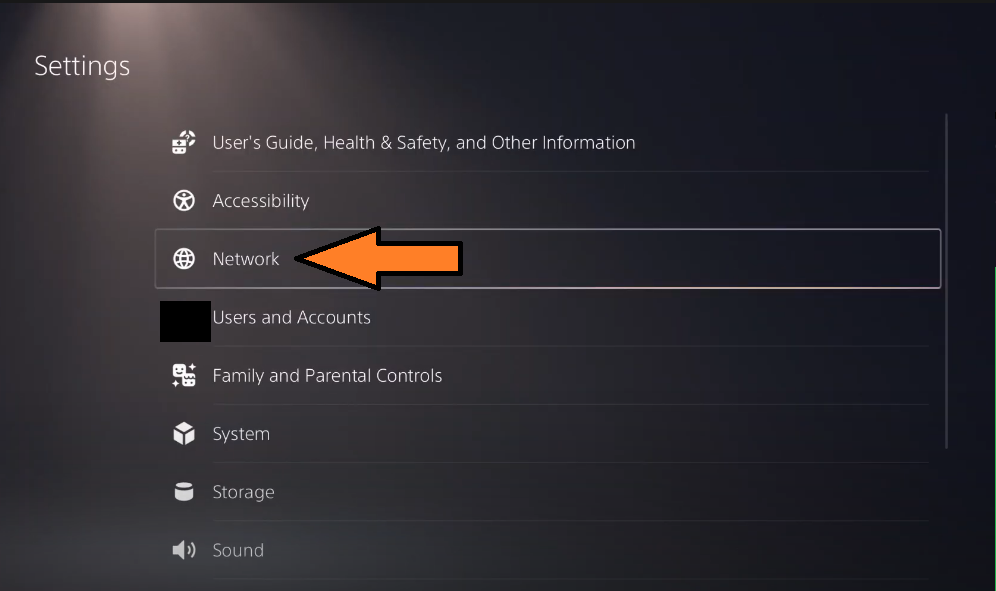
- Go to the main menu of your PlayStation 5 console, then go to the Settings menu in the top-right corner of your screen.
- Once you’ve done that, access Network, then click on the sub Settings menu.
- After that, access the Set Up Internet Connection tab and scroll down until you see Set up Manually, then access it.
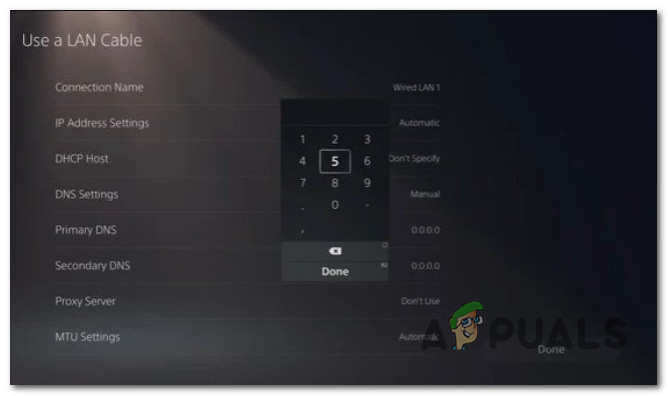
Set up the DNS manually on PS5 - Now choose the type of connection that you’re using from Wi-Fi or LAN before choosing DNS.
- After you’ve done that, change the Primary DNS to 8.8.8.8 and Secondary DNS to 8.8.4.4.
Note: If you want to use IPv6, use the following values:Primary DNS: 208.67.222.222 Secondary DNS: 208.67.220.220
- Once you’ve done that, save the newly made changes to apply the new connection, then test Farming Simulator 19 to see if the error still appears.
Change the DNS to Google on PS4
The steps to change the DNS on your PlayStation 4 console are similar to the steps for PlayStation 5, but there are small differences. Here are the steps you need to follow:
- Go to the main menu of your PlayStation 5 console, then go to the Settings menu in the top-right corner of your screen.

Accessing the settings menu on Ps4 - Once you are inside the Settings menu, go to the Network tab and choose Set Up Internet Connection.
- Next, you need to choose Custom to be able to establish a custom DNS range.
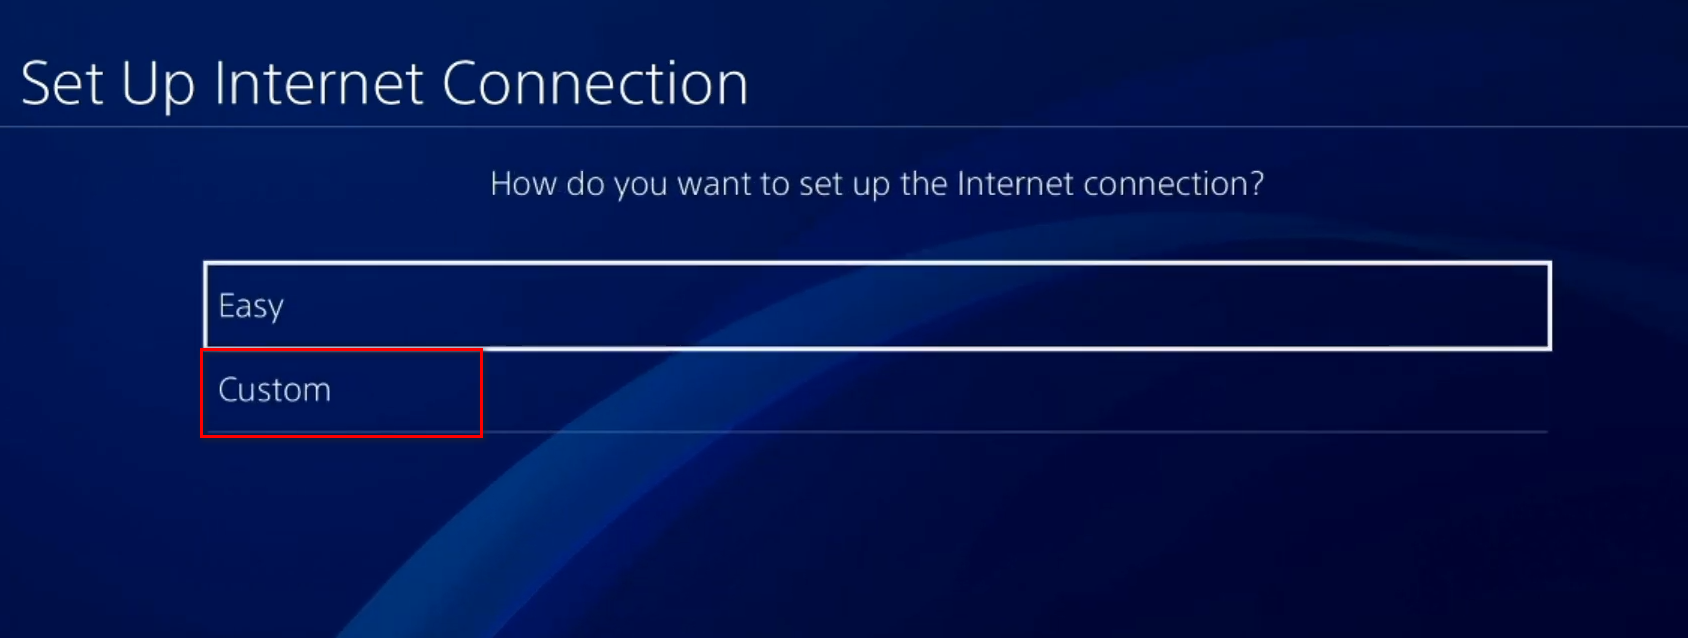
Access the Custom Internet Connection - After that, you need to choose Automatic.
- When you find yourself at the DHCP Host Name prompt, click on Do Not Specify.
- Now you need to choose Manual, then set the Primary DNS to 8.8.8.8, and the Secondary DNS to 8.8.4.4.
Note: In case you want to use IPv6, use the following values:Primary DNS - 208.67.222.222 Secondary DNS - 208.67.220.220
- Once you’ve done that, save the changes and launch the game to see if the “No connection could be established to multiplayer game.” error still occurs.
Change the DNS to Google on Xbox One and Xbox Series X
In case you want to change the DNS on your Xbox consoles, the instructions you need to follow will work for both the Xbox One and Xbox Series X. Here’s how you do it:
- Go to the main menu of your Xbox console, open the guide menu by pressing the Xbox button. After that, access the All Settings menu.
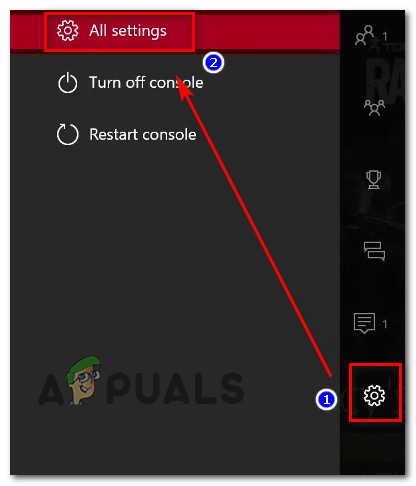
Access the All Settings menu - Once you’ve done that, access the Network section from the menu on the right side and choose Network Settings.
Accessing the network settings - After you are inside the Network menu, access the Advanced Settings from the left-side section.
- Now you need to choose DNS settings, then choose Manual.
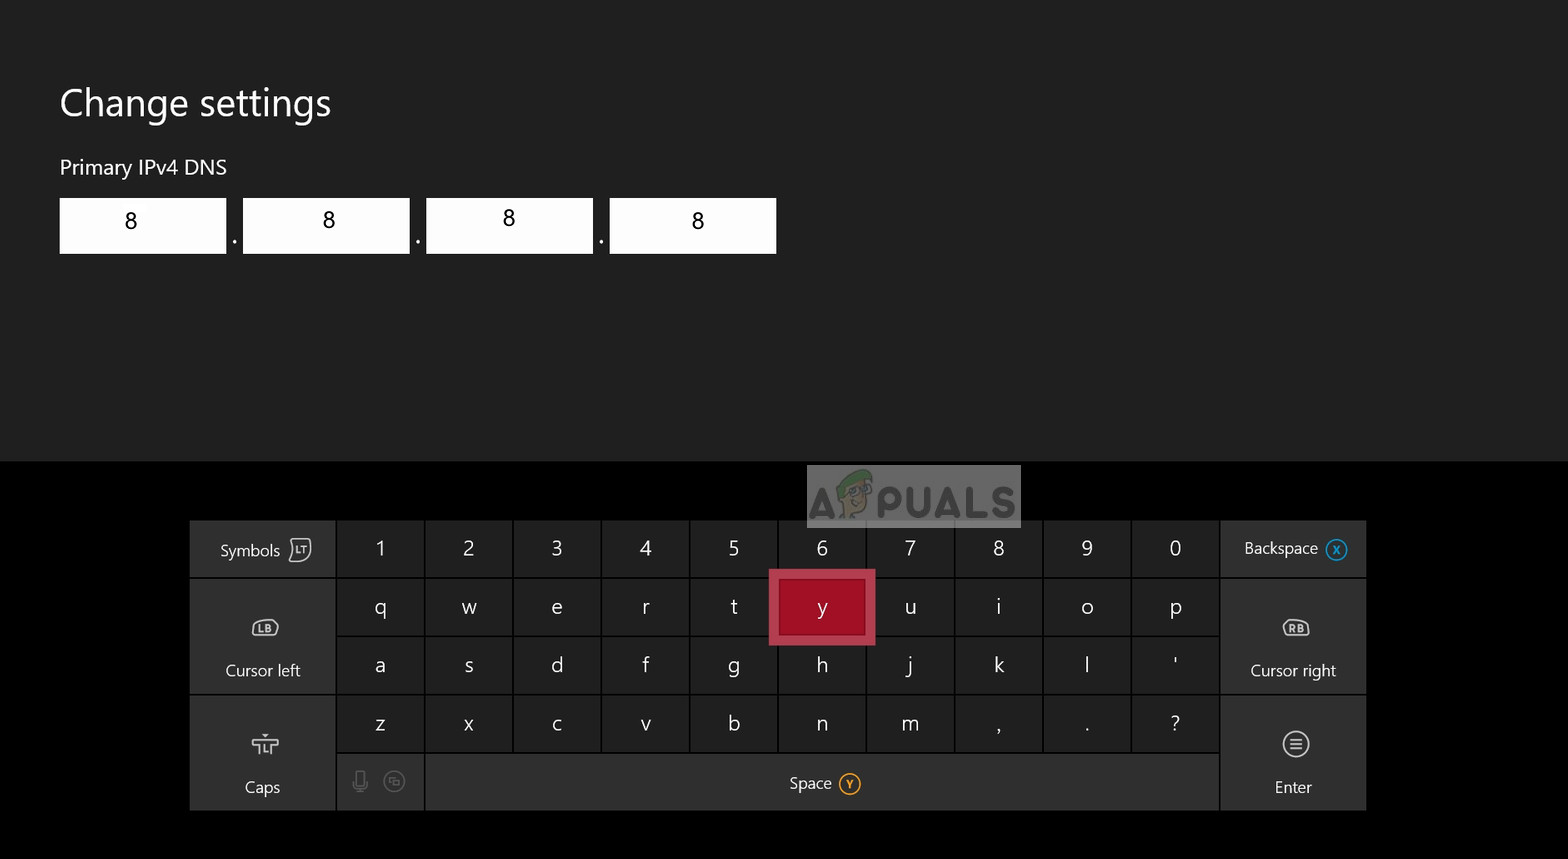
Changing the DNS - Now you need to change the Primary DNS to 8.8.8.8, and Secondary DNS to 8.8.4.4
Note: Use the following values for IPv6: Primary DNS: 8.8.8.8 Secondary DNS: 8.8.4.4 - Now you can test the game to see if you still encounter the error.
In case you’ve tried this method and it wasn’t helpful as you’re still seeing the same Farm Simulator error, go to the next potential fix below.
4. Enable UPnP
Some affected players have reported that this Farming Simulator 19 error could be also caused by the fact that the Network Address Translation (NAT) is not opened for the network that your console is connected to. They enabled the UPnP option from the router settings to manage to fix this issue.
Note: In case your router does not support the UPnP option, you can skip this method and check the next one.
In case you don’t know how to enable the UPnP option, here is the guide:
- Make sure that your console or computer is connected to the router that you want to enable the UPnP option on.
- Open the browser you want to use and type inside the search bar 192.168.0.1 or 192.168.1.1, then open the router Settings by pressing Enter.
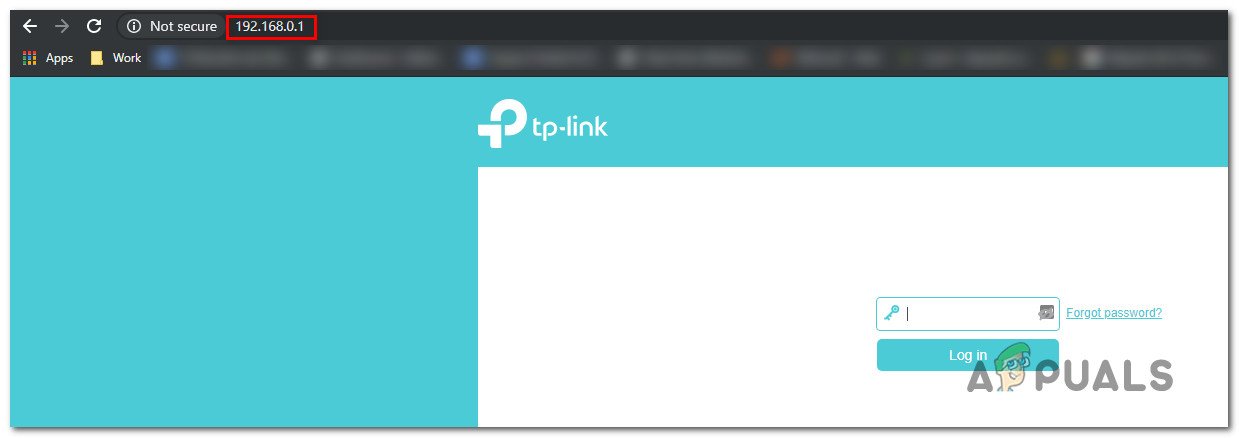
Accessing the Settings page of your router Note: Use your specific IP router address in case yours is different.
- Once you are at the initial screen, enter the credentials of your router. The default credentials are ‘admin’ for username and ‘1234’ for password.
- Now that you’ve managed to access the router’s settings, choose the Advanced menu and go to the NAT forwarding section, then scroll down until you find the UPnP sub-menu.
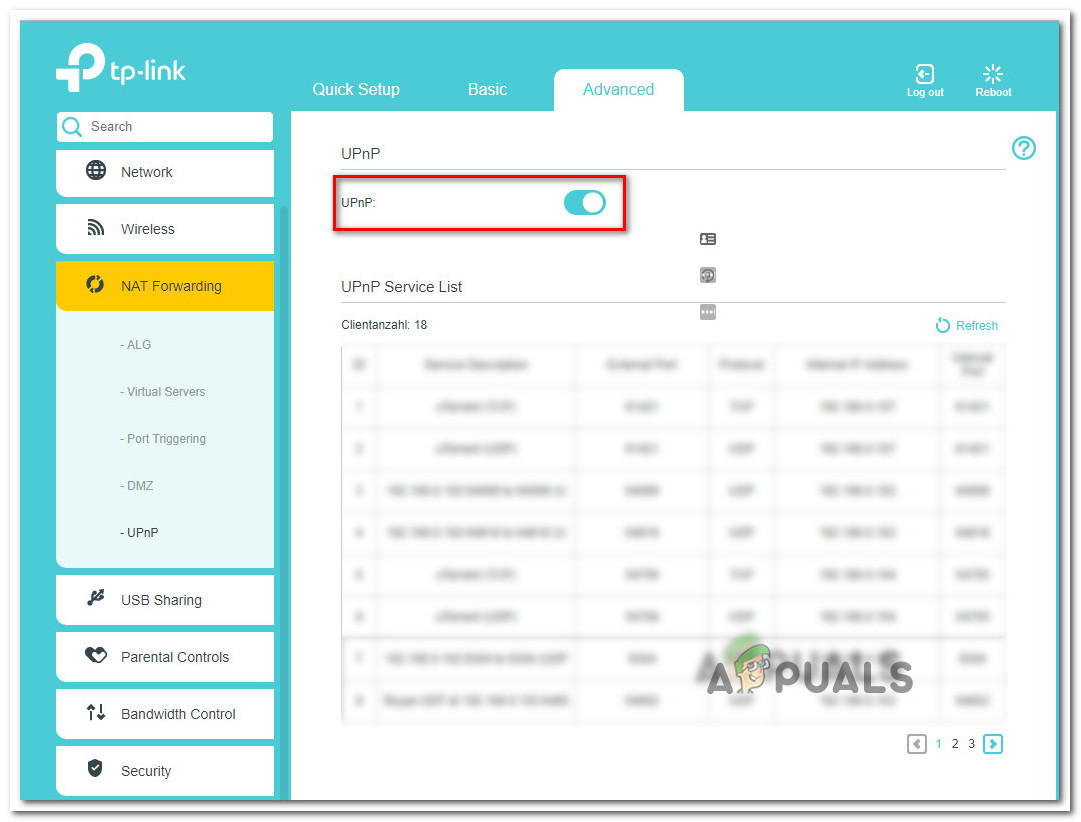
Access UPnP Note: Not all the menus are similar, so if yours is different and you can’t manage to find the option, search online for instructions.
- After you’ve done that, enable the UPnP option, then reboot your router and PC or console.
- Once the console or PC boots back, launch Farming Simulator 19 to see if the error still occurs.
In case the UPnP option is not available on your router, try the method below.
5. Forward Farming Simulator 19 ports
For the people that can’t use the UPnP option, the alternative is to manually forward the ports used by Farming Simulator 19. This way you will make sure that your network is able to allow incoming network requests from the Farming Simulator 19 servers.
Here are the steps you need to follow in order to manually forward the Farming Simulator 19 ports:
Note: Depending on your router manufacturer, to instructions might be different from one to another. If you encounter difficulties, search online for the exact instructions.
- Open your preferred browser and type inside the search bar 192.168.0.1 or 192.168.1.1, then press Enter to access the router settings.
- After that, you need to enter your login credentials to access the settings of your router.

Router credentials Note: The default credentials are admin for username and 1234 for the password, but in case you’ve previously changed them, enter the new ones. Search online for instructions if you haven’t changed them and the default doesn’t work.
- Once you manage to enter your credentials, expand the Advanced / Expert menu and click on Port Forwarding / NAT Forwarding option.
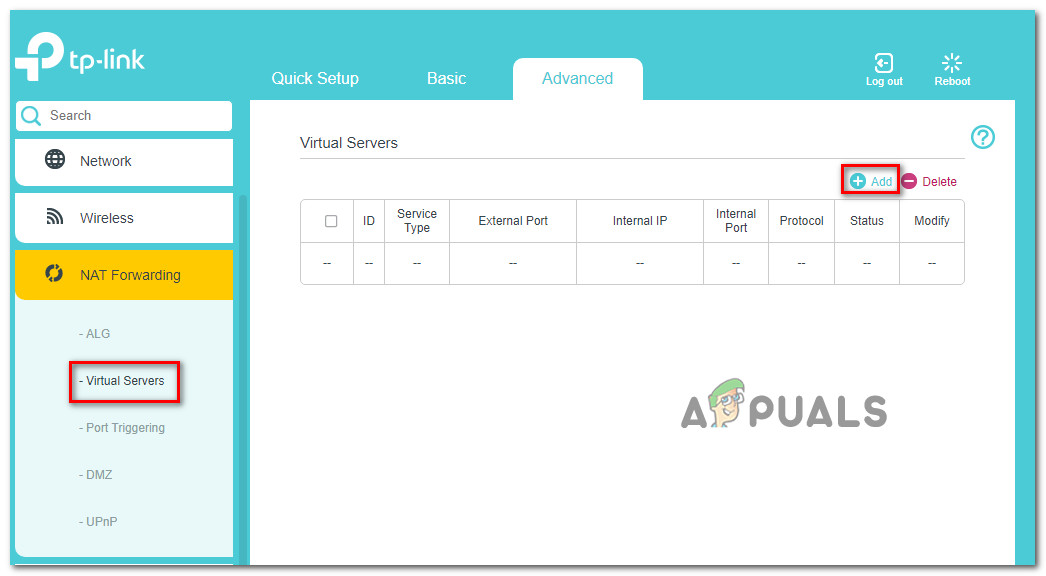
Forwarding the ports manually - After that, you need to manually open the ports below to make sure that your network will accept incoming connections from Farming Simulator 19.
- Here are the ports you need to open, depending on the platform you’re using:
PC

TCP: 10823
UDP: 10823

Steam

TCP: 10823, 27015, 27036
UDP: 10823, 27015, 27031-27036

Playstation 4

TCP: 3478-3480
UDP: 3074, 3478-3479, 10823

Xbox One

TCP: 3074
UDP: 88, 500, 3074, 3544, 4500, 5000, 10823
- Once you’ve managed to forward the ports, restart your computer, then launch Farming Simulator 19 to see the error still occurs.
6. Power cycle console (only for PlayStation and Xbox)
The last thing you can try in order to fix the “No connection could be established to a multiplayer game.” error is to power cycle your console. This error could also happen because of some corrupted cache files that are being stored inside the console. This method has helped some affected players to fix this issue.
In case you don’t know how to power cycle your console, here are the instructions for both the Xbox and PlayStation consoles:
Performing a power-cycle on Xbox consoles
The instructions for the Xbox One and Xbox Series S / X are identical, so here’s how you can do it:
- The first thing you need to make sure of is that your console is fully turned on.
- Press the Xbox button on your console and hold it for 10 seconds until you see the LED has stopped flashing.
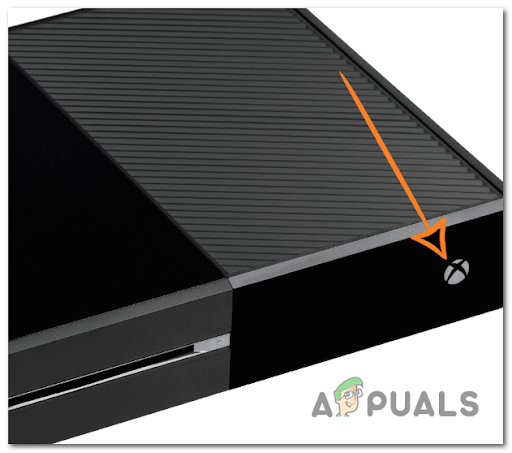
Press the Power button - Once the console is completely turned off, unplug the power cable from the socket and wait a minute at least to make sure that the process is complete. After that, plug the power cable back in.
- After that, turn the console on and if you see the start-up animation, the procedure is complete.

Xbox Starting Animation - Once the console is on, launch Farming Simulator 19 to see if the error still occurs.
Performing a power-cycle on PlayStation consoles
Here are the steps on how to power-cycle your PlayStation console:
For PlayStation 4
The PlayStation 4 power capacitors need a bit more time to clear themselves of energy, so make sure that you do the steps properly:
- Make sure that your PlayStation 4 console is turned on. Now you need to press the power button on your console and hold it until you hear the fans inside the console are turning off.
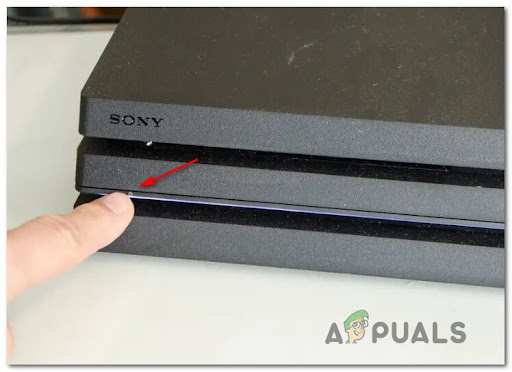
Press the Power button - Now make sure that the console is turned off completely and you don’t hear any sound made by your PlayStation. Unplug the power cord from the socket and wait for at least a minute to make sure that the energy is drained.
- Once the time has passed, plug the power cord back in the socket and start the console.
- After it fully turns on, open Farming Simulator 19 to see if you still encounter the error.
For PlayStation 5
To power cycle a PlayStation 5 console, you need to do the same things as before, the only difference is that it takes a bit more time to drain the energy completely. Here’s how you do it:
- When the console is turned on, press the power button on your console and hold it until you don’t hear any sound coming from inside the console.
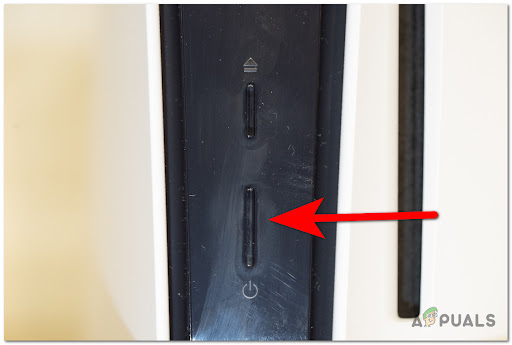
Press power button - You need to wait until the power light stops flashing. Now you need to unplug the power cord from the socket and leave the console for at least 20 minutes to make sure that the energy is completely drained from it.
- Once the time has passed, plug the power cord back in the socket and turn on the PlayStation 5 console.
- When you find yourself at the main screen, launch Farming Simulator 19 and test it to see if you still encounter the “No connection could be established to multiplayer game.”.


