How to Fix EXCEPTION_ON_INVALID_STACK BSOD in Windows?
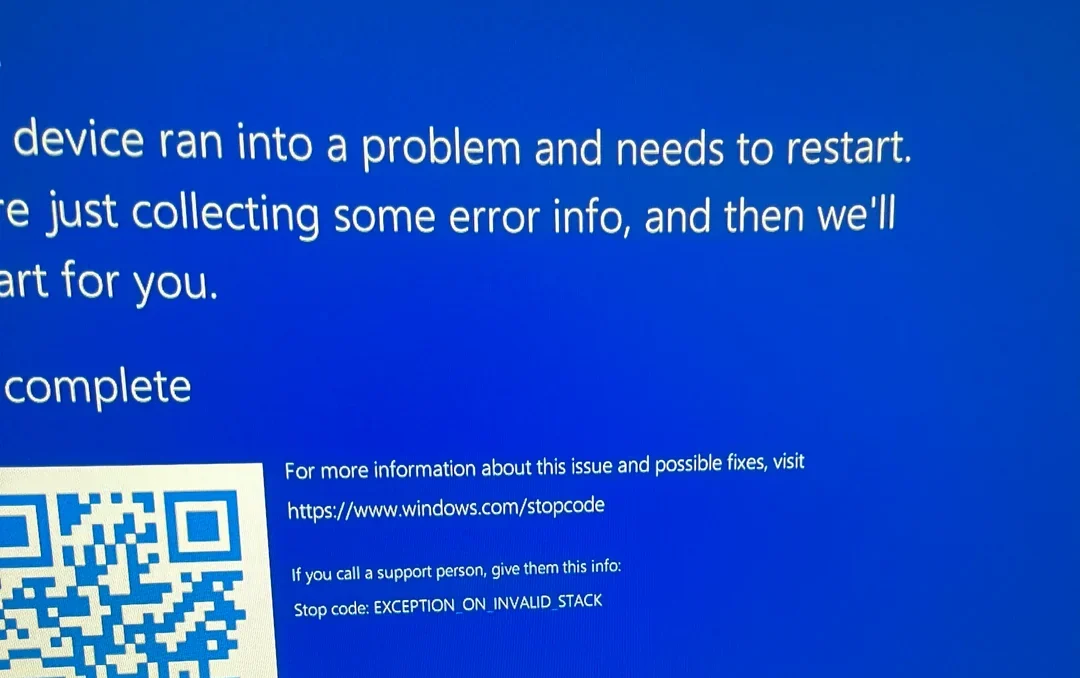
When users experience the Blue Screen of Death (BSOD) in Windows 11 with the stop code “EXCEPTION_ON_INVALID_STACK” (0x000001AA), it indicates a critical system error where the kernel stack has been corrupted. This error typically occurs when the system attempts to handle an exception, but the process crosses into an invalid or corrupted kernel stack, leading to the crash.
The root causes of this error often include:
- Faulty Drivers: Corrupt or incompatible drivers can interfere with proper memory handling at the kernel level, triggering this error.
- Memory Issues: Corrupted system memory or problematic RAM can cause improper stack management, leading to system crashes.
- Overclocking and System Instability: Overclocking hardware can introduce instability, causing improper memory handling and stack corruption.
Many users have reported encountering the “EXCEPTION_ON_INVALID_STACK” error when attempting to launch games, especially those using kernel-level anti-cheat systems or driver-based anti-tamper mechanisms. Games like Vanguard in Valorant operate with high-level privileges to detect cheats and prevent tampering. Any incompatibility or bug within these systems can lead to serious crashes, such as a BSOD.
In this article, we will discuss solutions to solve this problem.
1. Run SFC and DISM
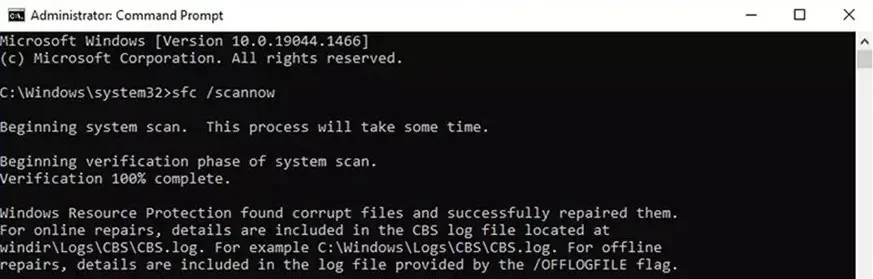
This problem could be caused by corrupted system files, which can be repaired by running the SFC (System File Checker) and DISM (Deployment Image Servicing and Management). SFC scans and fixes corrupted system files, while DISM repairs Windows images.
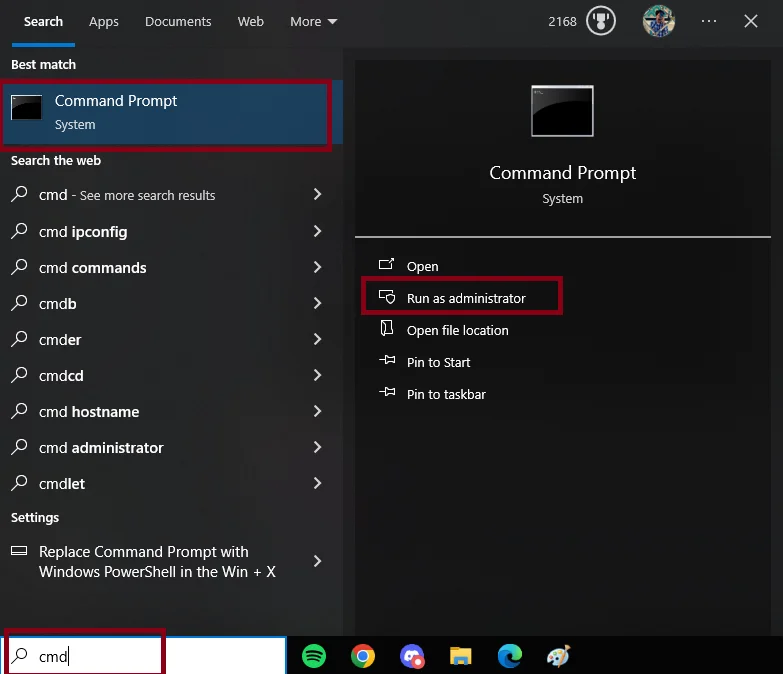
- Press Windows + S to open the search box and type Command Prompt.
- Right-click on Command Prompt and select Run as Administrator to open it with administrative privileges.

- In the Command Prompt window, type the following commands one by one and press Enter after each:
sfc /scannow
DISM /Online /Cleanup-Image /RestoreHealth
- After the commands finish, restart your PC.
2. Run CHKDSK
This issue might be caused by hard drive errors. The CHKDSK (Disk Error Checking) utility can scan and fix disk drive-related errors.
- Press Windows + S to open the search box.
- Type “Command Prompt” in the search box.
- Right-click on Command Prompt and select Run as Administrator.
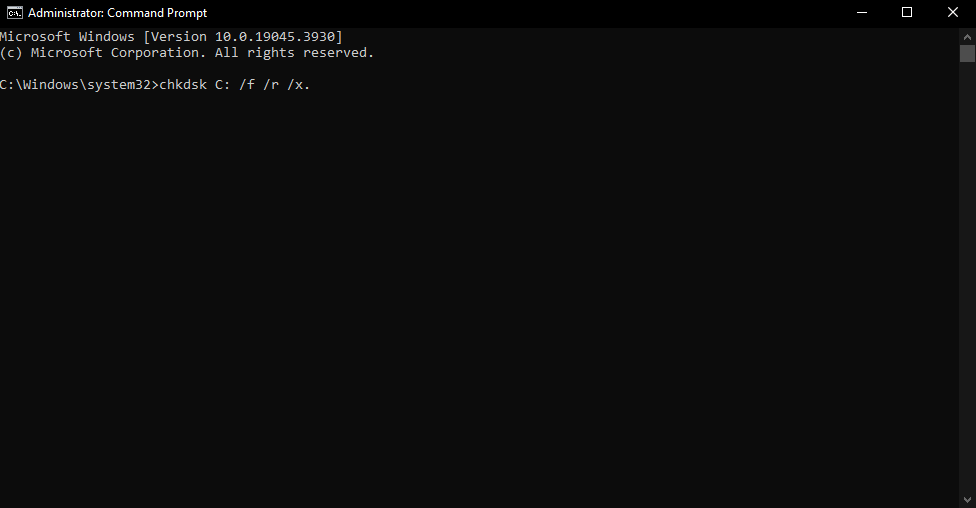
- Type the following command and press Enter. Note: Replace “C” with your current Windows drive if different.
chkdsk C: /f /r /x
- Once the scan is complete, restart your PC.
3. Check for Faulty Hardware Devices
Faulty RAM can cause this error. You can run Windows Memory Diagnostic to check for RAM issues. Also, check your GPU for problems as resource-heavy tasks might stress the GPU.
- Press Windows + S and type “Windows Memory Diagnostic” in the search box. Click on the application that appears.

- Click on “Restart now and check for problems (recommended)“.
Note: Save all your work because your PC will restart.
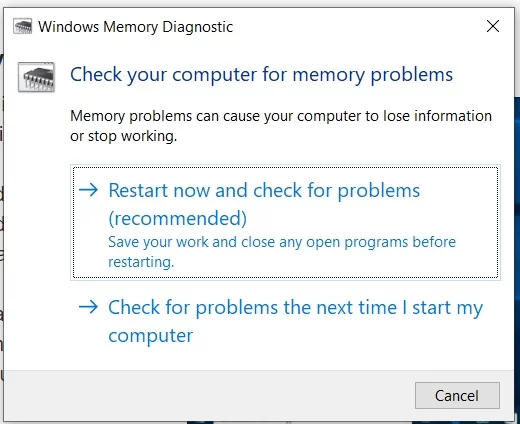
- Allow your PC to restart and run the diagnostic. Wait for it to complete and follow any on-screen instructions.
Additionally, you can use the Passmark MemTest 86 program to check your RAM as well. For details, check out our article here.
4. Perform a System Restore
If this issue started after a Windows update or a new driver installation, perform a system restore. Windows automatically creates restore points that allow you to revert to a previous state.
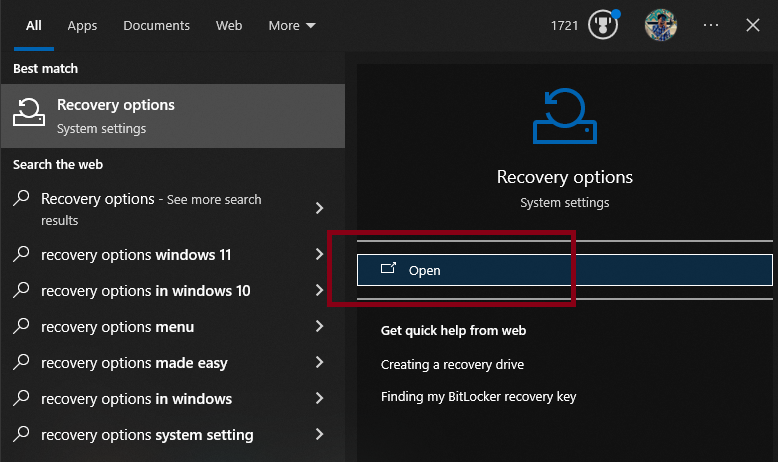
- Press Windows + S, type “Recovery options” in the search box, and hit Enter.
- Under Advanced Startup, click “Restart now”.
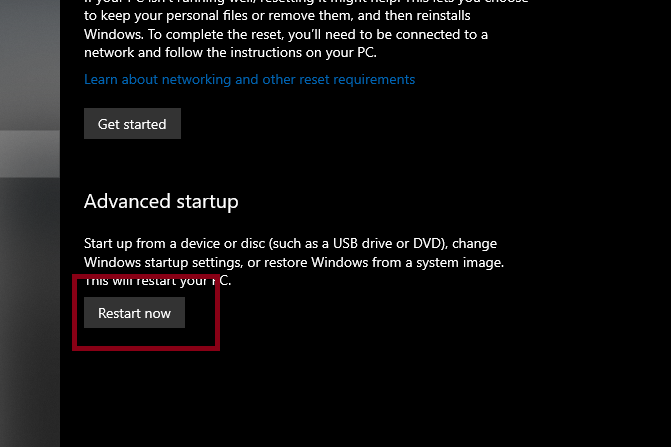
- Once your PC restarts and loads Windows Recovery mode, follow these steps:
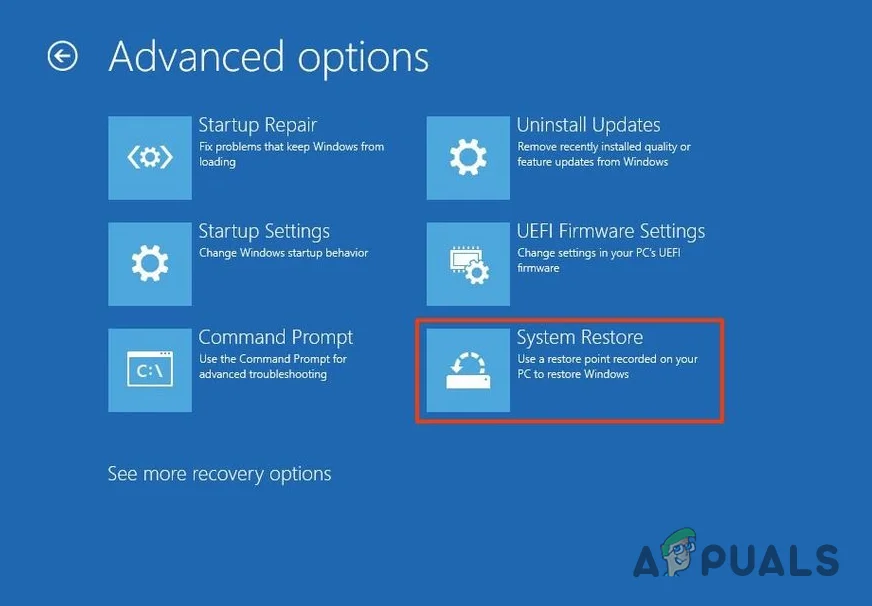
- Click on Troubleshoot, then go to Advanced Options and select System Restore.
- Select your user profile and enter the password if prompted.
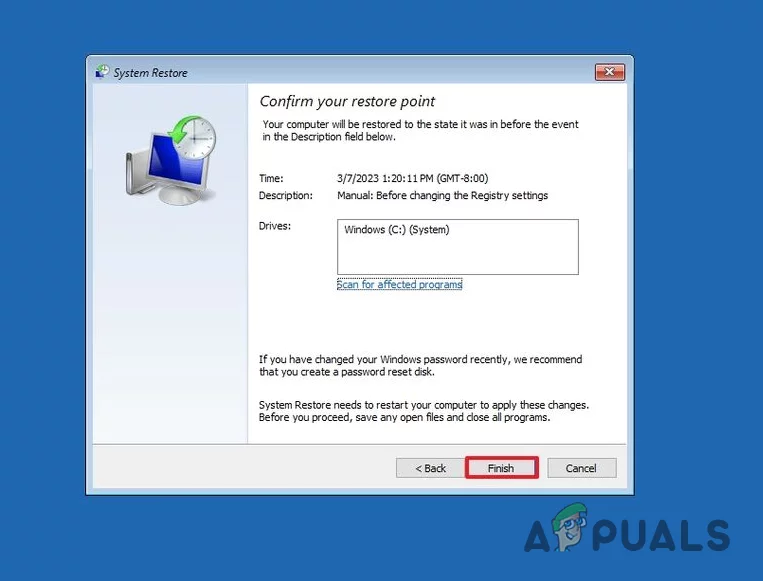
- Choose a system restore point from before you started experiencing issues and click “Next”.

- To start the restoration process, click the “Finish” button.
5. Clean Install Windows
If none of the solutions work, you can reinstall Windows. This will delete all your programs and files causing problems and install a fresh version of Windows. This should solve your issue.
You can check our detailed article on how to clean install Windows 11.


