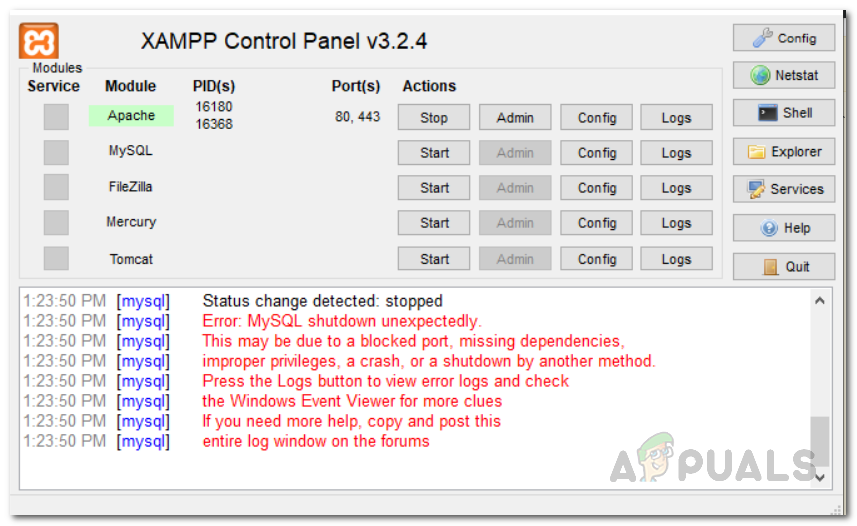
Error: MySQL Shutdown Unexpectedly? Here’s how to fix
Some users have been experiencing the “Error: MySQL shutdown unexpectedly” error message when they try to start the MySQL server through the XAMPP web server control panel. In some cases, the problem appears after users reinstall XAMPP on their computer. The reason this happens is when the MySQL files are corrupted or damaged in which case you will have to use the backup folder that can be found in the mysql directory. In this article, we will be taking you through the process of fixing this said error message so you do not have to worry about anything.
Using the XAMPP web server is really convenient and easy, but it does have its share of issues like the localhost refusing to connect error message and more. As it turns out, users often think that their databases are corrupted after facing the issue in question. However, that is not the case and you do not have to worry about losing your data as this issue can be quite easily circumvented. In addition to that, there have been solutions surfacing on the internet where users are asked to delete the ibdata1 file inside the mysql directory. The ibdata1 file is basically the system tablespace for the MySQL storage engine known as InnoDB. While deleting this file may fix the issue in certain cases, it is also very likely that it can make your database unusable. Therefore, it isn’t really recommended unless you do not care about the data that is stored in your database.
To resolve the problem in question, we will simply be using the backup folder inside the mysql directory to replace the contents of the data folder. In addition to that, if the MySQL service is running prior to the error, that can also cause the problem in some cases. In such a scenario, you will have to stop the service and then see if the problem is resolved. With that said, let us get started and show you how to resolve the problem without any further delay.
Use MySQL Backup Folder
As it turns out, when you are facing the MySQL shutdown unexpectedly error message, you will have to use the backup files that are stored in the backup folder of the mysql directory. This is included with XAMPP and the process is rather simple and straightforward. Before we proceed, it is recommended that you create a backup of your database in case anything goes wrong so that you do not lose any of your data.
In this method, we will be simply replacing the contents of the data folder inside the mysql directory with the contents of the backup folder. Doing this won’t make you lose your data so you don’t have to worry about that. With that said, follow the instructions given down below to do this:
- First of all, go ahead and close the XAMPP web server completely.
- Once you have closed the web server, navigate to the folder where xampp is installed. By default, you will find xampp at “C:\xampp”.
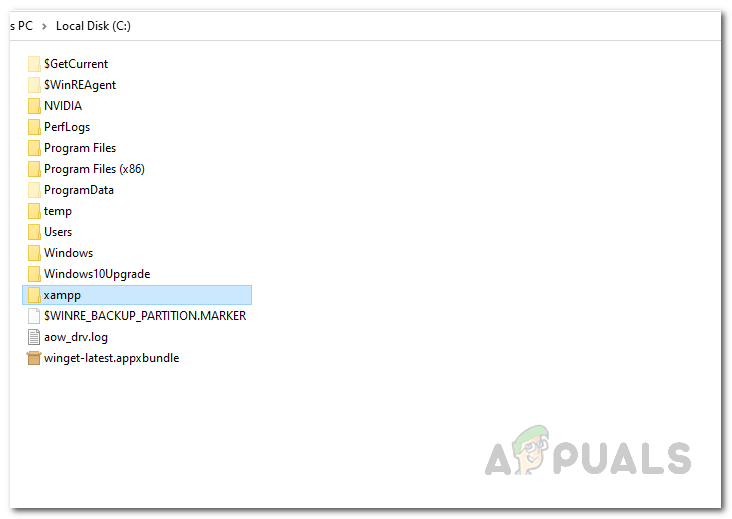
Opening up XAMPP Folder - Inside the xampp folder, open up the mysql folder.

Opening up MySQL Folder - Now, in the mysql folder, locate the data folder and rename it to data_old.
- Once you have done that, right-click and from the drop-down menu, create a new folder by going to New > Folder in the mysql directory. Name this newly created folder data.
- After creating the data folder, go ahead and open up the backup folder. Copy the contents of the backup folder and paste them inside the newly created data folder.
- Once you have done that, head back to the data_old folder and copy your database folders from there to the new data folder.
Note: Skip the mysql, performance_schema and phymyadmin folders from the data_old folder.

- After you have done that, copy the ibdata1 file from the data_old folder and replace it with the one inside the new data folder.
- Now that you have done all of that, go ahead and run XAMPP as an administrator. Once the XAMPP Control Panel is open, try starting the MySQL server to see if the problem still exists.
Repair MySQL Database with Shell
In addition to the above method, you can also try to resolve the problem by trying to repair the mysql server using the Shell located inside the XAMPP Control Panel. If you are looking for more of a command line approach, this is the solution for you. Here, we will first try to open up the mysql server using the shell and then try to repair the mysql database in a different shell window. To do this, follow the instructions given down below:
- First of all, open up the XAMPP Control Panel.
- From the XAMPP Control Panel, open up a shell by clicking the Shell button provided.
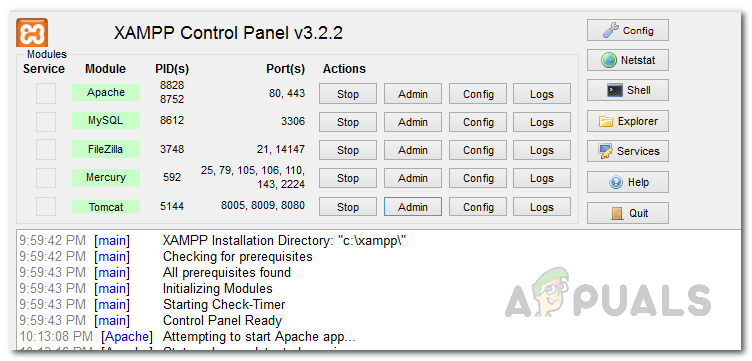
XAMPP Control Panel - Once the shell is open, enter the following command to start mysql:
mysqld --console --skip-grant-tables --skip-external-locking
- After that, go ahead and open another shell window from the control panel.
- In the new shell window, copy and paste the following command to repair the database:
mysqlcheck -r --databases mysql --use-frm
- Once you have done that, stop mysql from the first shell window and then close both of the shell windows.
- After that, go ahead and restart mysql to see if the problem is still there.
Stop MySQL Service
As it turns out, the problem can also be caused by the MySQL service in some cases. This happens when the MySQL service is running before you try to start the mysql server via the XAMPP Control Panel. In such a case, you will have to simply stop the MySQL service from the Windows Services window. The services running on your system can sometimes cause different issues when they are malfunctioning like failing to connect to a Windows service and more so it’s nothing really to worry about. With that said, follow the instructions down below to stop the service:
- First of all, open up the Run dialog box by pressing the Windows key + R keys on your keyboard.
- In the Run dialog box, type in services.msc and then hit Enter.
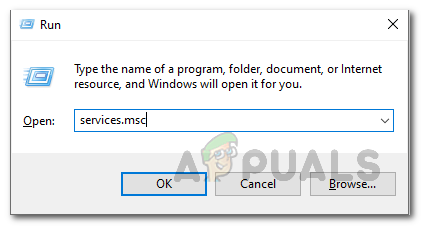
Opening Windows Services Window - You will be able to see a list of all the services on your system in the Services window that opens up.
- From the list of services, locate the MySQL service and then right-click on it. From the drop-down menu, choose Stop.
- Alternatively, you can simply highlight the MySQL service and click the Stop button on the left-hand side.
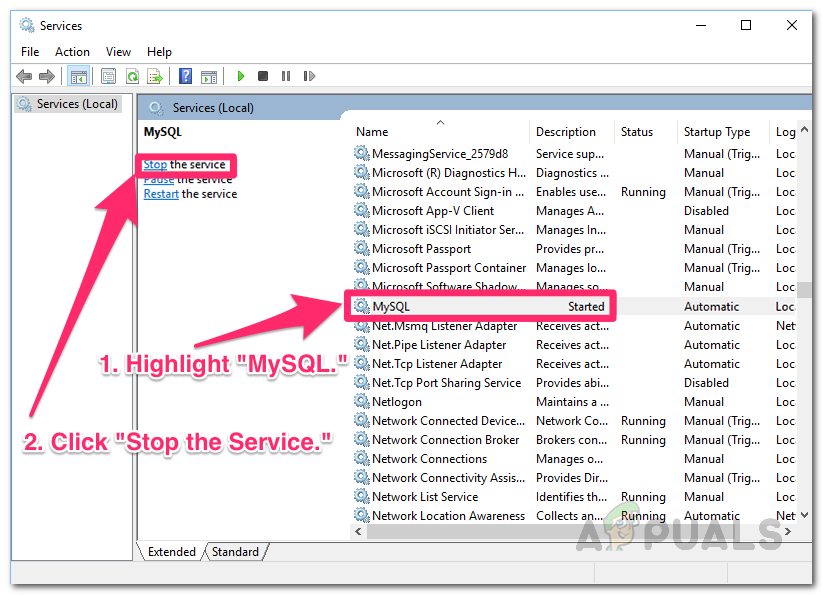
Stopping MySQL Service - Wait for the service to stop. After that, try starting the MySQL server manually from the XAMPP Control Panel to see if the problem still occurs.
Change Client and Server Ports
In some scenarios, the problem can also be caused by the ports that are being used by the MySQL server. This can happen when the ports that MySQL server is trying to use are already being used by another service or when the said ports are blocked on your system. To resolve the problem, you will have to change the client and server ports from the my.ini file. To do this, follow the instructions given down below:
- First of all, open up the Windows Explorer and navigate to the xampp installation directory.
Opening up XAMPP Folder - Inside the xampp folder, make your way to mysql > bin.
- Then, in the bin folder, open up the my.ini file in a notepad. This can be done by right-clicking on the file and choosing Open with > Notepad.
- Once the my.ini file is open, look for the client and server port as shown in the picture down below and change them.

Editing Client and Server Port - After that, save the file and open up XAMPP again.
- Finally, try starting the MySQL server to see if the error is still there.


Thanks, very much helpful.