How to Fix “Error Code: VAN -79” in VALORANT?
Error Code: VAN-79 in VALORANT appears when the game fails to establish a secure connection between the client, Riot Vanguard, and the authentication servers. This connection failure typically stops you from signing in or joining any matches right after launch.
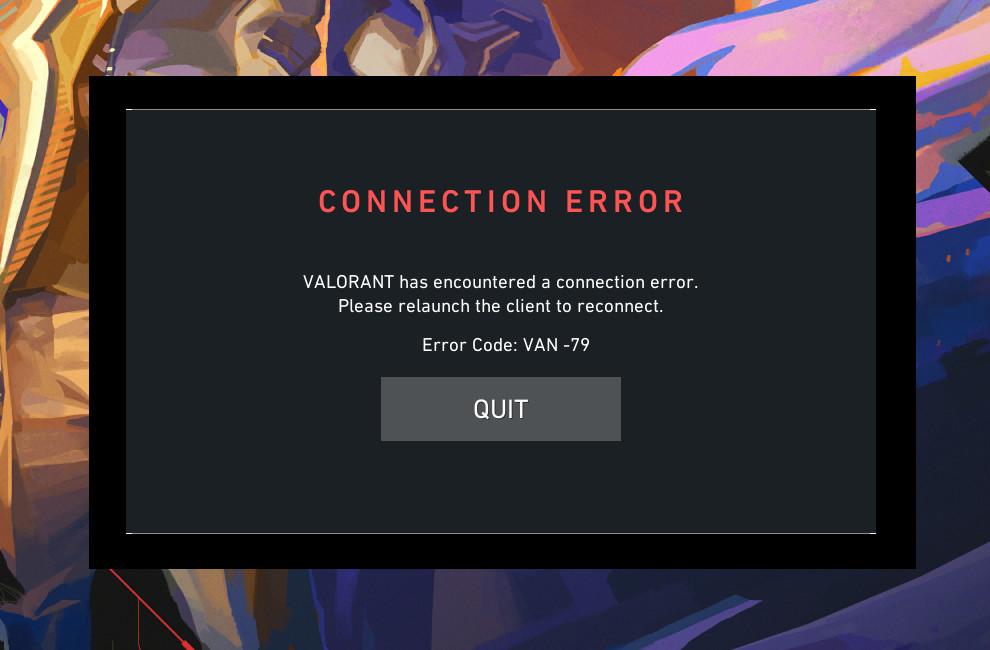
In most cases, this error triggers immediately after opening the game. Instead of launching normally, VALORANT shows the message “VALORANT has encountered a connection error. Please relaunch the client to reconnect.” followed by VAN-79. This is usually a sign that Vanguard isn’t fully operational or something on the system is blocking its handshake with Riot’s servers.
Most confirmed causes behind this error include:
- Vanguard Service Failure: The VGC or VGK service is disabled, delayed at startup, or not loading correctly.
- Network Restrictions: VPNs, proxies, or firewalls blocking Riot’s authentication endpoints.
- Corrupted Game Path or Driver Links: Moved or missing files breaking Vanguard’s validation checks.
- System Stack Conflicts: Outdated Winsock, DNS cache issues, or conflicting drivers interrupting Vanguard initialization.
Now that the key causes are clear, below are a few proven fixes that have successfully resolved this error for many users.
1. Set the VGC Service to Start Automatically
For VALORANT to connect properly, the Vanguard Service must be running before the client starts. If it’s disabled or set to manual in the Windows Service Manager, the game will fail to launch because its anti-cheat layer never initializes. Setting it to start automatically ensures Vanguard is always ready when you turn on your PC.
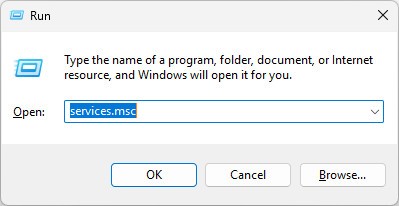
- Press Win + R and type: services.msc
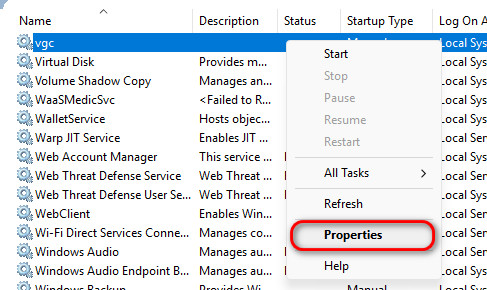
- Scroll down and find vgc service.
- Right-click on it and select Properties.
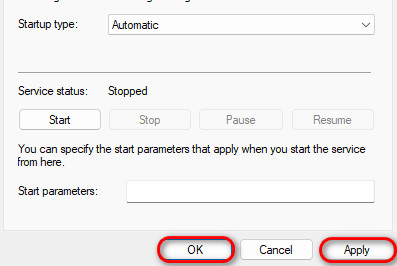
- Under the General tab, set Startup type to Automatic.
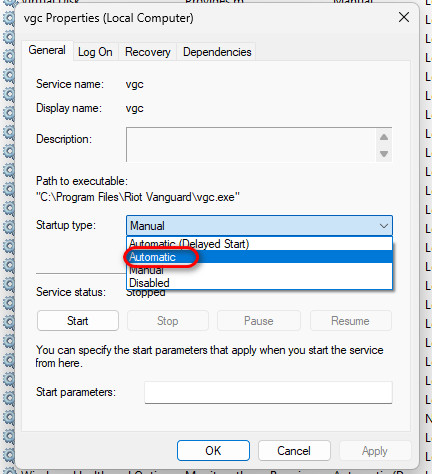
- Click Apply and then OK.
- Restart your computer and try launching VALORANT.
2. Reinstall Riot Vanguard
Over time, Vanguard’s background services or files may get corrupted. Reinstalling the anti-cheat resets all its components, cleans broken links, and restores proper driver registration. This often clears out conflicts that block VAN-79.
- Close the Riot Client completely.
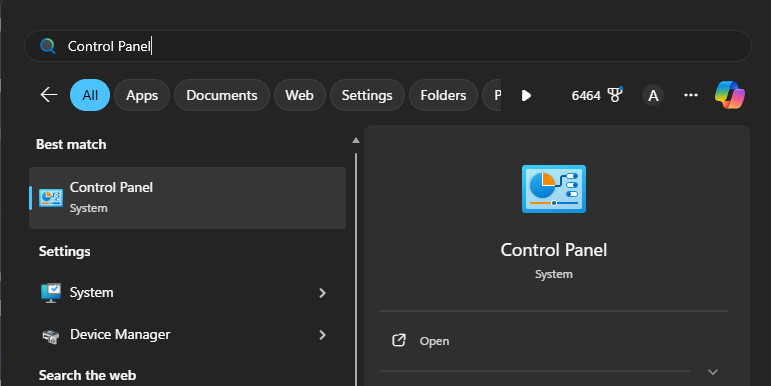
- Open Control Panel using the search bar.
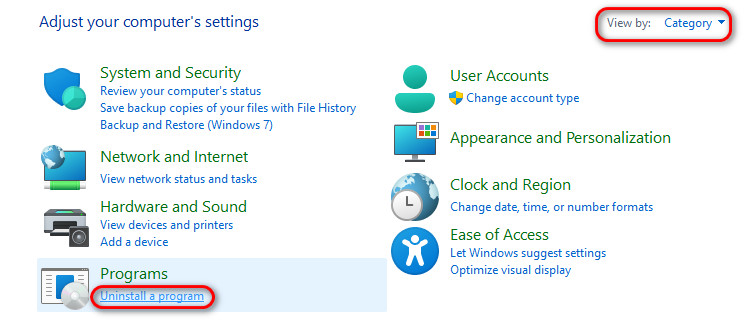
- Click Uninstall a program under Programs (set “View by” to Category if needed).
- Find Riot Vanguard, right-click, and select Uninstall.

- Restart your computer.
- Open Riot Client again and install Vanguard when prompted.
- Launch VALORANT to verify if the issue is gone.
3. Run Windows Commands to Disable Test-Signing and No Integrity Checks
If Windows is running in test-signing mode or no integrity check mode, Vanguard may refuse to load because these settings bypass standard driver validation. Disabling these modes forces Windows to restore secure verification, which is essential for Vanguard to operate properly.
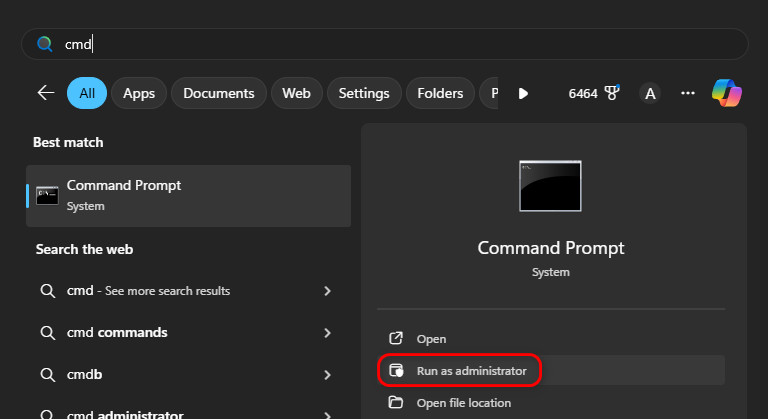
- Type cmd in the search bar and select Run as administrator.
- Enter the commands below and press Enter after each:
bcdedit.exe /set testsigning off bcdedit.exe /set nointegritychecks off

- Restart your computer and try running VALORANT again.