How to Fix “Error Code: BLZBNTBGS7FFFFF01” in COD: MW Warzone
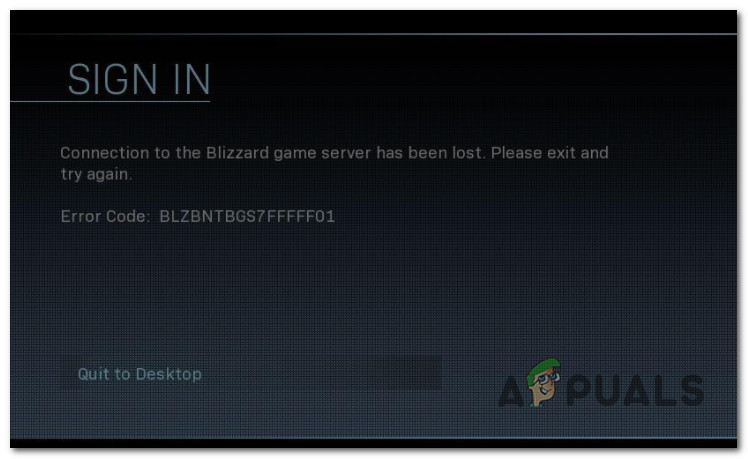
Some Call of Duty Modern Warfare players is experiencing a weird issue where the game terminates the connection to a Warzone server with the error code BLZBNTBGS7FFFFF01 (Connection to the Blizzard game server has been lost. Please exit and try again).
We’ve investigated this particular issue thoroughly to figure out the underlying problem that is currently affecting so many Call of Duty players currently. To our surprise, there are actually a few several different underlying issues that are often blamed for causing the BLZBNTBGS7FFFFF01.
Here’s a list of scenarios that might force your game client to disconnect from the Warzone server:
- Warzone is not updated – When you start troubleshooting this issue, the first thing you should do is ensure that Call of Duty Modern Warfare or Call of Duty Vanguard is updated with the latest version available. Battle.Net is sketchy when it comes to forcing the latest available game version when you cross-launch, so you might need to do it manually.
- The incorrect region is selected – Since Warzone is a game that uses dedicated servers to facilitate online matchmaking, it’s important to select the correct region inside Battle.net. This might be the reason why you’re experiencing the error. To fix it, open Battle.Net and adjust the region to the correct one.
- Missing admin access – Depending on your UAC (User Account Control) settings, you can also experience this error due to the fact that the game (or the game launcher) doesn’t have admin access. Without admin access, the connection with the game server will likely not be established. To fix this issue, you’ll need to force admin privileges on both the game and the game launcher (if necessary).
- Expired Battle.Net Login token – As it turns out, one of the most common causes that might be responsible for this issue is an expired Battle.Net login token that the game expects. This typically during prolonged periods spent in the game lobby. To fix this issue, you’ll simply need to log out of the Battle.Net app and log in again before restarting the game.
- Battle.Net glitch – Another potential scenario that might cause this type of error is a glitch affecting the main launcher that you use to open the game (Battle.Net). Some users that were also dealing with this issue have confirmed that the problem was fixed after they forcibly closed the Battle.net app via Task Manager (while the game was opened).
- Launcher issues – As some affected users have reported, you might be able to bypass this error entirely by opening the game directly from the main executable of the game instead of from Battle.Net. This will be effective in those situations where you get the error at the initial start screen.
- In-game menus are not updated (glitch) – Another method that seemed to be effective for a lot of users is to cross launch the Warzone (from Vanguard or Modern Warfare) and accept the installation of the in-game menu update.
- Game (or game dependency) corruption – Game file corruption is another cause that might ultimately cause the error code when you’re attempting to connect to a Warzone server. If this scenario is applicable, you should be able to fix the problem by forcing a scan & repair operation via Battle.Net.
- DNS inconsistency – A bad Domain Name System inconsistency can also be responsible for this problem. If this scenario is applicable, the best way to fix the issue and make Warzone stable is to make the switch to the DNS provided by Google.
Now that we went over every potential fix that might be causing this issue, let’s go over the actual fixes that should allow you to pinpoint and fix the BLZBNTBGS7FFFFF01 error and play multiplayer Warzone games normally.
Update game version to the latest
When you begin to troubleshoot this issue, the first thing that you should do is ensure that you are running the latest available game version.
Keep in mind that Battle.net is notoriously bad at updating sub-game instances. This is most likely the case with Warzone since it’s most likely a sub instance of Call of Duty Modern Warfare or Call of Duty Vanguard.
If this scenario is applicable, chances are the BLZBNTBGS7FFFFF01 error is occurring due to the fact that the current Warzone version you are attempting to launch is not the latest version available.
If this scenario is applicable, you should be able to fix the problem by using Battle.net to force the game to update manually.
Follow the instructions below for complete steps of making sure you update Warzone to the latest version available:
- First things first, start by closing the Warzone and any instance of Call of Duty that you might currently have running.
- Next, open Battle.Net and log in with your account.
Logging into Battle.Net - Once you’re inside Battle.Net, select your Call of Duty Warzone from the library (left-hand section of the screen), then click on the Settings (gear icon).
- From the context menu that just appeared, click on Check for Updates.
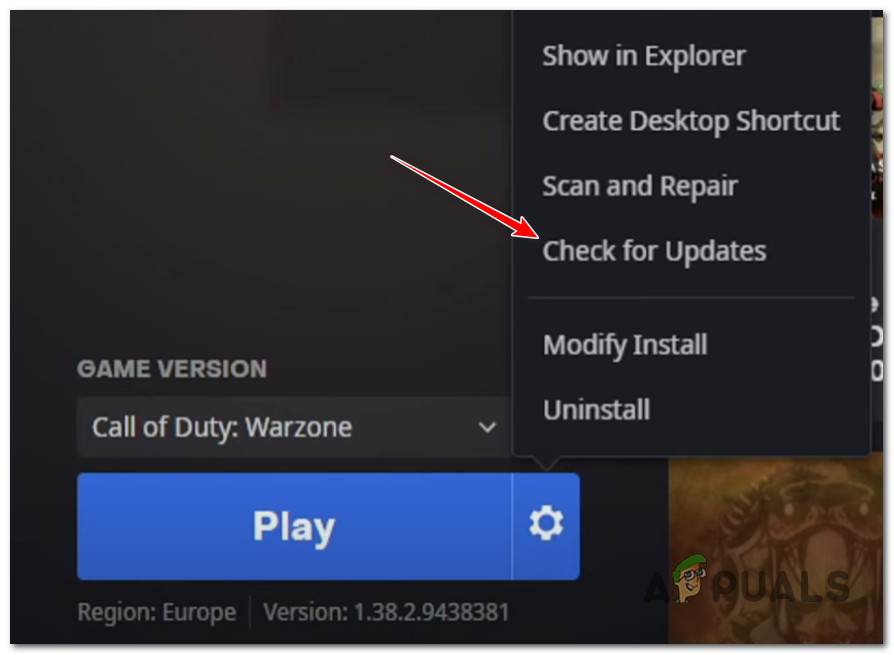
Check for Updates for Call of Duty - If a new game update is found, then follow the on-screen prompts to install the update, then reboot your PC.
- Once the next startup is complete, launch the game again normally and see if the problem is now fixed.
In case the same kind of issue is still occurring, move down to the next potential fix below.
Force the game to run with admin access
Another viable reason why you might notice the BLZBNTBGS7FFFFF01 error occurring on PC is due to missing admin privileges.
This problem is typically an issue on Windows 10 and Windows 11 computers that are using more aggressive UAC (User Account Control) settings.
If the launcher or the main game both lack admin privileges, chances are the connection with the game server will not be established.
To test if this scenario is applicable and fix the issue, simply right-click on the executable that you use to launch the game and click Run as Administrator from the context menu.
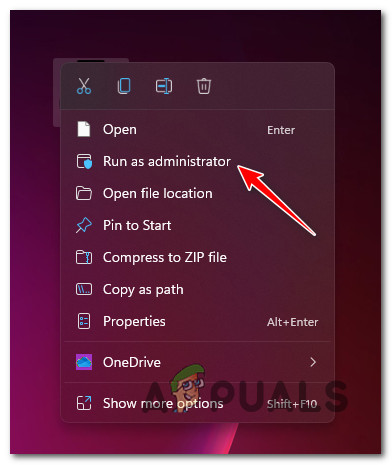
Note: If you launch the game via Battle.net, right-click on Battle.net’s shortcut instead.
If the BLZBNTBGS7FFFFF01 error no longer occurs when you launch with admin access, the issue is solved. The only problem is, you’ll need to repeat this operation every time you launch the game.
Fortunately, you can adjust the Properties menu of both Battle.net and the main game executable so that both of them will run with admin access even when they’re opened conventionally.
For specific instructions on how to do this, follow the steps below:
- Ensure that Battle.net and any instance of Call of Duty are completely closed.
- Right-click on Battle.net and choose Properties from the context menu.
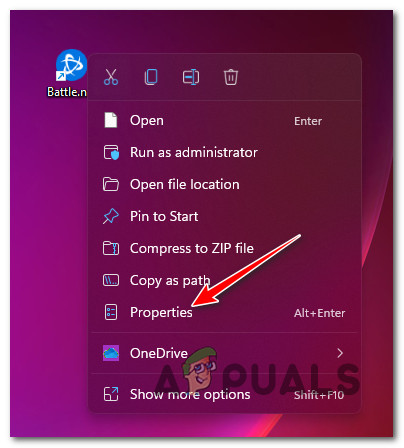
Accessing the Properties menu of Battle.net - Once you’re inside the main Battle.Net Properties menu, access the Compatibility tab from the cluster of menu options at the top.
- From the Compatibility tab, go over to the Settings options and check the box associated with Run this program as administrator.
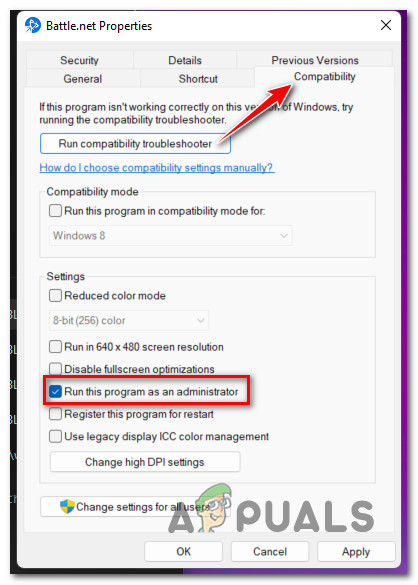
Run this program as administrator - Hit Apply to save the changes.
- Do the same thing (steps 2 to 5) with the Warzone executable and check if the error is now fixed.
In case you’re still experiencing the BLZBNTBGS7FFFFF01 error when you attempt to connect to a Warzone server, move down to the next potential fix.
Log out and back into your Battle.net app
Since the most common scenario that will cause this problem is an expired login token belonging to Battle.net, the first thing you should do when troubleshooting the BLZBNTBGS7FFFFF01 error is to ensure that the token gets refreshed.
This type of issue is only reported on PC and it typically occurs when players spend a lot of time in the lobby (PC enters sleep, then wakes up).
Fortunately, the fix, in this case, is extremely simple – all you need to do is log out from the Battle.Net app and log in again conventionally.
If you’re looking for specific instructions on how to do this, follow the steps below:
- First things first, close Call of Duty: Modern Warfare and bring Battle.Net forward (if it’s running in the background).
- Next, from the main window of Battle.net, click on your account name (top-right) section, then click on the Log Out menu from the context menu that just appeared.
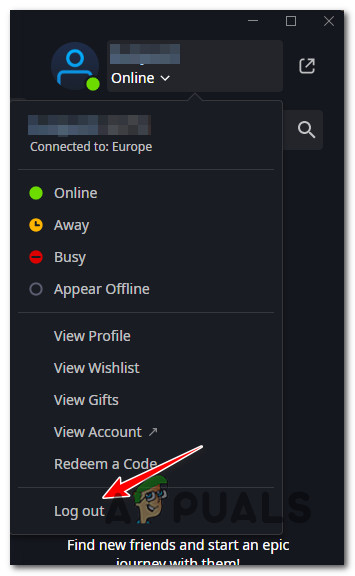
Logging out of Battle.net - At the confirmation prompt, click Yes to confirm the process.
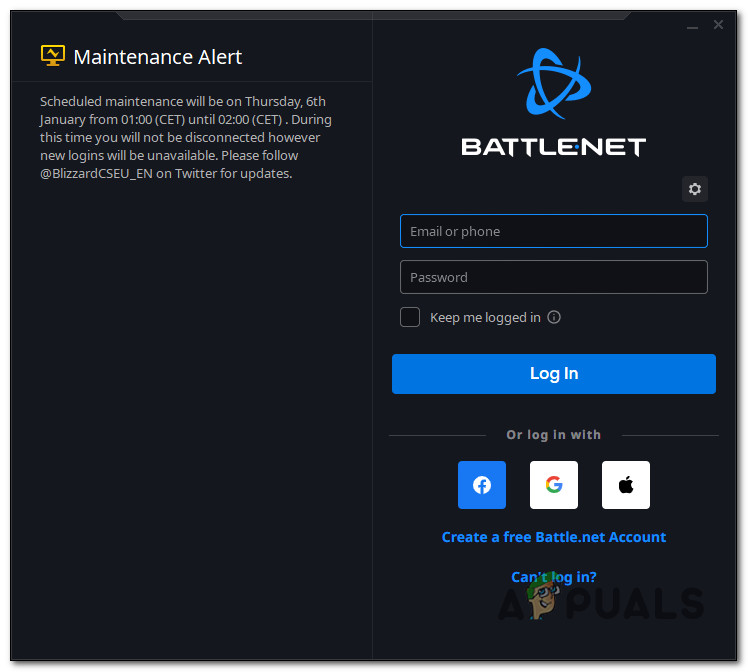
- Once you are back to the login screen of Battle.Net, simply enter your login credentials in the presented boxes, then click on Log in to sign back in.
Log back into Battle.Net - Once you are signed back into your Battle.Net account, the login token is now refreshed, so you can safely open Call of Duty: Modern Warfare again and attempt to join another multiplayer Warzone server to see if the problem is now fixed.
If the same kind of issue is still occurring, move down to the next potential fix below.
Set the correct region inside Battle.net
This type of issue can very well be related to a region inconsistency. As other affected users have reported, it’s important to ensure that the region inside Battle.net is correctly set according to your physical location.
This is not important for every game, but it’s crucial for games like Warzone that uses dedicated servers to sustain online matchmaking.
If you’re not certain if you’re using the correct region inside Battle.Net, follow the instructions below for steps of doing so:
- First things first, ensure that no instance of Call of Duty (Vanguard, Modern Warfare, or Warzone) is currently running in the background.
- Open Battle.Net and before you sign in with your account, click on the gear icon (hidden settings menu) and select the appropriate region from the context menu that just appeared.
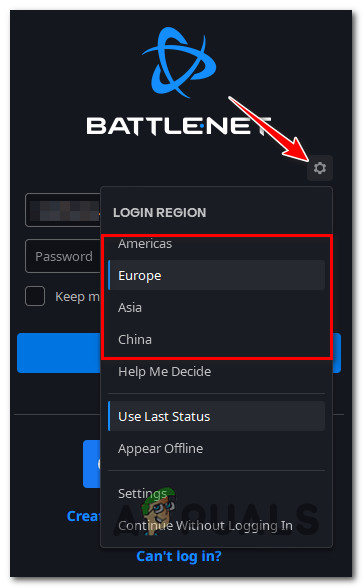
Select the appropriate region for Battle.net - Select Call of from the Library bar at the top.
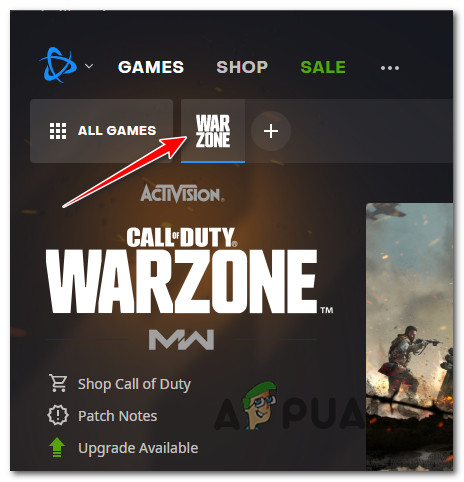
Selecting Warzone inside Battle.net - Next, while the game is selected, click on the region (globe icon) and select the appropriate server from the list of available regions.
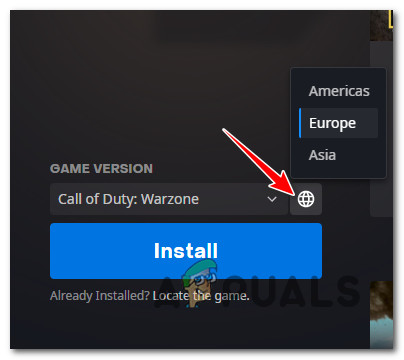
Selecting the correct region Note: You can do this prior to installing the game or after the game is already installed.
- Launch the game normally and see if the problem is now fixed.
If you’re still experiencing the same BLZBNTBGS7FFFFF01 error, try the next method below.
End the Battle.Net task
If the first solution was not applicable or did not work in your case, one other thing that you can try is to use Task Manager to end the entire Battle.Net while you’re already inside Call of Duty Modern Warfare.
This fix is not confirmed by the developers and there’s no official explanation on why this method is effective, but a lot of users that we’re previously encountering the BLZBNTBGS7FFFFF01 error have reported that they were finally able to join a Warzone server after doing this.
Note: Some users that have used this method to bypass the error argue that this problem occurs due to a Battle.net glitch.
If you want to try this workaround too, follow the instructions below:
- Open Call of Duty Modern Warfare normally via Battle.net.
- Wait until you get past the initial screen, and press Ctrl + Shift + Esc to open up Task Manager.
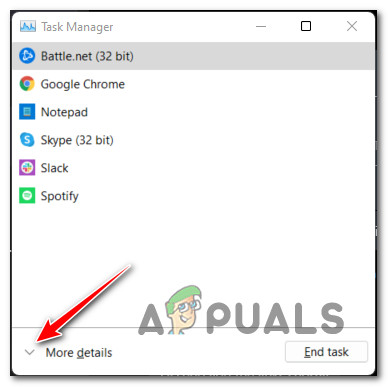
Note: The game will automatically be minimized but will still run in the background. - In case Task Manager opens with the simple interface, click on More Details to make the larger version of Task Manager visible.
Make the expert interface of Task Manager visible - Next, from the expert interface of Task Manager, click on the Processes tab at the top, then right-click on Battle.net and choose End Task from the context menu that just appeared.
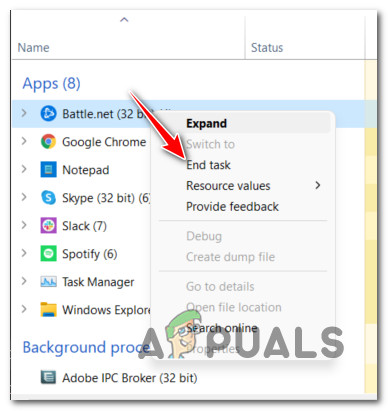
End Task with Battle.Net - Once the entire Battle.net tree is closed, you can safely close Task Manager and bring the game forward again from the background.
- Attempt to reconnect to a Warzone server once again and see if the problem is now fixed.
In case the issue is still not fixed, move down to the next potential fix below.
Launch the game directly (via ModernWarfare.exe)
If you’ve come this far without a viable fix, another thing that you should try is to bypass the functionality of Battle.Net entirely and launch the game directly via the main executable (ModernWarfare.exe).
Of course, this will not exclude Battle.net from the mix since it’s an important game dependency, but some affected users that were previously experiencing the BLZBNTBGS7FFFFF01 error during the initial startup screen have confirmed that this operation finally allowed them to get past it.
See if you can bypass the issue too by accessing the game install folder (right-click on the icon and choose Open File Location).
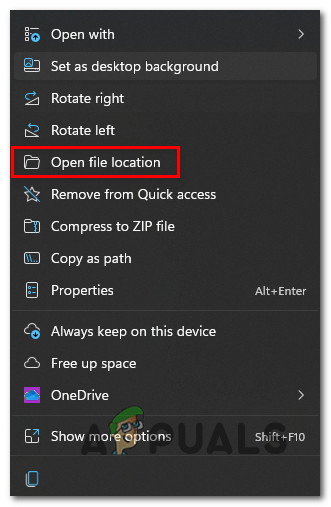
Once you’re inside the main game folder, double-click on the main game executable (ModernWarfare.exe) and see if you are able to bypass the game error.
If this workaround allows you to bypass the Battle.net servers and join Warzone servers without experiencing the same issues, you can make this process easier for you by modifying the Target attribute of your main shortcut so that it will always have this behavior.
Here’s what you need to do:
- Right-click on the desktop shortcut of your Call of Duty Warfare game and choose Properties from the context menu.
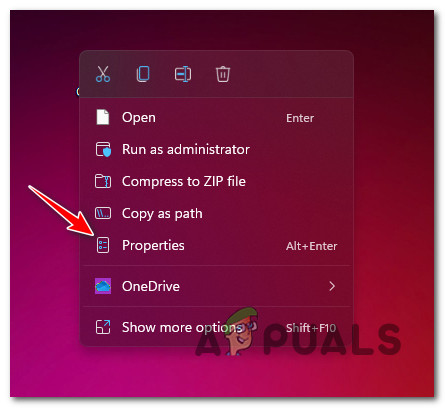
Accessing the Properties screen - Once you’re inside the Properties screen of the game shortcut, access the Shortcut tab from the menu at the top, then modify the Target tab so that it ends up pointing to “Modern Warfare Launcher.exe” (in the same game folder)
If this method was not helpful in your case, try the next fix below.
Force the in-game update to appear (if applicable)
As it turns out, another reason why you might notice that the game refuses to connect to a Warzone server and displays the BLZBNTBGS7FFFFF01 error instead might be due to a missing in-game update or a shader update that is not yet installed.
This might be due to a bug that’s quite prevalent among Warzone users. Fortunately, you can get this issue resolved and force the in-game update to appear by cross-launching the game from Modern Warfare or Vanguard.
Note: Of course, this method is only applicable as long as you have ownership of either Vanguard or Modern Warfare. Otherwise, you won’t be able to cross-launch.
If this method is applicable to you, follow the instructions below to cross-launch Warzone and see if this fixes the problem for you:
- Open up Vanguard or Modern Warfare (depending on which game you own).
- At the initial screen, you will be prompted to select from different game modes. When you see this menu, click on Warzone.
-
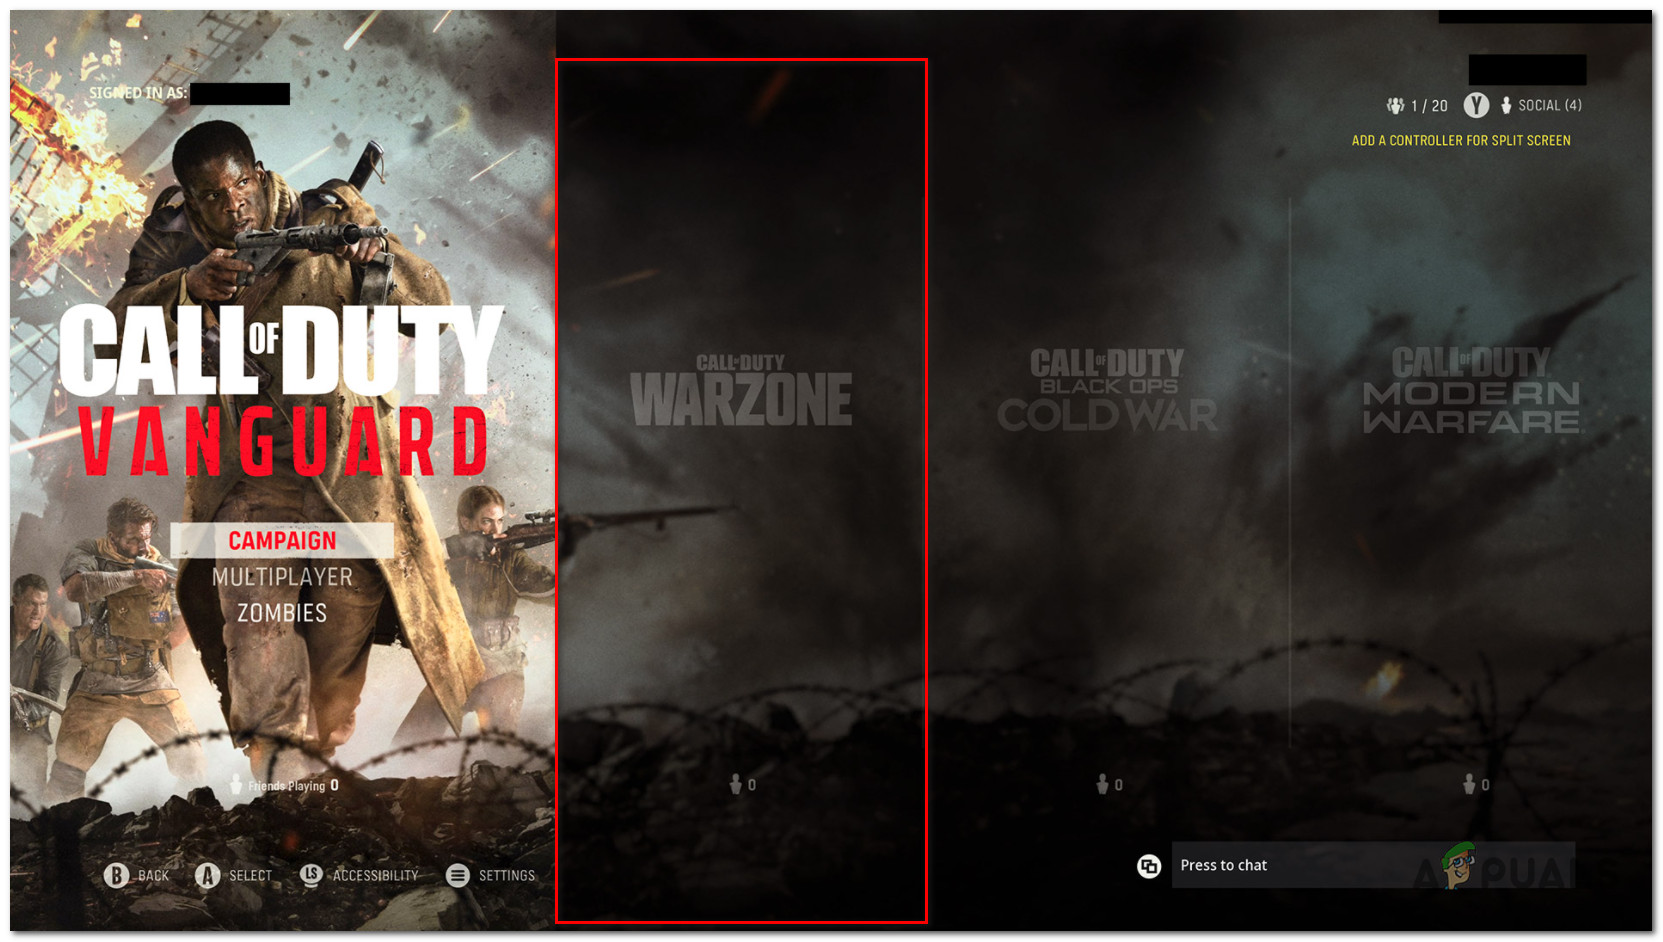
Opening up Warzone by cross launching - Once you prompt the opening of Warzone via cross launching, you should see a window asking you if you want to apply the in-game update. Hit Yes and wait until it’s installed.
- After the in-game update is installed, Warzone will automatically open and you should be able to join a multiplayer game without encountering the same kind of issue.
If the BLZBNTBGS7FFFFF01 error is still not fixed, move down to the next potential fix below.
Verify the integrity of the game via Battle.Net
If you’ve come this far without a viable fix, the next thing you should do is ensure that you’re not experiencing this issue due to an underlying game corruption issue.
Several users that were dealing with the same kind of error have confirmed that the problem was entirely resolved after they forced the main launcher (Battle.Net) to verify the integrity of the game files and game dependencies.
If you haven’t tried this fix already, follow the instructions below for specific instructions on triggering a game repair procedure for Warzone via the in-game settings of Battle.Net:
- Ensure that the Call of Duty game is closed and not running in the background.
- Open Battle.Net and sign in with the account that holds ownership of the game.
Logging into Battle.Net - Once you’re inside the main Battle.Net app, click on on the game (left-hand section) to select it.
- Next, click on the Settings (gear icon), then click on Scan and Repair (from the context menu that just appears) to check the file integrity and repair Call of Duty.
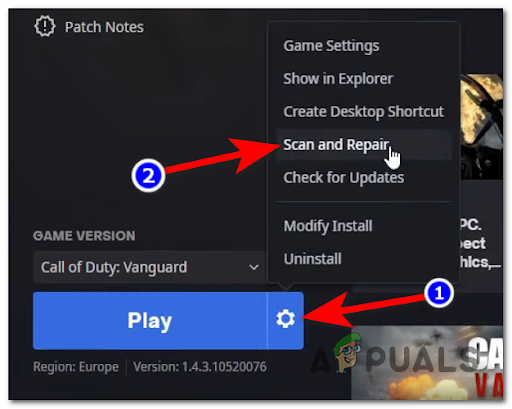
Scan and Repair the Call of Duty game - At the next prompt, confirm the operation, then wait patiently until the scan and repair procedure is complete.
- Once the operation is complete, restart the game and see if the problem is now fixed.
If the same problem is occurring, move down to the final fix below.
Change the DNS to Google Equivalents
If you’ve come this far and no method featured above was effective in your case, the last thing that you should do before concluding that the issue is entirely beyond your control is to change the DNS from the default range to a range provided by Google.
This is known to make the game a lot more stable and should allow you to fix the BLZBNTBGS7FFFFF01 error with Warzone if it’s occurring due to a network inconsistency.
Here are the complete instructions on making the switch from your default DNS range to the equivalent provided by Google (for both IPv4 and IPv6):
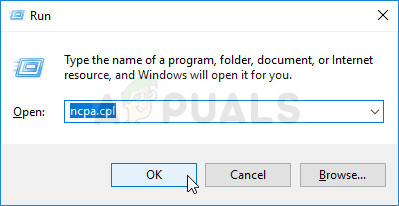
- Start by pressing Windows key + R to open up a Run dialog box.
- Next, type ‘ncpa.cpl’ inside the text box, then press Enter to open up the Network Connections window.
Opening the Network Connections menu - From the Network Connections menu, right-click on Wi-Fi (Wireless Network Connection) or Ethernet (Local Area Connection) - depending on if you’re using a wireless or wired connection respectively.
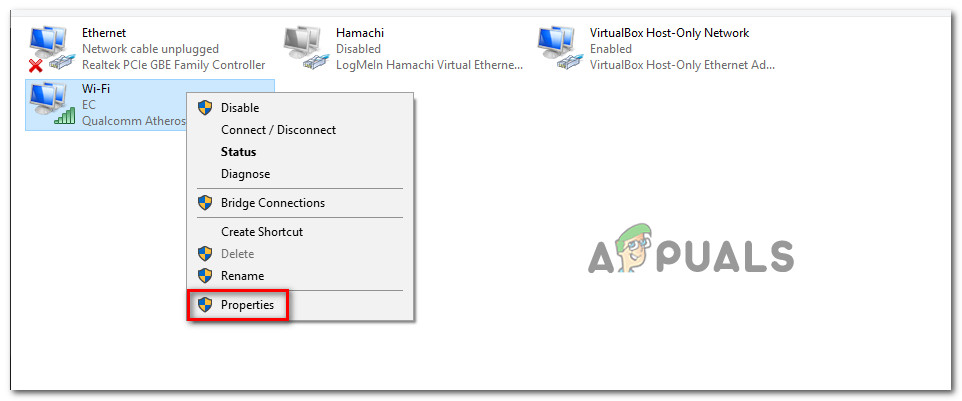
Open up the Properties screen - Inside the dedicated Ethernet or Wi-Fi menu, use the menus to access the Networking tab.
- From the next menu, navigate to the ‘This connection uses the following items section‘, select Internet Protocol Version 4 (TCP / IPv4) , and click on the Properties menu.
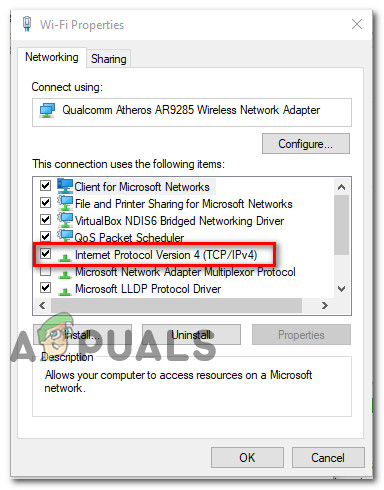
Accessing the IPv4 settings - Once you get to the next menu, click on the General tab, then check the box associated with Use the following DNS server address.
- Once the boxes become available, replace the current values for Preferred DNS server and Alternate DNS server with the following and click Apply to save the changes:
Preferred DNS server – 8.8.8.8
Alternate DNS server – 8.8.4.4 - Next, you should repeat this process for IPv6. To do this, return to the Wi-Fi Properties screen, select Internet Protocol Version 6 (TCP/IPv6) and click on Properties once again.
- Finally, check the Use the following DNS server address box and paste the following values for the Preferred DNS server and Alternate DNS server and hit Apply to save the changes:
Preferred DNS server – 2001:4860:4860::8844
Alternate DNS server – 2001:4860:4860::8888 - After the changes have been saved, reboot this PC and launch the game once again to see if the issue is now fixed.


This may be a firewall issue. It was for me.I was experiencing the same symptoms much of you described and tried most, if not all the remedies mentioned in this thread.
Check to make sure there are UDP and TCP inbound rules set up for the Battle.net Launcher.exe in whatever firewall service you use. For me it was just the off-the-shelf Windows defender which you can access in the start menu by typing firewall and it should pop up. Regardless what sort of firewall you use, there should be a relatively easy way too ‘COPY’ a rule.Simply copy the UPD inbound rule for Call of Duty Modern Warfare.exe and paste it as a new rule. Name it whatever you like but be sure the Program (executable) points to the Battle.net Launcher.exe file (for most in Windows it’s under the ‘C:Program Files (x86)Battle.net’ folder.Rinse and repeat for the inbound TCP rule.I believe what happened is when I first installed Battle.net I was using a third-party antivirus that handled the firewall rules. I uninstalled that antivirus and some time after is when I was experiencing the issues above. I suppose the Battle.net installation process ‘sees’ my default firewall provider and adds the necessary inbound rules to only that location.Let me know if this works for anyone (I hope it does so you can meet my Swiss). I’ll try to check this every so often in the next few days and happy to help more if needed.EDIT : I don’t think it would be the other way around (adding the Warzone executable) because that’s installed AFTER the battle.net app and I’m assuming you folks didn’t go to bed, or bake a casserole while installing a new antivirus/firewall program for your rig before you started the Warzone download.