How to Fix “Error Code: 0xc0000020” on Microsoft Teams?
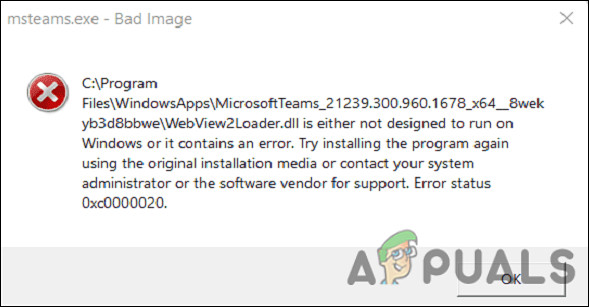
Several Windows 11 users have recently reported getting the ‘MS Teams.exe Bad Image Windows 11’ or ‘msteams.exe bad image error 0xc0000020’ error when opening Team’s app on their Windows 11 computers or clicking the Teams’ Chat icon in the taskbar.
We had a look into this issue and discovered that it can be caused by a number of reasons including:
- Corrupted Cache – Corrupt files can cause a lot of damage to your computer and to your installed applications. Corrupted cache data prevents you from using the Teams application properly.
- Generic Glitch – There is also a chance that a glitch or bug within the Microsoft Teams application or your operating system is causing the issue at hand.
- Corrupted Application Files – Each time a Windows program or software is launched, there are several background processes that start-up in the background. They are important to the successful execution of the program. If they are not present, software and programs will not run automatically. In the same way, corrupted MS Teams application files may cause pre-start processes to fail, preventing MS Teams from operating properly.
Now that we know the causes behind the error code 0xc0000020 on Microsoft Teams, let’s have a look at how to resolve this issue.
Uninstall the Recent Windows Update
The Windows updates Microsoft releases aren’t always flawless. Sometimes Windows updates can be very destructive and mayhem-inducing, inconveniencing hundreds of millions of users around the world.
If the error at hand started occurring after you recently installed an update, there is a chance that the update is corrupt. If this scenario is applicable, uninstalling the update might do the trick for you.
Here is what you need to do:
- Press Windows + I keys simultaneously on your keyboard to open Windows Settings.
- Select Windows Update from the left panel.
- On the Windows Update page, select Update history.
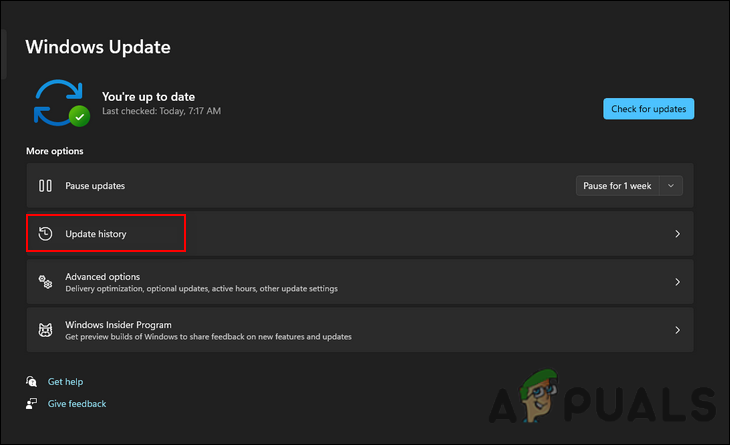
View Windows 11 update history - Now in the Update History menu, head over to the Related settings section and choose Uninstall Updates.

Click on the Uninstall updates option - Your screen will now display a list of all installed updates. To remove an update, right-click on it and select Uninstall.
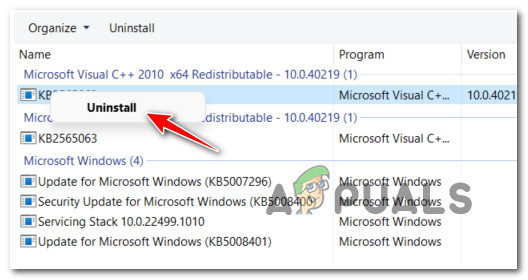
Uninstall the KB5007247 update - Select Yes in the confirmation prompt to proceed.
- Once the update is uninstalled, check if the 0xc0000020 error is resolved.
Run Windows Automatic Repair
In case you are facing an issue due to an issue within the Windows operating system, we recommend running Windows Automatic Repair. An automatic repair program can diagnose and fix common boot-related errors in Windows 8 and higher systems.
Follow the steps mentioned below to run this utility:
- Boot Windows from bootable installation media.
- Head over to the Repair your computer option.
- Select Troubleshoot.
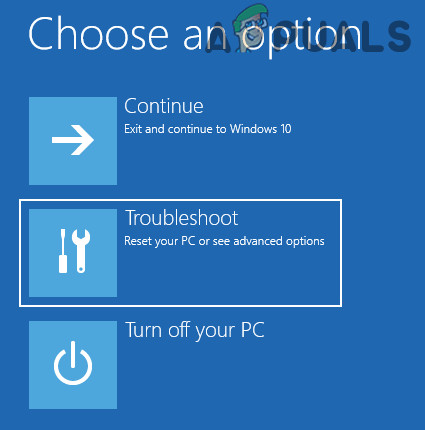
Accessing the Troubleshooting menu - Now click on Advanced and then select Automatic Repair.
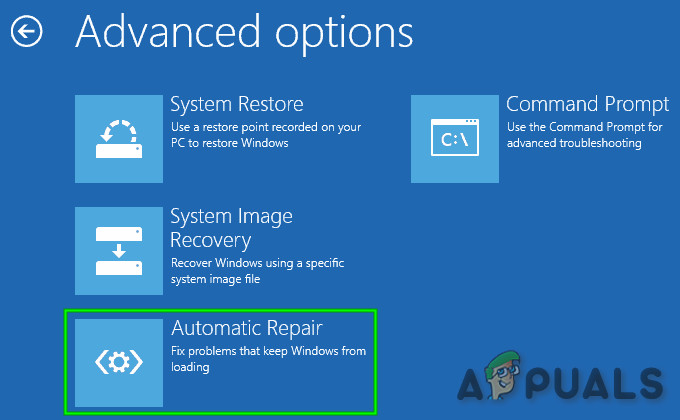
Initiating an automatic repair procedure - Wait for the process to complete. Once it is finished, restart your computer and upon reboot, check if the 0xc0000020 issue is resolved.
Rename Microsoft Teams Folder
There is a folder in Windows operating system called WindowsApp that holds sensitive data and you are not permitted to access it if you lack permission. WindowsApp also contains a Microsoft Teams folder, and several users managed to fix the issue under consideration by renaming the Teams folder.
Here is how you can do that as well:
- Launch File Explorer and click three dots to choose Options.
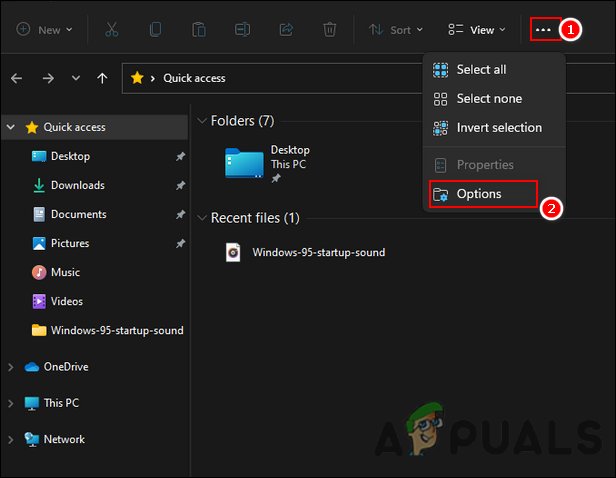
Access File Explorer options - Head over to View and checkmark the box against Show hidden files, folders, and drives. Hit Apply to save the changes.
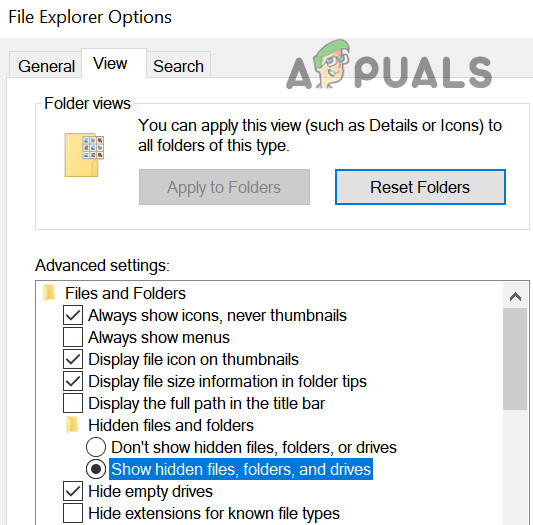
How to Show Hidden Files Windows 10 - Now go to C:\Program Files\WindowsApps.
- Right-click on the WindowsApp folder and choose Properties.
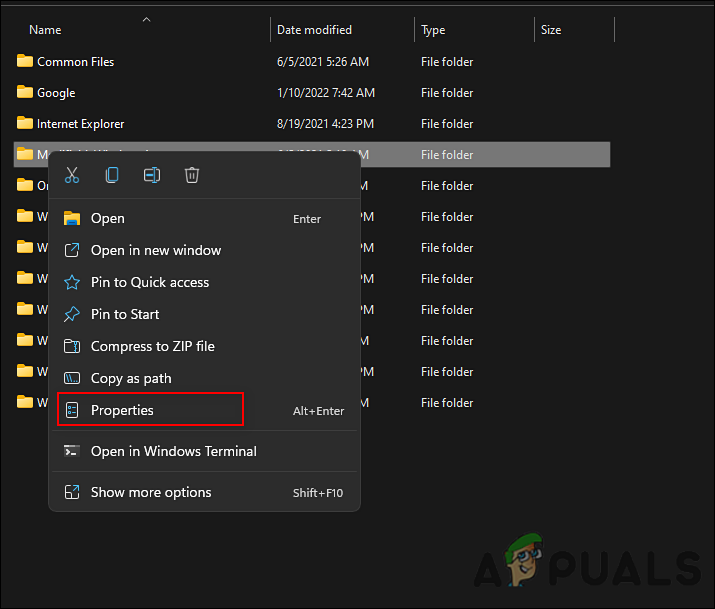
Select Properties from the context menu - Navigate to Security > Advanced.
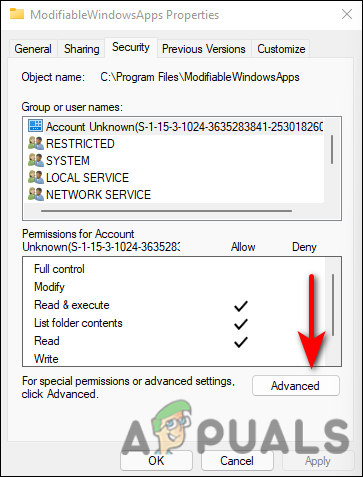
Launch Advanced settings on WindowsApps - Hit Change and then enter a user name.
- Click OK to save proceed.
- Then, click Apply followed by OK again.
- Once the WindowsApp folder is launched, locate two folders starting with MicrosoftTeams
- Rename these folders by adding .old at the end of the folder name.
- Once done, restart your PC and see if your 0xc0000020 issue is fixed.
Create a Local Account
There are times when your operating system starts acting up due to a corruption error or bug within your user account. The best course of action, in this case, is to create and use a local user account on Windows.
Hopefully, by doing so, you can resolve the error code 0xc0000020 and use Microsoft Teams without any issues.
Follow these steps to do so:
- Press Windows key + I to open up the Settings app on Windows 11.
- From within the Settings menu, click the action button in the upper-left corner of the screen to access the side menu.
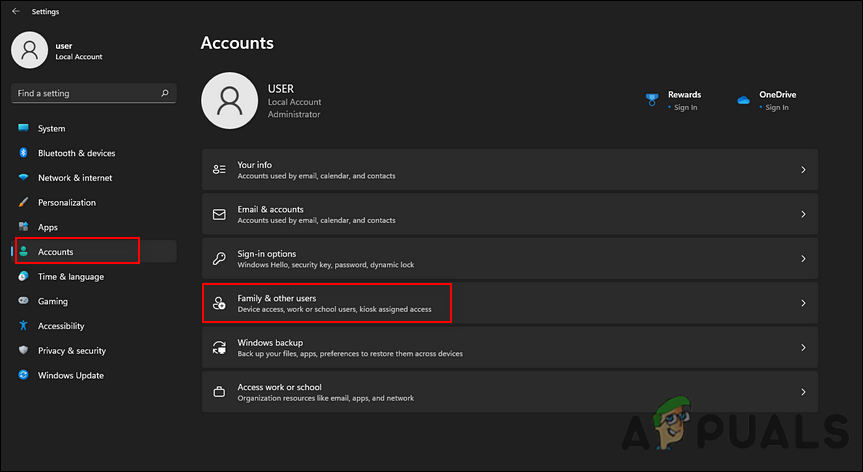
- Click on Accounts from the sideline menu that just appeared.
- Click on Family & other users in the right-hand side menu.
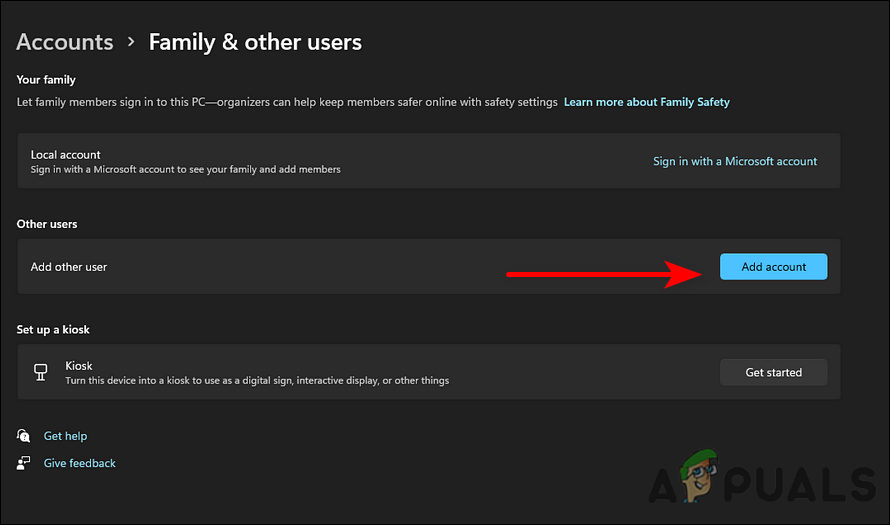
Launch Family and other users option - Once you’re inside the Family & other users tab, navigate to the Other users section and click on the Add account button.
Add a new user account - In the first prompt, click on the I don’t have this person’s sign-in information hyperlink.
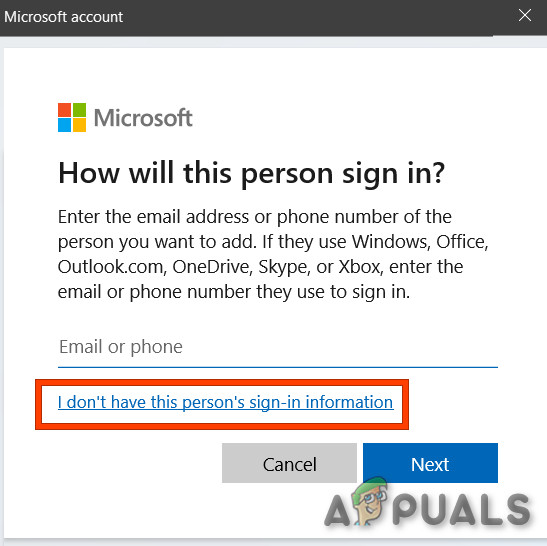
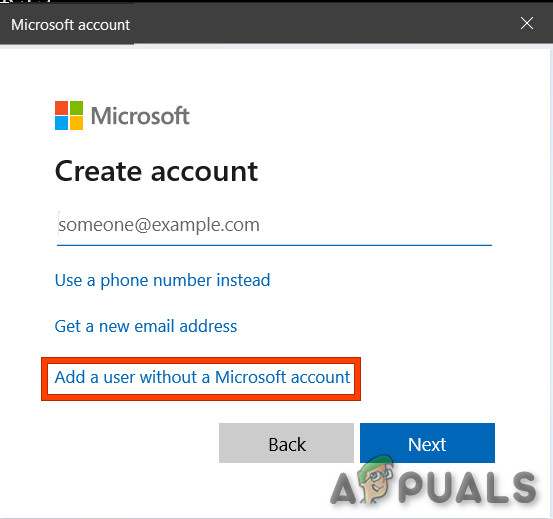
Don’t have this person sign in account - On the next screen, click on Add a user without a Microsoft account and wait for the next screen to appear.
- In the Create a user for this PC page, enter a Local account username and add a password.
Add a user without Microsoft Account - Once the local account has been named and the password added, hit Next and wait until it has been initialized.
- Click Next one more time to complete the local account creation. Upon creating a local account, it will appear under Other users (in the Family & Other users tab).
Run SFC and DISM Scans
As mentioned earlier, corruption errors within the operating system can result in issues like the error code 0xc0000020. Fortunately, Windows has a number of built-in troubleshooting utilities that can automatically scan the system and its files for errors, and then fix them.
There are two such utilities: SFC (System File Checker) and DISM (Deployment Image Servicing and Management). These utilities replace corrupted system files with healthy counterparts and replace failed storage sectors with newer equivalents.
We recommend you try running SFC and DISM scans on your Windows 11 via Command Prompt. If a corruption error is causing the problem, you will benefit from running these utilities.
Reset Taskbar Chat
Considering that the error in view also occurs if you click the Chat icon on the taskbar, try resetting the taskbar chat to its factory defaults. By resetting taskbar chat, you will restore its original, error-free state, which will fix any bugs or glitches that may have occurred.
Follow these steps to reset the taskbar chat on Windows 11:
- Press Windows + I keys simultaneously on your keyboard to launch Windows Settings.
- In the Settings window, select Apps from the left side and then click on Apps & features.
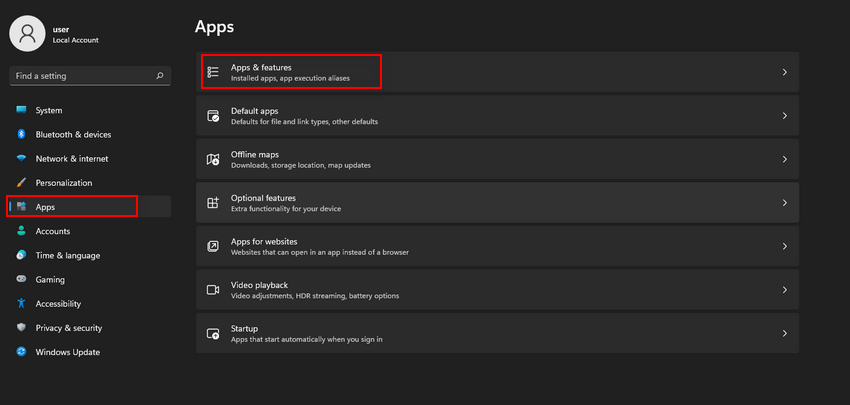
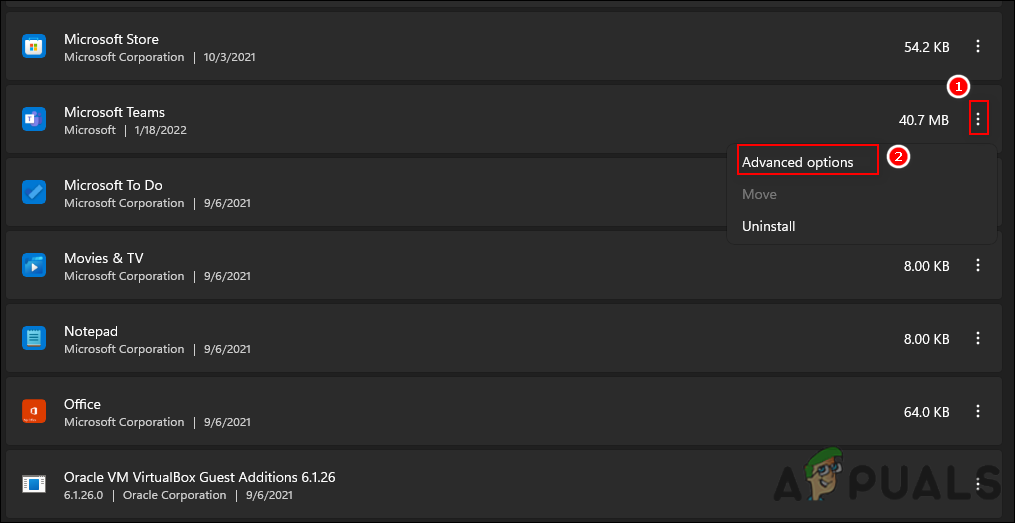
Apps and features settings in Windows 11 - Locate Microsoft Teams in the next window, and click on the three dots against it.
- Select Advanced options.
Launch Microsoft Teams advanced settings - Click the Terminate button.
- Then, click the Reset button and confirm it.
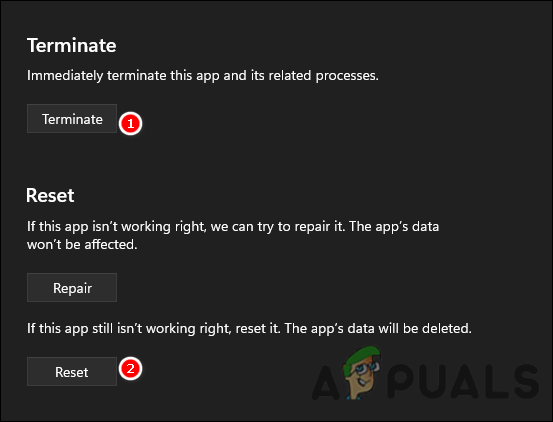
Terminate and Reset Microsoft Teams - Go to the Taskbar, open Chat, and sign in with another account.
Clean Uninstall & Reinstall MS Teams
If the above solution didn’t fix the error 0xc0000020 then there is a strong possibility that some of the MS Teams system files are corrupted. The easy fix would be to completely uninstall MS Teams and reinstall the latest fresh copy. Follow the steps given below to do so:
- Right-click the MS Teams icon in the taskbar and select Quit. That will end all MS Teams processes in the background.
- Now type Control Panel in the search area of the taskbar and click Open.
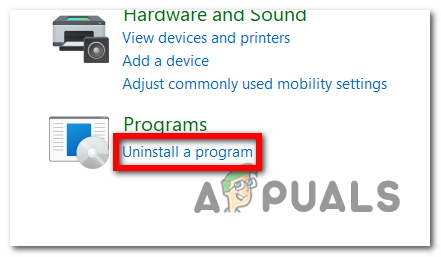
- Select Uninstall a program under the Programs section. Your computer will display a list of all installed programs.
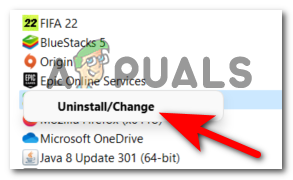
Uninstalling the Program via Control Panel - Choose Microsoft Teams from the installed programs list and right-click on it.
- Then select Uninstall. Doing so will start uninstalling MS Teams.
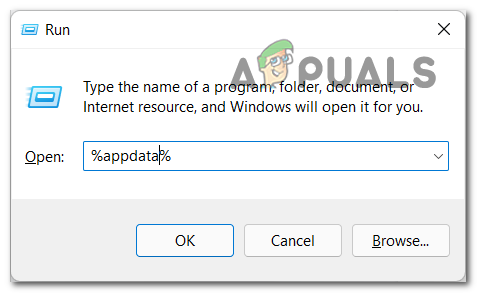
Uninstalling the program - Press Windows + R keys on your keyboard to open the Run dialog box.
- Type %appdata% in the text field of the dialog box and click OK. You will be directed to a hidden folder named AppData that contains data files from applications and services installed on Windows.
Accessing the AppData folder - Open Microsoft folder, right-click on the Teams folder and select Delete.
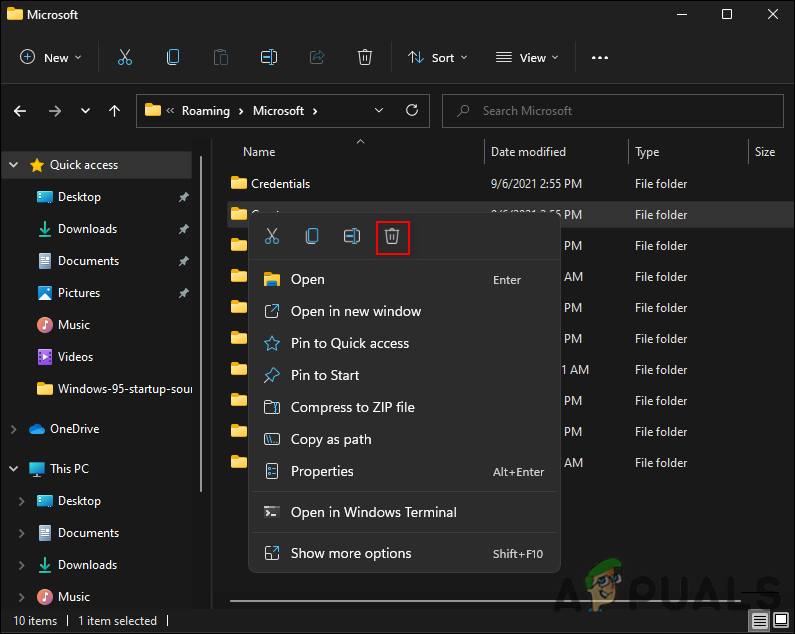
Delete the Teams folder - Once done, open a Run dialog box again by pressing Windows + R keys simultaneously.
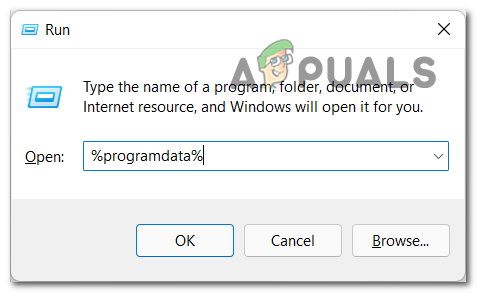
- Type %Programdata% in the text field and click OK. There is a hidden folder named ProgramData on your computer that contains data files related to the programs you install.
Accessing the ProgramData folder - Open Microsoft folder, right-click on the Teams folder and select Delete. You have now successfully removed Microsoft Teams from your computer.
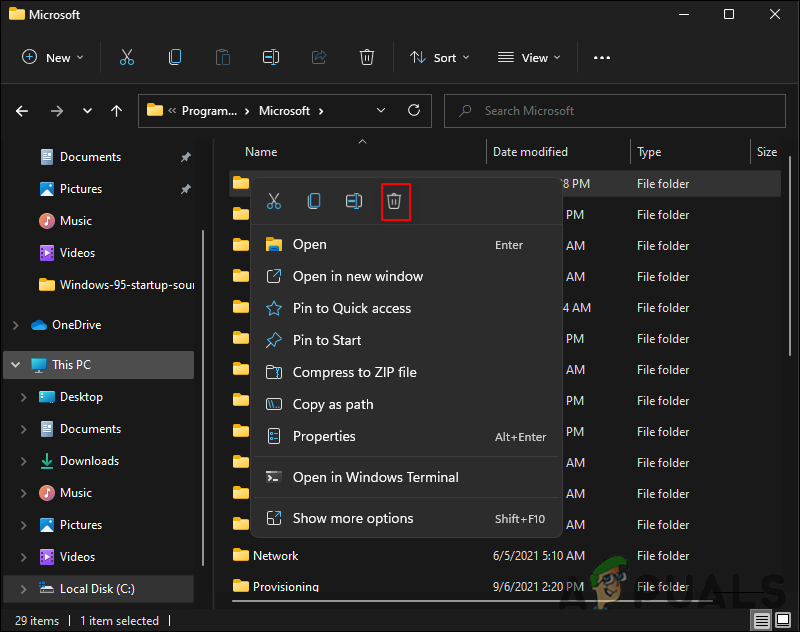
Delete Teams folder - Download a fresh updated copy of Microsoft Teams desktop setup from the Official Microsoft Teams Download Webpage and then install it. Hopefully, this will help with the 0xc0000020 error.


