How to Fix ‘Error 2041 – Code Invalid Sample Description’ in QuickTime
Some Windows users are reporting that they end up encountering the ‘Error -2041 – an invalid sample description was found in the movie’ when attempting to play a video via QuickTime – Playing the same video on Windows Media Player or a different 3rd party equivalent results in a different error.
After investigating this particular issue thoroughly, it turns out that there are a couple of different underlying causes that might be causing this error code. Here’s a shortlist of potential culprits that are known to cause this particular error code:
- The file format is not supported by Quicktime – Since QuickTime has quite a limiting lineup of supported file formats, you can expect to see this particular issue if you’re trying to force the opening of a video file that is not supported by QuickTime.
- Extension of the file doesn’t correspond with the format – You can also expect to see this particular error code in those instances where you attempted to modify the format of the video file by just changing the extension. This is not the correct approach as you need to go through a proper conversion suite to make the change to a fully supported format.
Now that you know every potential culprit that might be responsible for the apparition of this error code, here’s a list of verified methods that other affected users have successfully used to get to the bottom of this issue:
Method 1: Check if the Video Format is supported by QuickTime
Keep in mind that Quicktime is certainly not known for supporting a wide array of video formats, especially if you plan on using it on a Windows computer.
Before you begin troubleshooting the ‘Error -2041 – an invalid sample description was found in the movie’ error for an issue that is affecting the local playback, you need to start by making sure that the file format you are trying to open with QuickTime is actually supported by the application.
Here’s a list of formats that are supported by Quicktime:
MOV
MP4
M4A
M4V
MPEG-2
DV Stream
MJPEG
WAV
AIFF
AAC
Important: These formats are officially supported by Quicktime, but there are also a number of formats that are partially supported by the application.
If the format you are trying to open with QuickTime when you end up seeing the ‘Error -2041 – an invalid sample description was found in the movie’ is not in the list, chances are you’re dealing with a format incompatibility.
If you find yourself in this particular scenario, there is no viable reason for insisting on using QuickTime since there are better alternatives (especially on Windows). Here are a few media players that we recommend in case you are not restricted to using Quicktime:
If you’ve made sure that the format you are trying to play is supported by QuickTime and you can’t afford to switch video playback tools, move down to the next potential fix below.
Method 2: Converting the video to a Different Format (if applicable)
If you started encountering this error after attempting to resolve ta video playback problem by manually modifying the extension to a format supported by Quicktime, there’s a big chance that you’re seeing the ‘Error -2041 – an invalid sample description was found in the movie’ because QuickTime detects that the extension doesn’t match the actual format of the file.
Keep in mind that you can’t simply rename a video in order to change their format – This might work with other file types, but not with videos since there is a lot of underlying changes that need to be made.
If you want to change the file format, you need to do a proper video conversion. And since VLC has one of the most robust video-conversion features on any free video playback app, we’ve put together a guide that will walk you through the process of using VLC to convert a video file format to a different one.
Note: If you’re already fond of a different video conversion tool, feel free to use that one instead.
If you want step-by-step instructions on installing and using a VLC media player to convert a video to a different file format, follow the instructions below:
- Open your default browser navigate to the official download page of VLC media player.
- Once you’re inside the correct page, click on the Download VLC button and wait for the installer to download successfully.
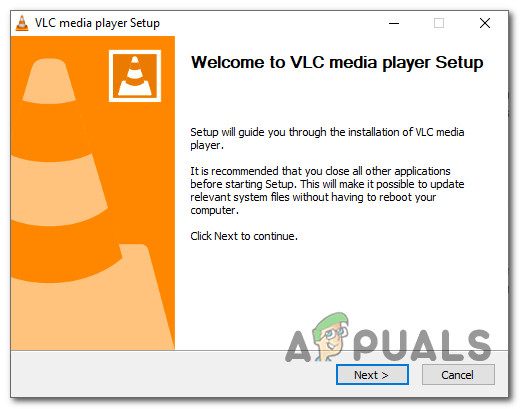
- After the installer is downloaded, double-click on it, click Yes at the UAC (User Account Prompt), then follow the remaining prompts to complete the installation of the VLC Media Player.
Installing Video Media Player - When asked to select the type of install, ensure that you choose Full from the associated drop-down menu in order to ensure that you install the video conversion capability of VLC Media Player.

Installing the Full version of VLC - Select a viable location where you want to install VLC, then start the operation and wait for it to be successful before restarting your computer.
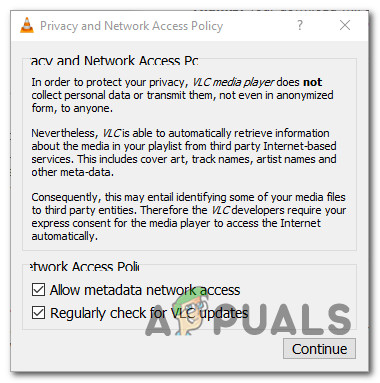
- After your computer boots back up, open up VLC Media Player and go through the process of configuring the Privacy and Network Access policies.
Configuring the VLC poloicies - Once you’re finally inside VLC Media player, click on Media from the ribbon bar at the top, then click on Convert / Save from the context menu that just appeared.
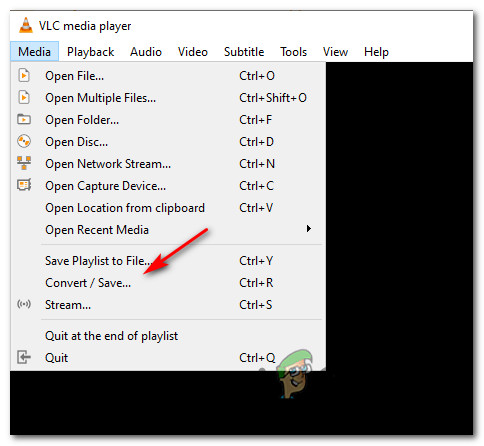
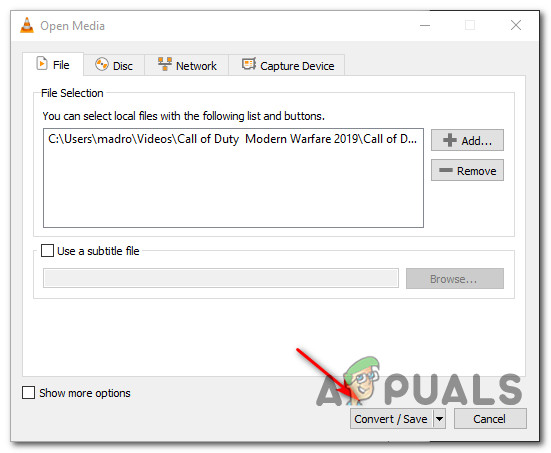
Accessing the Media Conversion feature on VLC Media Player - Once you’re inside the Open Media menu, click on the File tab, then hit the Add button and navigate to the location where you’re currently storing the problematic video, click on it once to select it, then click Open to load it inside VLC.
- After the video is successfully loaded inside the conversion feature of VLC, click on the Convert / Save button.
Converting a video via VLC - At the next screen, select the Convert toggle (under Settings) then select a format supported by QuickTime from the associated drop-down menu. Next, select a viable destination path via the Destination category at the bottom of the window.
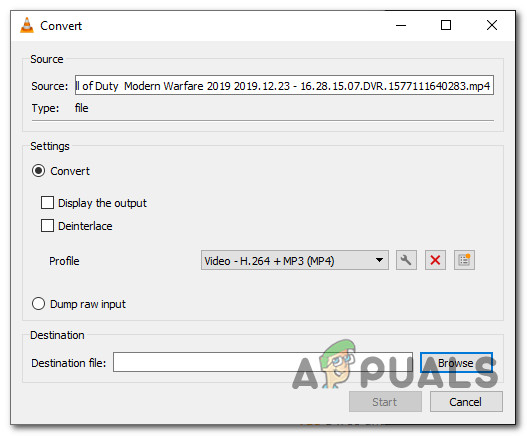
Converting the video to a supported format - Once the conversion attempt is correctly configured, click on the Start button and wait until the operation is complete.
- After you manage to convert the problematic video with VLC, exit the program and attempt to open the converted version of the problematic video in QuickTime and see if the problem is now fixed.


