How to Fix ‘Your Input Can’t be Opened’ Error on VLC?
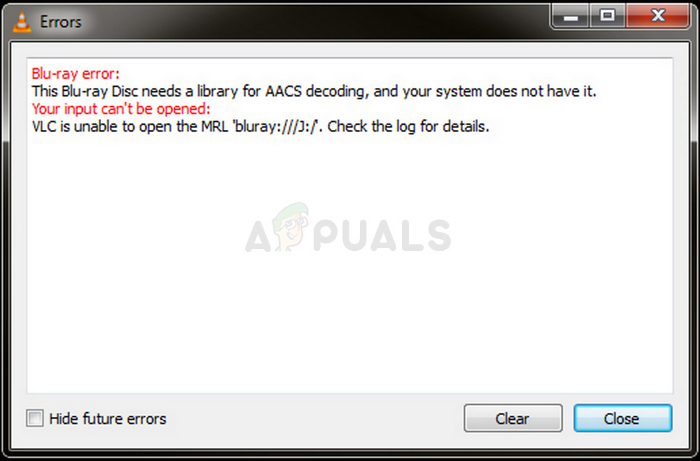
The “Your input can’t be opened” error occurs to VLC users when trying to stream a video or to play a YouTube video using the program. After entering the URL for the video, a message appears saying:
Your input can’t be opened: VLC is unable to open the MRL
Before trying to troubleshoot the problem, you should double-check the video you are trying to play or stream to see if there are any problems with the link. If the link is working, follow the methods we have prepared to resolve the problem.
What Causes the “Your Input Can’t be Opened” VLC Error on Windows?
There are several things which can cause this problem in VLC, including a broken link to the video. If you are certain the video link is working, you should check out the list below where we have listed all causes. Try to determine your specific scenario!
- Faulty YouTube script – Changing certain details inside the YouTube script can resolve your problem immediately. Thankfully, a working script is available on GitHub and you can easily replace your faulty one.
- Video ownership – If the problem appears with a single video or with a couple of videos from the same source, it’s quite possible that there are issues with the ownership of the video and you should provide ownership for everyone to resolve the problem.
- VLC problems – If there is something wrong with settings you have changed inside VLC or with the installation itself, you can try resetting the preferences or reinstalling VLC entirely.
Solution 1: Reset the Preferences
Resetting the preferences is quite an easy way to resolve the problem and several users have reported that this worked for them in their scenario. Bear in mind that you all VLC settings you have changed will be reset and you will have to redo the changes you have made since installing the program. Follow the steps below!
- Open VLC by double-clicking its icon from the Desktop or by searching for VLC in the Start menu.
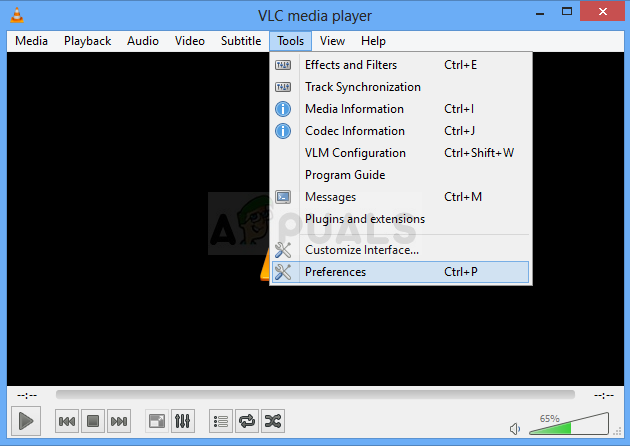
- Click the Tools option from the menu bar at the top of the window and choose Preferences. You can also choose the Ctrl + P key combination to open it.
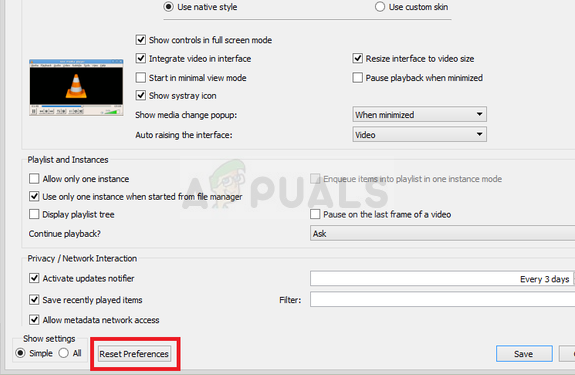
- At the bottom of the Preferences window which will appear, you should see the Reset Preferences Click it and confirm the dialog which will appear asking you to confirm your choice. Check to see if the “Your input can’t be opened” error message still appears.
Solution 2: Use a YouTube Script
There is a useful script available on GitHub which can resolve the “Your input can’t be opened” error if it appears when trying to watch YouTube videos using VLC. The content of the script needs to be copied and it should replace the current script. Follow the instructions below to resolve the problem!
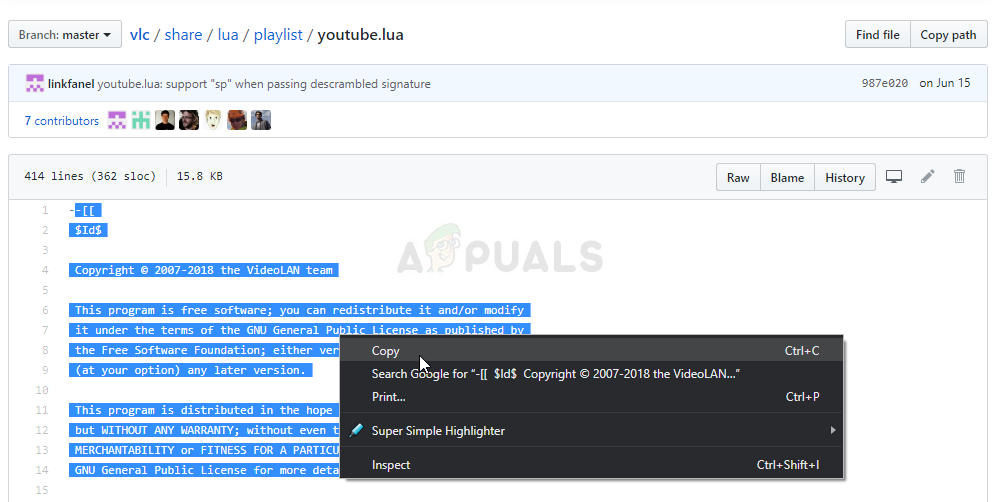
- Open your browser and visit this link to view the working youtube.lua script which needs to be used for the program. Select the entire contents of the file, right-click and choose Copy from the context menu which will appear.
- Locate the VLC’s installation folder manually by right-clicking its shortcut on Desktop or anywhere else and choosing Open file location option from the menu.
- Locate the lua folder, open it, and open the playlist folder inside. Locate the youtube.lua file, right-click on it and choose to open the file with Notepad or any other text editor you might have installed such as Notepad++.
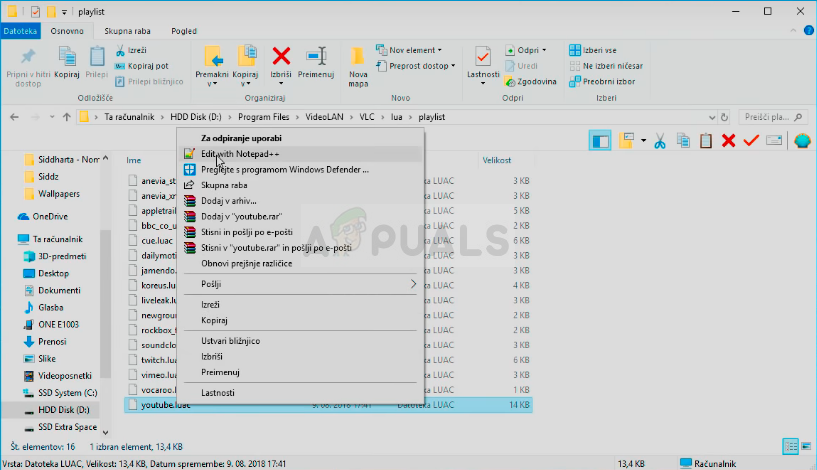
- Use the Ctrl + A key combination to select everything inside the document and use the Ctrl + V key combination to paste the contents you have copied from GitHub. Click on File >> Save or use the Ctrl + S key combination to save the changes and check to see if the same problem still appears.
Solution 3: Reinstall VLC
There is almost nothing about VLC that a reinstall won’t fix and that can be said about this particular problem as well. The reinstall is pretty simple to execute and it manages to solve this problem if all of the methods above do not work. It’s important to install the latest version as newer versions of VLC don’t seem to demonstrate this problem at all.
- First of all, make sure you have logged in with an admin account as you won’t be able to uninstall programs using any other account privileges.
- You might lose all settings and preferences you have changed, similar to the first method so make sure you keep that in mind.
- Click on the Start menu and open Control Panel by searching for it. Alternatively, you can click on the gear icon to open Settings if you are using Windows 10.
- In Control Panel, select to View as: Category at the top right corner and click on Uninstall a Program under the Programs section.

- If you are using the Settings app, clicking on Apps should immediately open a list of all installed programs on your PC.
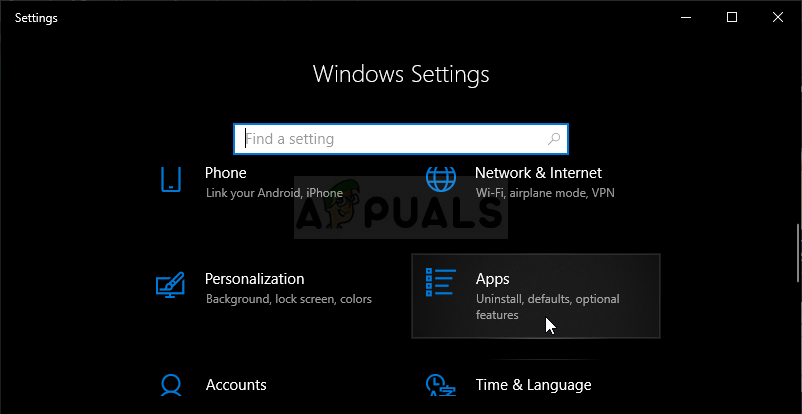
Apps in Windows 10 Settings - Locate the VLC entry on the list and click on it once. Click on the Uninstall button above the list and confirm any dialog boxes which may appear. Follow the instructions on-screen to uninstall VLC and restart your computer afterward.
- Download the latest version of the VLC installation by navigating to this link and clicking the Download VLC button at the middle of the website.
Solution 4: Take Ownership of the Problematic Video
If this problem appears only with some videos located on your computer, you should try taking ownership of the videos before trying to run VLC. This will grant extra permissions to VLC and it should resolve the problem even every method above has failed. Follow the steps below to take ownership of the videos.
- Open your Libraries entry on your PC or open any folder on your computer and click on This PC option from the left side menu.
- Navigate to the folder where the problematic video which can’t be played in VLC Media Player is located. Make sure you repeat the same process for each video.
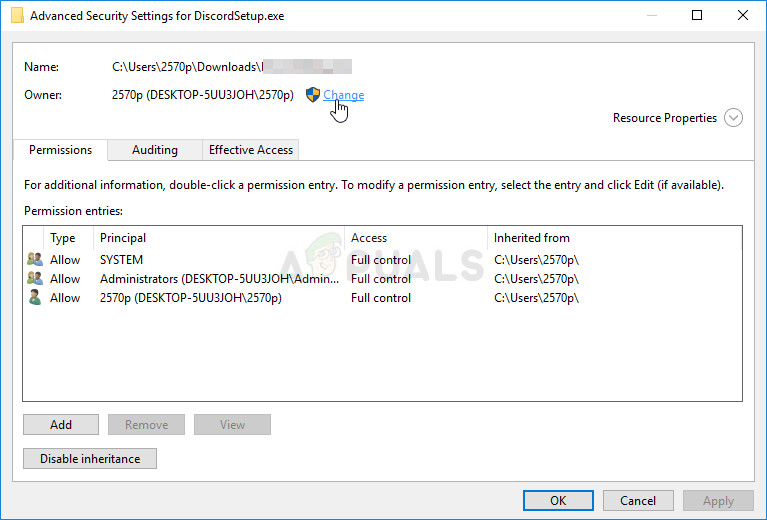
- You will need to take ownership of the videos. Right-click the video, click Properties, and then click the Security Click the Advanced button. The “Advanced Security Settings” window will appear. Here you need to change the Owner of the key.
- Click the Change link next to the “Owner:” label The Select User or Group window will appear.
- Select the user account via the Advanced button or just type your user account in the area which says ‘Enter the object name to select’ and click OK. Add the Everyone
- Optionally, to change the owner of all subfolders and files inside the folder, select the checkbox “Replace owner on subcontainers and objects” in the “Advanced Security Settings” window. Click OK to change the ownership.
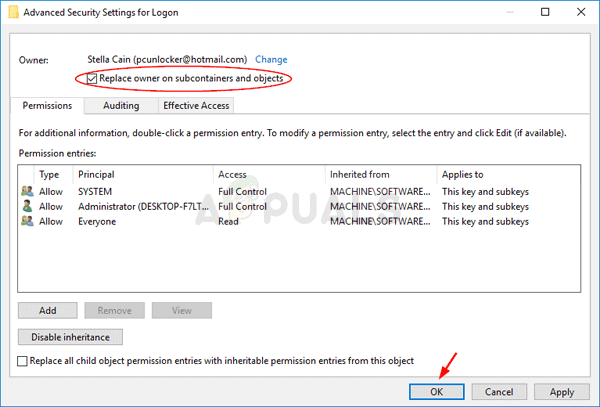
- Now that you have complete control over the video, check to see if the “Your input can’t be opened” error message still appears when trying to play the video!


NB// Steps for Windows 7 users.
1. Right click the video and select properties.
2. Under properties select security then click “Advanced”.
3. Click owner then
click:
*Edit
*other users or groups
*Advanced
*Find now
*Everyone
*Ok
*Ok again
*Apply
*Ok on the pop up.
4. Go to “Permission” and click “Continue”, click:
*Add
*Advanced
*Find now
*Everyone
*Ok
*Ok again
*Full Contoll and then “Ok”
*Apply
*Ok; Ok and Ok
5. Now you can Play your video.