How to Enable or Disable text prediction for a Windows 10 Keyboard
Windows 10 Text prediction can be enabled or disabled not just in tablets or the on-screen keyboard, but can also be enabled or disabled for the physical keyboard. Above all, the text prediction feature is important for checking and correcting spellings. It may be used for quick typing.

People seem to forget how to write out certain words. In these situations, text prediction can be a helpful method. Seemingly, it helps by suggesting the words you want to write. Therefore, it can quickly fix (auto-correct) words you misspelled while typing. Text prediction may have been turned on/off without your permission (or often allowed by default). In conclusion, if you’re trying to disable or enable it on Windows 10 then this article is meant for you.
Enable or Disable the text prediction for a Hardware Keyboard
You can enable or disable the text prediction for a hardware keyboard in Windows 10. However, you have to follow the below-mentioned steps line by line.
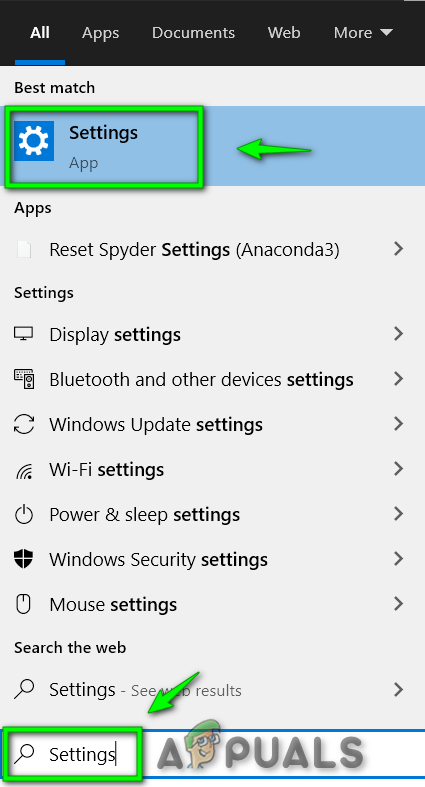
- Firstly, type ‘Settings’ in the ‘Search bar’. After that, click on the ‘Settings’ app. Open it to proceed.
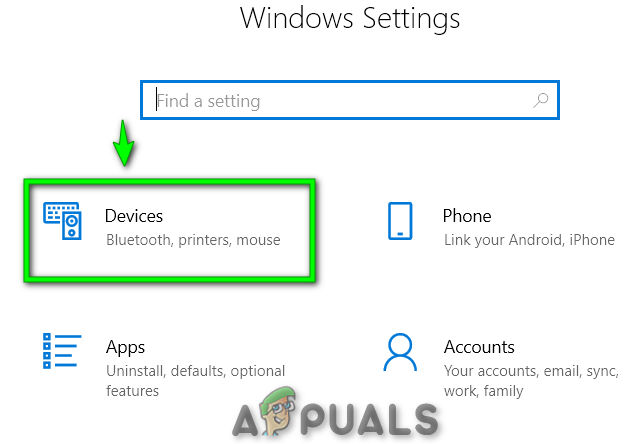
- Click on ‘Devices’.
- Tap on ‘Typing’ displayed on the left side.

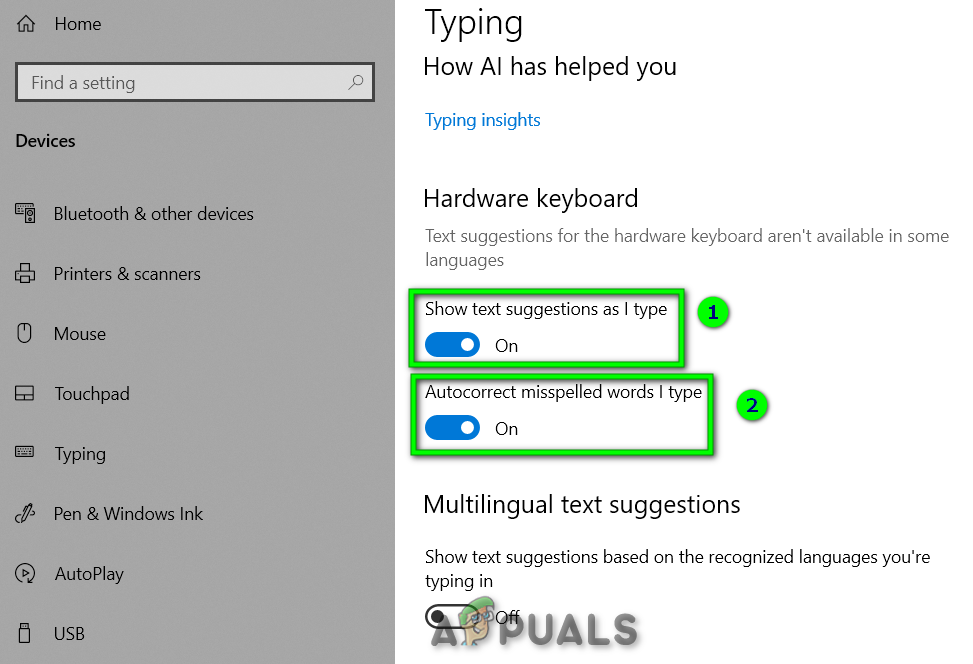
- Secondly, scroll down to reach the point named as ‘Hardware Keyboard’.
- To enable text prediction, turn on the toggle button named ‘Show text suggestions as I type’. Similarly, switch on the toggle button named ‘Autocorrect misspelled words I type’ to turn off autocorrect. OR
- To disable text prediction, turn off the toggle button named ‘Show text suggestions as I type’. Similarly, switch off the toggle button named ‘Autocorrect misspelled words I type’ to turn off autocorrect.
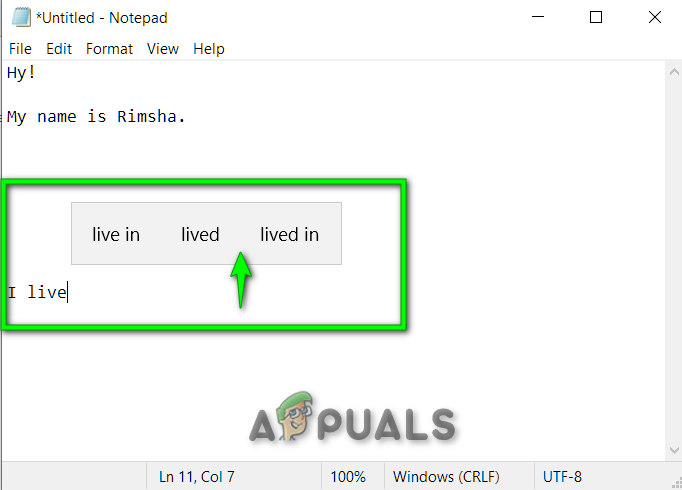
Besides, you can check whether text prediction is working properly or not. Perform the following simple steps.
- Press ‘Windows key + R’. Type ‘Notepad’ in the dialogue box. After that, click on the ‘Notepad’ app to open it. At last, try to write something on it. In last, you will be able to see text suggestions.
Enable or Disable the text prediction for an On-Screen Keyboard
As it turns out, you can enable/disable the text prediction for an On-screen keyboard in Windows 10. Perform the below-mentioned steps one by one:
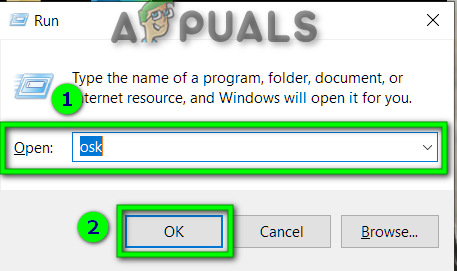
- Firstly, press ‘Windows key + R’. Type ‘osk’ in the dialogue box. After that, tap on the ‘OK’ button. You will see an on-screen keyboard on your screen.
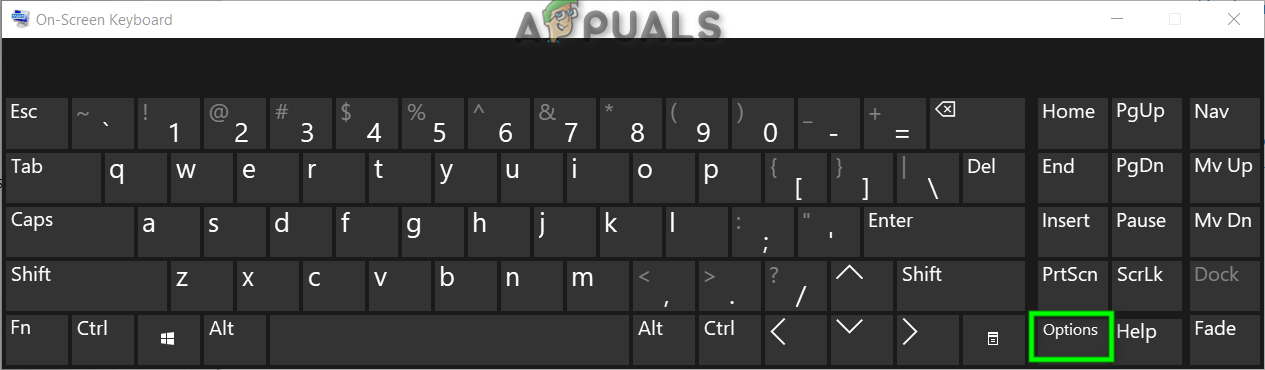
- Click on the ‘Options’ button.
- Secondly, go to the ‘Text prediction’ tab.
- To disable text prediction, leave the checkbox named ‘Use Text Prediction’ unchecked. After that, click on the ‘OK’ button to proceed.
OR
- To enable text prediction, mark the checkbox named ‘Use Text Prediction’ checked. Similarly, click on the ‘OK’ button to proceed.


I have already done all that but it still does the predictive when I’m responding on twitter or anywhere. What’s up with that? It’s doing it right now as I type this to you!