DXGI Error Device Hung in Battlefield 2042? Here’s how to fix
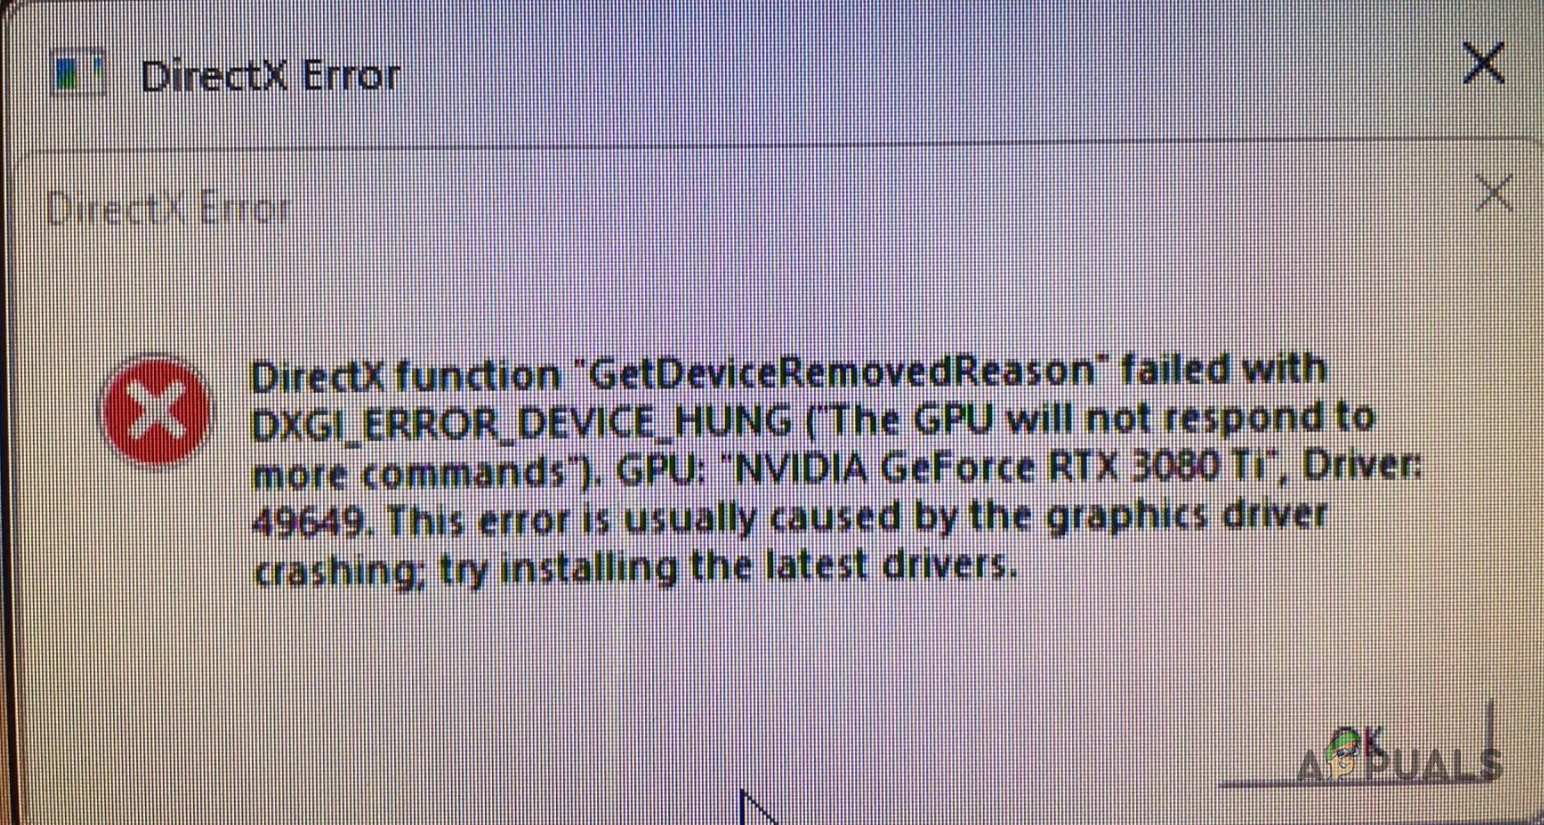
Users have been facing an issue while trying to play the early access of the Battlefield 2042 game. Upon trying to launch the game, gamers are prompted with a DirectX Function error message that indicates a “DXGI Error Device Hung” error message along with a bunch of other stuff. As it turns out, issues like these are often caused by your graphics drivers that are installed on your system or in some cases, your graphics settings can also be culprit. Regardless of the cause of the issue, we are going to show you how to get rid of the error message in this article so that you are able to play it smoothly.
As it turns out, Battlefield 2042 has not yet been released officially yet and the launch date is still a few days away. This means that the game is currently in early access and there should be a few issues here and there that need to be sorted before the official launch which is why early access can turn out to be really beneficial for the developers. Now, as we have mentioned, most of the time the problem in question is due to the video drivers. However, in addition to that, it may also arise due to the DirectX installation on your system in which case you will have to simply reinstall it. With that said, let us get started and show you how to resolve the DXGI device hung error message without any further ado.
Before we start, however, it is important to make sure that you meet the minimum requirements of the game. As it happens, the error message may also appear when your system does not meet the minimum requirements for the game. Battlefield 2042 requires a DirectX12 capable graphics card along with other things so make sure to look into that before proceeding.
Reinstall DirectX
As it turns out, the first thing that you should do when you encounter the error message in question is to make sure that your DirectX installation is working fine. DirectX is really important as it is essentially used to enhance your experience when it comes down to gaming and other multimedia related stuff. To resolve any such issues on your computer, you can simply download the installer and reinstall DirectX. Follow the instructions given down below to do this:
- First of all, open up Microsoft’s web page for downloading DirectX by clicking here.
- Once you are there, click on the Download button that is provided.
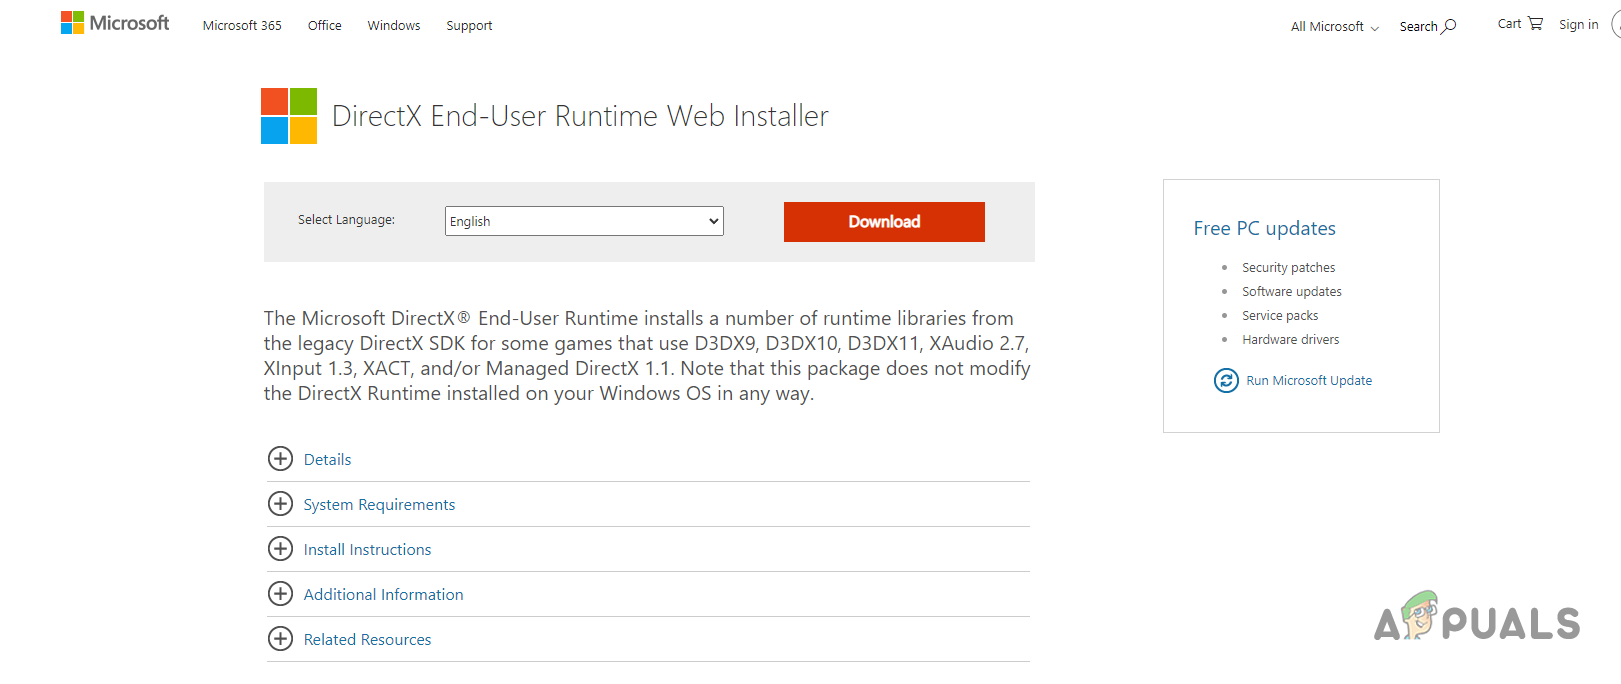
Downloading DirectX - After the file has been downloaded, go ahead and run it.
- Follow the on screen prompts to complete the installation or any repair in your respective cases.
- Once that has been done, try to launch the game again to see if the problem still appears.
Repair .NET Framework
.NET Framework is essentially a development framework that has been released by Microsoft which is used by several third-parties for software development. This means that games and all sorts of different software rely on the .NET framework and actually require it in order to work or launch properly. Thus, another reason that you might be encountering the issue in question is when the .NET framework installation has gone bad on your computer.
If this case is applicable, you will have to use the .NET Framework repair utility to try to resolve any possible problems that might be occurring. To do this, follow the instructions that are given down below:
- To start off, you will have to head to Microsoft’s website to download the repair tool by clicking here.
- On the web page, click on the .NET Framework Repair Tool hyperlink provided to download the utility.
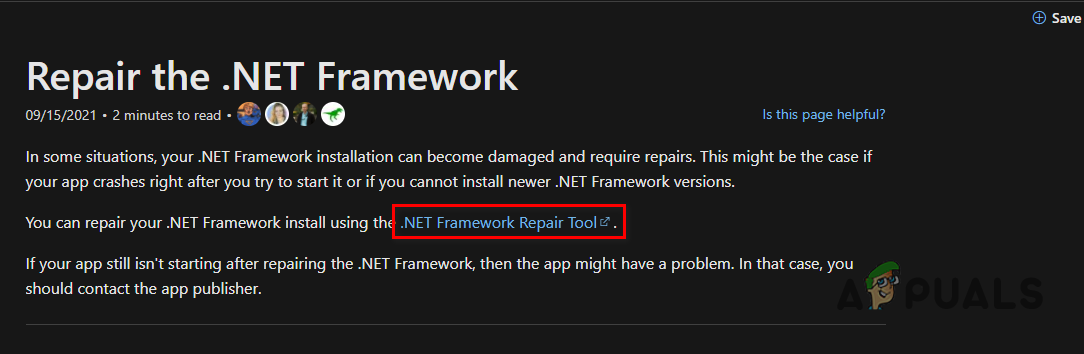
Download .NET Framework Repair Tool - Once it has been downloaded, go ahead and run it on your computer.
- After that, follow the simple on screen prompts and then wait for it to finish.
- Once it has finished, you can try launching the game again to see if the problem is still there.
Clean Install Graphics Drivers
As it turns out, like we have mentioned above as well, the primary reason that the error message may occur in question is when there is an issue with the graphics drivers that are installed on your computer. Graphics drivers play an essential role in your computer as your games heavily rely on your video card especially a new game like Battlefield 2042.
Therefore, if this case is applicable, you can easily resolve the issue by simply reinstalling the graphics drivers on your computer. The process here is slightly different than your usual reinstall of graphics drivers as we will be performing a clean install. For this purpose, a third party utility called Display Driver Uninstaller or DDU will be used to completely get rid of any display driver files on your computer. All of this will be done in Safe Mode which is recommended by the utility’s developer itself. Safe Mode essentially starts your computer with only the required services running in the background so that nothing can interfere with the DDU process. To do all of this, follow the instructions that have been given down below:
- First of all, go ahead and download the Display Driver Uninstaller utility from this link here. You will find the download links at the bottom of the web page.
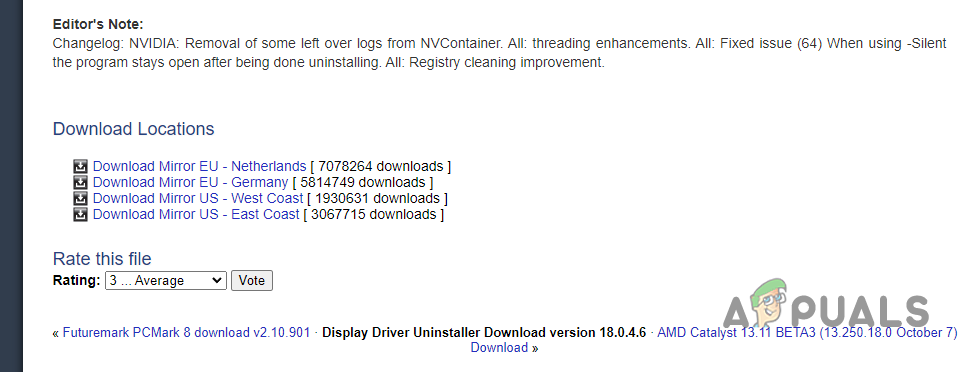
Downloading Display Driver Uninstaller - Once you have downloaded the utility, go ahead and manually download the display drivers for your graphics card by going to your manufacturer’s website.
- After you have downloaded the graphics drivers as well, press the Windows key + I buttons on your keyboard to bring up the Settings window.
- Now, on the System screen of the Settings window, scroll down and click on the Recovery option.
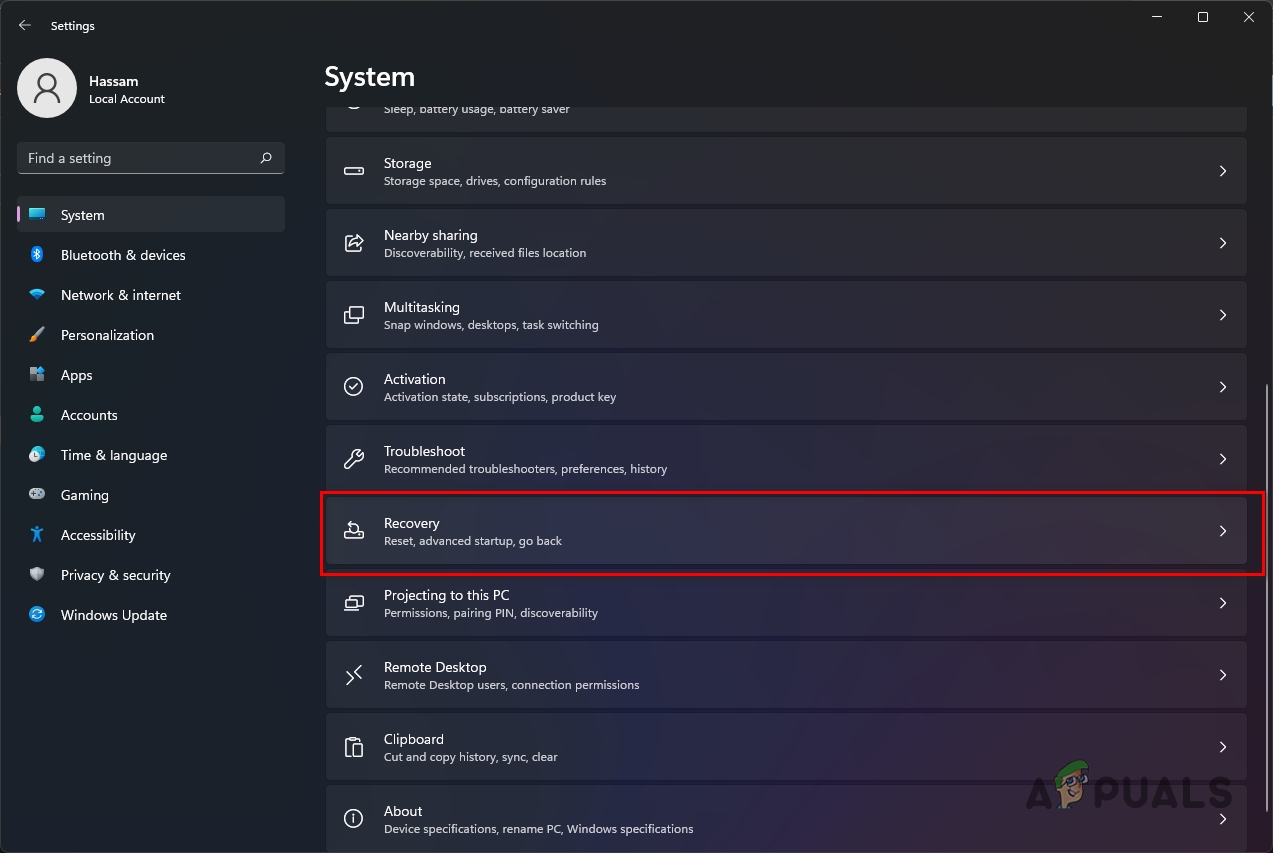
Navigating to Recovery Settings - In front of Advanced startup, click on the Restart now button provided.
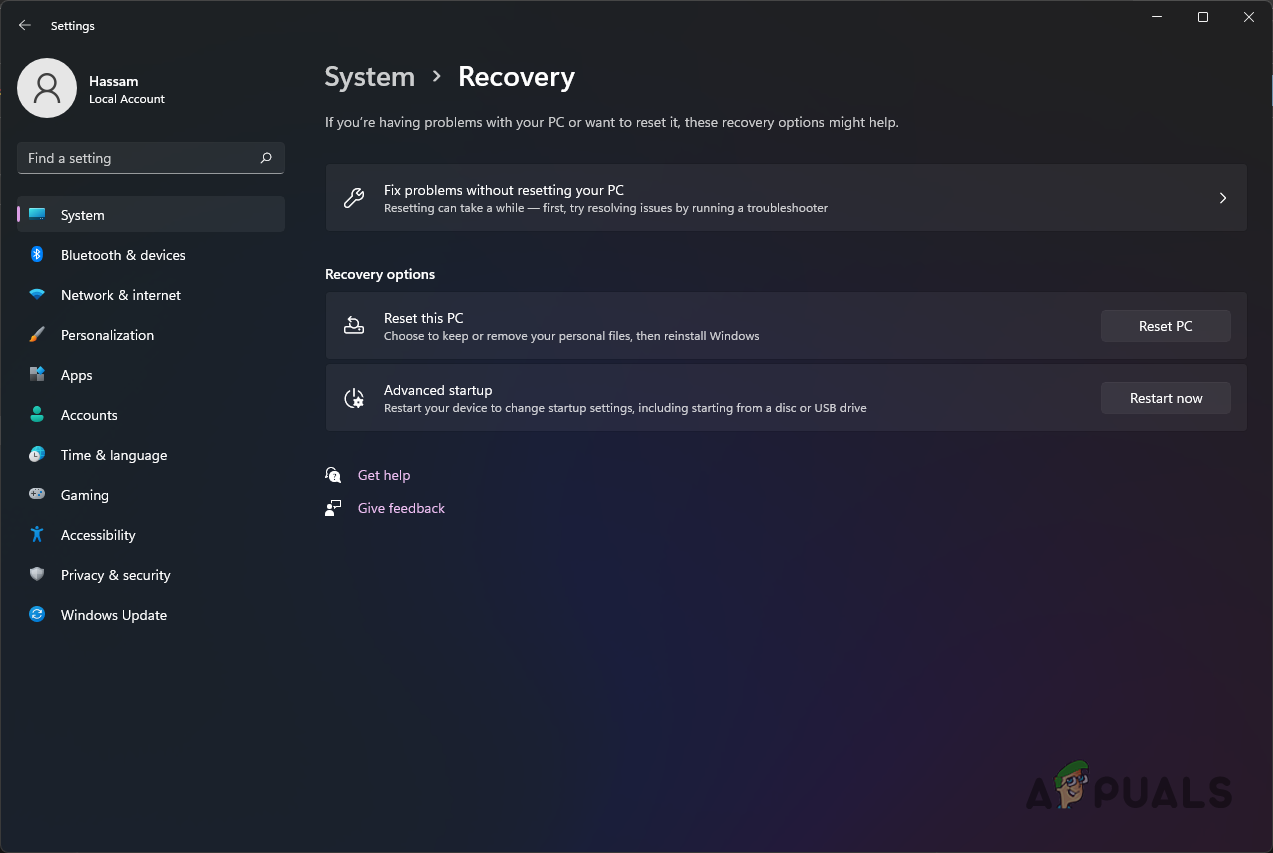
Restarting Windows in Recovery Mode - Wait for your computer to restart.
- Once your PC boots up, you will be taken to the Windows Recovery Environment. Here, choose the Troubleshoot option.
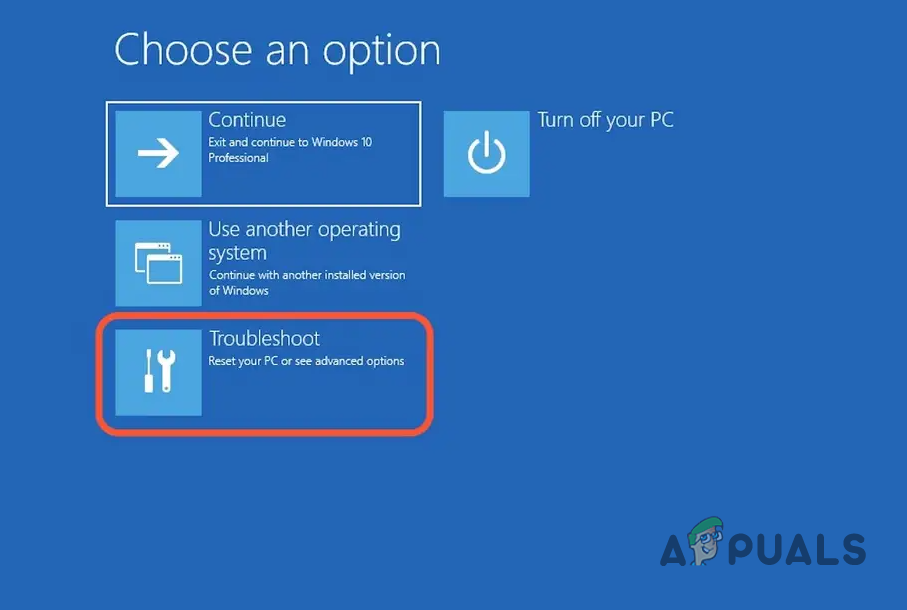
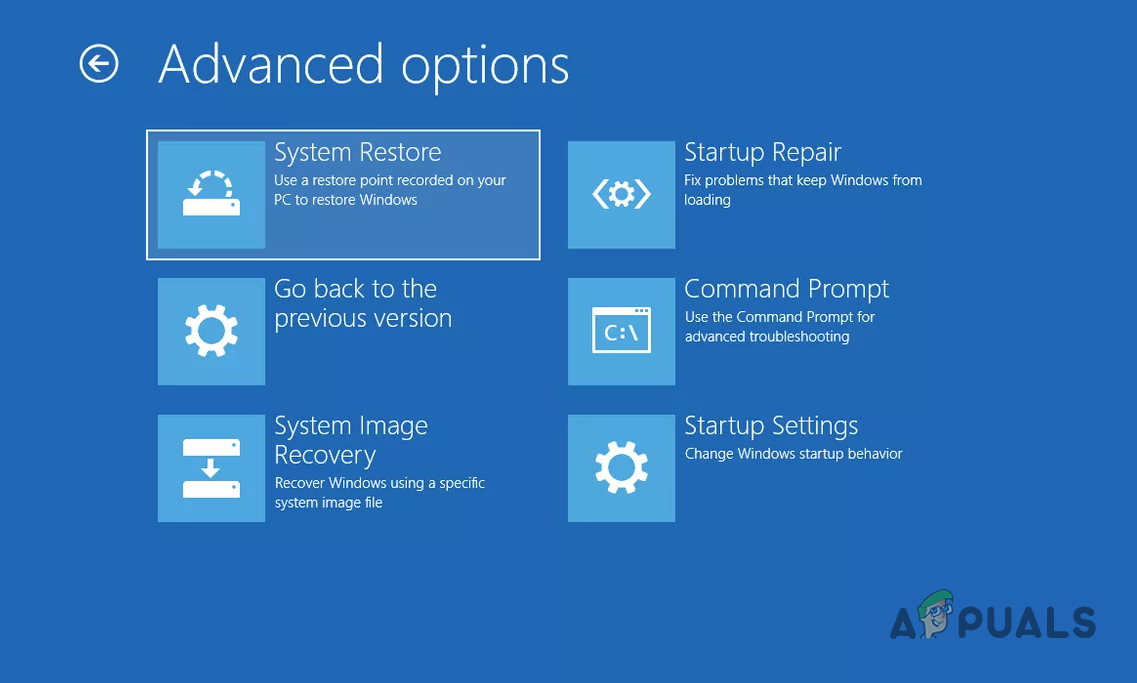
Navigating to Troubleshoot Menu - After that, go to Advanced options.
- Then, make your way to Startup Settings. After that, click the Restart button provided.
Navigating to Startup Settings Menu - Now, once your computer reboots again, press the 4 key on your keyboard to enable safe mode.
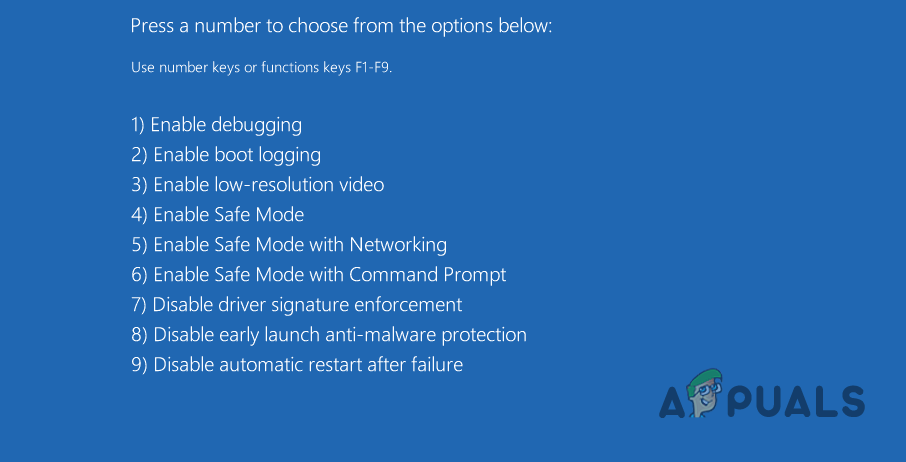
Windows Startup Options - After doing that, your computer should start in Safe Mode.
- In Safe Mode, open up the Display Driver Uninstaller utility that you downloaded earlier. You will be asked to extract it to a location. Do so and then navigate to it.
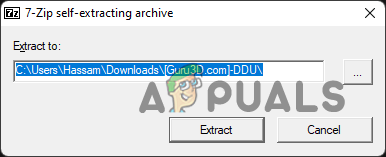
Extracting Display Driver Uninstaller - Once you have done that, go ahead and open up the Display Driver Uninstaller program.
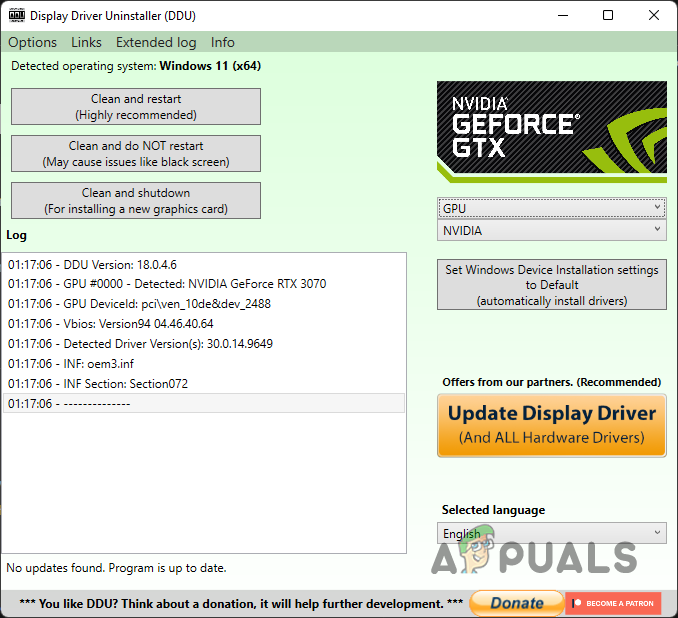
- On the right hand side, from the Select device type drop down menu, choose GPU.

Choosing Device Type - Finally, click the Clean and restart option provided at the top.
Cleaning GPU Drivers - While the cleaning process is going on, make sure that you unplug any ethernet cables from your PC so that your computer does not have internet as your PC restarts.
- Once your computer has restarted, install the display driver that you downloaded earlier from your manufacturer’s website.
- After the drivers have been installed, you can plug in the ethernet cable again and connect to the internet.
- Finally, after doing all of this, try launching the game to see if the problem still persists.
In case the issue is still there, then we would recommend installing an older version of the graphics drivers on your computer as the issue can be sometimes caused by a specific version of the display drivers. See if that helps.
Remove Overclock
Finally, if none of the above solutions have worked out for you, then it is very likely that the issue is being caused by overclocking in your case. Overclocking is usually really helpful as you get to enjoy a boost in performance of your components for free. However, in some cases, this can also cause certain issues with some games in which you will have to remove it.
In case this is applicable to you and you have an overclocked component on your PC, you will have to remove the overclock and then see if that resolves the issue.


