How to Get Dropbox to Uninstall?
Some users are getting the ‘Dropbox failed to uninstall’ error every time they attempt to uninstall Dropbox conventionally. In most cases, this problem appears after Dropbox refuses to start after it was properly installed.

One of the most common causes that will end up causing this error is a problem with the connection between your local machine and the Dropbox cloud server. To fix it, you’ll need to remove your computer from the Dropbox web by connecting with your account.
However, a permission issue can also be the root cause of this uninstall error. In this case, you’ll need to use Registry Editor to grant full control to every local user that’s using Dropbox locally.
If these two fixes aren’t effective, you should start to consider a corruption issue. If this scenario is applicable, perform a manual uninstall or delete every Dropbox file manually to fix the problem in this case.
Removing the Computer from Dropbox Web
For a lot of Windows 10 users, this problem will occur due to inconsistency with how the cloud-service that Dropbox uses looks at the set of devices links to your account.
Some users that were also struggling with this error have reported that they managed to fix the problem by accessing the web version of Dropbox and removing the affected computer from the list of affected devices.
After doing this, they delete the main application executable and rebooting their machine, which ended up fixing the ‘Dropbox failed to uninstall’ error.
Here’s a quick step by step guide on doing this:
- Ensure that Dropbox and any associated instance is completely closed.
- Open your default browser and navigate to the following location (here).
- Next, sign in with the same Dropbox account that you’re using locally by inserting your account credentials.
- After you have successfully signed in with your account, click on your account icon (top-right corner) and click on Settings from the newly appeared drop-down menu.

Accessing the Settings menu of Dropbox web - Inside the Settings menu, click on the Security tab from the top of the screen.
- From the Security tab, scroll all the way down to Devices, and click the X button associated with the Windows computer you’re encountering the ‘Dropbox failed to uninstall’ error on.
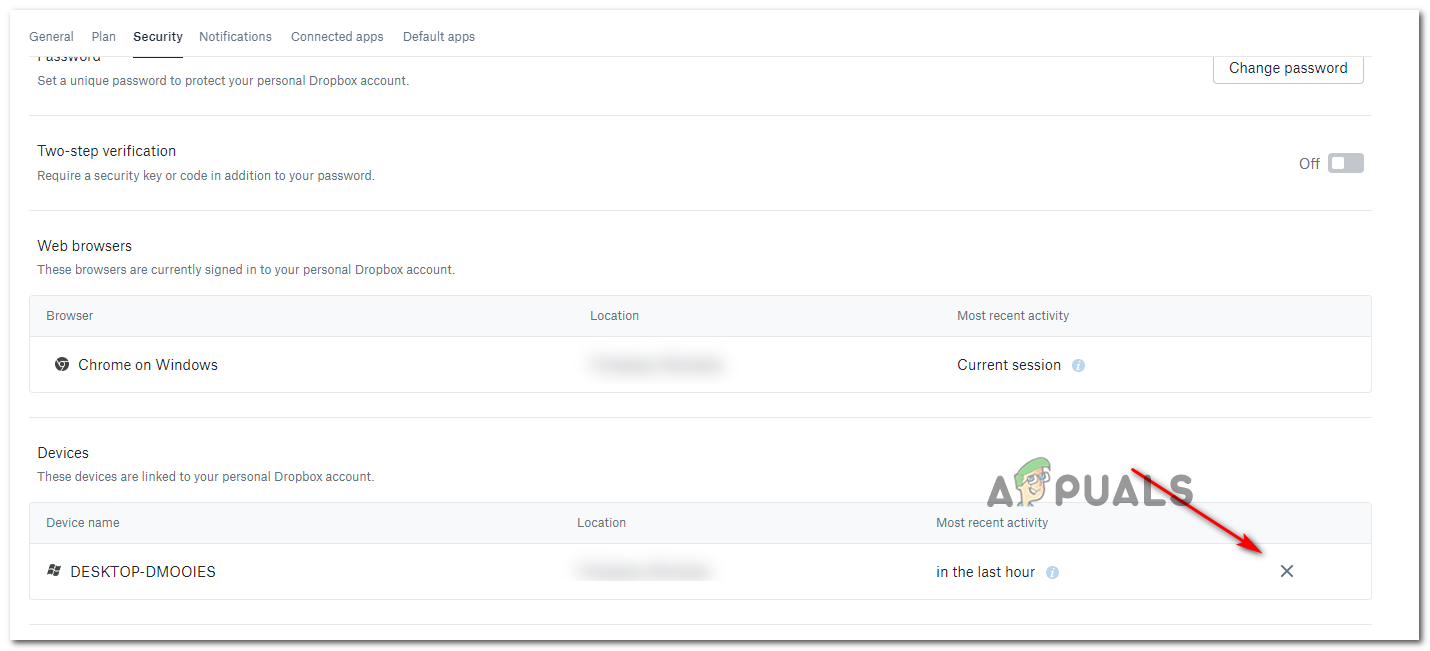
Removing the problematic device connected with Dropbox - Once you see the confirmation prompt, click on Unlink to complete the operation.
- Next, open File Explorer and navigate to the location where you installed Dropbox. Here is the default location:
C:\Program Files (x86)\Dropbox\Client
- Once you get to the correct location, right-click on Dropbox.exe and choose Delete from the context menu to delete it.
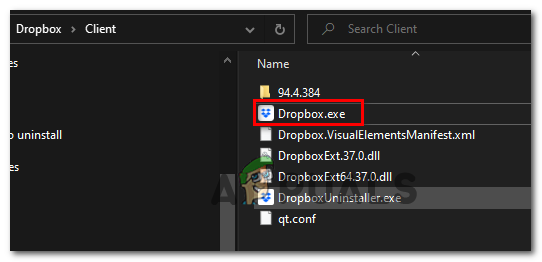
Deleting the main Dropbox executable - Empty your recycle bin and restart your computer.
- Once the next startup is complete, attempt the uninstallation again and see if the issue is now resolved.
In case the same problem is still persisting, move down to the next potential fix below.
Adding Registry Permissions
As it turns out, if you’re encountering the issue as soon as you’ve finished installing Dropbox, it’s very likely that you are facing this issue due to a permission issue related to an old Domain profile user.
Some users that were also facing this issue have reported that they were able to fix the issue by using the Registry Editor to modifying each permission belonging to each key under HKEY_CURRENT_USER\Software\Dropbox so that every local user can access it with full access.
Here’s a quick step by step guide that will show you how to do this:
- Press Windows key + R to open up a Run dialog box. Next, type ‘regedit’ and press Enter to open up the Registry Editor. When prompted by the UAC (User Account Control), click Yes to grant administrative access.

Running the Registry Editor - Once you’re inside the Registry Editor, use the left-hand menu to navigate to the following location:
HKEY_CURRENT_USER\Software\Dropbox
Note: You can also get there instantly by pasting the location directly into the navigation bar at the top and pressing Enter.
- After you manage to arrive at the correct location, look at the set of sub-keys under Dropbox. Next, start by right-clicking on the first one and choosing Permissions from the newly appeared context menu.
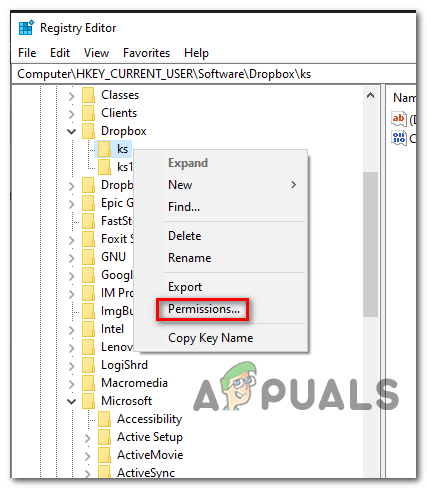
Accessing the Permissions screen - Next, from the Security tab, select the local user that you’re currently using (from Group or user names) and then check the Allow box associated with Full Control, then click Apply to save the changes.
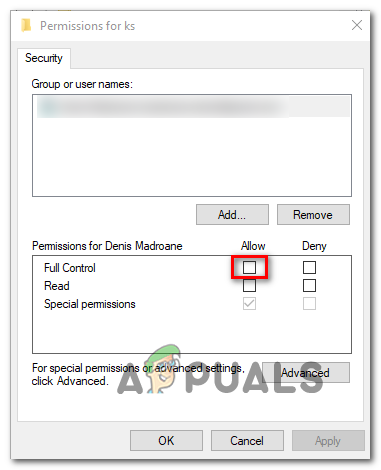
Granting Full permission control Note: Do this systematically with every local user that might end using Dropbox on your computer.
- Repeat this operation with every subkey of dropbox until each folder has full permissions, then restart your computer.
- Reboot your machine and attempt to uninstall Dropbox conventionally once the next startup is complete to see if the issue is now resolved.
In case the same problem is still occurring, move down to the next potential fix below.
Performing a Manual Uninstall
If none of the potential fixes above have worked for you, you should proceed by doing a manual uninstall in order to bypass Programs & Features. This can be done by accessing the installation folder of Dropbox and doing the uninstallation via the DropboxUninstaller.exe file.
In case the issue occurs due to a problem with the Windows uninstaller component and you’re encountering the same problem (to some extent) with multiple programs, follow the instructions below to fix your issue.
Here is the step by step instructions on uninstalling Dropbox manually:
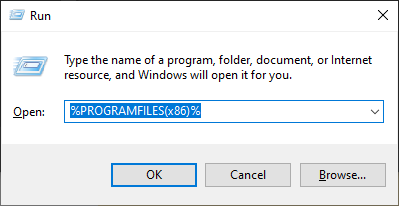
- Press Windows key + R to open up a Run dialog box. Next, type ‘%PROGRAMFILES(x86)%’ inside the text box and press Enter to open up the Program File (x86) folder.
Accessing the Program File Folder - Once you’re inside the Program Files (x86) folder, double-click on DropBox from the list of installed 32-bit programs.
- Next, access the Client folder right-click on the DropboxUninstaller.exe file and click on Run as Administrator to open the uninstaller with administrative privileges.
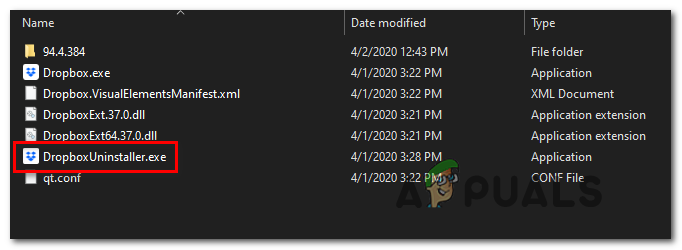
Uninstalling Dropbox manually Note: Click Yes at the UAC (User Account Control) prompt to complete the uninstallation.
- Follow the on-screen instructions to complete the uninstallation process to see if the operation is successful.
Removing DropBox Files Manually
If none of the instructions below have worked for you, it’s almost certain that you’re dealing with some kind of corruption in your Dropbox installation folder that’s preventing you from uninstalling it conventionally.
If this scenario is applicable, you should be able to fix the issue by removing every location where DropBox stores files manually. Some users that were dealing with the ‘Dropbox failed to uninstall’ error have confirmed that this operation was finally effective in allowing them to remove this program from their computer.
Here’s what you need to do to remove every DropBox file manually:
- Close Dropbox if it’s running.
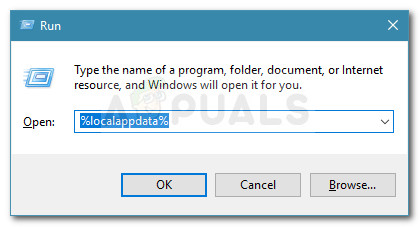
- Press Windows key + R to open up a Run dialog box. Next, type ‘%LOCALAPPDATA%’ inside the text box, then press Enter to open Local folder (hidden by default).
Run dialog box: %localappdata% - Once you’re inside the LOCAL folder, double-click on the Dropbox folder to open it.
- After you are inside, press Ctrl + A to select everything, then right-click on a selected item and choose Delete from the context menu.
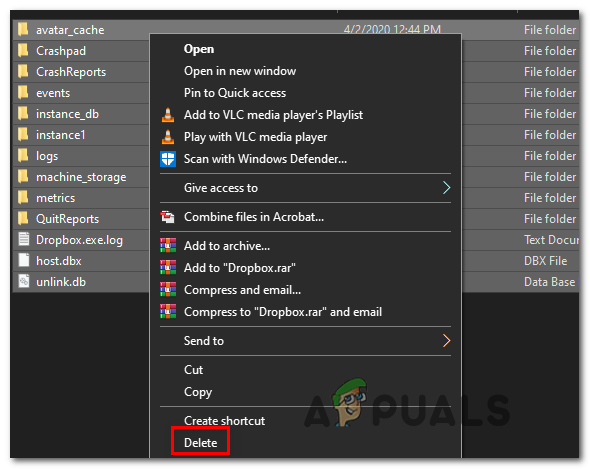
Deleting the contents of Dropbox - Once the contents of this folder have been deleted, repeat the same steps with the remaining Dropbox folders in %APPDATA%, %PROGRAMFILES% and%PROGRAMFILES(x86)%. Use the same Run dialog box to reach them, then clear their contents.
- Reboot your computer then repeat the uninstallation procedure once the next startup is complete.


