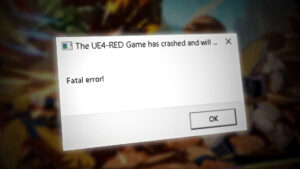
How to Fix Dragon Ball FighterZ ‘ UE4-RED Fatal Error’ on Windows?
Some Windows users are encountering the ‘UE4-RED Fatal Error‘ every time they attempt to launch Dragon Ball FighterZ via Steam. This issue is reported to occur on every recent Windows version including Windows 7, Windows 8.1, and Windows 10.
After investigating this particular issue, it turns out that there are several different potential culprits that might contribute to the apparition of this error. Here’s a list of scenarios that might be responsible for this issue:
- Corrupted Local App Data belonging to DbFigtherZ – As it turns out, this particular issue is often a symptom that you are dealing with some kind of corruption that affects the temporary files of the game. Several affected users have confirmed that they managed to fix this particular issue by clearing the files present inside the %localappdata% folder.
- Corruption affecting the local installation – It’s also possible to see this error if your game installation folder is corrupted. This is commonly reported to occur with users that are launching the game through Steam. IN this case, you can fix the issue by triggering an integrity check from the Properties menu of Steam.
- Missing / Corrupted Visual C++ Installation – Keep in mind that the Microsoft Visual C++ 2015 Redist is a very important dependency that the game cannot function without. If this installation is missing from your computer or certain files from it have become corrupted, you should be able to fix the issue by reinstalling the entire Visual C++ 2015 Redist pack (both the 32-bit and the 64-bit version).
- Outdated GPU drivers – Another real possibility that will trigger this error is an instance in which you’re trying to launch the game by using a graphics driver that’s not equipped with the technology to render the game. If the hardware is sufficient, you should be able to fix the issue by updating your GPU driver to the latest version compatible.
- Global DPI settings are not compatible with the game – As it turns out, you can also see this issue due to the way your OS is configured to handle high DPI usage. Several affected users have managed to fix this issue by modifying the properties of RED-Win64-Shipping.exe so that High DPI calling is overridden and performed by the application.
- Conflict with an overlay software – Keep in mind that there are a lot of user reports saying that this game tends to conflict with a lot of overlay tools including Nvidia Experience and Discord Overlay. If this scenario is applicable to your particular scenario, you can fix the issue by disabling or uninstalling the in-game overlay feature.
Now that you know every potential scenario that might be responsible for the apparition of the ‘UE4-RED Fatal Error‘ with Dragon Ball FigherZ, here’s a list of confirmed methods that other affected users have successfully used to get to the bottom of this issue and run the game normally:
Method 1: Clearing the %localappdata% DbFighterZ folder
According to the majority of affected users, this particular startup error is a symptom of some kind of corruption that is rooted in the temporary files belonging to the game.
We managed to find a lot of affected users confirming that they managed to fix the ‘UE4-RED Fatal Error‘ after they manually navigated to the location of the DbFigtherZ localappdata folder and deleting the contents of it, forcing the game to start clean.
Note: Keep in mind that even if this method works in your case, some users are reporting that this fix is short-lived. You might need to repeat the instructions below at a later date if the ‘UE4-RED Fatal Error‘ starts appearing again after several PC restarts.
If you haven’t tried out this fix yet, follow the instructions below to access the %localappdata% folder and clearing the contents of the DBFighterz folder:
- Press Windows key + R to open up a Run dialog box. Once you’re inside the text box, type ‘%localappdata%’ and press Enter to open up the Local App Data (Local folder on Windows 10) folder.
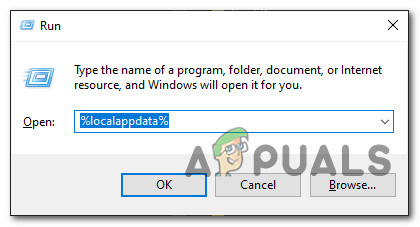
Accessing the Local App Data folder Note: Keep in mind that unless you’ve modified the default settings of your Windows installation, this folder (Local) is hidden by default. Reaching it manually will only be possible as long as you access the ribbon menu of File Explorer and you enable Hidden Items.
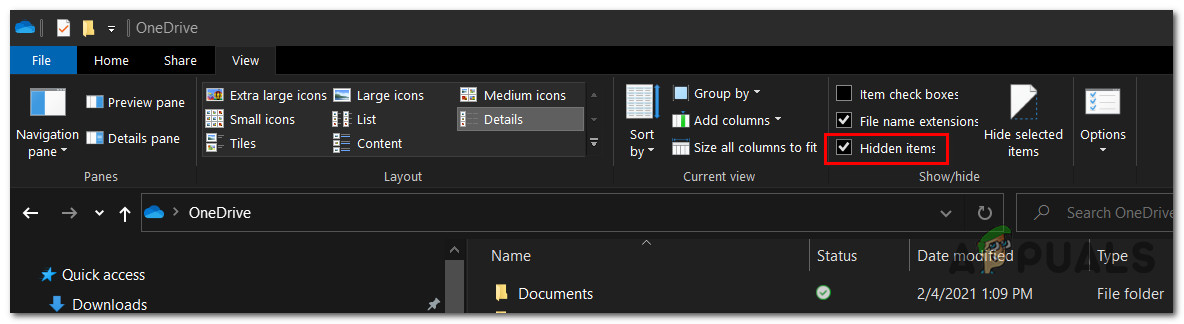
Enabling Hidden Items - Once you’re inside the Local App Data folder, double-click on the DBFigherZ folder.
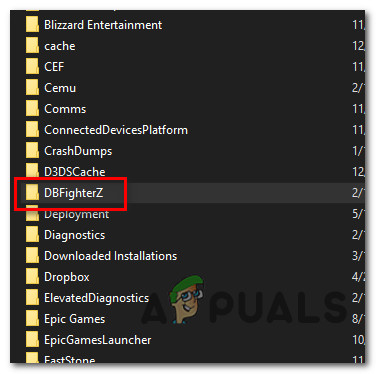
Accessing the DBFigherZ folder - Inside the DBFigherZ folder, press Ctrl + A to select everything inside, then right-click on a selected item and click on Delete from the context menu to get rid of every temporary file belonging to Dragon Ball FighterZ.
Note: Deleting these files will not make a meaningful impact on the startup of the game since they are in no way essential to Dragon Ball FighterZ.
If this issue is still not resolved, move down to the next potential fix below.
Method 2: Checking the Integrity of Dragon Ball FighterZ in Steam
As it turns out, you can also expect to see this particular issue in scenarios where the UE4-RED Fatal error is fueled by some type of corruption that is affecting the local installation of Dragon Ball FigherZ.
In case you’re launching the game through Steam, you should be able to fix this issue by forcing Steam to check the integrity of the game folder and replace any corrupted data with a new healthy equivalent. Several affected users have confirmed that this method finally allowed them to fix the issue.
If this scenario looks like it could be applicable in your case and you’re launching the game through Steam, follow the instructions below to initiate an integrity scan on the local installation of Dragon Ball FigherZ:
- Right-click on your Steam shortcut and click on Run as Administrator from the context menu that just appeared.
- Once you have successfully opened Steam with admin access, click on the Library tab from the horizontal menu at the top, then right-click on Dragon Ball FigherZ and choose Properties from the context menu.
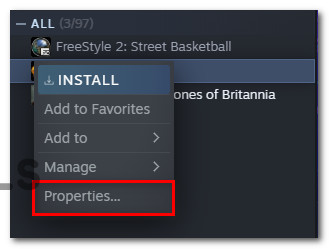
Accessing the Properties screen of Dragon Ball FigherZ in Steam - Once you’re inside the Properties menu of Dragon Ball FigherZ, click on Local Files from the vertical menu on the left, then move over to the right-hand tab and click on Verify Integrity of game files…
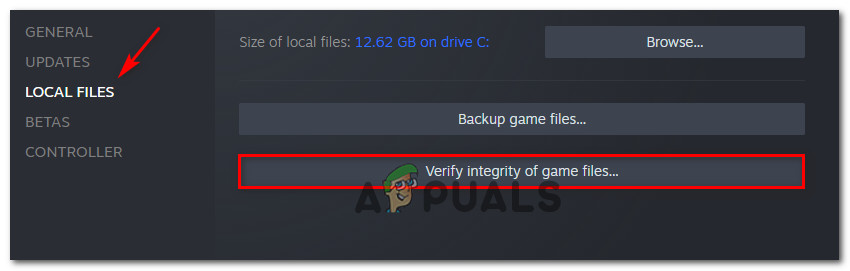
Verifying the integrity of the game files - Wait until all the game files get checked. If an issue is found, the operation will proceed by replacing the corrupted instances with healthy equivalents.
- After the operation is finally complete, reboot your computer and see if the problem is fixed at the next computer startup.
In case the issue is still not fixed even after checking the integrity via Steam or you’re not launching the game through Steam, move down to the next potential fix below.
Method 3: Reinstalling the Visual C++ 2015 Redist pack
If none of the methods above have worked in your case, you should start considering the fact that you might be dealing with some kind of corruption that’s affecting some local dependencies required to launch Dragon Ball FigherZ.
As it turns out, some users have managed to fix the ‘UE4-RED Fatal Error‘ by essentially reinstalling the Microsoft Visual C++ 2015 Redist. the package on their computer. This seems to be effective in situations where you have similar games that are also built around this redist package and that are also failing with a similar error.
If you haven’t tried reinstalling this dependency yet, follow the instructions below to uninstall the Visual C++ 2015 via the Apps & Features menu before reinstalling it from the official channels:
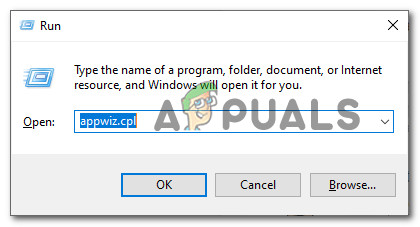
- Press Windows key + R to open up a Run dialog box. Next, type ‘appwiz.cpl’ and press Enter to open up the Programs and Features menu.
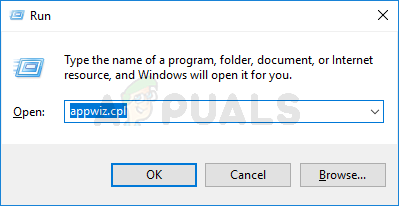
Opening the Programs and Features menu Note: This command is universal and will work regardless of the Windows platform that you’re using.
- Once you’re inside the Programs and Features menu, scroll down through the list of installed programs and locate the local installation of Microsoft Visual C++ 2015 Redist. package. Keep in mind that if you’re using a 64-bit version of Windows, you should have 2 installations for the Microsoft Visual C++ 2015 Redist.
package.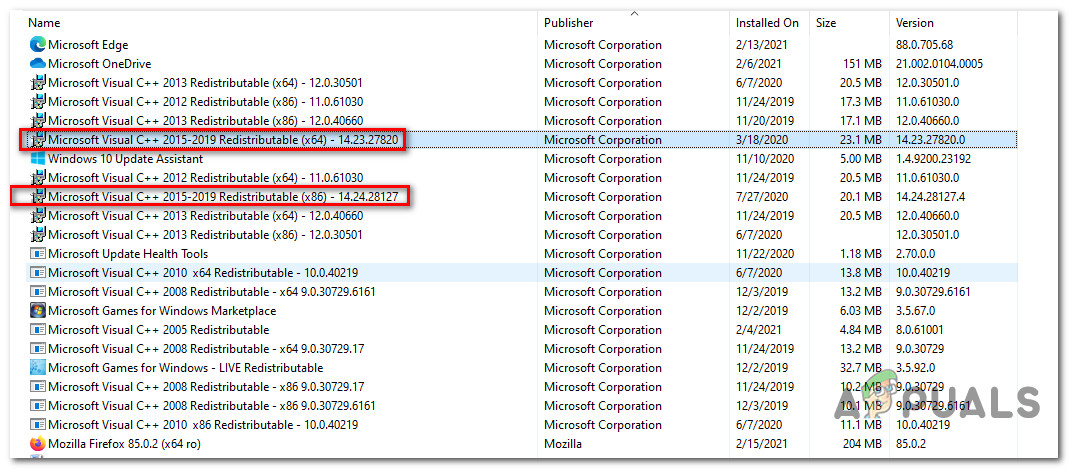
Identifying the Microsoft Visual C++ Redist. installations Note: You can make it easier to find the 2 listings by clicking on the Publisher listing so that you order the list according to their publisher.
Note 2: If you can’t find any of the entries featured above, skip this step and move directly to Step 5 to install the missing redist. packages. - After you manage to identify both listings, right-click on each, then click on Uninstall from the context menu and follow the on-screen prompts to complete the uninstallation of both redist. packages.
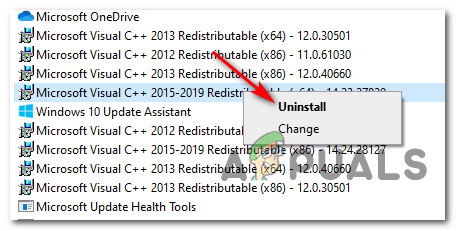
Uninstalling both Visual C++ 2015 Rediust. packages - Once the operation is complete and both redist. packages are uninstalled, restart your computer and wait for the next startup to complete.
- Open your browser of choice and navigate to the download page of the Visual C++ Redistributable for Visual Studio 2015.
- Once you’re inside, select your language and click the Download button.
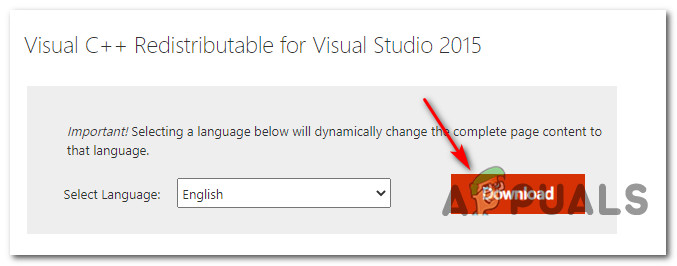
Downloading the Visual C++ Redist. 2015 package - From the next interrogation prompt, select both files and hit the Next button to download both the installer for the 32-bit version and the 64-bit version.
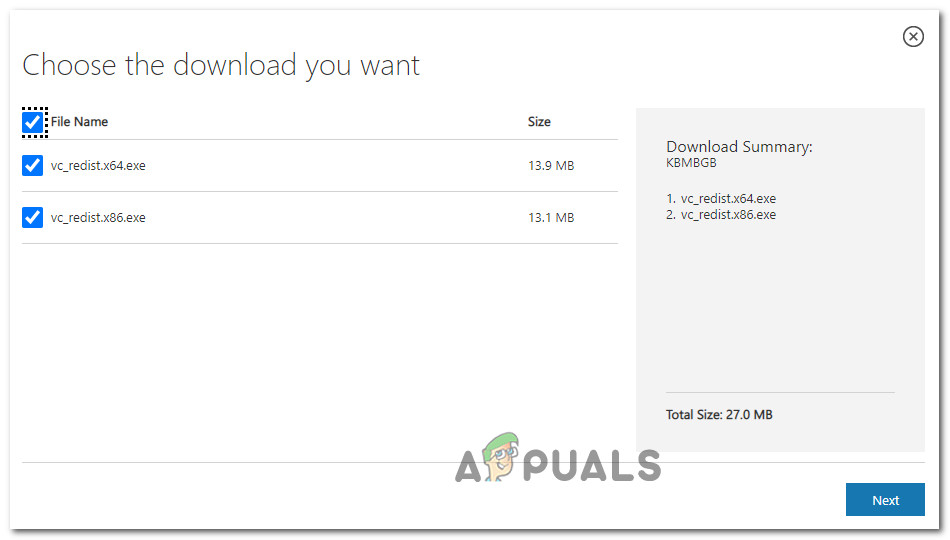
Downloading both the 32-bit and the 64-bit version Note: If you’re downloading the file through Chrome, you will need to confirm an additional prompt giving the browser permissions to download multiple files.
- After the operation is complete, double-click on both installers (in whichever order) and follow the on-screen instructions to complete both installations.
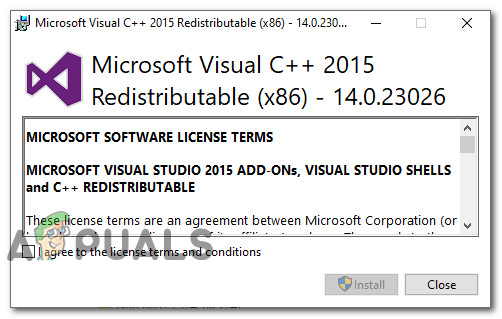
Installing the Visual C++ Redist package - Once the installation is complete, restart your computer and see if the problem is fixed once the next startup is complete by launching Dragon Ball FighterZ once again.
In case you’re still seeing the same ‘UE4-RED Fatal Error‘ issue, move down to the next potential fix below.
Method 4: Updating your GPU Drivers
According to some affected users, you can also expect to see the ‘UE4-RED Fatal Error‘ error due to a severely outdated GPU driver that makes it impossible for the game to be rendered on your PC. If this scenario is applicable, you should be able to fix the issue by updating your GPU drivers + the physics module to the latest available version.
If you haven’t tried updating your graphics card drivers in a while, follow ht instructions below to replace the current dedicated driver with the latest iteration that’s compatible with your GPU:
- Open up a Run dialog box by pressing the Windows key + R. Inside the text box, type ‘devmgmt.msc’ and hit Enter to open up Device Manager.
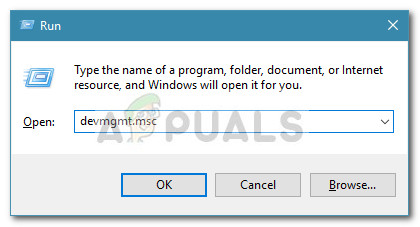
Opening the Device Manager via Run command Note: If you’re prompted by the UAC (User Account Control), click Yes to grant admin access.
- Once you’re inside Device Manager, scroll down through the list of installed devices, then expand the drop-down menu that’s specific to Display Adapters.
- Once this menu is expended, right-click on the GPU driver that you want to update and choose the Update driver from the context menu.
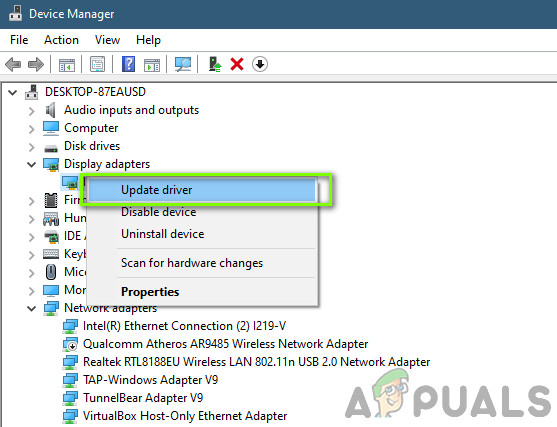
Updating the GPU driver Note: If you’re using a laptop that uses both a dedicated and an integrated GPU, you need to update the dedicated option since that GPU is being used for resource-demanding tasks such as rendering games.
- Once you get to the next screen, click on Search Automatically for updated driver software. Next, once the initial scan is complete, follow the on-screen instructions to install the latest GPU driver that’s compatible with your graphics card.
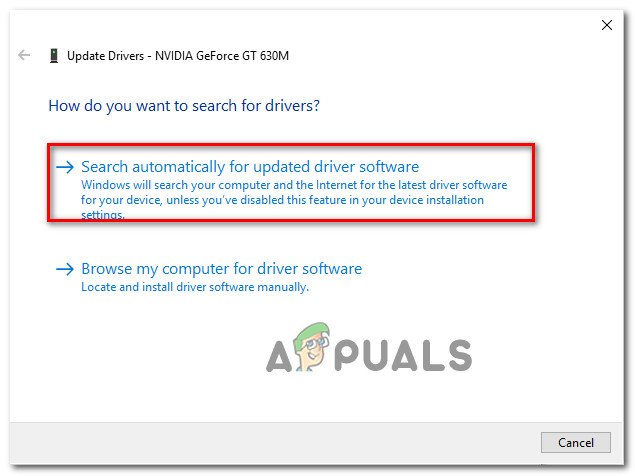
Searching automatically for the latest driver version - If a new driver version is identified and has been successfully installed, reboot your machine and wait for the next startup to complete before launching the game again to see if the problem is now fixed.
Note: In case Device Manager is unable to find a new version for your graphics card, you can also use the proprietary software developed by your GPU manufacturer in order to install the missing drivers. Here’s a list of tools that you can use to update your GPU driver depending on your GPU manufacturer:
GeForce Experience – Nvidia
Adrenalin – AMD
Intel Driver – Intel
In case you were already using the latest driver versions or updating the GPU driver iteration didn’t make a difference in your case, move down to the next potential fix below.
Method 5: Overriding the DPI settings of RED-Win64-Shipping.exe
According to some affected users, you can also expect to see this issue due to how your OS handles HIgh DPI. Due to the way the Dragon Ball FighterZ is built, you might need to modify the default behavior of a certain executable present inside the game folder in order to ensure that both the Windows and the application experiences are optimal on the current hardware.
With this being said, several affected users have confirmed that they finally managed to fix the UE4-RED Fatal Error by modifying the properties of RED-Win64-Shipping.exe so that High DPI calling is overridden and performed by the application.
If you haven’t tried this fix out yet, follow the instructions below for step by step instructions on overriding the DPI Settings for the RED-Win64-Shipping executable:
- Navigate to the location where you installed Dragon Ball FighterZ. If you’re launching the game through steam and you didn’t install the game in a custom location, you should be able to find it in:
C:\Program Files\Steam\steamapps\common\DRAGON BALL FighterZ
- Once you’re inside the correct location, locate the RED-Win64-Shipping.exe executable inside RED/Binaries/Win64.
- When you locate the RED-Win64-Shipping.exe, right-click on it and choose Properties from the context menu.
- Inside the Properties screen, click on the Compatibility tab and then click on Change high DPI settings (under Settings).
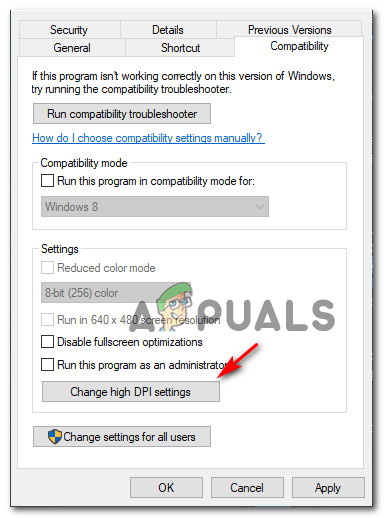
Changing the DPI settings for RED-Win64-Shipping.exe - From the next screen, check the box associated with Override high DPI scaling behaviour (under High DPI calling override), then select Application from the drop-down menu that was just made accessible.
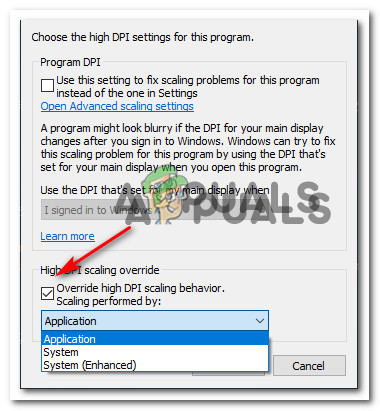
Overriding DPI scaling - Hit Apply to save the changes, then launch the game once again and see if the problem is now fixed.
if you followed the instructions above and you’re still encountering the same kind of issues, move down to the next potential fix below.
Method 6: Disabling the in-game Overlay
As it turns out, the PC version of Dragon Ball FigherZ is known to conflict with a lot of different overlay applications as the ‘fatal error‘ is known to be caused whenever the game is unable to handle a piece of software that monitors the frames.
If this issue is being caused by a conflict between the game and an overlay tool, you should be able to fix the issue either by disabling or uninstalling the tool that’s causing the error inside Dragon Ball FigherZ.
Because there are several different overlay tools that can cause this issue, we’ve put together a series of sub-guides that will guide you through the process of disabling the in-game overlay for Nvidia Experience, Discord Overlay, and any other screen overlay feature.
A. Disabling Discord’s Overlay
- Open up the Discord app, then go ahead and double-click on the system tray icon to bring up the main Discord interface forward.
- Once you’re finally inside the Discord app, access the User settings (gear icon) in the bottom section of the window.
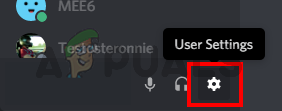
Accessing the user settings in Discord - Inside the User Settings menu, click on the Overlay tab from the vertical menu on the left (under App Settings).
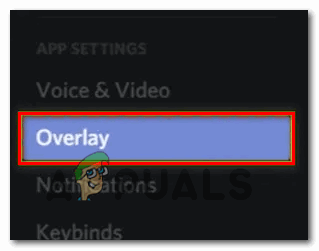
Opening the Overlay menu in Discord - In the Overlay menu, disable the toggle named Enable in-game overlay.
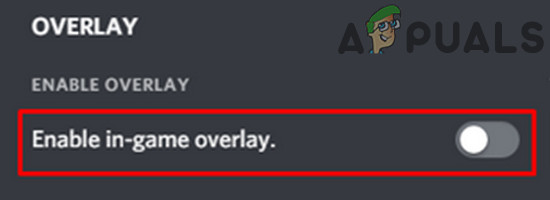
Enable in-game overlay - Once you have successfully disabled the in-game overlay from the Discord app, go ahead and save the changes before launching the game again and seeing if the problem is now fixed.
B. Disabling Nvidia Experience Overlay
- First things first, close the game error prompt and then open Nvidia Experience by double-clicking on the main executable (or its shortcut).
- Once you’re inside, click on the gear icon (top-right corner of the screen) near your account name.
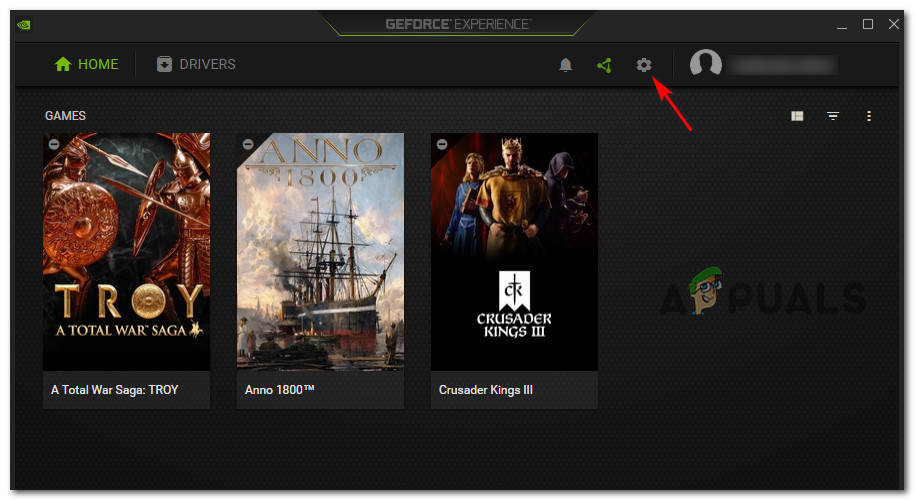
Accessing the Settings menu of Nvidia Experience - Once you’re inside the Settings menu, go to the General tab using the left-hand section, then move over to the left menu and disable the toggle associated with the IN-GAME OVERLAY.
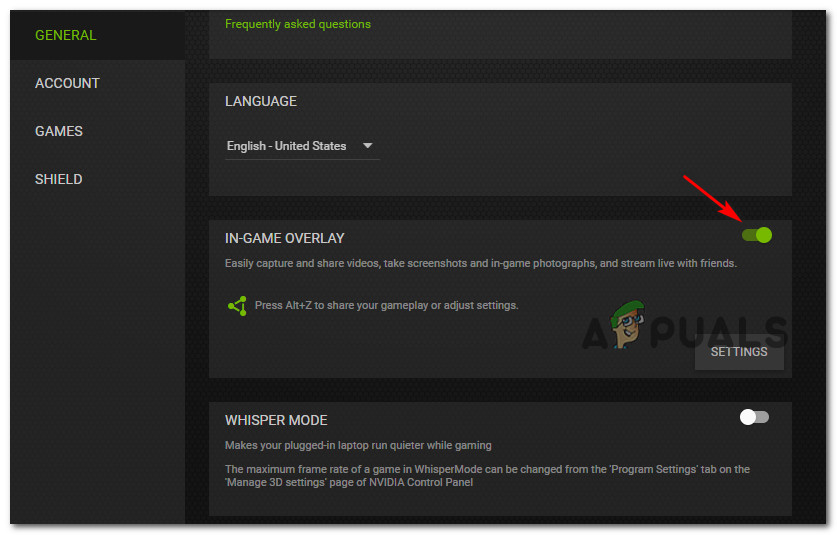
Disabling the in-game overlay - Once the in-game overlay feature is disabled, save the changes and launch Dragon Ball FighterZ again to see if the problem is now fixed.
C. Uninstalling the Screen Overlay Program
If you’re using a standalone app to monitor the in-game frames per second, it’s possible that you won’t have the ability to disable the overlay since this is the main functionality of the app. In this case, follow the instructions below to uninstall the problematic overlay program:
- Open up a Run dialog box by pressing Windows key + R. Next, type ‘appwiz.cpl’ and press Enter to open up the Programs and Features menu.
Opening the Programs and Features menu - Once you’re inside the Programs and Features menu, scroll down through the list of installed programs and locate the new software that you plan on uninstalling.
- When you see it, right-click on it and choose Uninstall from the context menu.

Uninstall the overlay program in Programs and Features - Next, follow the on-screen instructions to complete the uninstallation of the overlay program, then restart your computer and see if you’re able to open Dragon Ball FighterZ normally once the next startup is complete.


None of the solutions I found elsewhere worked. One of these did. You have my unending gratitude. Keep up the good work and stay blessed.