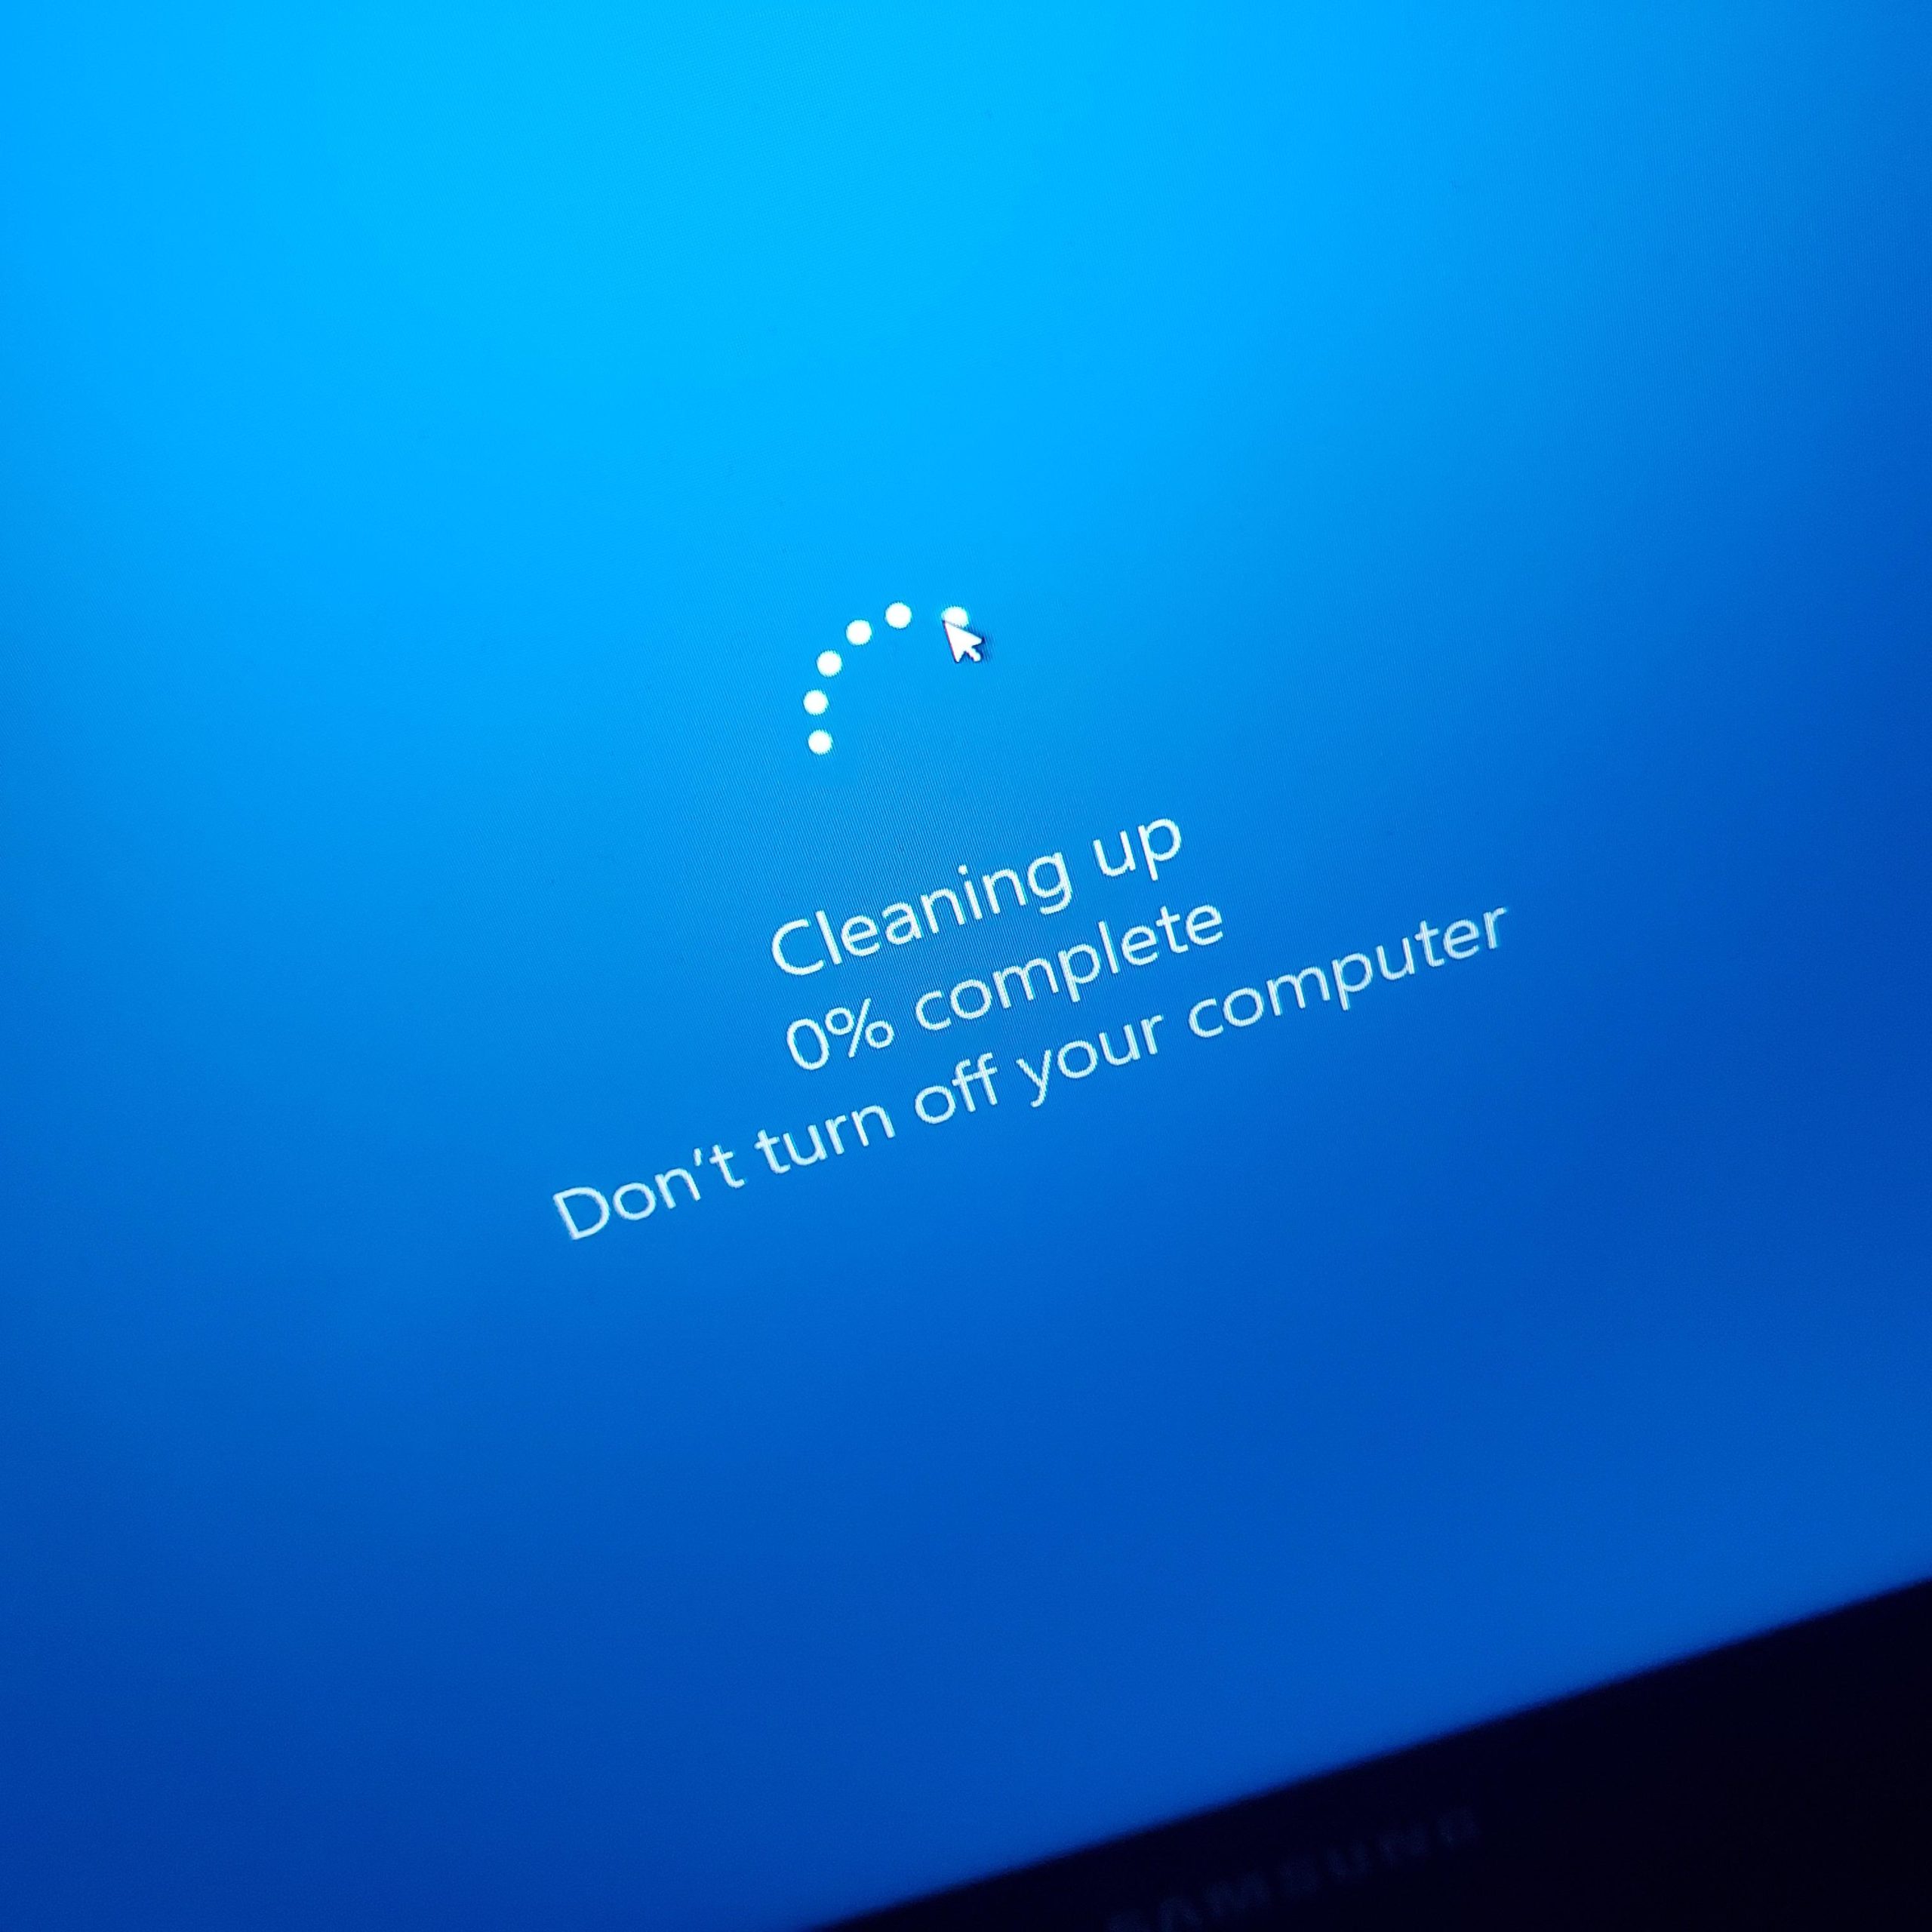
How to Fix Windows Update Stuck at “Cleaning Up”
The system can get stuck at ‘Cleaning up 0/100% complete’ for various reasons. While corrupted Windows update cache files in the SoftwareDistribution folder are common causes, other issues can include problems with the Windows Update service, system file corruption, disk errors, or lack of disk space.
Malfunctioning update services, corrupted or missing system files, disk errors like bad sectors, and insufficient disk space can all prevent the system from completing the clean-up. Corrupted files can cause the system to get stuck at ‘Cleaning up 0/100% complete’ or show Windows update errors.
Clearing the SoftwareDistribution or Windows.old folder usually resolves this issue, but reboot Windows in safe mode first.
A quick fix is to restart your computer using the power button. Press and hold the Power button until the system shuts down, then press the Power button again. Only do this if you’ve waited more than 4-5 hours.
If the issue persists after restarting, try the methods below.
1. Run Windows in Safe Mode
Safe Mode is a diagnostic mode of Windows. When you boot in Safe Mode, it starts with essential systems and services, which can help troubleshoot and fix issues that aren’t apparent when Windows runs normally. Safe Mode disables non-essential drivers and startup programs that could be causing conflicts or preventing clean-up.
- Boot Windows in safe mode by turning off your PC completely.
- Turn your PC back on.
- When the Windows or manufacturer logo appears, press the Power button to turn off your PC again.
- Repeat this process until the Automatic Repair screen appears.
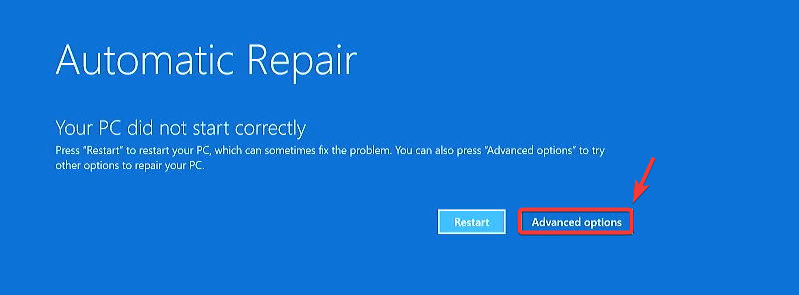
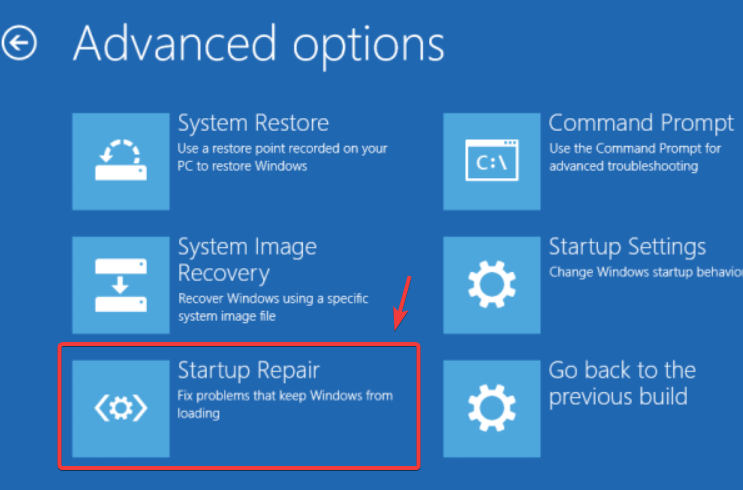
- Click Advanced options > Troubleshoot > Startup Settings.
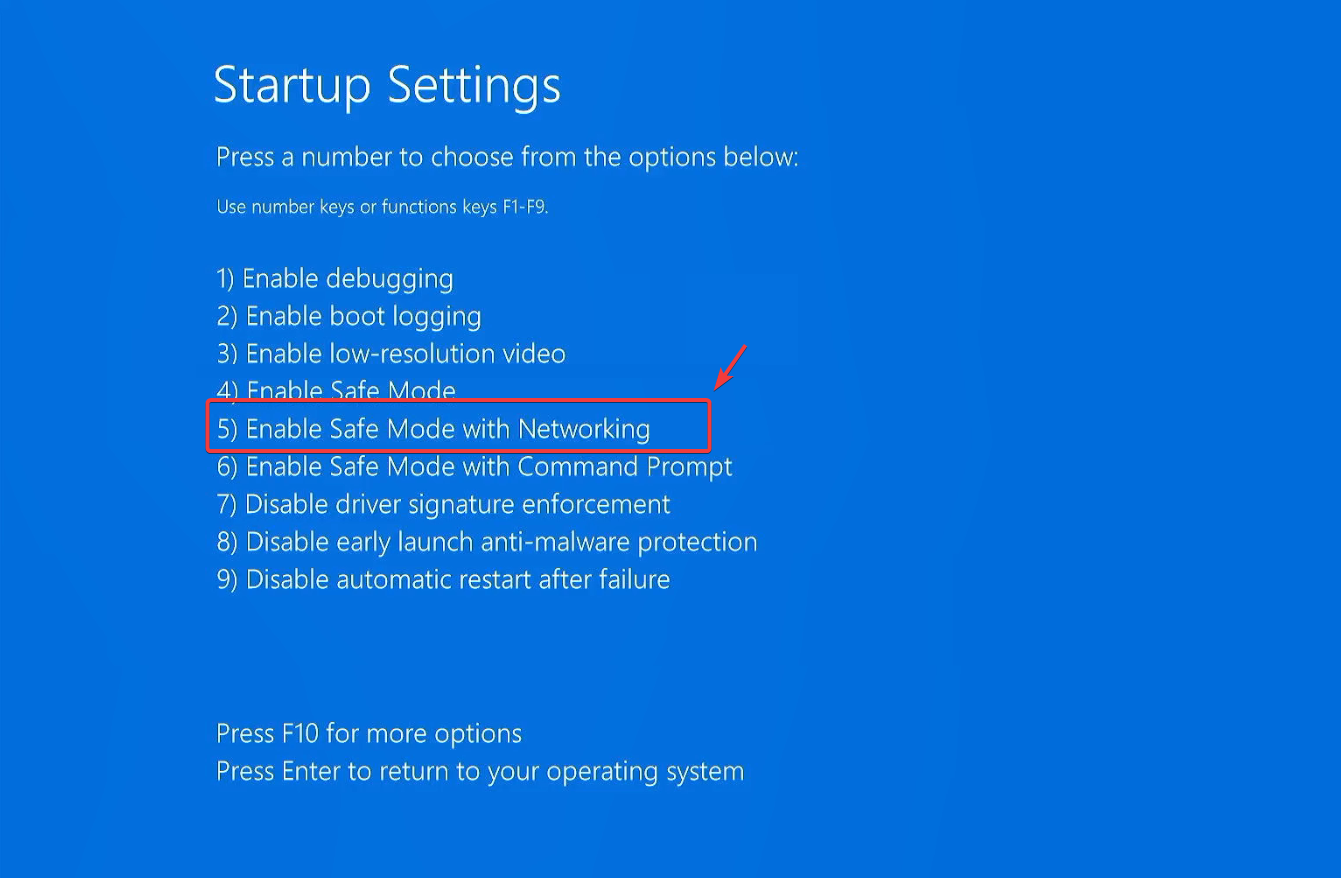
- Select Restart.
- Press F5 or 5 to enter Safe Mode.
- After booting, make necessary changes to your PC.
2. Clear the SoftwareDistribution Folder
The SoftwareDistribution folder stores Windows update files. If these files are corrupted, Disk Cleanup may struggle to delete them, causing the system to get stuck at 100%. Manually deleting these files should resolve the issue.
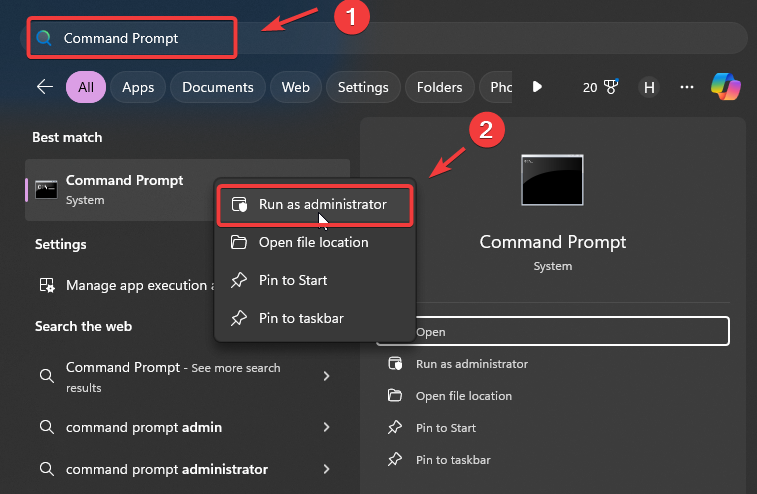
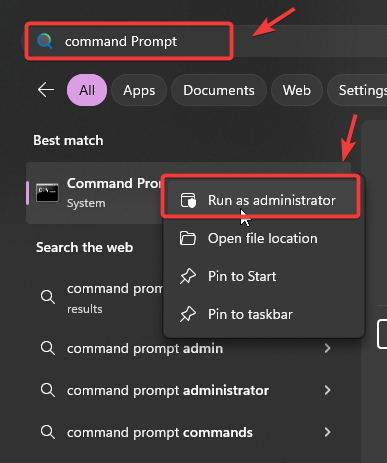
- Press Win and type Command Prompt.
- Right-click Command Prompt and select Run as administrator.
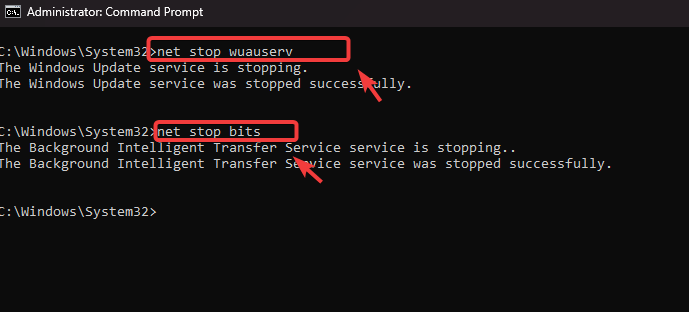
- Enter these commands to stop the Windows Update service:
net stop wuauserv
net stop bits
- Ensure the services have stopped successfully by entering:
sc query wuauserv
sc query bits
The status should display STOPPED. If not, attempt stopping them again or check for errors.
- Minimize the Command Prompt.
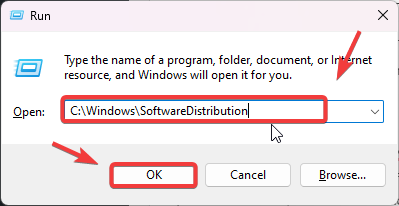
- Press Win + R to open Run.
- Enter C:\Windows\SoftwareDistribution and click OK.
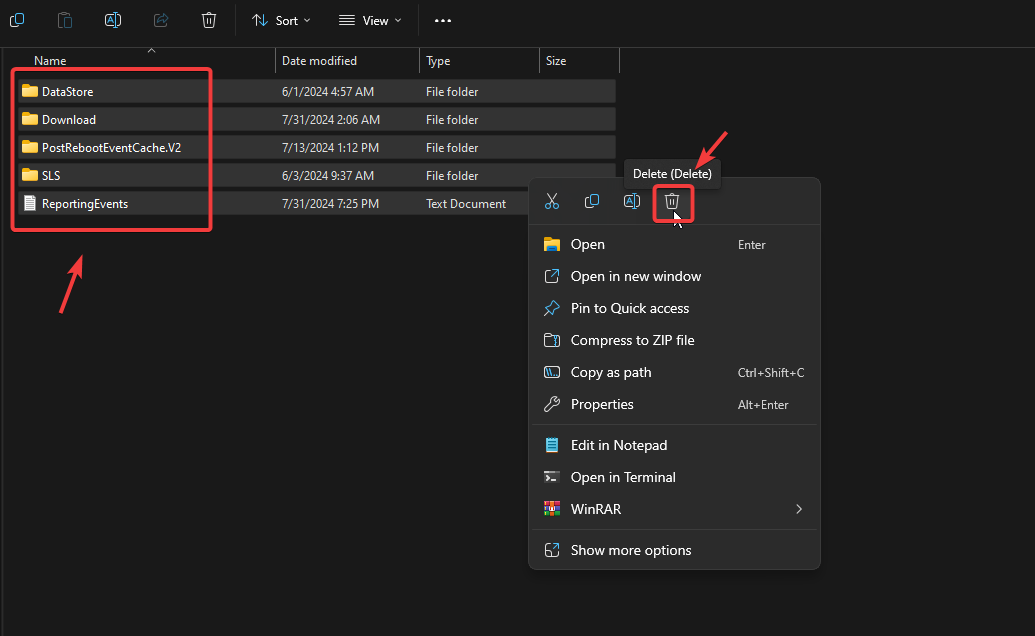
- Delete all content in this folder.
- Reopen Command Prompt and enter these commands to start Windows Update services:
net start wuauserv
net start bits
- Ensure the services have started successfully by entering:
sc query wuauserv
sc query bits
The status should display RUNNING.
- Restart your computer. If the issue persists, boot in Safe Mode again.
3. Delete the Windows.old Folder
The Windows.old folder contains files related to Windows updates. Clear this folder if the issue persists after clearing the SoftwareDistribution folder.
-
- Open Command Prompt as an admin by typing it into the Start Menu and right-clicking on it.
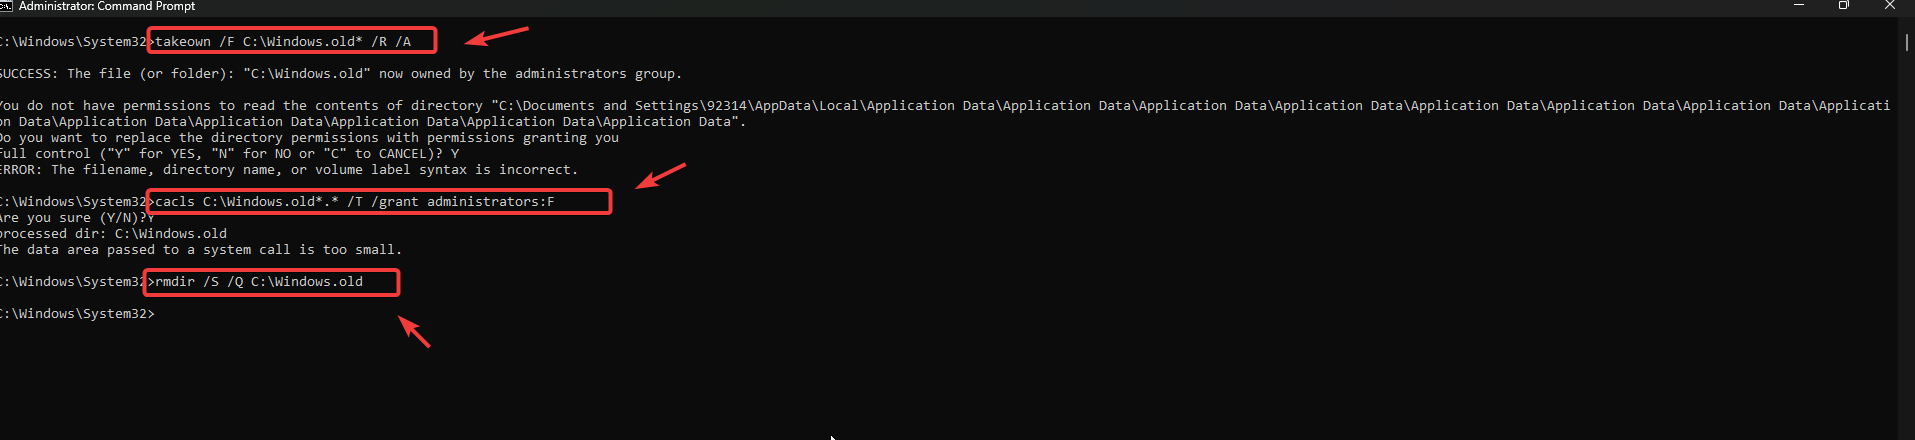
- In Command Prompt, enter these commands to take ownership and delete the Windows.old folder:
takeown /F C:\Windows.old* /R /A
cacls C:\Windows.old*.* /T /grant administrators:F
rmdir /S /Q C:\Windows.old
- Restart your computer to complete the process.
- Open Command Prompt as an admin by typing it into the Start Menu and right-clicking on it.
4. Perform Disk Cleanup
Disk errors or insufficient disk space can also cause issues. Perform a disk cleanup and check the disk for errors to resolve this.
- Press Win and type Command Prompt.
- Right-click Command Prompt and select Run as administrator.
- In the Command Prompt window, type the following command and press Enter:
chkdsk /f /r C:
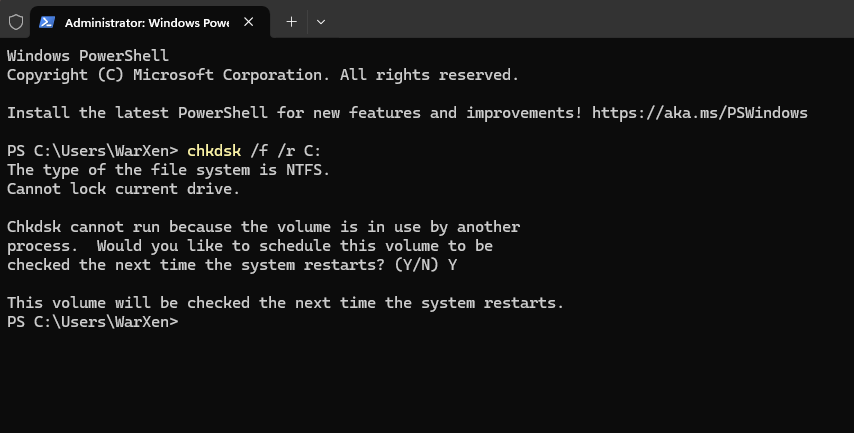
- You’ll be prompted to schedule the disk check at the next restart. Type Y and press Enter.
- Restart your computer to run the disk check. This can take time, so be patient. The disk check will try to find and fix disk errors.
- Once complete, review the results on screen. If any errors were found and fixed, they will be listed.


