How to Turn Off the Windows Ink Workspace Feature?
Windows Ink, although an impressive feature, isn’t necessary for every user, and its random pop-ups can be frustrating for some. Users who regularly utilize it have reported issues such as brush lag, unresponsive or erratic movement, blank gray screens, and other interruptions in their workflow.

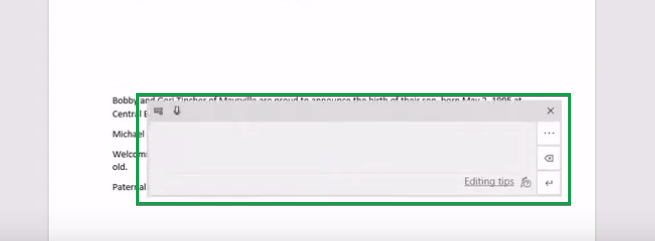
The random appearances of the workspace and other bugs are often due to a faulty or outdated digital touch device connected to the system. To use the workspace to its full potential, you should update or replace your device. However, if you choose to disable the Ink workspace, the following methods will guide you.
1. Disabling Ink Workspace via Regedit
You can disable the Ink Workspace by altering its policy’s value in the registry editor. Doing so will stop the ink service until you revert the value to its default setting.
Note: Exercise caution when working with the registry editor. Consider making a registry back before performing this method.
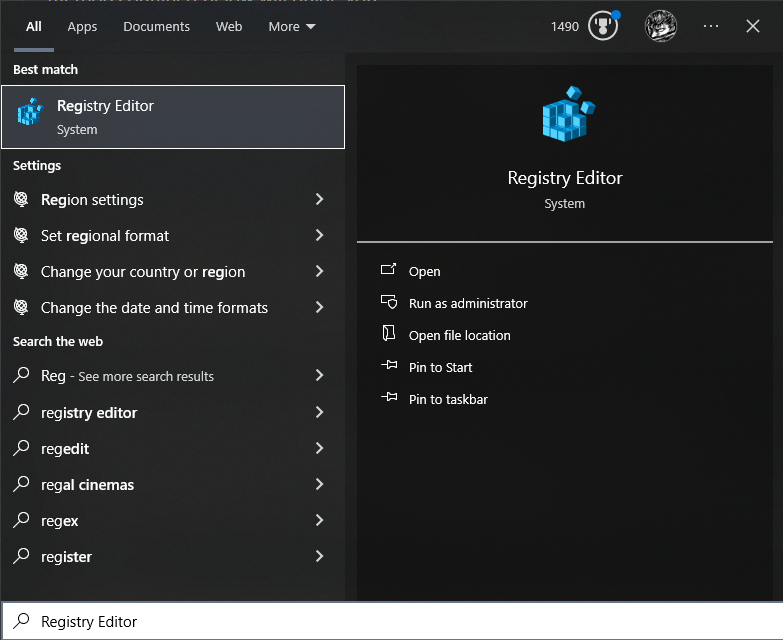
- Open the Windows search bar and type “Registry Editor”.
- Navigate to “HKEY_LOCAL_MACHINE”.
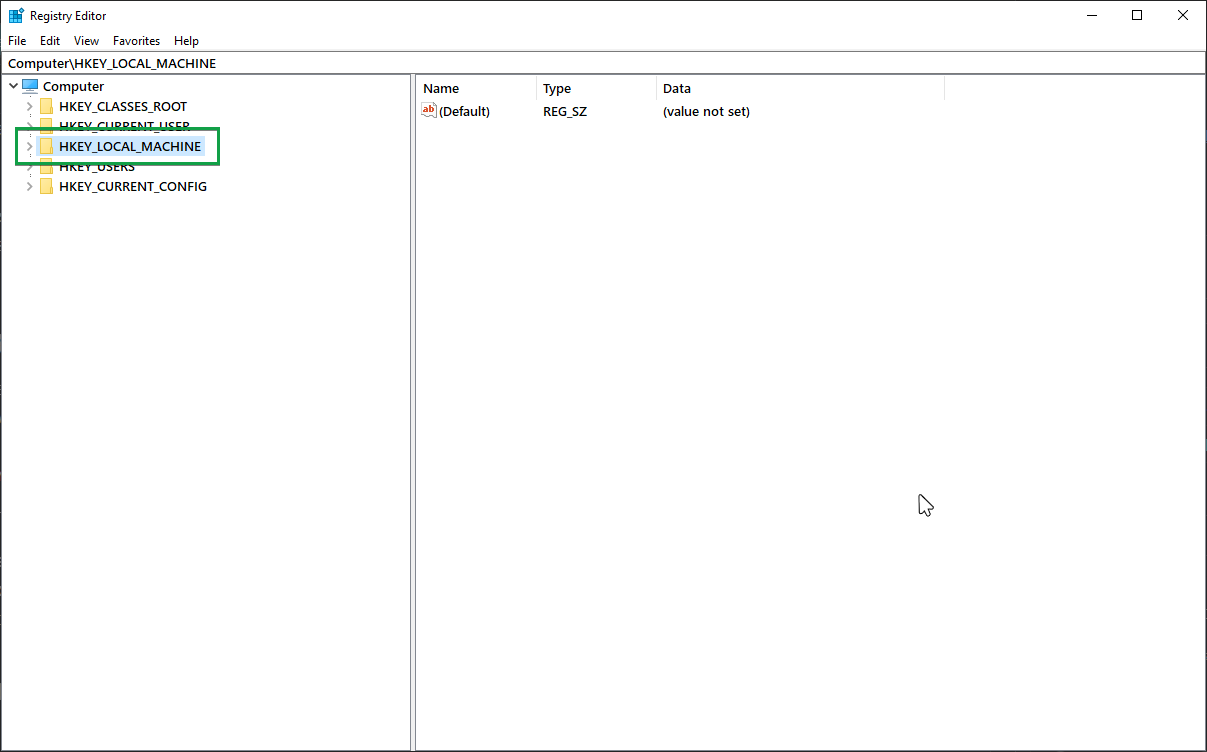
- Expand the dropdown and follow this path: HKEY_LOCAL_MACHINE > SOFTWARE > Policies > Microsoft > WindowsInkWorkspace.

- Locate the registry entry named “AllowWindowsInkWorkspace”, right-click on it, and then select Modify.
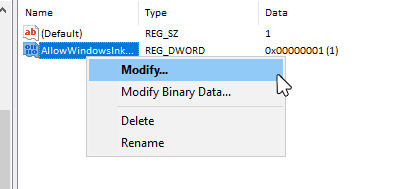
- In the prompt that appears, change the value to ‘0′.
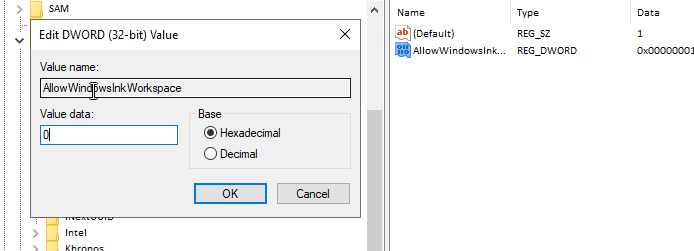
If there is no existing registry for the Ink workspace:
- Right-click within the WindowsInkWorkspace key.
- Select New and then click DWORD (32-bit) Value to create a new registry entry.
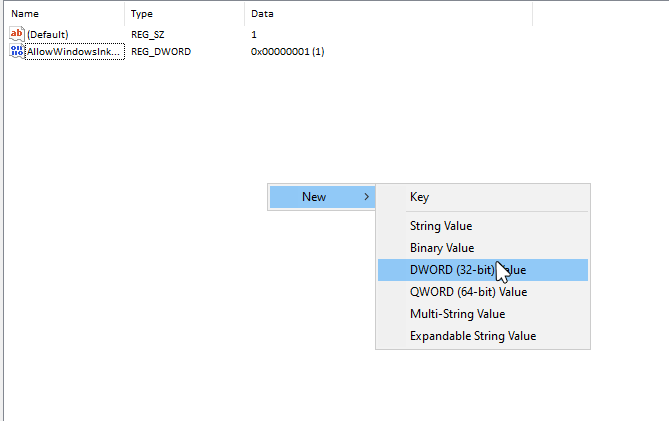
- Name the new registry “AllowWindowsInkWorkspace” and set its value to ‘0’ as previously described.

2. Disabling Ink Workspace via Group Policy Editor
The Group Policy Editor allows you to modify the configuration of any running Windows service, such as the Ink Workspace, and to disable it on your computer.
Note: The Group Policy Editor is not typically needed by individual users, so it is disabled by default in the Windows 10 Home edition. If you want to install and use it, follow this guide.
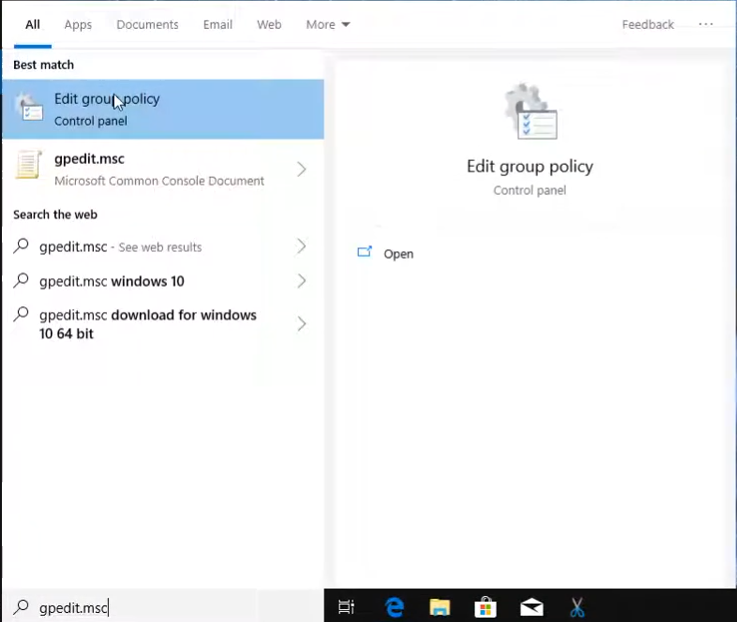
- Type “gpedit.msc” into the search bar and open Edit Group Policy from the search results.
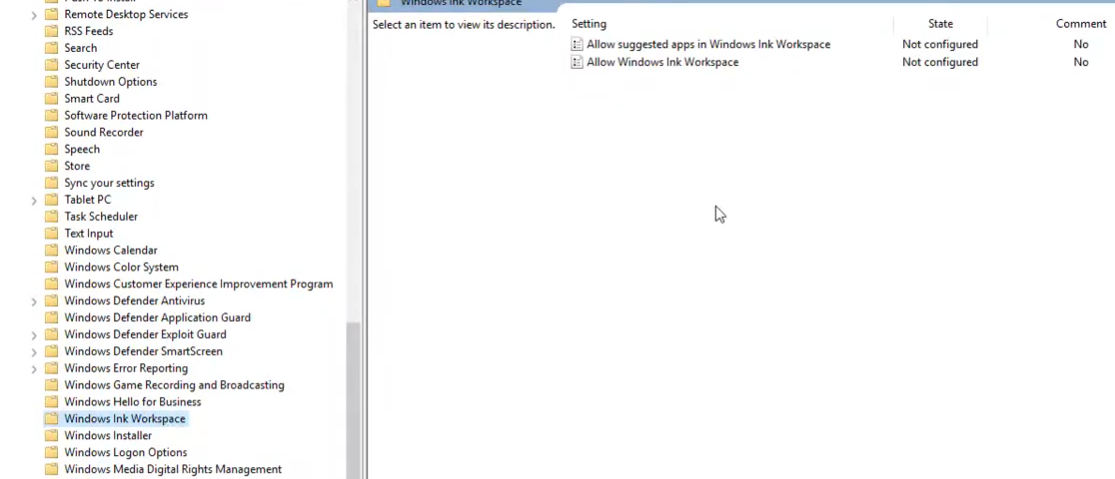
- Click to expand the Computer Configuration section, then navigate: Administrative Templates > Windows Components.
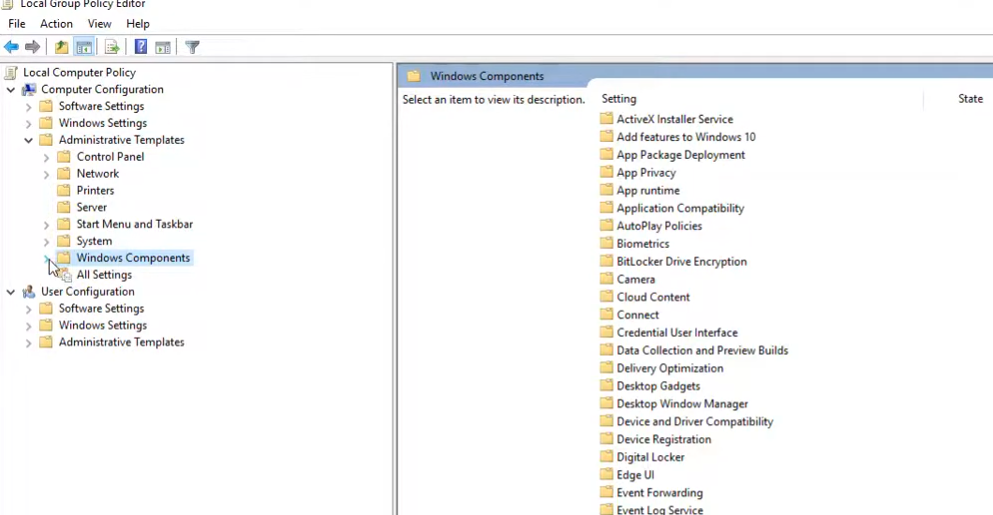
- Locate Windows Ink Workspace in the list.
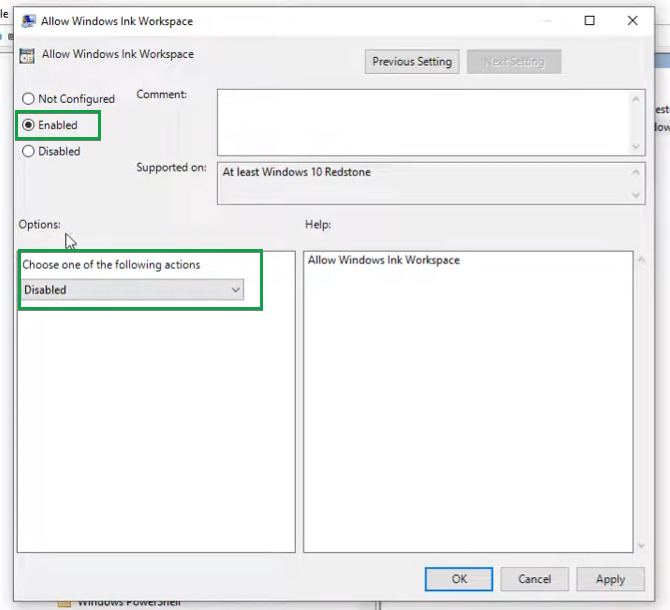
- Access the setting named “Allow Windows Ink Workspace”.
- In the properties, select the Disabled option and then click OK.
3. Disabling Ink Workspace via the Services Tab
The Ink Workspace is a Microsoft service that can be enabled or disabled according to a user’s personal preference. The system configuration’s Services tab allows you to prevent the service from loading upon system startup.
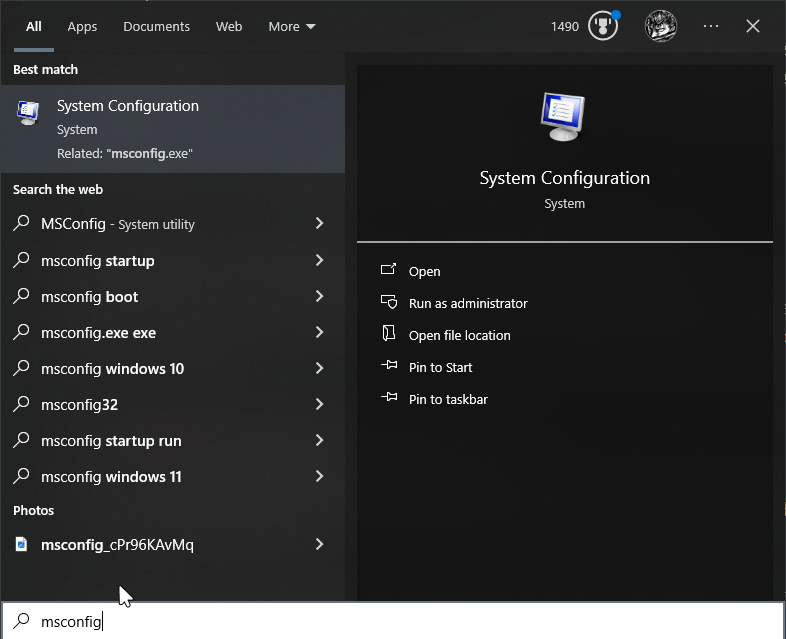
- Type “msconfig” into the Windows search bar.
- Select “System Configuration” from the search results.
- Go to the “Services” tab from the menu bar.
- Uncheck “Touch Keyboard and Handwriting Panel Service” to disable it.
- Click “Apply” and then OK.


