How to Enable or Disable Snap Layouts on Windows 11
One of the most exciting features made available on Windows 11 is Snap Layouts. These snap layouts will give you a visual aid and help you automatically resize and arrange the windows open on your screen.
Upon hovering with your mouse over a window’s maximize button on Windows 11, you’ll soon see a selection of available snap layouts that you can choose from. You can click on any zone to snap the window to that particular location.
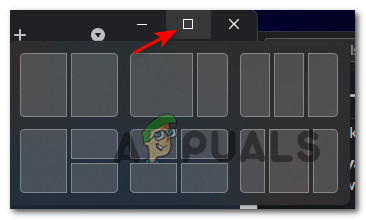
PRO TIP: You can also invoice the snap layout menu for the active window at every given moment by pressing the Windows key + Z key at the same time.
After you select a location where you want the window to snap, Windows 11 will offer to assist you in snapping Windows for the rest of the zones, according to the layout that you previously selected.
Windows 11 will offer different layout types for different screen types. If you’re using a smaller screen, Windows 11 will most likely suggest a four snap layout.
UPDATE: Starting with Windows build 22000.65, the collection of available snap layouts for smaller PCs in portrait mode have been further optimized. You can no also choose to snap 3 apps on top of each other, instead of four (like it was before).
Snap Layouts will be enabled by default on Windows 11, but there are a couple of ways that you can use to enable or disable them at your own leisure. You can either do it from the Settings app or by doing some registry modifications.
Feel free to follow whichever method you feel more comfortable with. Both of them will ultimately help you enable or disable the snap layout feature on Windows 11.
Enable or Disable the Snap Layouts Feature on Windows 11 via the Settings App
- Press Windows key + I key to open up the Settings app on Windows 11.
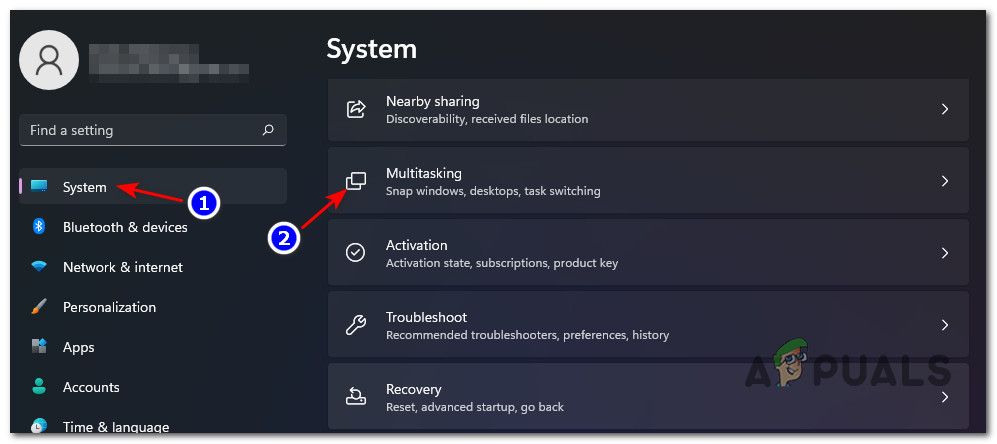
- Inside the Settings app, use the vertical menu on the left to click System.
- Next, move over to the right-hand menu, scroll down and click on Multitasking from the list of available options.
Accessing the Multitasking tab - From the Multitasking tab, enable the Snap windows toggle if you want the feature enabled or disable it if you want to disable Snap Layouts.
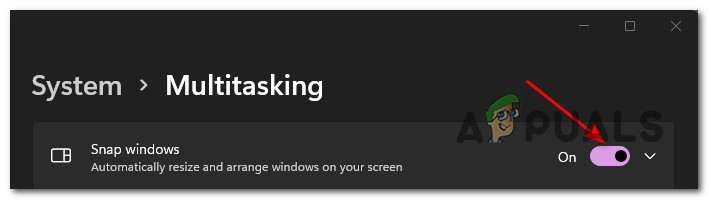
Enabling or Disabling Snap Layouts via the Settings app Note: Keep in mind that the Show snap layouts when I hover over a window’s maximize button setting will be disabled or grayed out if Snap windows are also disabled.
Enable or Disable the Snap Layouts Feature on Windows 11 via Registry Editor
- Press Windows key + R to open up a Run dialog box. Next, type ‘regedit’ inside the text box and press Ctrl + Shift + Enter to open up the Registry Editor with admin access.

Open a Regedit window - Once you’re prompted by the User Account Control, click Yes to grant admin access.
- Inside the Registry Editor, use the menu on the left to navigate to the following location:
HKEY_CURRENT_USER\Software\Microsoft\Windows\CurrentVersion\Explorer\Advanced
Note: You can navigate to this location manually by clicking on every key or you can paste the full path inside the navigation bar at the top to save yourself some time.
- Next, right-click on the Advanced key and select New > Dword (32-bit) Value from the context menu that just appeared.
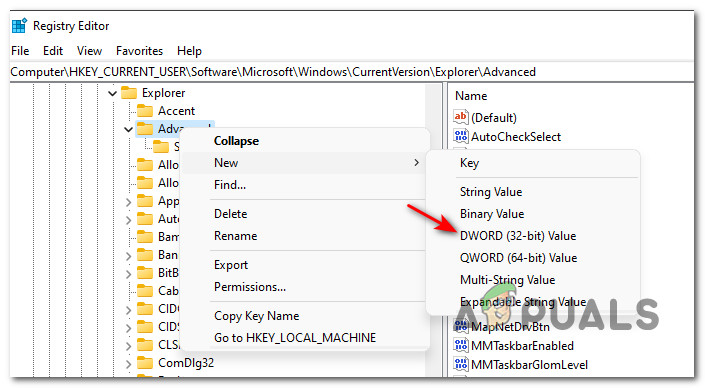
Creating a new Dword - Next, move over to the right-hand section and re-name the newly created DWORD to EnableSnapAssistFlyout.
- Next, double-click on EnableSnapAssistFlyout from the menu on the right then set the Base to Hexadecimal and the value to one of the following depending if you want to enable or disable snap layouts on Windows 11:
0 = Set this value to Disable Snap Layouts
1 = Set this value to Enable Snap Layouts - Once the modification has been enforced, reboot your Windows 11 PC in order to allow the changes to take effect.


