How to Disable a Laptop’s Keyboard on Windows 10
Laptops have all the necessary parts built-in, like the keyboard, which is different from desktops where parts can be easily changed. If a laptop keyboard stops working, fixing it can be expensive since it cannot be easily detached and replaced like a desktop keyboard.

Many users prefer connecting an external keyboard in these situations, but having both active can cause unwanted keystrokes. Disabling the laptop’s built-in keyboard in Windows 10 is a practical way to prevent accidental inputs and rely completely on an external keyboard.
1. Disable the Laptop Keyboard Driver
An easy way to stop the built-in keyboard from causing issues is to disable its driver. Doing this makes Windows ignore the keyboard, turning it off without needing to remove it physically. This is a quick and reversible step, allowing you to use only your external keyboard.
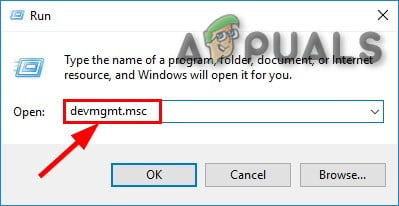
- Press the Windows Logo key + R to open the Run dialog. Type devmgmt.msc and press Enter to launch the Device Manager.

- In the Device Manager, find and double-click the Keyboards section to expand it.
- All keyboards connected to your computer will be listed under the Keyboards section. Locate and right-click the entry for the laptop’s built-in keyboard.
- In the context menu that appears, click on Disable.

- Click on Yes in the dialog box to confirm and disable the laptop’s built-in keyboard.
If you do not see a Disable option in the resulting context menu, do not worry; you will see an Uninstall option, and you can click on that to uninstall the drivers for the built-in keyboard instead of simply disabling it. Once you do so, you will see a dialog box asking you to confirm the action—click on OK to provide confirmation and uninstall the drivers for the built-in keyboard.

If you uninstall the drivers for the laptop’s built-in keyboard instead of disabling it, be cautious—Windows 10 might automatically update the drivers after detecting the keyboard. If that happens, you will have to navigate back to the Device Manager and uninstall the drivers for the laptop’s built-in keyboard once again.
2. Disable the Service that Controls the PS/2 Port
Another way to disable the laptop keyboard is by turning off the PS/2 port service, which manages the built-in keyboard connection. Disabling this service stops the keyboard from sending any input, letting you use an external keyboard without accidental keystrokes.
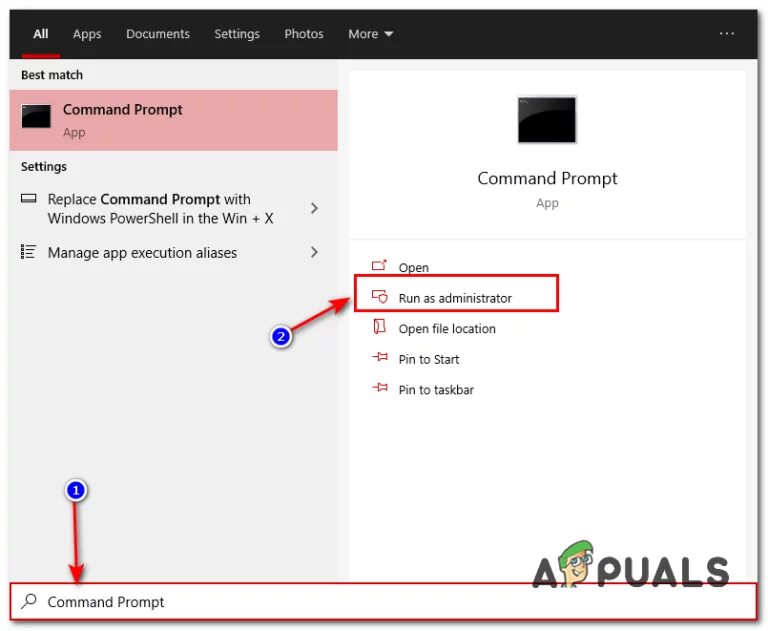
- Press Windows + X and select Command Prompt (Admin).

Opening Command Prompt as an administrator - Enter the command:
sc config i8042prt start= disabled
- Restart your computer; the laptop keyboard should now be disabled.
- To re-enable the keyboard, use this command:
sc config i8042prt start= auto


