How to Disable ‘Found New Hardware’ Message on Windows 10?
When Windows detects a new piece of hardware, oftentimes it will prompt the users with a “Found New Hardware” message. Most of these messages are informative and necessary. When you connect a new device, this message will inform you about the system recognizing that device. We do not recommend you to stop these messages as they inform you as to whether or not it is successfully installed. However, due to faulty devices drives, users might be getting this message even if they didn’t connect any device. In this article, we will show you some methods that can disable this message.
Enable/Disable the ‘Found New Hardware’ Message
This message will be enabled by default in Windows 10. It will show the message balloon for any new device connected. However, there are situations where a user may want to disable this. Sometimes this message shows up every time a user starts the computer or keeps showing due to faulty hardware. We have provided several methods where you can disable that faulty specific hardware or completely disable the message feature. You can choose any of the methods below that works best for your situation.
Disabling the Problematic Hardware in the Device Manager
If the device that is frequently showing the message isn’t important, then you can just disable it in the device manager. This is the easiest way out of all because this will only stop the message for the specific hardware. As we already know the pop-up messages for new hardware are pretty important, so disabling the faulty hardware will be a better choice. Follow the below steps to disable the faulty hardware:
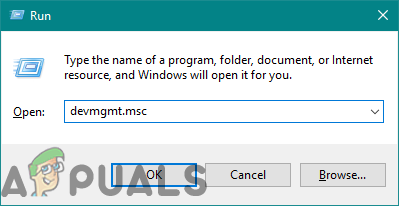
- Press the Windows + R keys together to open the Run dialog. Now type “devmgmt.msc” in it and press the Enter key to open Device Manager.
Opening device manager - Now search for the devices due to which the message is shown. Right-click on it and choose Disable device option.
Note: To enable it back again, right-click on it, and choose Enable device option.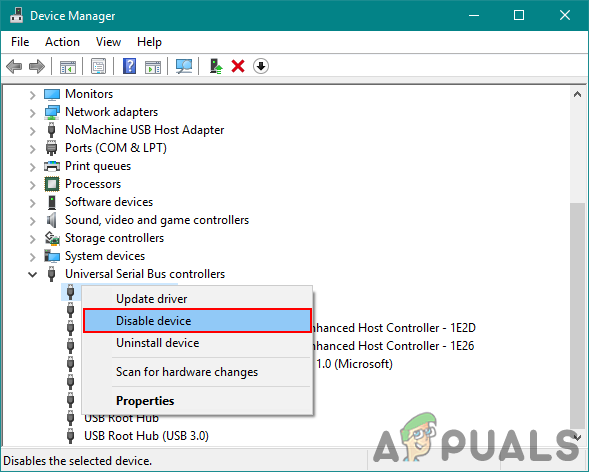
Disabling the faulty hardware - The message for that specific device will stop showing.
Disabling ‘Found New Hardware’ Message through the Local Group Policy Editor
This method will completely disable the “Found new hardware” message from the system. If the first method didn’t work, then this will be the only option left for the user. The Local Group Policy Editor can be used to adjust most of the things for your operating system.
Note: This setting applies to at least Microsoft Windows Vista. Also, If the Local Group Policy Editor isn’t available on your system, then directly jump to Method 2.
If you have the Local Group Policy Editor on your system, then follow the below steps:
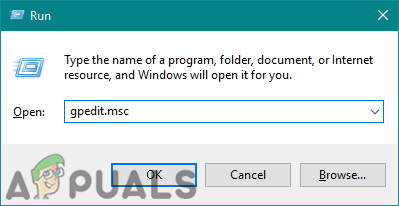
- Hold the Windows key and press R to open the Run dialog. Type “gpedit.msc” in it and press Enter to open the Local Group Policy Editor.
Opening Local Group Policy Editor - On the left pane of the Local Group Policy Editor, navigate to the following location:
Computer Configuration\Administrative Templates\System\Device Installation

Opening the policy - Double-click the Turn off “Found New Hardware” balloons during device installation policy. This will open a new window, now you can modify the toggle from Not Configured to Enabled. Click on the Ok button to apply changes.
Note: To enable the message back again, just modify the toggle from Enabled to Not Configured.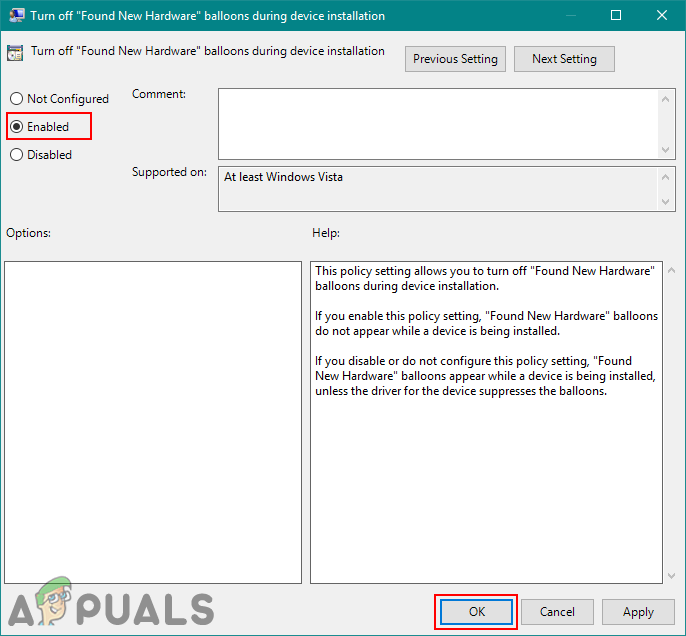
Enabling the policy - This will stop showing the notifications of new hardware.
Disabling ‘Found New Hardware’ Message through Registry Editor
This method will also disable the “Found new hardware” message completely by using the Registry Editor. If your system doesn’t have the Local Group Policy Editor, then you can use this method to accomplish the same goal. Unlike the other methods, this is a bit technical and requires a few extra steps from the users. The user will need to create key/value for the specific settings that they are trying to modify. Follow the below steps to try disabling the message:
- Press the Windows + R keys together to open a Run dialog. Type “regedit” in the Run dialog and press the Enter key to open the Registry Editor. If it shows the UAC (User Account Control) prompt, then choose the Yes button.
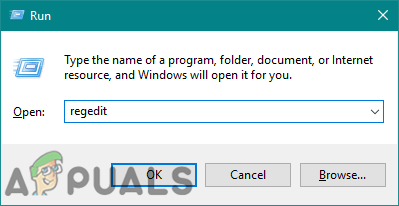
Opening the Registry Editor - On the left pane of the Registry Editor, navigate to the following location:
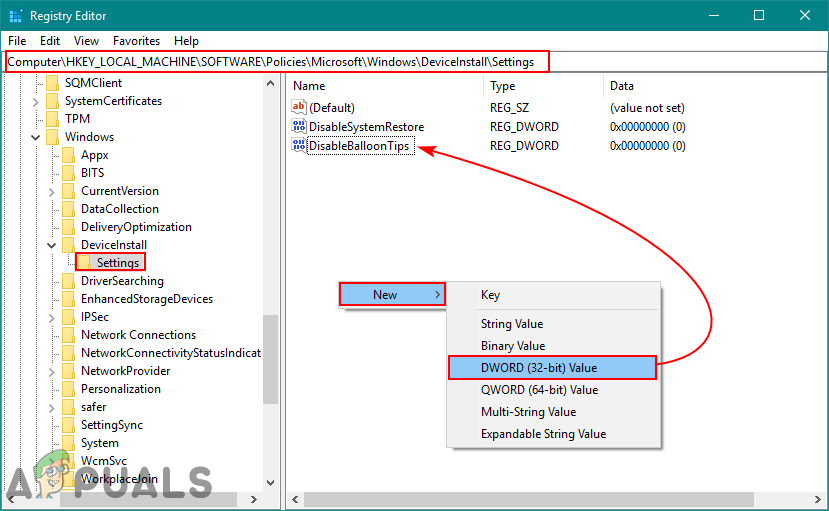
HKEY_LOCAL_MACHINE\Software\Policies\Microsoft\Windows\DeviceInstall\Settings
- Now create new value by right-clicking anywhere on the right pane and choose New > DWORD (32-bit) Value. Name it as DisableBalloonTips as shown below:
Creating new value - Double-click on the value and set the Value data to 1. Click on the Ok button to apply it.
Note: To enable the message back, just change the value data back to 0 or just completely delete the value you just created.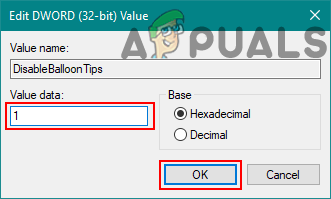
Changing the value data - To make sure this works, restart your computer and check it out.


