How to Fix ‘DEV ERROR 5759’ in Modern Warfare/Warzone?
The Dev Error 5759 appears after Call of Duty Modern Warfare or Warzone crashes while in the middle of a multiplayer game. This problem is confirmed on Windows 7, Windows 8.1, and Windows 10 on both Nvidia & AMD GPU configurations.

This problem most commonly occurs due to missing admin rights, game file corruption, or some 3rd party interference. On certain GPUs, you can also expect to get the 5759 dev error crash due to a DirectX issue or instability caused by overclocking.
Here’s a list of potential fixes that you can try:
1. Run Battle.net as an administrator
If you’re starting to troubleshoot this issue, you should first make sure that you’re opening the game launcher (Battle.net) with admin access.
The dev error 5759 is frequent when the host OS (Windows 10 or Windows 11) runs with strict UAC (User Account Settings).
If you launch Call of Duty Modern Warfare / Warzone from a launcher that doesn’t have administrative privileges, some dependencies can’t be leveraged for rendering, and the game will crash.
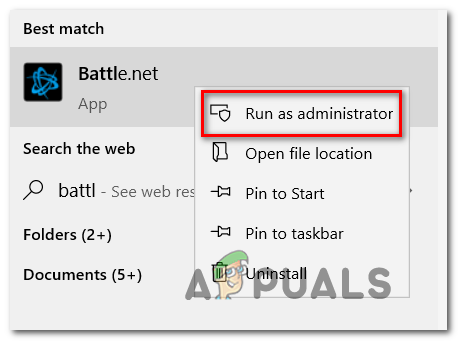
To check if this scenario is applicable, search for Battle.net using the search functionality, right-click the executable and choose “Run as Administrator” from the menu.
If the dev error 5759 no longer appears when you run as an administrator, you’ve identified your culprit. However, unless you take additional steps, you will be forced to do this whenever you want to launch the game.
To ensure the issue doesn’t repeat, change the behavior of the Battle.net executable so that it always runs with admin access.
Here’s how to do this:
- Close any Call of Duty game and make sure Battle.net is not running in the background.
Note: Check your tray bar. - Right-click on the Battle.net shortcut and click on Properties from the context menu.
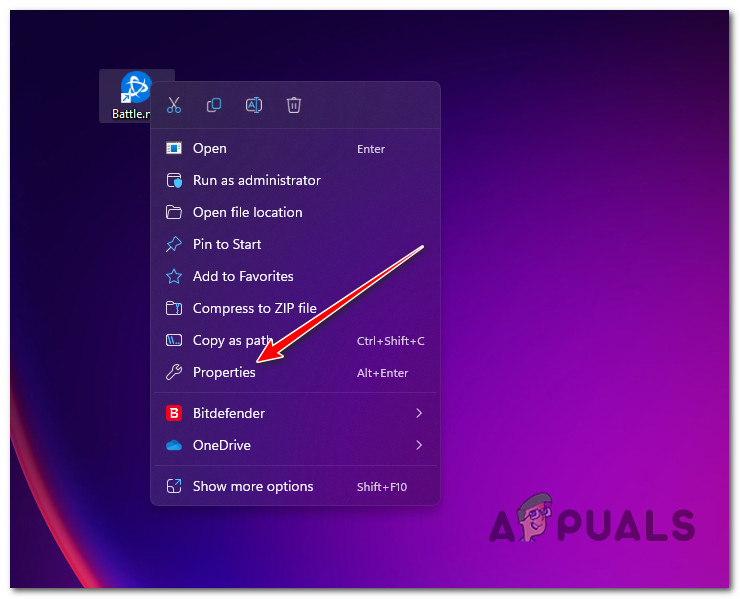
Access the Properties screen of Battle.net - Next, navigate to the Compatibility tab from the horizontal menu at the top.
- Check the box associated with Run this program as an administrator.
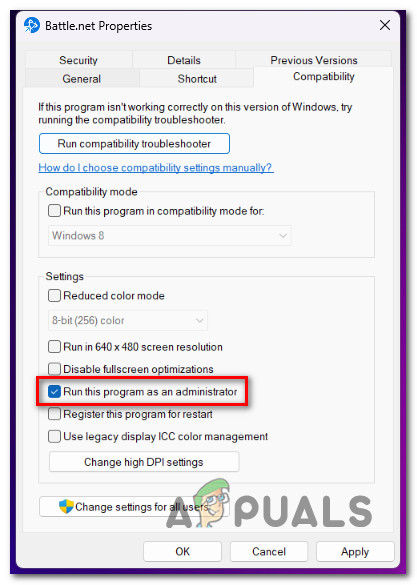
Run this program as an administrator - Click Apply to save the changes.
- Use the same steps (2–5) for the Modern Warfare or Warzone shortcut if you launch the game this way.
If you’re still getting the dev error 5759 while in the middle of a multiplayer game, move on to the next possible fix below.
2. Delete all unnecessary files
If you have this problem with Call of Duty: Modern Warfare and running as the administrator has not helped, let’s try deleting game files one by one so that Battle.Net will do an integrity check and re-download the deleted files.
Note: You won’t have to re-download the Call of Duty game using this method.
The steps below will show you how to delete a few small COD files to force the integrity check without making the game launcher ask you to download the whole game again.
Here’s what you need to do:
- Open Battle.Net and choose Call of Duty from the list of games in your library.
- Next, click on the gear icon next to the game’s launch button, and then click on Show in Explorer from the menu that pops up.Note: This will take you straight to the folder where the COD game is installed (regardless of whether you installed it in the default path or a custom one).
- Now, close the Battle.Net app and check your taskbar menu to ensure it’s not running in the background.
- In the main location where you installed the COD game, delete every folder except “data.”
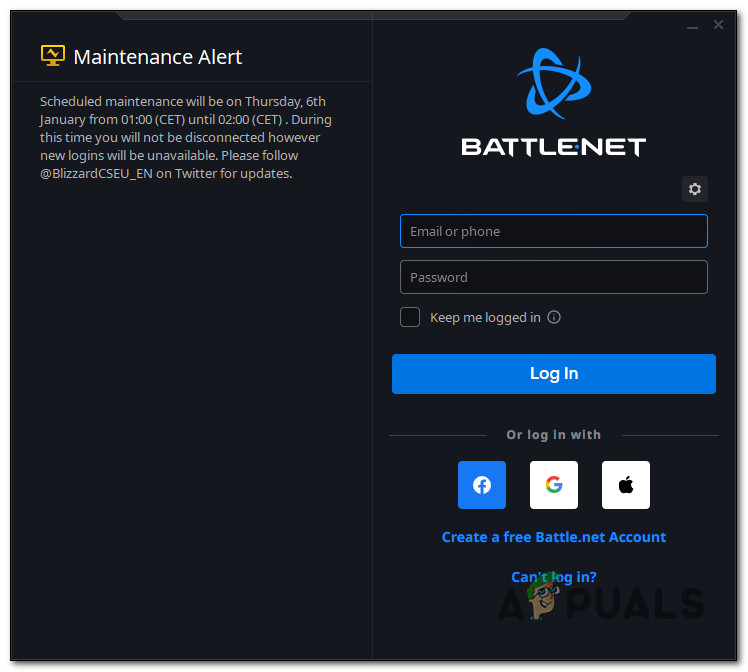
Log into Battle.net - Choose the game you want to play on the left side of the main Battle.Net screen.
- With the Call of Duty game selected, go to Settings (the gear icon) and choose Scan and Repair.
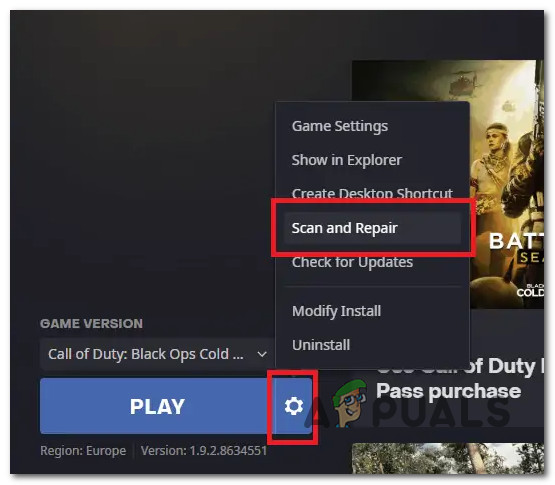
Scan and Repair COD Modern Warfare / Warzone Note: This will check the file’s integrity and fix it (from the context menu that just appeared).
- Confirm the operation and wait until the scan and repair procedure is complete.
- When the process is done, restart the game to see if the problem is fixed.
If the problem is still there, scroll down to the next solution.
3. Run the game in clean boot mode
A huge number of third-party programs could affect the multiplayer component of COD (Modern Warfare or Warzone), making it hard to determine where the problem is coming from.
Note: At the top of the list are overlay programs, system optimization suites, and security suites known to cause many false positives.
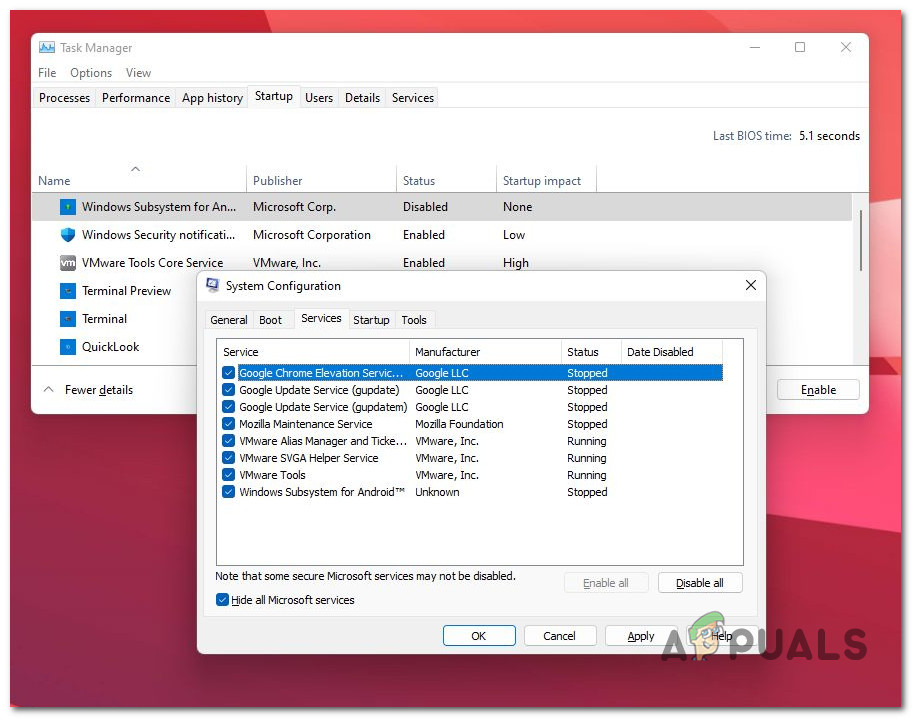
The best way to find out who is to blame is to restart your computer in clean mode and see if the problem is still there.
Note: A clean boot will force your PC to start without third-party services or processes.
If the problem goes away while in clean boot mode, it’s clear that a third-party process or service causes the 5759 DEV error.
We’ve already created separate guides for clean booting on Windows 10 and clean booting on Windows 11, so follow them and see if this works for you.
After you achieve a clean boot state, join a multiplayer game again and see if the problem is fixed.
Try the next method if the problem keeps happening after a clean boot.
4. Force the game to run with DirectX11
This fix will be effective when you have a medium-tier GPU struggling to render Direct X12 games. Making this change will only produce minor visual changes that won’t be too obvious. Losing visual sharpness is always better than crashing the game every few minutes.
Fortunately, Battle.Net allows you to force a particular DirectX version directly from the Game Settings menu of Call of Duty Modern Warfare or Warzone.
Here’s what you need to do to force the game to run with DirectX 11:
- Make sure no Call of Duty title is running in the background.
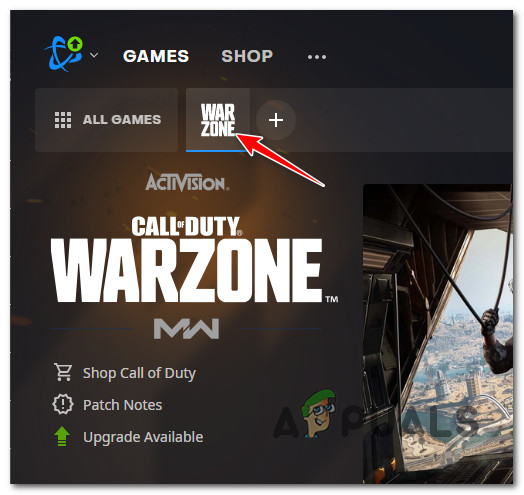
- Open your Battle.net client, sign in with your account information, and click on the Call of Duty title from the Library bar at the top.
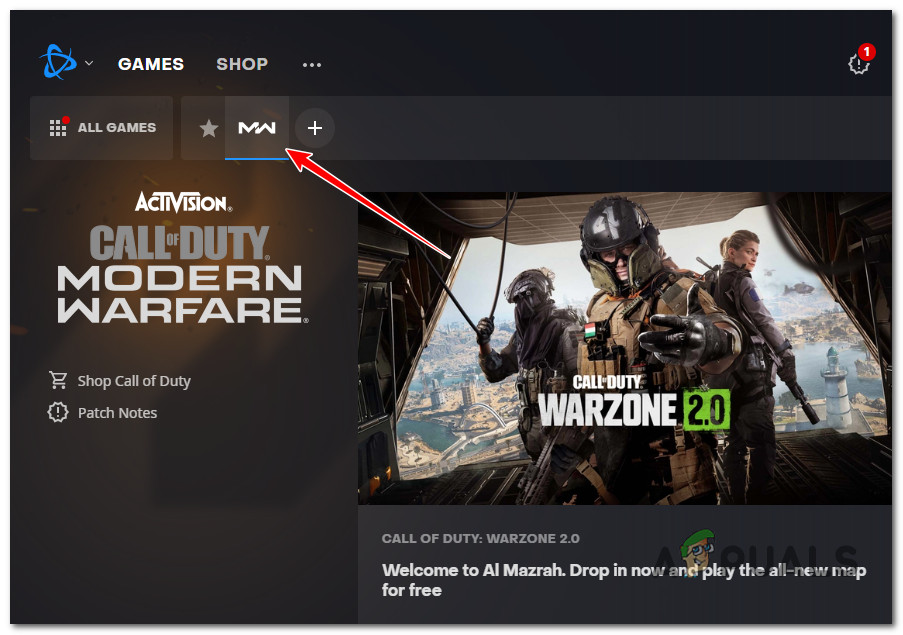
Accessing Call of Duty Modern Warfare - With the game selected, click on the Options menu, then click on Game Settings from the context menu that just appeared.
- Inside the Settings screen, ensure Game Settings is selected from the vertical menu on the left.
- Go under your Call of Duty title from the right-hand menu, check the box next to “Additional Command Line Arguments.” and type “-d3d11” into the associated box.

Forcing the game to run with DirectX 11 - Save the changes, then launch the game normally and see if the issue is now fixed.
If you’re still seeing the same Dev Error 5759 as the game crashes while you’re in the middle of a multiplayer game, move down to the next method below.
5. Change the account Region
An account region mismatch might also be indirectly causing the 5759 dev error, as your IP points towards a different region than the region selected inside Battle.net. To achieve maximum stability during multiplayer games, it’s important to ensure that your Battle.net region matches where you are in the real world.
Note: This isn’t important for every game; Warzone uses dedicated servers for online matchmaking, so selecting your region is essential.
If you’re not sure if you’re using the right region in Battle.Net, follow the steps below:
- First, ensure no Call of Duty instance is running in the background. (Vanguard, Modern Warfare, or Warzone)
- Open Battle.Net and before you sign in with your account, click on the gear icon.
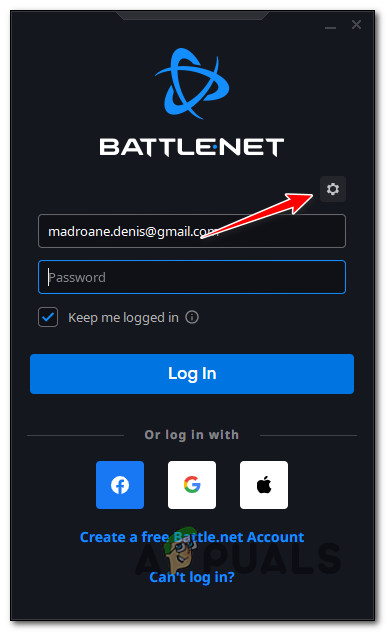
Accessing the Gear icon in Battle.net Note: This will bring up a hidden settings menu.
- From this menu, choose the correct region.
- Choose Call of Duty Modern Warfare / Warzone from the Library bar.
Launching the COD title - While the game is still selected, click on the region (the globe icon) and choose the right server from the list of available regions.
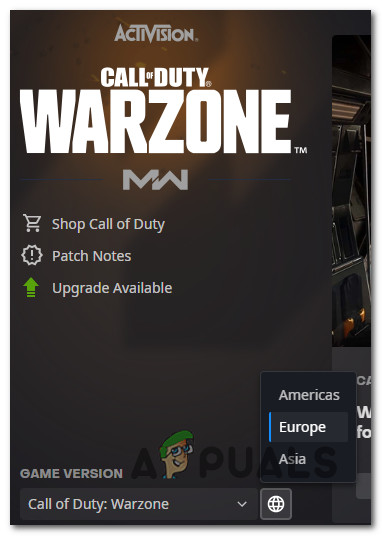
Selecting the game region Note: You can do this either before you install the game or after you install the game.
- Start the game and join a multiplayer game to check if the problem is fixed.
Try the next method if you still get the same 5759 dev error.
6. Disable Cache Spots & Sun Shadows
You can try turning off cache spot shadows and cache sun shadows from the Options menu inside the game.
This method should massively improve the stability of the game in case you are experiencing Dev Error 5759 while rendering the game on a low-end PC.
All you need to do is access the in-game Options menu, go to the Graphics tab and make a series of changes.
Here’s what you need to do:
- Start Call of Duty: Modern Warfare or COD Warzone using the Battle.Net launcher and get past the initial loading screens.
- In the game’s main menu, click on Options. Then, click on the Graphics tab in the vertical menu at the top.
- Scroll down to the Shadow & Lighting section and turn off both Cache Spot Shadows and Cache Sun Shadows.
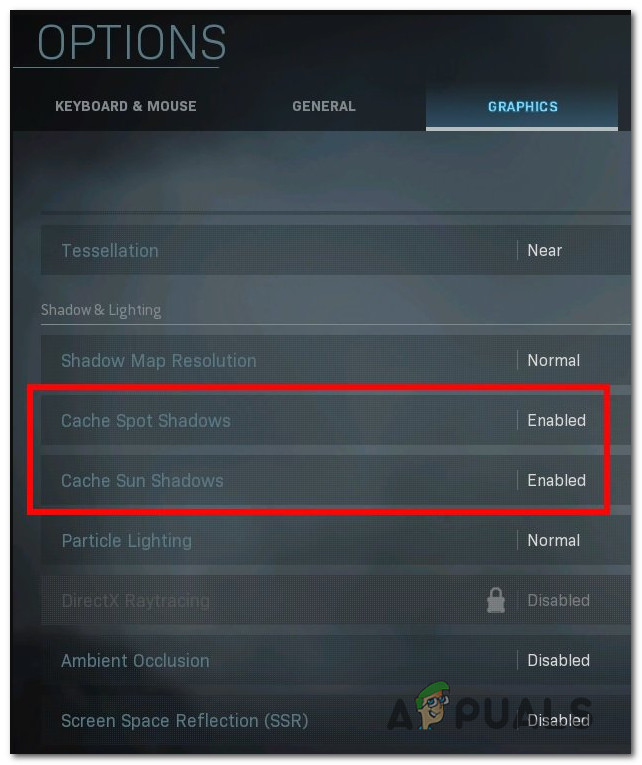
Disabling Graphic Settings - Put the changes you just made into effect, then restart the game and check to see if the problem is fixed.
If the problem is still not fixed, move down to the next method below.
8. Run MW/Warzone in Maximum Performance mode
If you have an Nvidia GPU and this problem only happens with Call of Duty, access the NVIDIA Control Panel and ensure that the main game executable is always rendered in maximum performance mode.
To do this, access the global 3D settings and modify the power management options so that your GPU always utilizes the Maximum performance mode.
Note: This method can only be used on systems with a dedicated Nvidia GPU.
Here’s what you need to do to enforce this method:
- Right-click anywhere on your desktop and then click on Nvidia Control Panel.
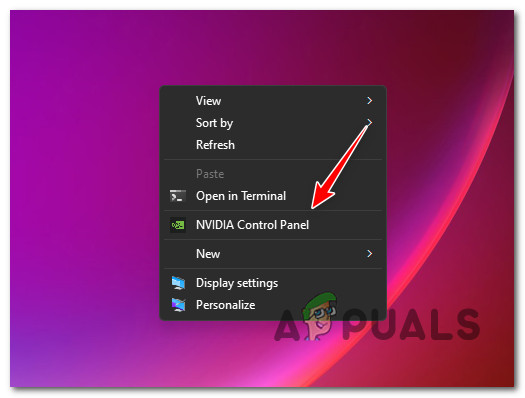
Access the NVidia Control Panel Note: If you’re using Windows 11, you’ll need to click on Show more options before using this option.
- Once you’re in the Nvidia Control Panel, click on Manage 3D Settings from the menu on the left.
- Next, go to the right-hand pane and click on Global Settings.
- Move down the list of Global Settings and change the Power Management mode to “Prefer Maximum Performance.”
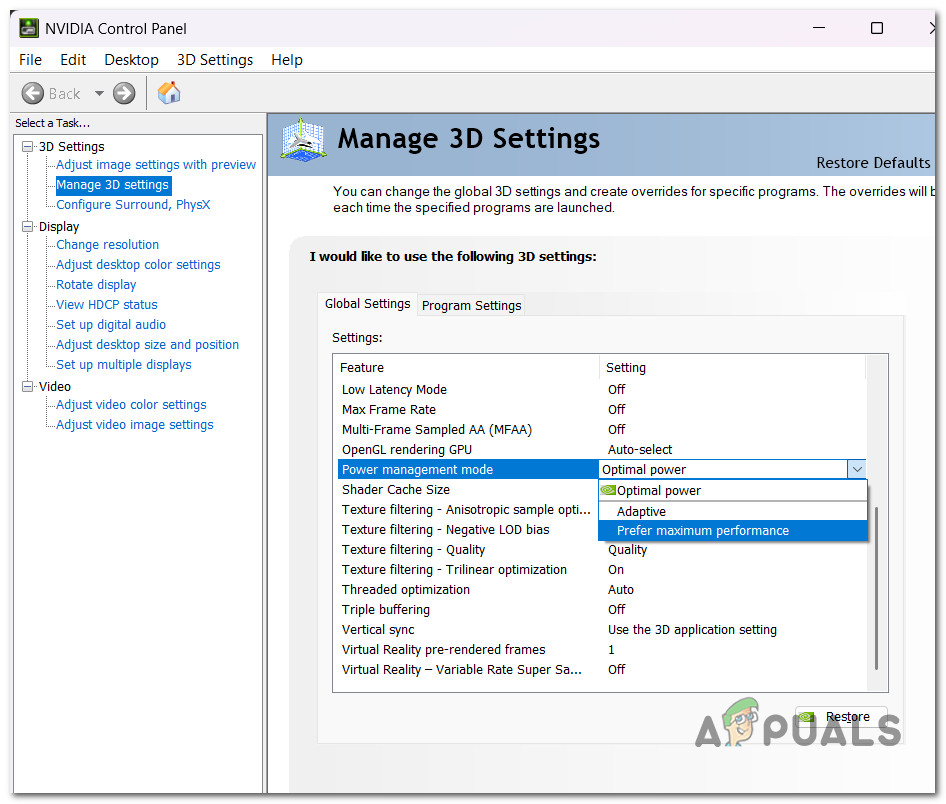
Configure for maximum performance - Save the changes you just made, restart your computer, and check to see if the problem is fixed.
If you’re still experiencing the same Dev Error 5759, try the next method below.
9. Edit MachineGuid via Registry Editor
This method might fix the issue for you if you get the dev error 5759 at the same time while rendering a new online match.
To enforce this fix, you’ll need to use Registry Editor to change the actual path of MachineGUID to point towards the correct dependency.
Here’s what you need to do:
- Press the Windows key + R to open the Run box. Next, type “regedit” and press Ctrl + Shift + Enter to open the Registry Editor as an administrator.
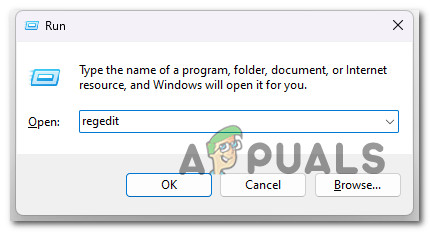
Opening up the Registry Editor - Click Yes when User Account Control asks to give admin access.
- Once you are in the Registry Editor, use the menu on the left to go to the following place:
HKEY Local Machine\Software\Microsoft\Cryptography\
Note: You can get here quickly by pasting the address directly into the navigation bar at the top, or you can double-click each Registry entry individually.
- Go to the menu on the right and right-click on machineGUID.
- Then, click on Modify in the menu that just showed up.
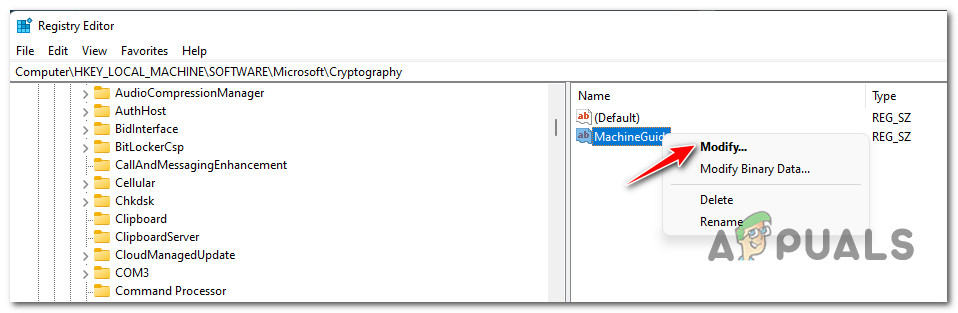
Editing the machine guide string - Next, change the value of the MachineGuid string to the following, and click OK to save the changes:
d1eb246e-6243-4460-a88e-5d4e52b1ef6b
- Start the game again and see if the problem is now fixed.
If the same error is still occurring as the game crashes, move down to the next method below.
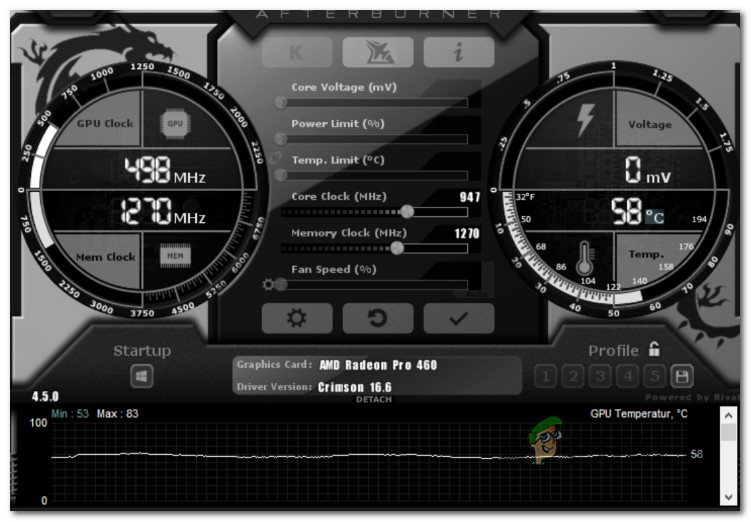
10. Revert to default clocked values (if applicable)
If your GPU is underclocked to save power, this could cause the game to crash, as the GPU cannot provide the necessary rendering power during visually intensive scenes. The same can happen the other way if your GPU is overclocked to the point where your system becomes unstable.
If you find yourself in this situation and you know what you’re doing, you’ll want to keep tinkering with voltages until you find a stable build that doesn’t overwork your GPU.
Note: The exact steps of doing so depend on the overclocking tool that you’re using.
If you’ve tried changing the clock numbers but still have problems with your GPU, revert to the default values and see if the game’s stability improves.
If the same problem is still occurring even on the default GPU frequency and voltage, move down to the final potential fix below.
11. Reinstall GPU drivers
Your PC might be unable to run Call of Duty: Modern Warfare in a stable manner if the GPU driver is out of date or missing the physics module.
Note: The game isn’t very good at giving you an error message that will help you fix the problem immediately.
If this scenario is applicable, the problem can be fixed by updating the GPU drivers and the physics module.
If you haven’t updated your GPU drivers recently, delete your current GPU drivers and reinstall the most recent ones before trying to rerun the game:
- Press the Windows key + R to open the Run box.
- Type “devmgmt.msc” into the text box and press the Enter key to get to Device Manager.
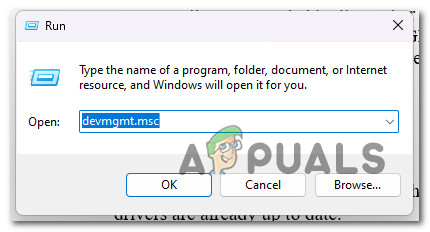
Open a Device Manager window - Once you’re in Device Manager, scroll down through the list of installed devices to make the drop-down menu for Display Adapters bigger.
- Update the driver by clicking right-clicking on your GPU and clicking on Update Driver.
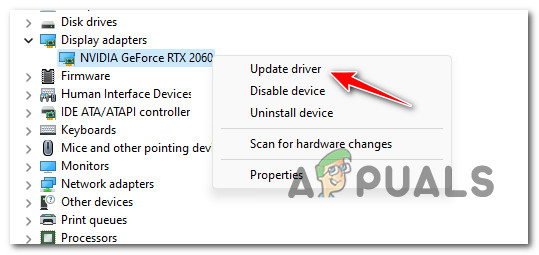
Updating the GPU driver Note: If your computer has both a dedicated GPU and an integrated GPU, you need to update the drivers for both.
- Choose “Search automatically for new driver software” from the list below.
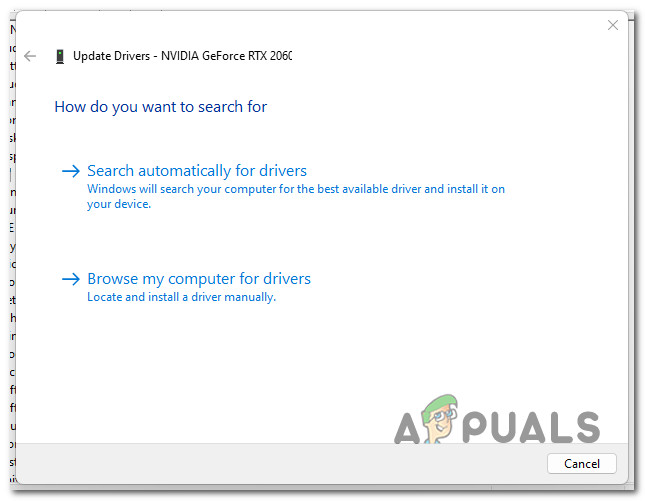
Update the driver automatically. - When the first scan is done, follow the instructions on the screen to install the most recent GPU driver.
- When the steps are done, restart your computer and try to join a multiplayer game to see if the Dev Error 5759 error is now fixed.Note: If Device Manager can’t find a new GPU driver version, you’ll need to use the proprietary software that came with your graphics card to update your current graphics drivers. Depending on who made your GPU, use one of the following utilities:GeForce Experience – NVIDIA
Adrenalin – AMD
Intel Driver – Intel


