What is DesktopWindowXamlSource in Taskbar? Get rid of it
The ‘DesktopWindowXamlSource’ empty window on the taskbar typically appears after a pending Windows update was installed on Windows 10 and Windows 11 and updated OneDrive. This problem is confirmed to occur with both the 32-bit and the 64-bit versions of OneDrive.
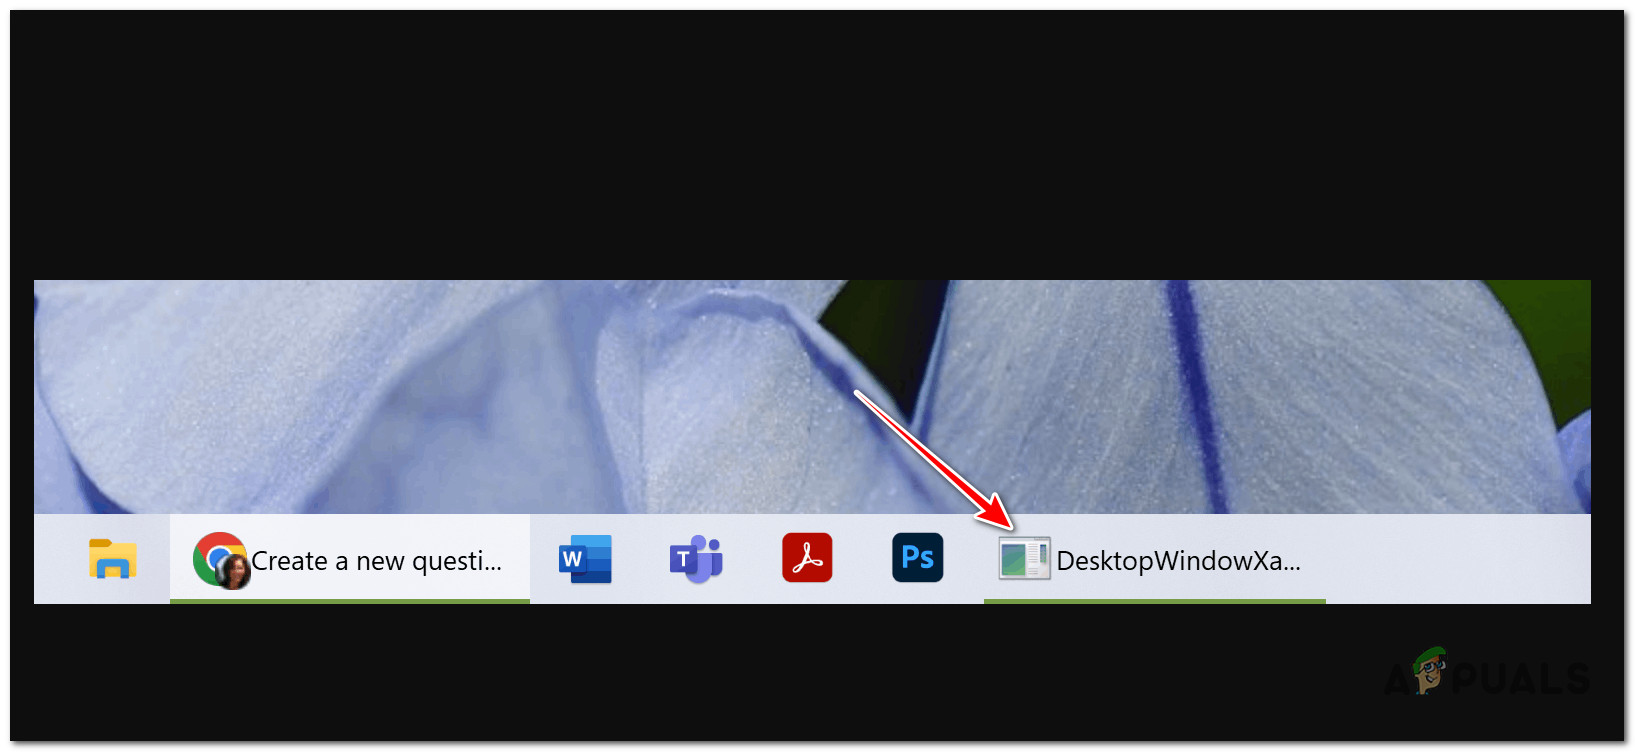
There’s a clear connection between this empty window and OneDrive since affected users are reporting that the empty window disappears as soon as OneDrive is closed. However, when OneDrive has opened again, the same empty window returns.
Update: The reason why this empty window appears is that the UI behavior has changed with the latest OneDrive update process. This update is exclusive to Office 365 and OneDrive for Business and it causes an additional “Sign in to SharePoint” prompt which spawns a new executable (Microsoft.SharePoint.exe) that’s producing the DesktopWindowXamlSource empty window.
It’s clear that this empty window anomaly is an unintended consequence that will get patched at some point by Microsoft.
But until then, you have a few workarounds that will allow you to prevent the OneDrive-related empty window from appearing on your screen again.
1. Restarting the OneDrive process (temporary fix)
If you’re just starting to troubleshoot the issue, the first thing you should try is to restart the active OneDrive process and see if the ‘DesktopWindowXamlSource’ empty window goes away on its own.
However, keep in mind that even if this method works in your case, there’s a big chance you’ll see the empty window again as soon as OneDrive is open again.
Note: Consider this a temporary fix and avoid it entirely if you’re constantly using OneDrive. Some users have reported that even after they closed the main OneDrive process, the empty window didn’t appear until the next restart.
Here’s a quick guide on restarting the main OneDrive process:
- Press Ctrl + Shift + Esc to open up an elevated Task Manager prompt.
- If you are prompted by the User Account Control (UAC), click Yes to grant admin access.
- Inside the Task Manager interface, click on the Processes icon from the side menu on the left.
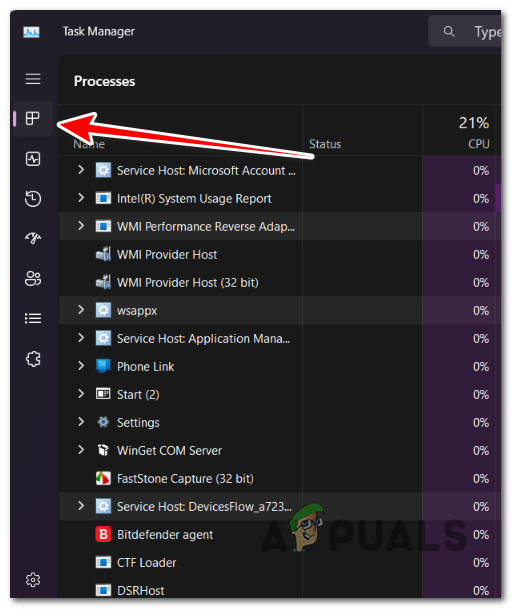
Accessing the Processes tab Note: If you are on Windows 10, the simple Task Manager interface might open by default. In this case, click on Show More Details.
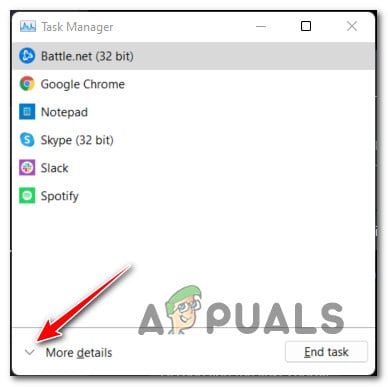
Access the More Details menu - Inside the Processes tab, use the search function at the top (center for Windows 11 and right for Windows 10) to search for the OneDrive process.
- From the list of results, right-click on the OneDrive process and click on End Task.
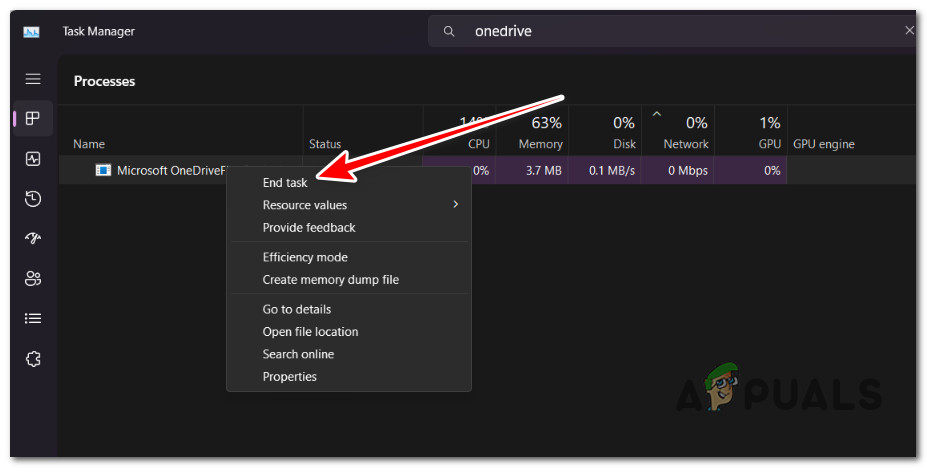
Ending the OneDrive task - Once you do this, take a look at the bottom of the screen and see if the empty window has now disappeared.
2. Hard restart Explorer via CMD (temporary fix)
Another temporary fix that you can try if you’re in the hurry is to use an elevated CMD window to kill the main explorer executable then start it again from the same terminal.
Other users that have also tried this fix have confirmed that the empty widow does not return once the explorer is restarted.
However, the drawback of this method is that once you restart your PC, the annoying ‘DesktopWindowXamlSource’ empty window will return.
If you want to go this route, follow the instructions below to use the skill command on explorer.exe to eliminate the empty window:
- Press Windows key + R to open up a Run dialog box.
- Next, type ‘cmd’ and press Ctrl + Shft+ Enter to open up an elevated Command Prompt.
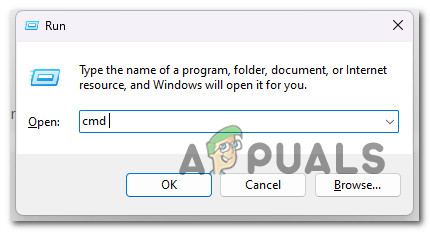
Open up an elevated Command Prompt - When you’re prompted by the User Account Control (UAC), click Yes to grant admin access.
- Once you’re inside the elevated CMD window, type the following command to effectively terminate the explorer.exe and restart it immediately:
taskkill /F /IM explorer.exe & start explorer
Note: After you run this command, you’ll notice that the bottom bar will disappear completely for a few seconds
- See if the empty window is still present.
3. Reinstall OneDrive (if applicable)
The empty window bug will only occur as a result of a OneDrive update carried out via Windows Update.
With this in mind, you should be able to avoid the empty window entirely by uninstalling OneDrive along with the problematic update, then clean installing the latest version from scratch.
Update: This workaround is only confirmed to work for users that are using the personal OneDrive version. If you’re using OneDrive for Business, skip this method and move directly to the next potential fix below.
Here’s a quick guide on reinstalling OneDrive personally and fixing the ‘DesktopWindowXamlSource’ empty window:
- Press Windows key + R to open up a Run dialog box.
- Next, type ‘appwiz.cpl’ and press Ctrl + Shift + Enter to open the Programs and Features menu.
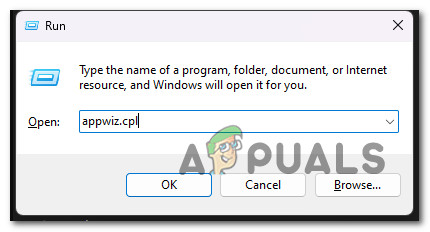
Open up the Programs and Features menu - At the User Account Control, click Yes to grant admin access.
- Scroll down through the list of installed legacy programs and uninstall anything related to Onedrive by right-clicking > Uninstall.
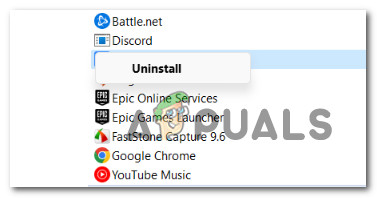
Uninstalling the legacy Onedrive installation Note: If you installed the new UWP (Universal Windows Platform) version of OneDrive, there’s nothing to uninstall from here. In this case, follow the remaining steps to ensure that OneDrive is completely uninstalled.
- Press Windows key + R to open up another Run dialog box.
- Inside the Run box, type ‘ ms-settings:appsfeatures’ and press Enter to open up the Installed tab of the Settings menu.
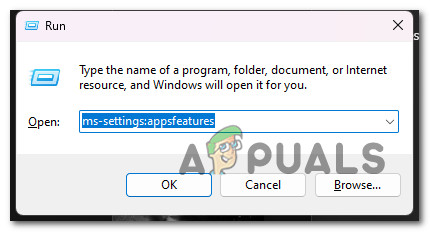
Open up the Apps and Features menu - If you’re prompted by the User Account Control (UAC), click Yes to grant admin access.
- Inside the Installed apps tab, use the search function at the top to search for OneDrive.
- From the list of results, click on the action button associated with Microsoft OneDrive, then click on Uninstall.
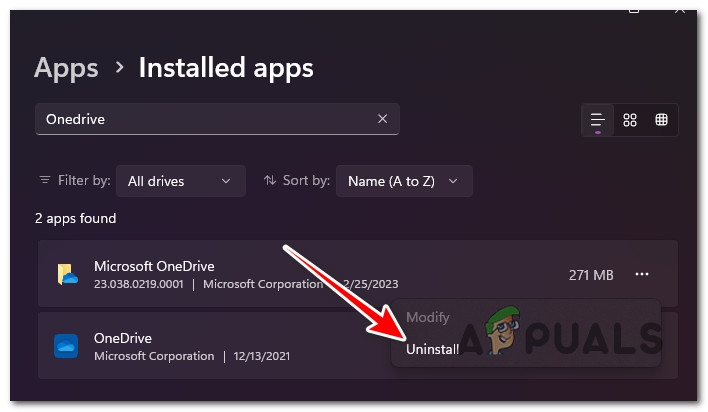
Uninstall the OneDrive installation - At the confirmation prompt, click on Uninstall once again and wait for the procedure to complete.
Note: If you have two different entries for OneDrive, uninstall both. - Once OneDrive has been uninstalled, restart your PC.
- Visit the official download page of Onedrive and follow the on-screen instructions to download and install the latest version.
4. Switch on OneDrive Insider Preview
Another way to avoid the ‘DesktopWindowXamlSource’ empty window issue is to join the OneDrive preview program from the About tab.
Doing this means that you will automatically re-version your Onedrive installation to a more recent build in which the problem has been fixed.
Note: Although this workaround is confirmed to be effective for a lot of users, it carries some risks – you’ll be upgrading to an insider preview build that’s even more unable than the public release.
If you want to try this fix, follow the instructions below to join the OneDrive Insider Preview program and get rid of the ‘DesktopWindowXamlSource’ empty window:
- Press Windows key + E to open a new instance of File Explorer.
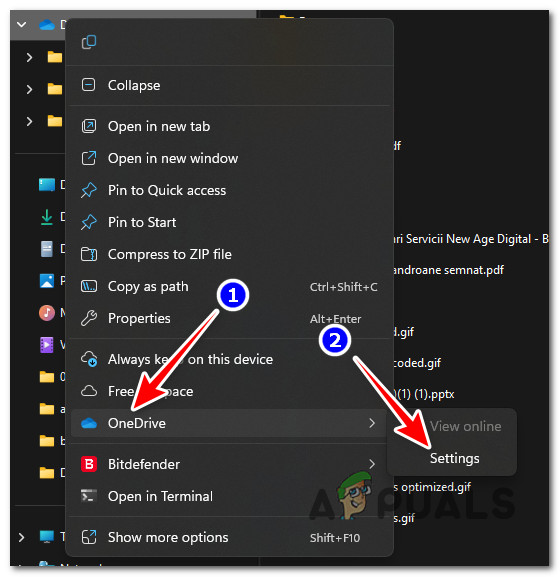
- Next, use the side menu on the left to right-click on the OneDrive icon.
- From the context menu that just appeared, select OneDrive, then click on Settings.
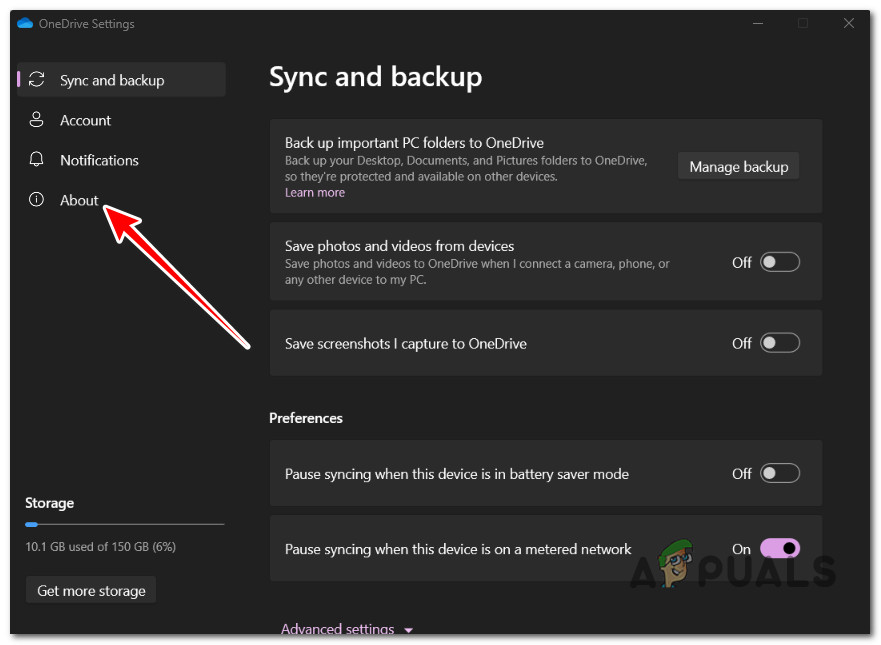
Access the Settings menu - Inside the OneDrive Settings menu, use the side menu on the left to click on About.
Accessing the About tab - Inside the About tab, move over to the right-hand section of the screen, scroll down to the OneDrive Insider program, and check the box associated with Get OneDrive preview update before release.
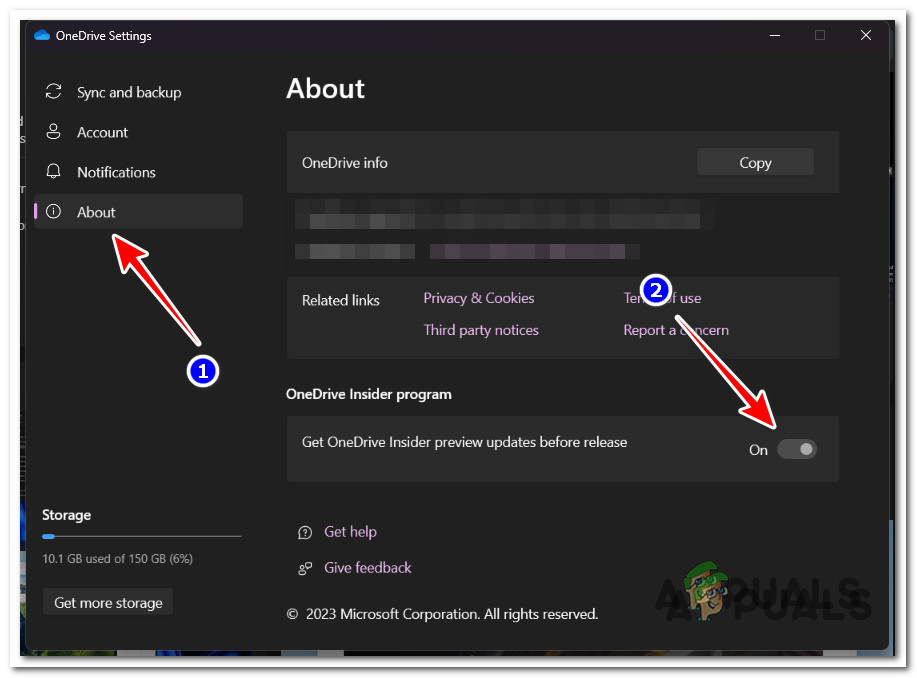
Access the About tab - Click Ok to save the changes, then reboot your PC.
Note: At the next startup, Windows should automatically install the Insider OneDrive build and prompt you to confirm.
5. Modify Multi-Tasking settings
This method is guaranteed to help you hide the empty window icon so it will never bother you visually again. However, this doesn’t mean that you’ll actually fix the underlying cause that’s triggering the error.
All this method does it hides windows that are open outside of the desktop that you’re using.
Note: even if you follow this method and you manage to hide the empty window, this glitch will still produce it’s effects and consume your system resources.
To do this, you’ll need to access the Multi-Tasking tab of the Settings menu and modify a setting under the Virtual Desktops heading:
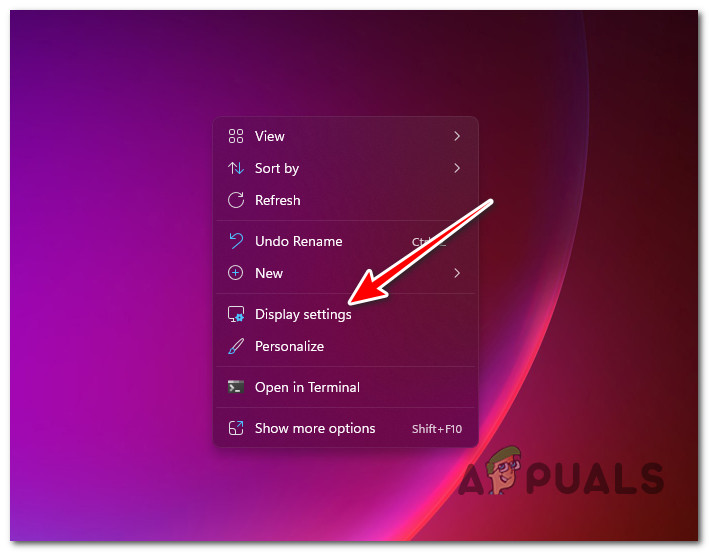
- On your desktop, right-click on an empty space and click on Display Settings from the context menu that just appeared.
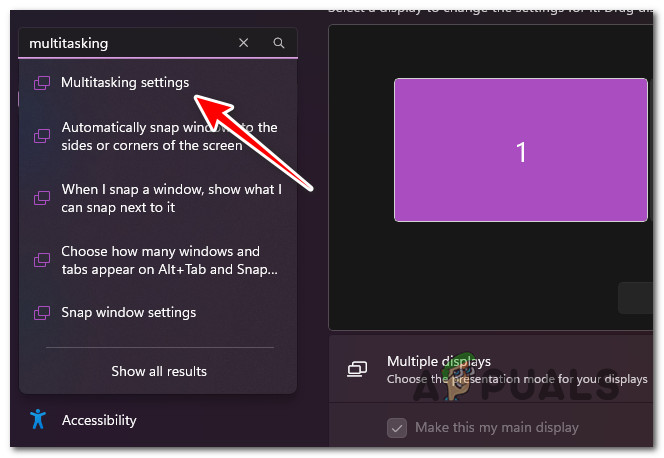
Access the Display Settings - Inside the Settings menu, use the Find a setting bar to search for ‘MultiTasking’.
- From the list of results, click on Multi-Tasking settings.
Access the Multi Tasking settings - Expand the Virtual Desktops / Desktops tab and change the On the taskbar, show all the open windows settings to Only on the desktop I’m using.
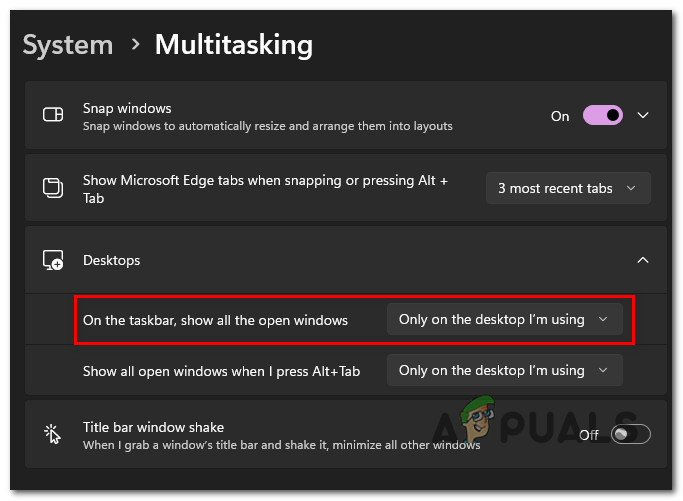
Modifying the multi taskbar settings - Save the changes, then reboot your PC and see if the issue is now fixed.
6. Rollback to older OneDrive version and prevent update
If you don’t mind rolling back your current OneDrive version, you can also fix this error by reverting back to a build where the empty window was not a problem.
However, this procedure is a bit more complicated than this since you will also need to take some additional steps to ensure that the problematic build won’t get installed again.
Important: This method will disable the OneDrive Per-Machine Standalone Update Task which is responsible for auto-updating OneDrive. While this method works for now, it might prevent you from getting new versions of the apps once Microsoft finally patches it.
Here’s a quick guide on rolling back the current OneDrive version (22.253.1204.0001) and installing 22.248.1127.0001 without giving the older build a chance to upload:
- Press Windows key + R to open up another Run dialog box.
- Inside the Run box, type ‘ ms-settings:appsfeatures’ and press Enter to open up the Installed tab of the Settings menu.
Open up the Apps and Features menu - If you’re prompted by the User Account Control (UAC), click Yes to grant admin access.
- Inside the Installed apps tab, use the search function at the top to search for OneDrive.
- From the list of results, click on the action button associated with Microsoft OneDrive, then click on Uninstall.
Uninstall the OneDrive installation - At the confirmation prompt, click on Uninstall once again and wait for the procedure to complete.
- Open your browser and navigate to the OneDrive release note page and scroll all the way down and download the 22.248.1127.0001 build.
- Once the executable has been downloaded, disconnect your PC from the internet, then open the executable and follow the on-screen prompts to install it.
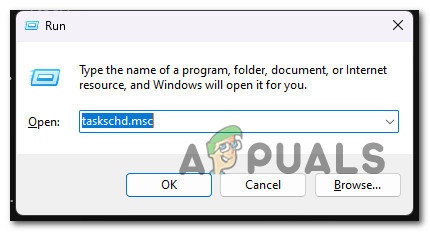
- Now to prevent the utility from updating itself, press Windows key + R to open up a Run dialog box.
- Inside the run box, type ‘taskschd.msc’ and press Ctrl + Shift + Enter to open Task Scheduler with admin access.
Open up the Task Scheduler - At the User Account Control (UAC), click Yes to grant admin access.
- Inside Task Scheduler, go to the central pane and locate the OneDrive Standalone Update Task.
- When you see it, right-click on it and click on Disable from the context menu.
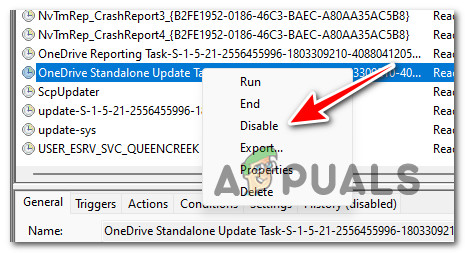
Disable the OneDrive Standalone Task - Close the Task Scheduler and continue using OneDrive normally and the empty window will not appear as long as you are on the legacy build.
Note: Our recommendation is to keep an eye out for an official hotfix and re-enable the OneDrive Standalone Update Task to allow OnDrive to update again once the issue is fixed.


