Dell Laptop Won’t Turn on? Here’s How to Fix it
A user’s panic level is sky high if his Dell laptop does not turn on. This is a very common problem and usually happens to older models. For some users, the issue occurred after physical damage to the laptop (like a fall) or after an OS/BIOS update.
A Dell laptop may not turn on due to numerous reasons, from a minor glitch to a more serious hardware failure), but the following can be easily categorized as the main ones:
- Short-Circuited Laptop: If any of the laptop’s components are short-circuiting (e.g., a laptop screw is short-circuiting the laptop’s chassis), then the processor timer chip may fail to detect the presence of the power signal and thus won’t boot the laptop.
- Malfunctioning Laptop Charger or Battery: A Dell laptop would not turn on if its charger is faulty (as it will not be able to charge the laptop’s battery) or if the laptop’s battery has gone bad.
- Static Current Present on the Laptop’s Motherboard: If the laptop’s circuitry (motherboard, capacitors, etc.) is holding on to the electric current due to which the processor’s timer chip fails to detect the power signal from the laptop’s power supply, then the laptop may fail to turn on.
- Hardware Problem: A laptop may not power on if any of its internal components have dislocated or are not properly seated (like a CMOS battery), a module has become faulty (like a RAM), or in the worst-case scenario, a faulty motherboard of the laptop.
Boot the Dell Laptop with Bare Minimums
A dell laptop may not turn on even when plugged in if an attached device or peripheral is shorting the laptop’s motherboard. Due to this short-circuiting, the processor timer chip may fail to detect a good power signal (+5V) from the laptop’s power supply. In this case, booting the dell laptop with the bare minimums may clear the issue.
- Disconnect all the connected peripherals or devices (like a USB, USB dongles/receivers, printers, keyboard, mouse, network cable, etc.) from the laptop.
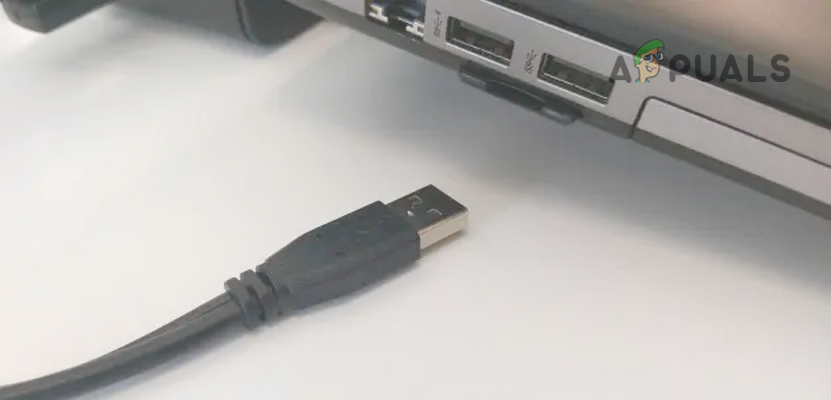
Unplug Devices or Peripherals from Laptop - Now press the laptop’s power button and check if it has turned on.
- If not, check if connecting the laptop to an external display clears the issue. If so, then the internal display may be damaged and requires repairing/replacing.
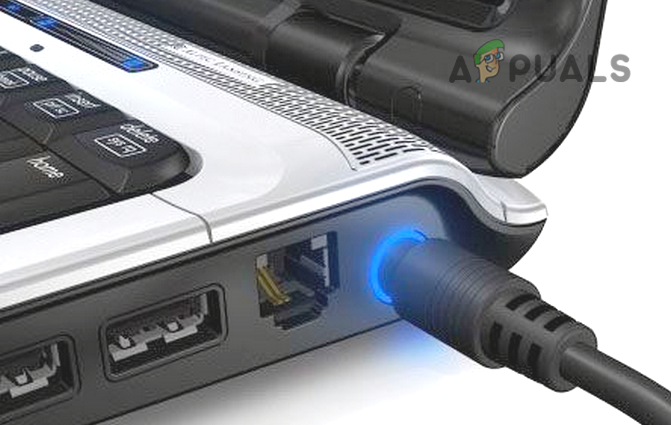
- If the above did not work, check if adding back peripherals or devices one by one (like a keyboard, speaker, network cable) and powering on the laptop solves the problem.
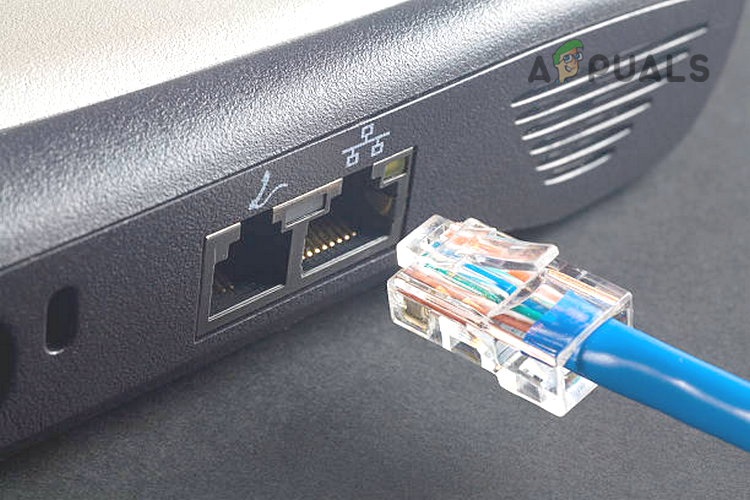
Plug the Ethernet Cable to the Laptop - If the issue persists, check if pressing the FN + Power buttons of the laptop turns the laptop on.
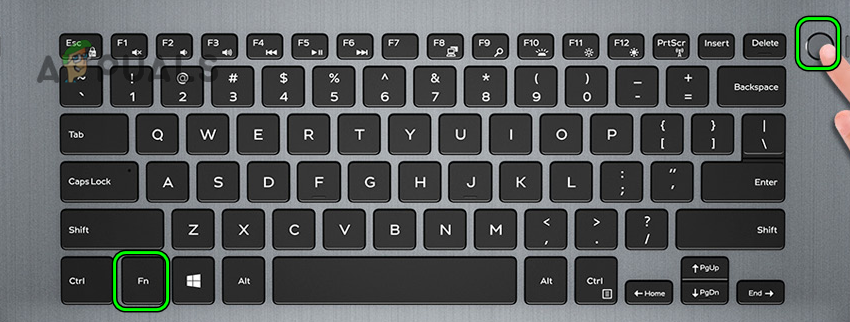
Press the FN Key and Power Button of the Laptop
Check the Laptop’s Charger
If the Dell laptop charger is malfunctioning, then it may not properly supply the power to the battery and the laptop’s battery will eventually run out (putting the laptop in a deep sleep state). Here, checking the laptop charger or trying another one may resolve the issue. But before doing that, make sure the laptop’s charger is connected to a properly functioning power outlet, not a faulty one.
- Connect the Dell laptop to another charger (from a friend or family member, if possible) and wait for 5 minutes.
- Now power on the laptop and check it has turned on.
- If there is no other charger available, check if replacing the charger’s power cord (the cord from the power outlet to the charger) clears the issue.
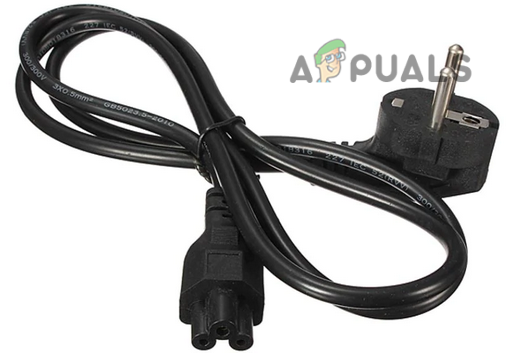
Check Another Cable with the Charger - If that did not work, arrange a MultiMeter and test the changer’s output with it. Then compare these readings with the OEM recommended values. If the readings do not match with the OEM ones, then get the charger check for a hardware error or buy a new charger. If arranging a Multimeter is a troublesome task, check if the problematic laptop’s charger works fine with another laptop.
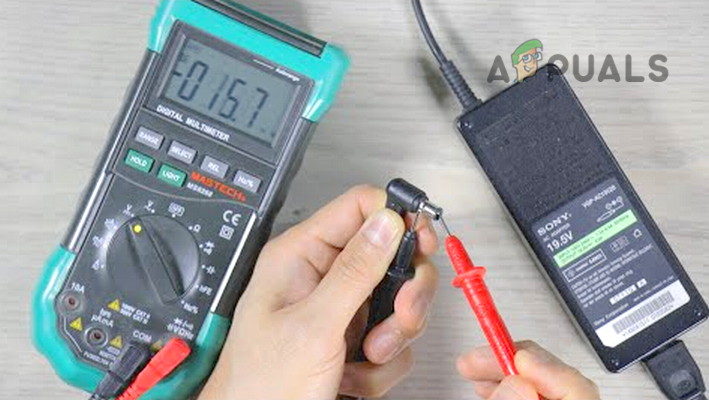
Check the Laptop Charger With a Multimeter
Check the Battery of the Dell Laptop
If the laptop’s charger is operating fine, then a malfunctioning battery could be the reason for the issue at hand. Here, powering on the laptop without a battery may solve the problem.
- Unplug the charger from the laptop and remove the laptop’s battery. In the case of a fixed battery, the user may unscrew the screws of the laptop’s back cover and unhook the battery’s cable from the motherboard.
Unplug the Charger from the Laptop - Now plug back the charger into the Dell laptop and press the laptop’s power button to check if the laptop has powered on.
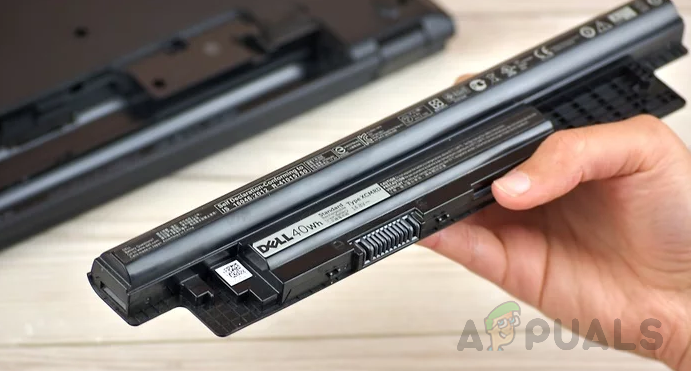
Remove Battery from the Laptop
If the laptop is powered on, then the battery has gone bad. Here, charging the dell laptop in the off state for some time (like overnight) may solve the problem, otherwise, the laptop requires a new battery.
Discharge the Static Current on the Laptop’s Motherboard
If the Dell laptop is not powered on without its battery, then the static current present on the laptop’s motherboard might be causing the issue. As the static current on the motherboard is not letting the processor timer chip (responsible for powering on the processor and laptop) detect a power good signal (+5V) from the power supply. Here, discharging the static current on the motherboard or in technical terms, performing an ATX (or a battery) reset may force start the Dell laptop.
- Plug the Dell laptop into its charger and hold the laptop’s power button for 60 seconds.

Press and hold the Power Button of the Laptop - Now release the power button and check if the laptop has turned on.
- If not, check if repeating the above steps for 25 or 40 seconds resolves the issue.
- If that did not work, unplug the charger from the laptop and remove the laptop’s battery.
- Now press/hold the laptop’s power button for 60 seconds and afterward, re-plug the charger (without reseating the battery) into the laptop.
- Then press/hold the laptop’s power button for 60 seconds and afterward, release the power button to check if the laptop is booting Some users may be shown a diagnostic screen, if so, click on Continue.
- If the issue persists, check if repeating steps 4 to 6 for 25 or 40 seconds solves the problem.
Boot Laptop After Losing the Screws of the Back Cover
If a screw of the laptop’s back cover is short-circuiting the laptop’s motherboard, then that may not let a Dell laptop to power on. In this case, losing the back cover screws may clear the issue.
- Unplug the charger from the laptop and remove its battery.
- Then, lose all the screws on the laptop’s back cover but make sure the cover stays intact with the Dell laptop.
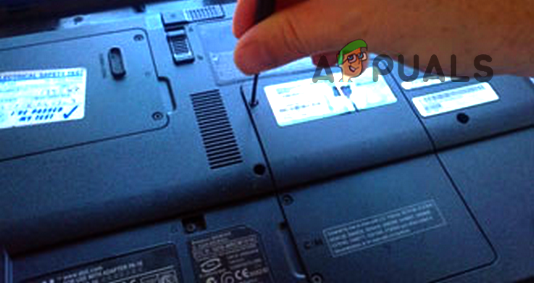
Lose the Screw on the Back of the Laptop - Now press/hold the laptop’s power button for 25 or 40 seconds and then, plug back the charger to the laptop.
- Now press the power button to power on the Dell laptop and check if it has turned on.
- If the issue persists, reseat the laptop’s battery and press the power button to check if the laptop can be booted.
If the Dell laptop has turned on after losing the back cover screws, it will be better to get the Dell laptop checked for a short-circuiting issue.
Clean the Internals of the Dell Laptop
If the dust and debris accumulated on the laptop’s internals, then that may not let the laptop power on as dust/debris can be short-circuiting the laptop. Due to this short-circuiting, the laptop’s processor chip may fail to detect the presence of a good power signal from the laptop’s power supply. In this context, thoroughly cleaning the laptop’s internals may clear the problem.
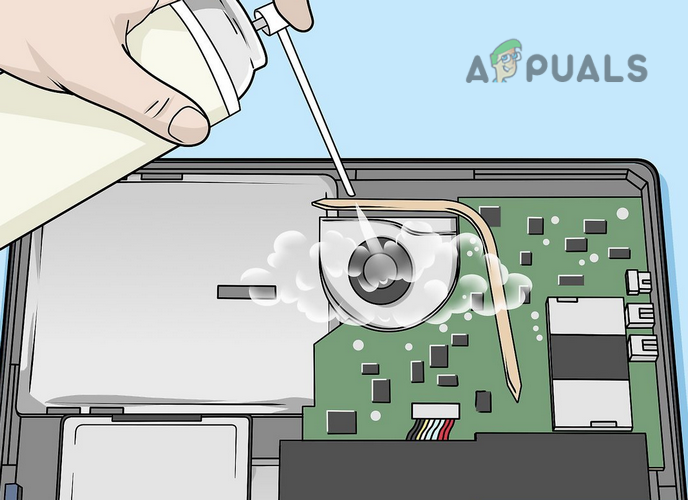
- Remove the laptop’s back cover and blow air on the laptop’s circuitry (but not too close). A compressed air can or an air blower can be used.
Air Clean the Laptop - Now dust off the laptop’s internals (like HDD, CD/DVD drives, etc.) with a dry cloth, brush, or a Q-tip.
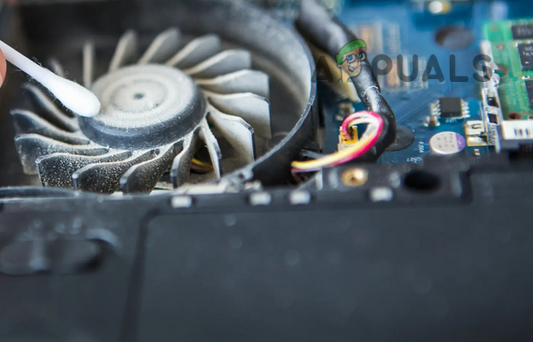
Clean Dust of the Laptop - Then make sure to remove the dust or debris from the laptop. If there is corrosion on some components, use the rubbing alcohol to remove the corrosion but be careful to not damage the laptop’s circuitry.
- Now connect the laptop’s back cover (make sure the alcohol has dried out, if used) and afterward, press the power button to check if the laptop can be properly powered on.
Reseat or Replace the Laptop’s CMOS/BIOS Battery
Some of the Dell laptops may fail to boot if the CMOS/BIOS battery is not properly seated or is weak as the battery is essential to save much of the non-volatile information. Here, reseating or replacing the CMOS/BIOS battery may turn on the Dell laptop.
- Firstly, disconnect the charger from the Dell laptop and remove the battery.
- Now detach the laptop’s back cover and find the location of the CMOS battery.
- Now remove the CMOS battery from its compartment and then press/hold the laptop’s power button for a minute.
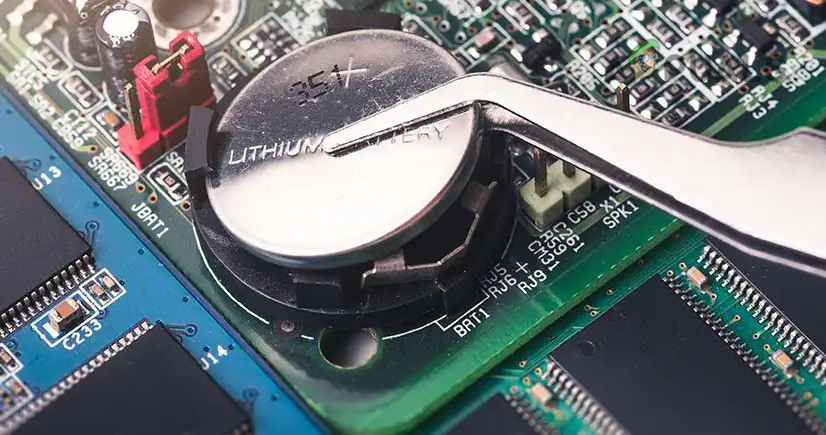
Remove CMOS Battery from the Laptop - Then plug back the charger into the laptop (without reseating the CMOS battery) and check if the laptop can be turned on.
- If the issue persists, unplug the charger from the laptop and put back the CMOS/BIOS battery. Make sure the battery is properly seated.
- Now plug back the charger into the laptop and press the power button to check if the laptop can be turned on.
- If the issue continues, disconnect the charger, remove the laptop’s battery, unhook the CMOS battery, leave the laptop for an hour, connect back everything, and power on the laptop to check if it has powered on.
- If that did not work, check if replacing the CMOS/BIOS battery clears the issue.
Reseat the Internal Components of the Dell Laptop
The Dell laptop may fail to power on if any of the essential internal components (like a RAM, graphics card, etc.) are not properly seated or it has malfunctioned. In this scenario, reseating or replacing the laptop’s internal components may resolve the issue.
- Unplug the charger from the laptop and remove its battery.
- Now disconnect the laptop’s back cover and remove the laptop’s internal components (like HDD, RAM, speakers, etc.) that can be removed easily.
- Then properly seat the components one by one and connect back the laptop’s back cover.
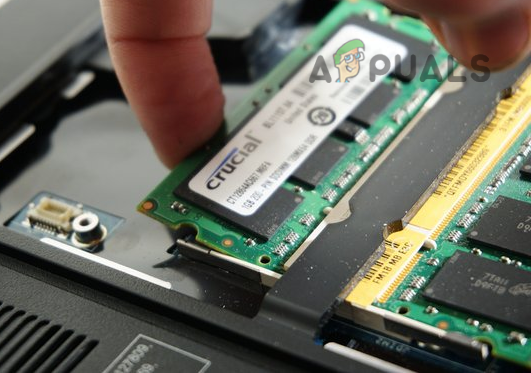
Reseat Laptop’s RAM - Now plug back the charger into the laptop and press the power button to check if the laptop is turning on.
- If that did not work, dislodge the laptop’s back cover and remove all the RAM sticks (if there is more than one RAM present).
- Then put back a RAM stick and connect the laptop’s back cover.
- Now plug back the charger into the laptop and press the power button to check if it is properly powering on. Repeat the same with other RAM sticks to find out if any of the sticks is faulty.
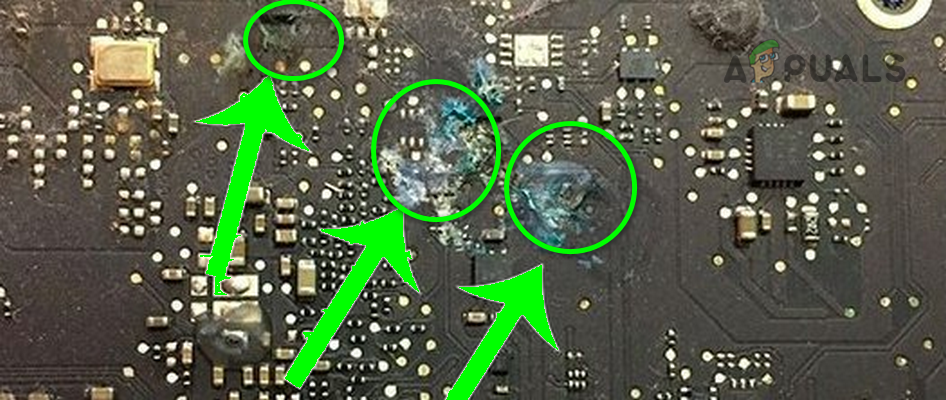
- If the issue persists, remove the laptop’s back cover and check for any physical damage to the laptop’s circuitry. If so, then that could be the root cause of the laptop’s power issue, and getting the Dell laptop checked for a hardware issue would be a good idea.
Damaged Motherboard
If none of the above worked, then most probably the issue is hardware-related like a faulty power port of the laptop, the laptop’s faulty power button, a short-circuited card (e.g., a network card), or a faulty component (e.g., a GPU). In this case, you may get the laptop checked by a hardware repairing service.
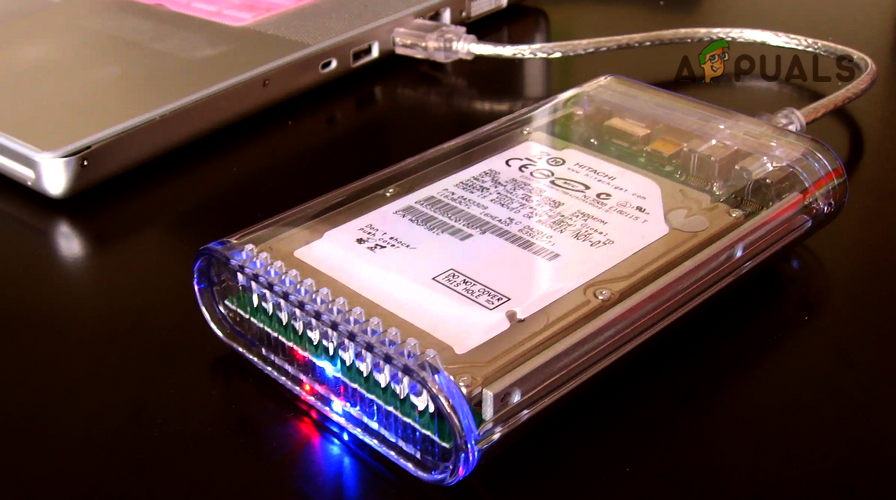
Moreover, the laptop’s damaged BIOS (mainly, if the BIOS upgrade or reset process has failed) may also not let a laptop to power on. If the problem is occurring due to the laptop’s BIOS, then a user may reflash the BIOS or roll it back, but this process requires some technical expertise and if a user is not confident, then getting a professional to do the job would be a better approach. But in any case (hardware issue or BIOS issue), make sure to back up the laptop’s data by connecting its hard drive to another system/laptop and copying the data.