Delete a File or Folder using PowerShell (Detailed Guide)
PowerShell is a really powerful command-line tool used for automating and scripting various tasks in Windows. It is a fully featured, advanced version of Command Prompt.
PowerShell is also used to perform various file-related operations, such as file creation and modification. It provides a range of commands and functions for file management, including the ability to delete files.
Deleting a single file using PowerShell.
In order to delete a single file in PowerShell, you will need to use the ‘Remove-Item‘ command.
- Open the start menu and type “Windows PowerShell” in the “search box”
- Open it and type the command “Remove-Item” along with the file location and name
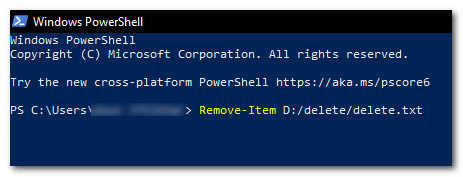
type the command “Remove-Item” along with the file location and name
Remove-Item <FilePath>
Here, <FilePath> represents the location of the file you want to delete. For example, if you want to delete a file called “example.txt” located in the “C:\Temp” directory, use the following command:
Remove-Item C:\Temp\example.txt
Deleting files and folders recursively.
To delete files and folders recursively, you can use the “-Recurse” parameter with the “Remove-Item” command.
- Open “Windows PowerShell” and type the command “Remove-Item” along with the file location and name with “-Recurse” at the end
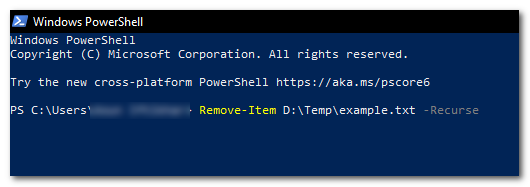
type the command “Remove-Item” along with the file location and name with “-Recurse” at the end - This will delete the folder located at “x” and all its contents.
For example
Remove-Item C:\Temp\example.txt -Recurse
Forcefully Deleting a File.
In order to force delete a file that is write-protected or in use by any process through PowerShell, you will need to use the “-Force” parameter with the “Remove-Item” command.
- Open “Windows PowerShell” and type the command “Remove-Item” followed by the file location and name, and add “-Force” at the end.
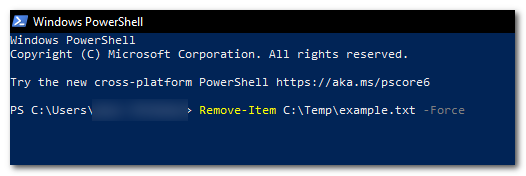
type the command “Remove-Item” along with the file location and name, with “-Force at the end - This will delete the file located at “x” even if it is read-only or in use by another process
For example
Remove-Item C:\Temp\example.txt -Force
Deleting files recursively based on their file extensions.
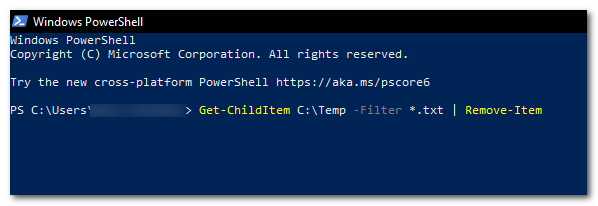
In order to delete files recursively based on file extension (e.g., .txt), you can use the “Get-ChildItem” command with the “-Filter” parameter to retrieve a list of files, and then delete the files with the “Remove-Item” command.

Get-ChildItem C:\Temp -Filter *.txt | Remove-Item
Deleting files that match a particular pattern.
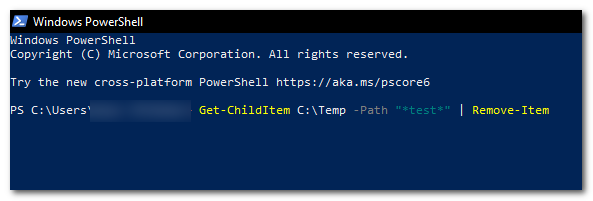
You can use the ‘Get-ChildItem‘ command to gather all files matching the pattern (e.g., files that contain the word ‘test‘ in the file name) with the ‘-Path‘ parameter, and then use the ‘Remove-Item‘ command to delete them.
Get-ChildItem C:\Temp -Path "*test*" | Remove-Item
Deleting all files in a folder.

To delete all files in a folder (but not the folder itself), use the “Get-ChildItem” command with the “-File” parameter to retrieve a list of files, and then delete the results using the “Remove-Item” command.
Get-ChildItem C:\Temp -File | Remove-Item
Delete a file only if it exists.

To delete a file only if it exists (to avoid an error if the file does not exist), use the “Test-Path” command to check whether the file exists, and then use the “Remove-Item” command to delete it.
if (Test-Path C:\Temp\file.txt) { Remove-Item C:\Temp\file.txt }Deleting files that are older than a specified date.
To delete files older than a specified date, use the ‘Get-ChildItem‘ command with the ‘-Path‘ parameter and a wildcard character (*) to retrieve a list of files. Then, pipe the results to the ‘Where-Object‘ command to filter the files based on their creation date. Finally, pipe the results further to the ‘Remove-Item‘ command to delete them.

Get-ChildItem C:\Temp -Path "*" | Where-Object { $_.CreationTime -lt (Get-Date).AddDays(-30) } | Remove-ItemI hope this article has helped you in deleting files using Windows PowerShell. Always be careful when using these commands, particularly when employing the “-Force” or “-Recurse” parameters, as they can potentially delete important files or folders. Make sure to double-check your commands before running them to ensure that you are deleting the correct files.


