How to Delete a Page in Word on Mobile & Desktop
 Reviewed by Huzaifa Haroon
Blank or extra pages in a Microsoft Word document can make your work look unprofessional and lead to issues when printing or converting the file to other formats. This can occur for various reasons, such as extra paragraph markers, page breaks, or formatting inconsistencies.
Whether you’re using Microsoft Word 2007, 2016, 2019, 2021, or Office 265, knowing how to remove these unwanted pages is essential. This guide will explore multiple methods to delete a page in Word efficiently, ensuring your documents appear clean and polished.
How do pages work in MS Word?
In Microsoft Word, pages are the fundamental units of a document, providing structure and organization to your content. As you type continuously, Word automatically moves text to the next page once the current one is filled, ensuring a seamless flow of information.
This automation helps maintain the document’s readability and layout without manual intervention. Microsoft Word does not impose a maximum page limit, allowing users to create documents of any length.
However, extremely large documents can impact performance and may become challenging to manage. Understanding how pages function in Word enables users to format their documents effectively, ensuring a professional appearance and ease of navigation.
How to Delete a page in Word?
Blank pages can mess up the continuity of your document in Microsoft Word. Let’s look at straightforward methods to identify and delete these pages:
How to Delete a Page in Word on Mobile?
Deleting a page in Microsoft Word on mobile devices follows a slightly different process than on desktop due to the touchscreen interface and condensed menu options.
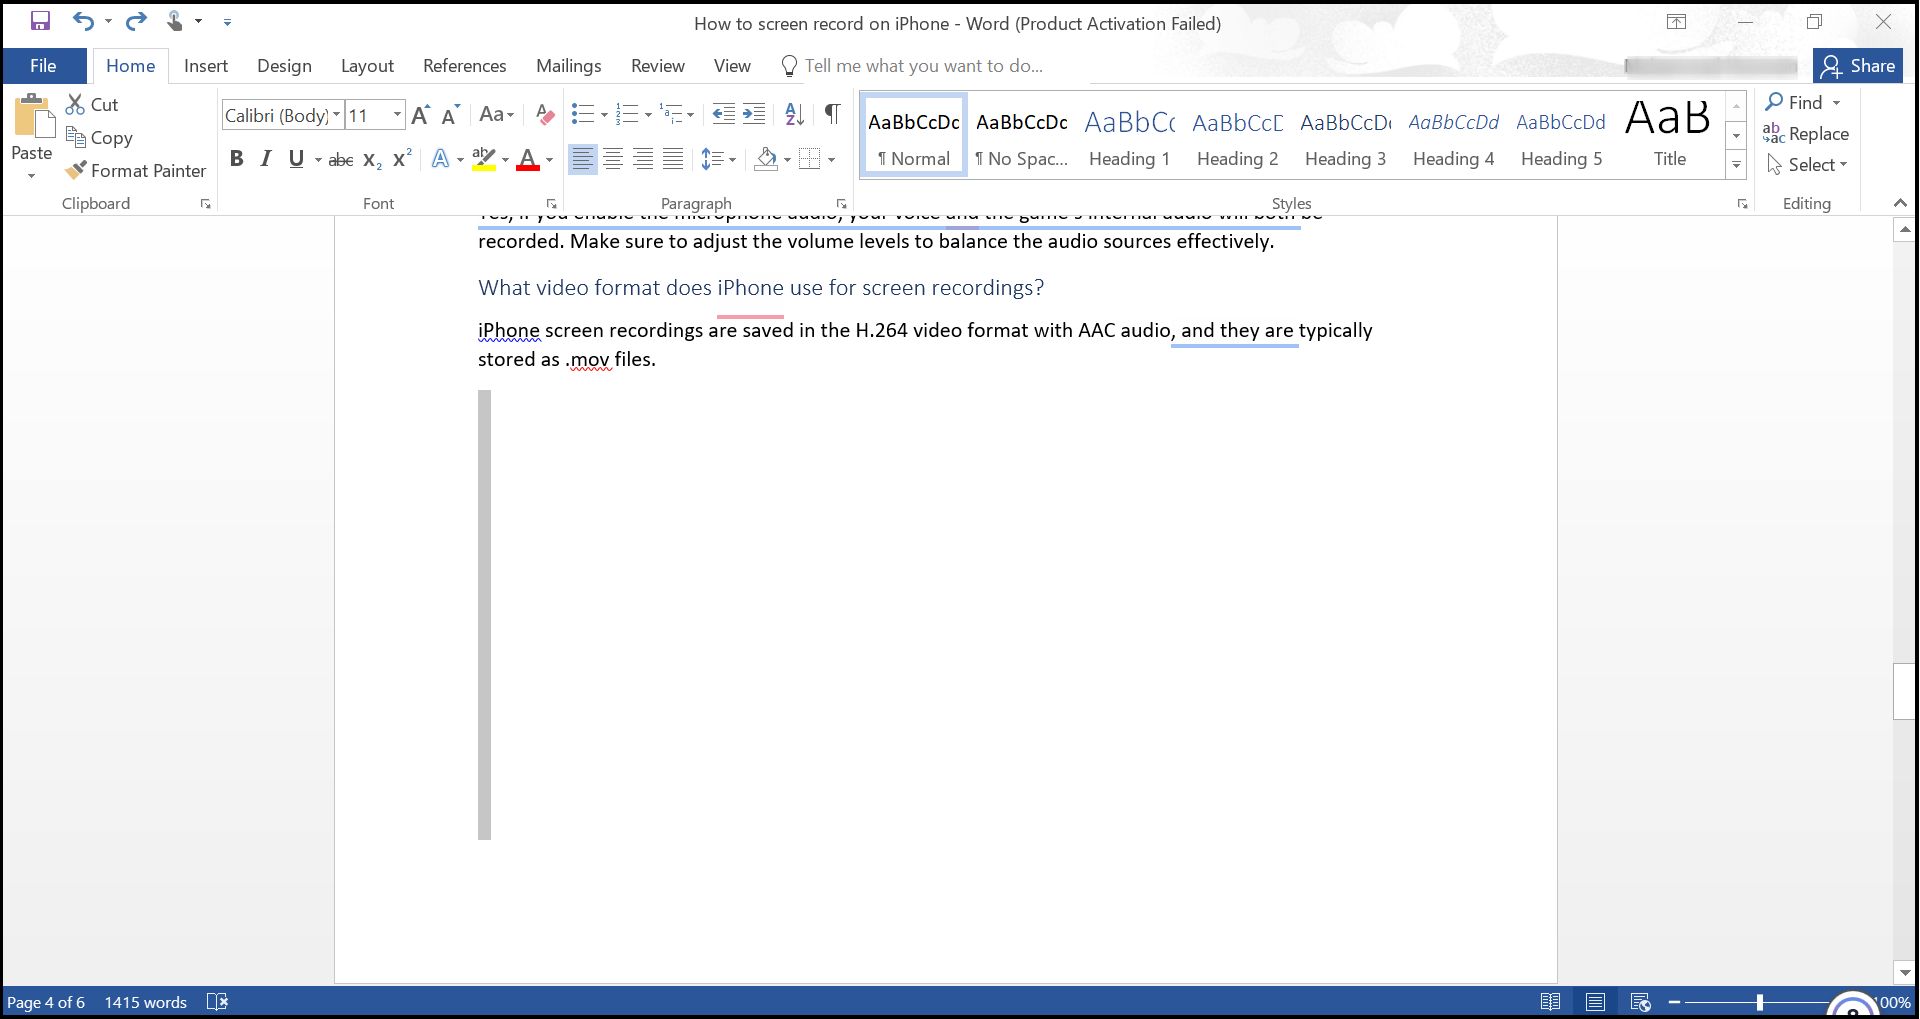
- Launch the Microsoft Word app on your mobile device and open the document from which you want to delete a page.
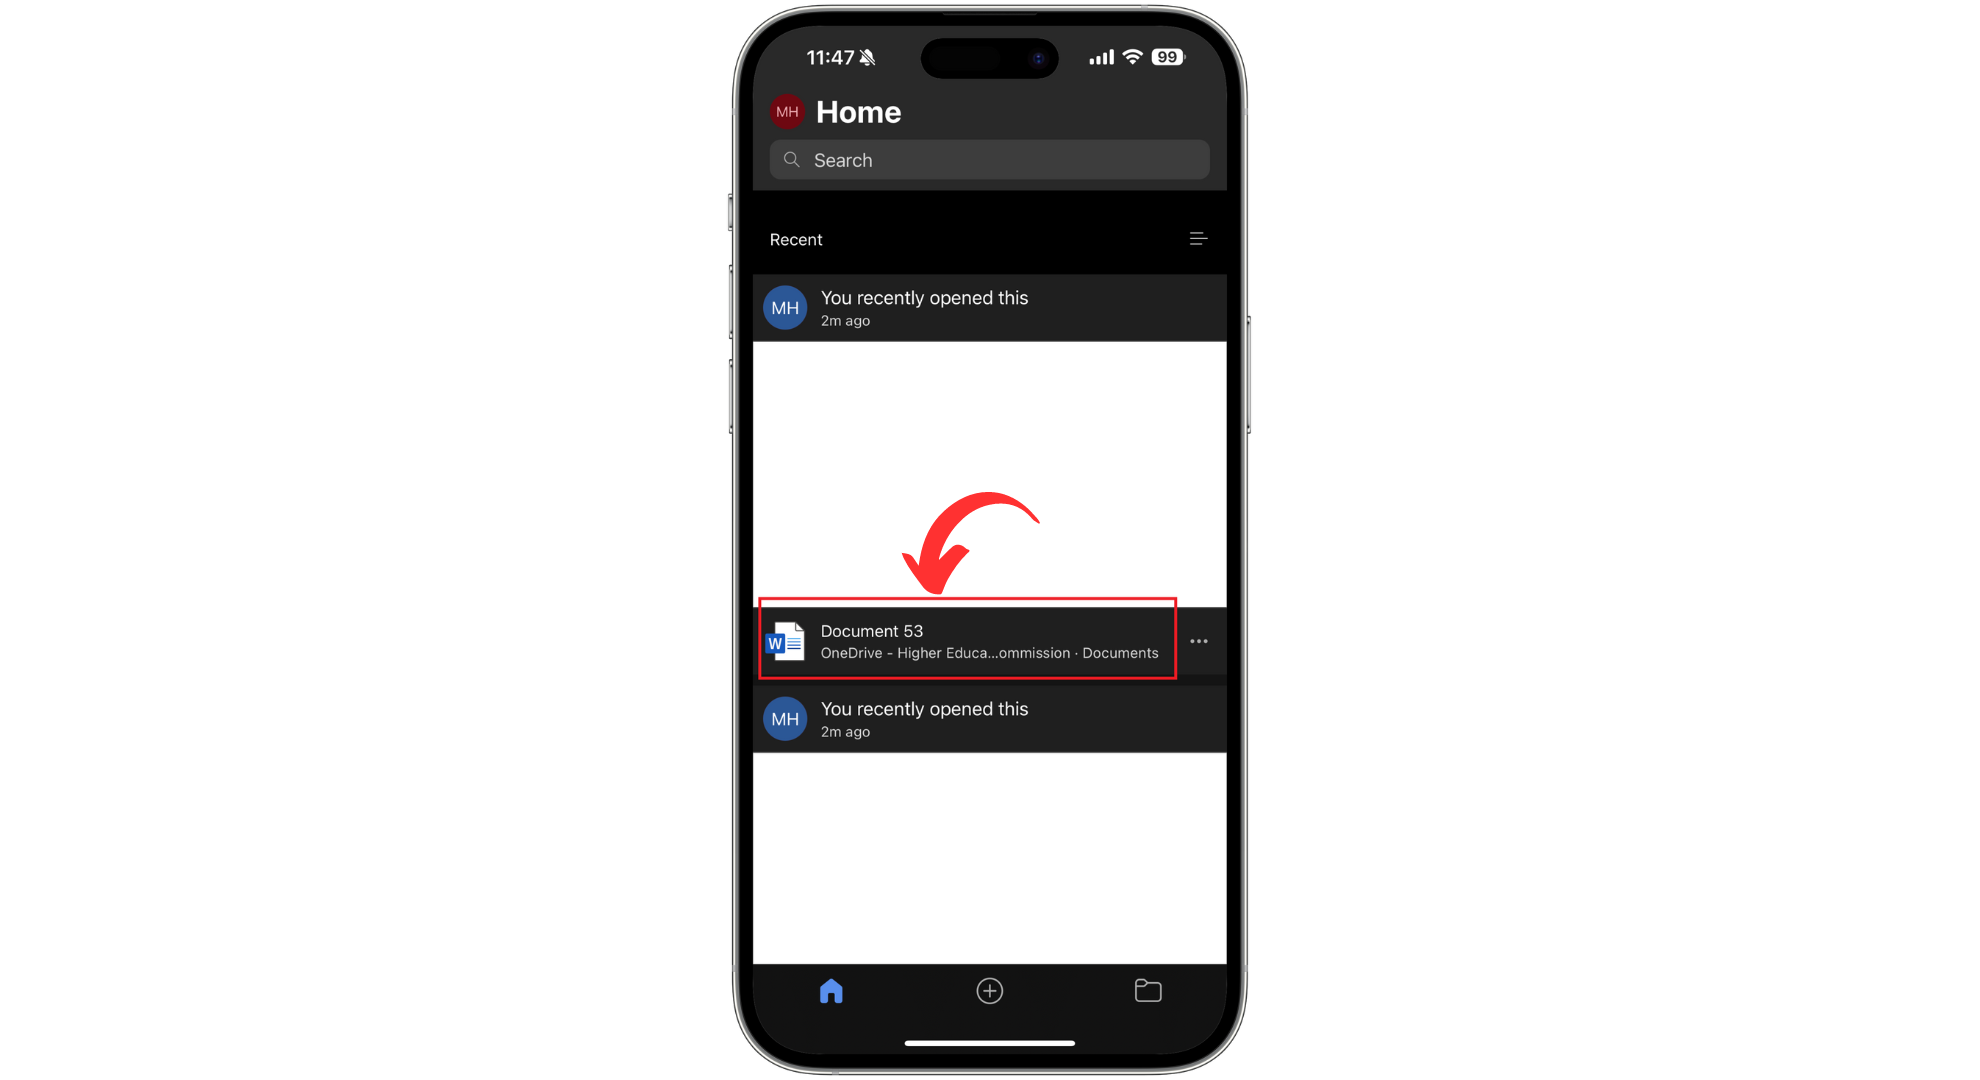
Open the Document - Scroll through your document to find the page you want to delete. You’ll quickly notice it if it’s a blank page as you scroll.
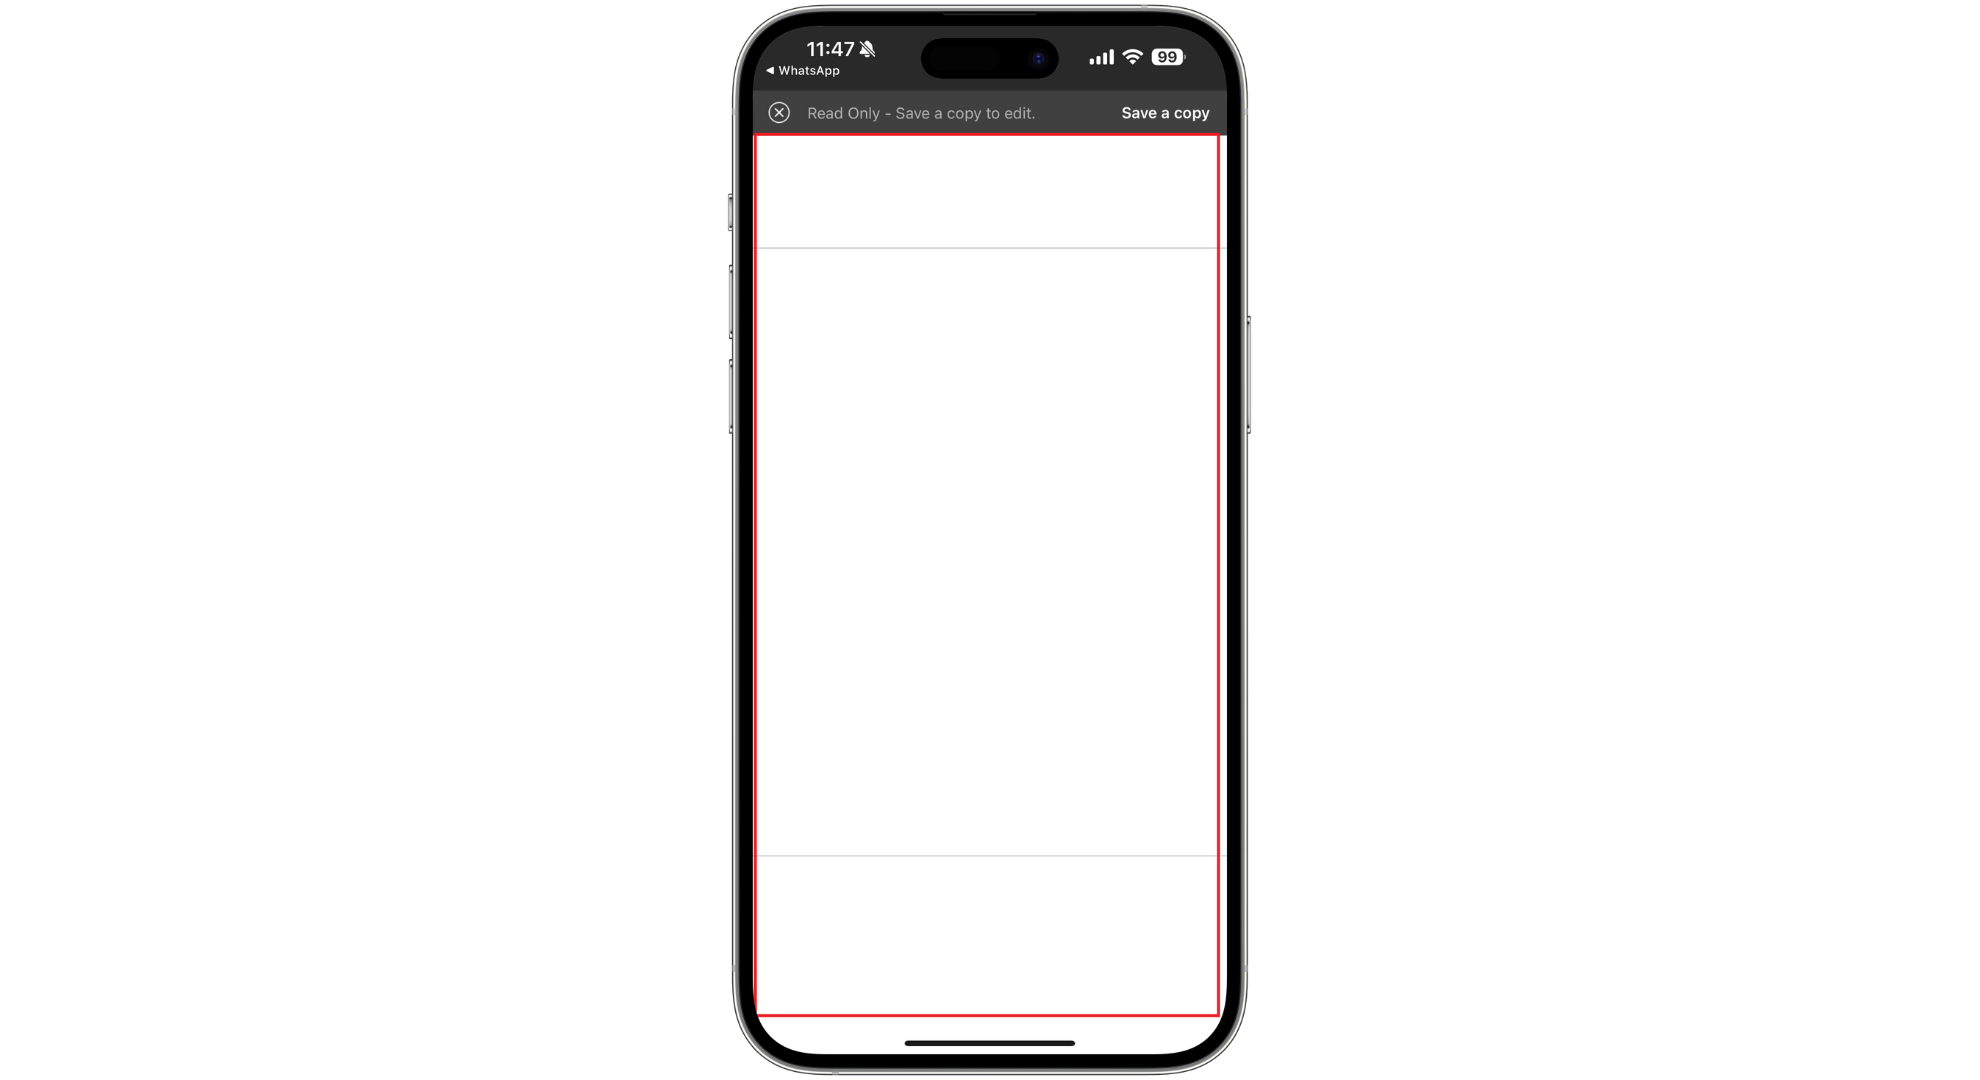
Go to the page you want to delete - Tap and hold to select the text or images on the page you wish to delete. On iOS, you might use the selection handles to adjust your selection; on Android, tap “Select” and then drag the handles to include all content on the page.
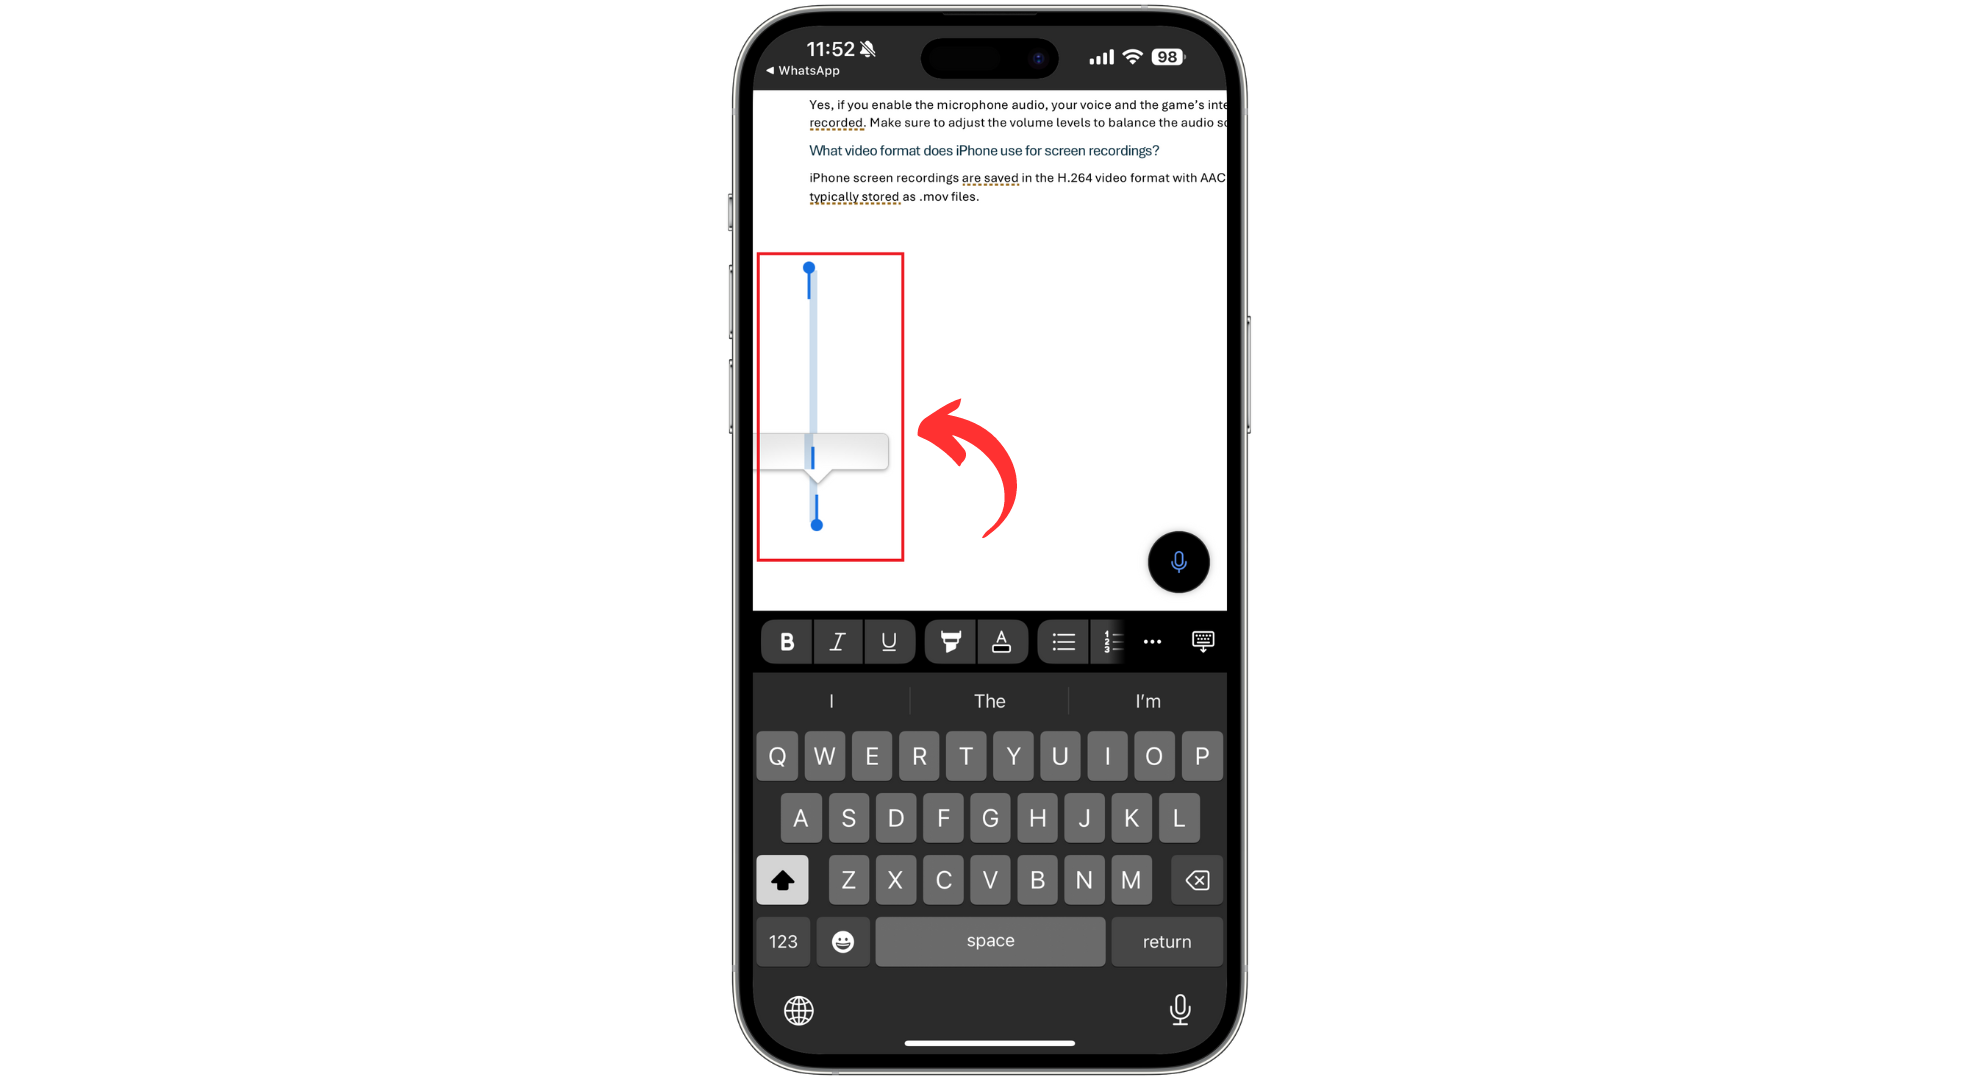
Select the text or empty area - Once everything on the page is selected, tap “Delete” or “Backspace” on your on-screen keyboard. This action should remove all selected content.
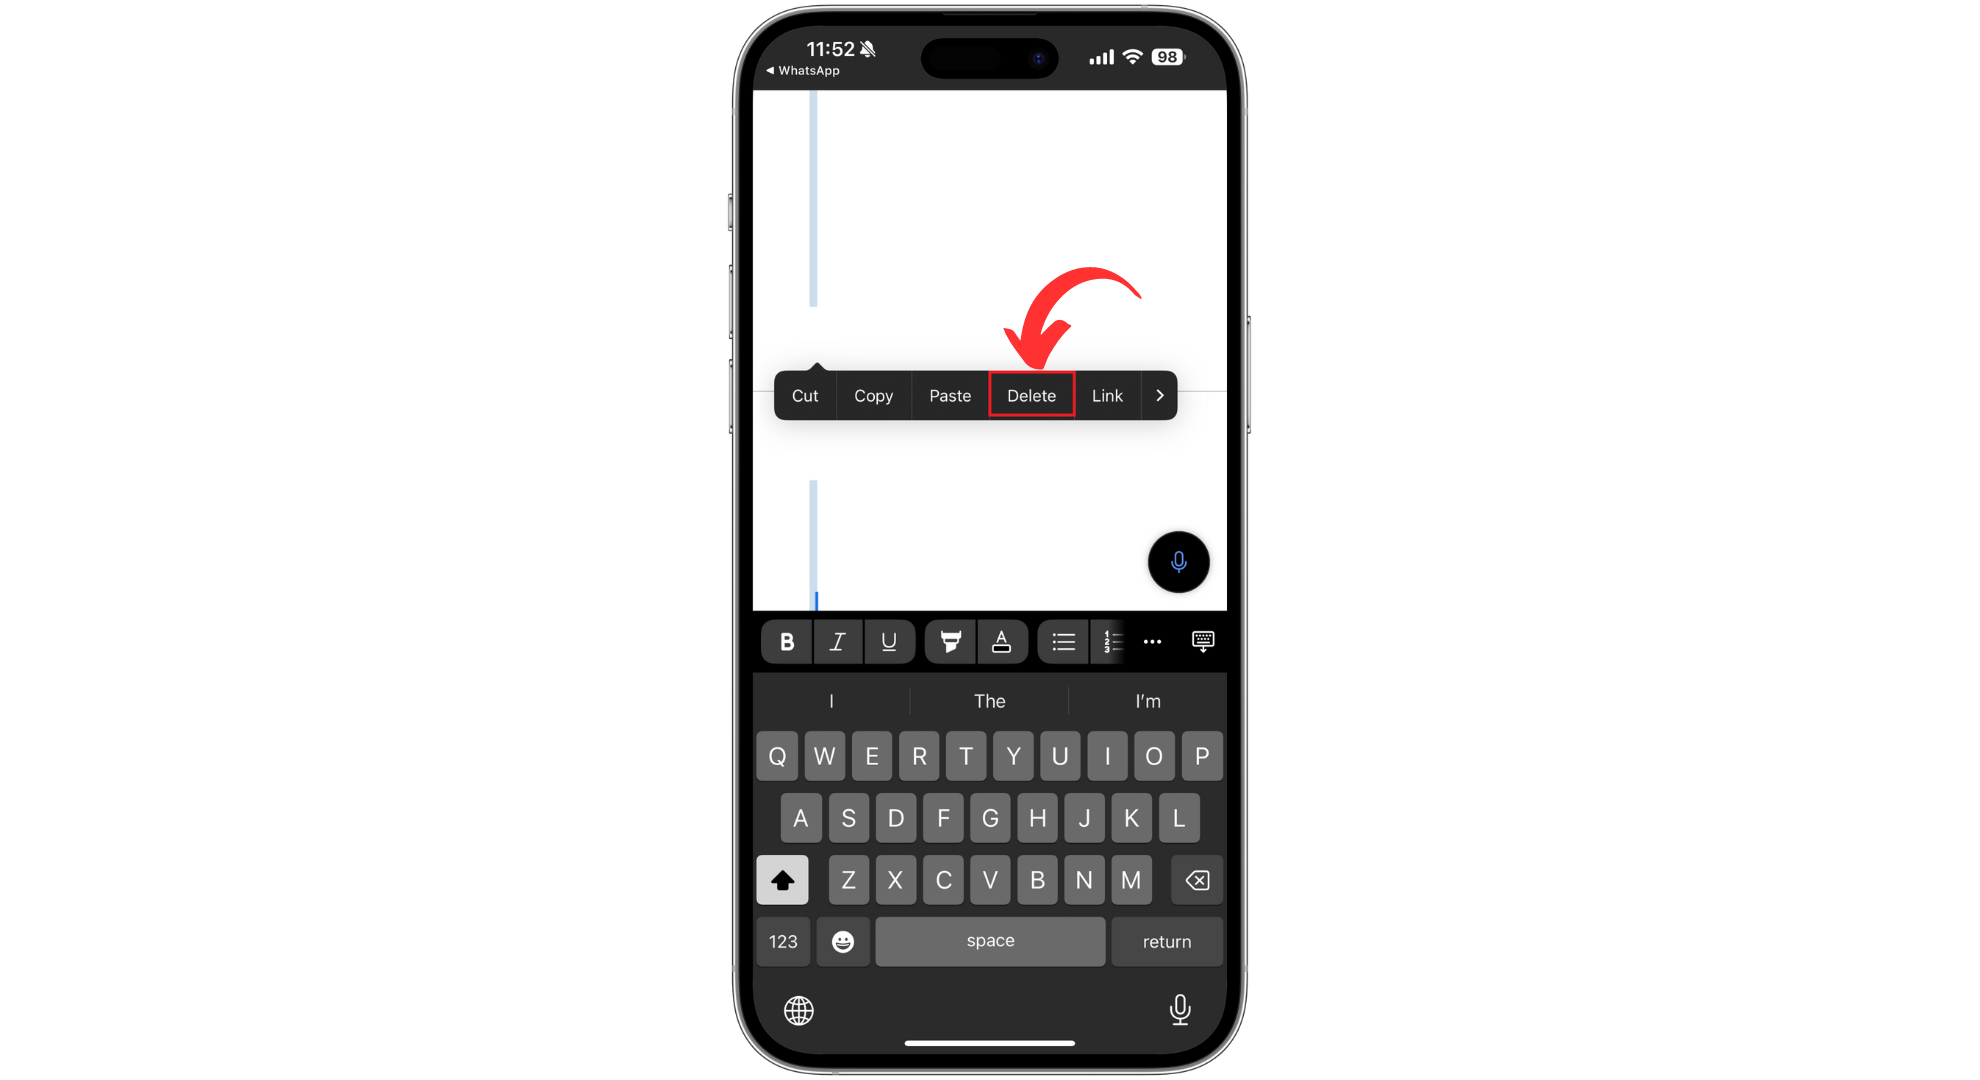
Tap on Delete - After deleting the content, if the page was not automatically removed (sometimes there may still be hidden paragraph marks or page breaks), place your cursor at the beginning of the next page and use the backspace key to remove any remaining blank spaces that might be forcing a new page start.
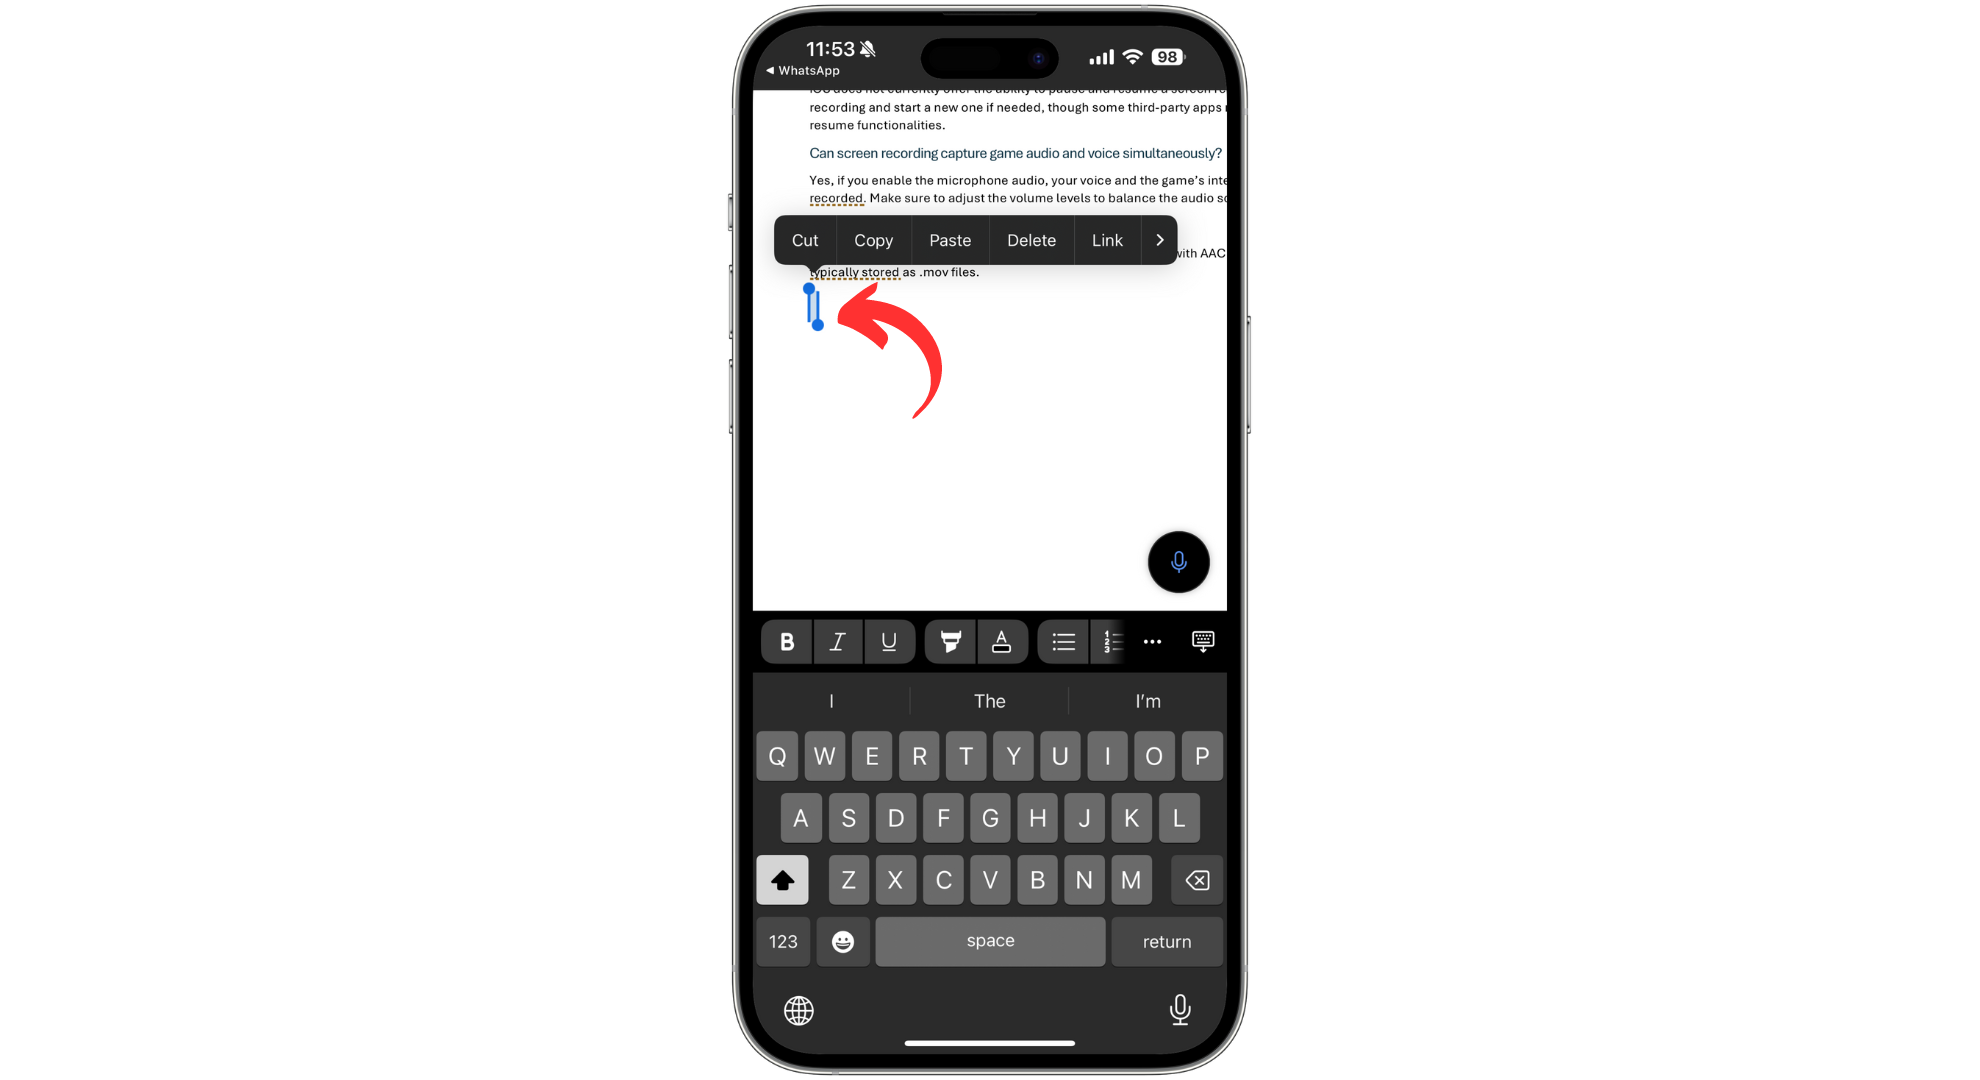
Select the remaining text and tap backspace - Don’t forget to save the changes to your document or tap “Done” to ensure the page is permanently removed.

Tap Done
How to Delete a Page in Word on a Desktop?
Deleting a page in Microsoft Word on a desktop can quickly clean up your document and eliminate unnecessary content. The steps for deleting a page in Microsoft Word are generally similar for both Windows (including all versions of Word and Microsoft 365) and Mac, with a few key differences, primarily in the keyboard shortcuts and some menu options:
- Keyboard shortcuts: On Windows, you might use Ctrl + G to open the “Go To” dialog, whereas on Mac, the equivalent shortcut is Option + Command + G.
- Menus and interface: The interface and menu options might also differ slightly between the two operating systems due to their unique design guidelines.
1. Use the Backspace/Delete Key
A simple way to remove unwanted pages in your Microsoft Word document is by using the Backspace (on Windows) or Delete (on Mac) keys. This method works across different versions of Microsoft Word, including 2007, 2010, 2013, 2016, 2019, and Microsoft 365.
- Click at the beginning of the content on the page you wish to delete. Drag your cursor to the end of the page to select all the content.
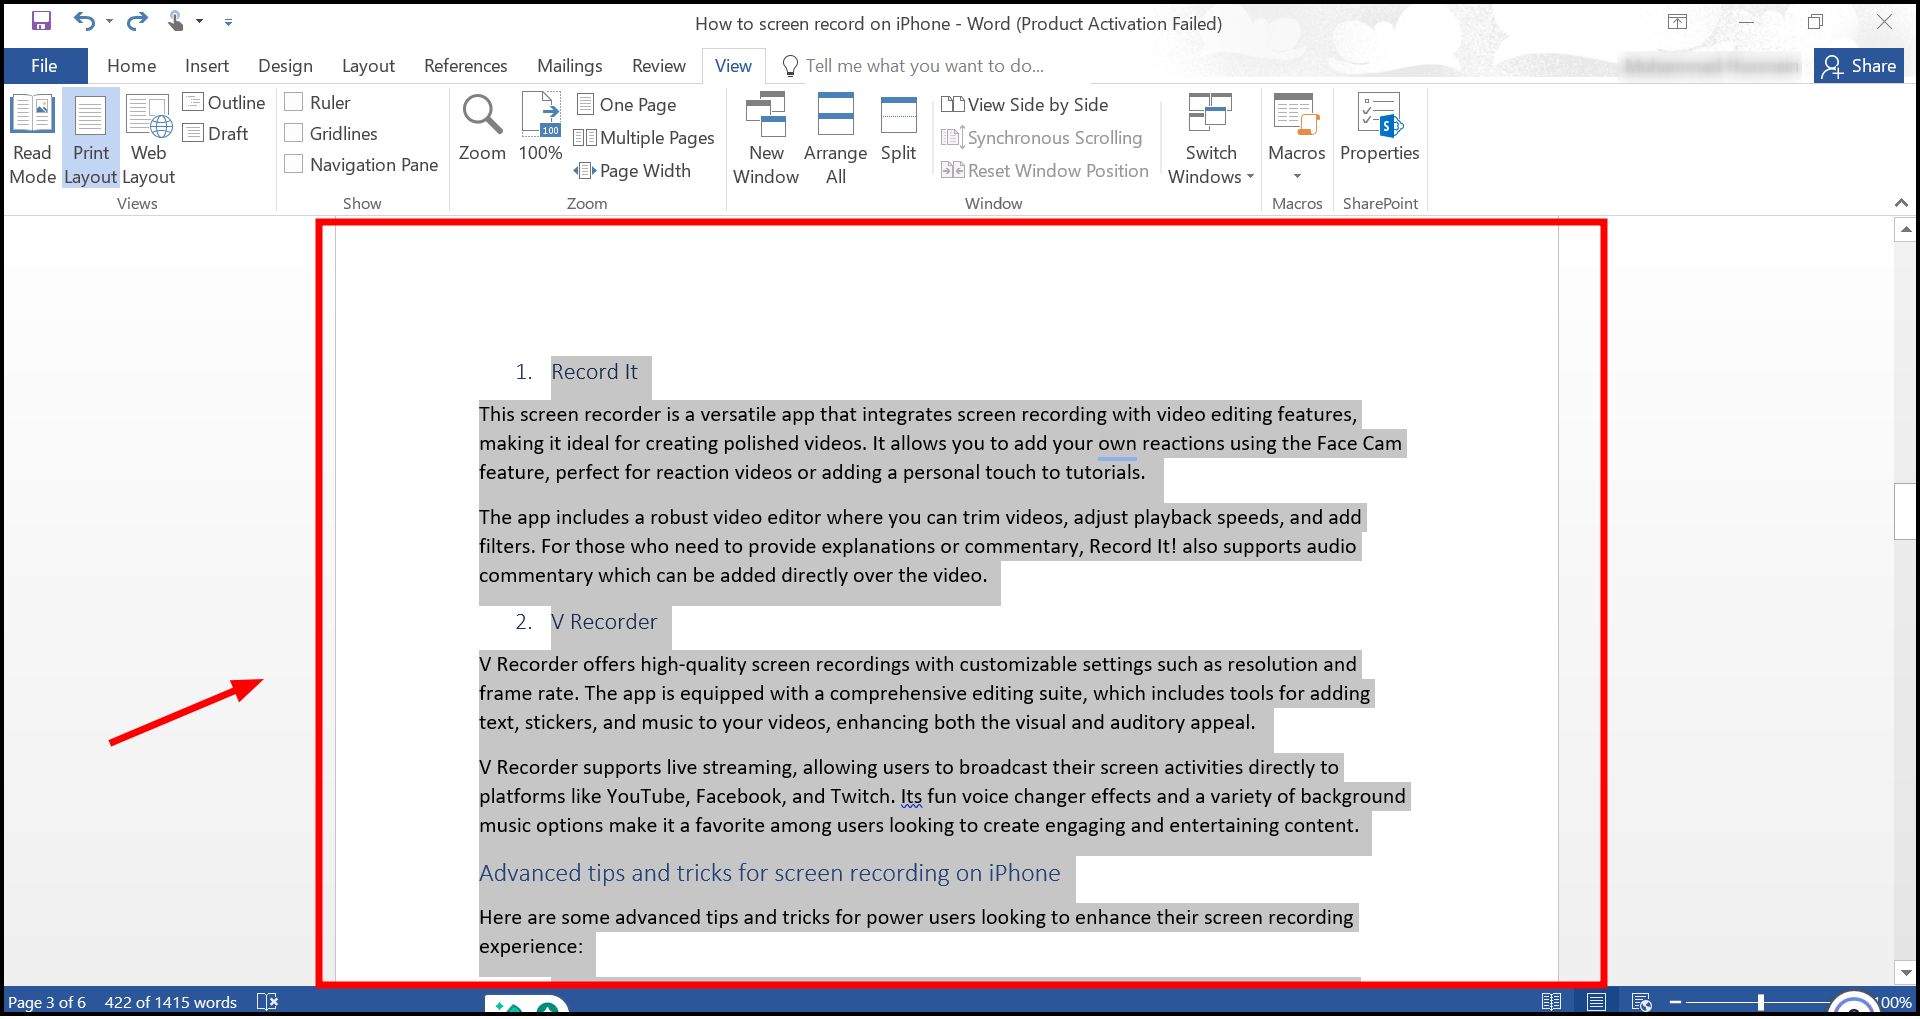
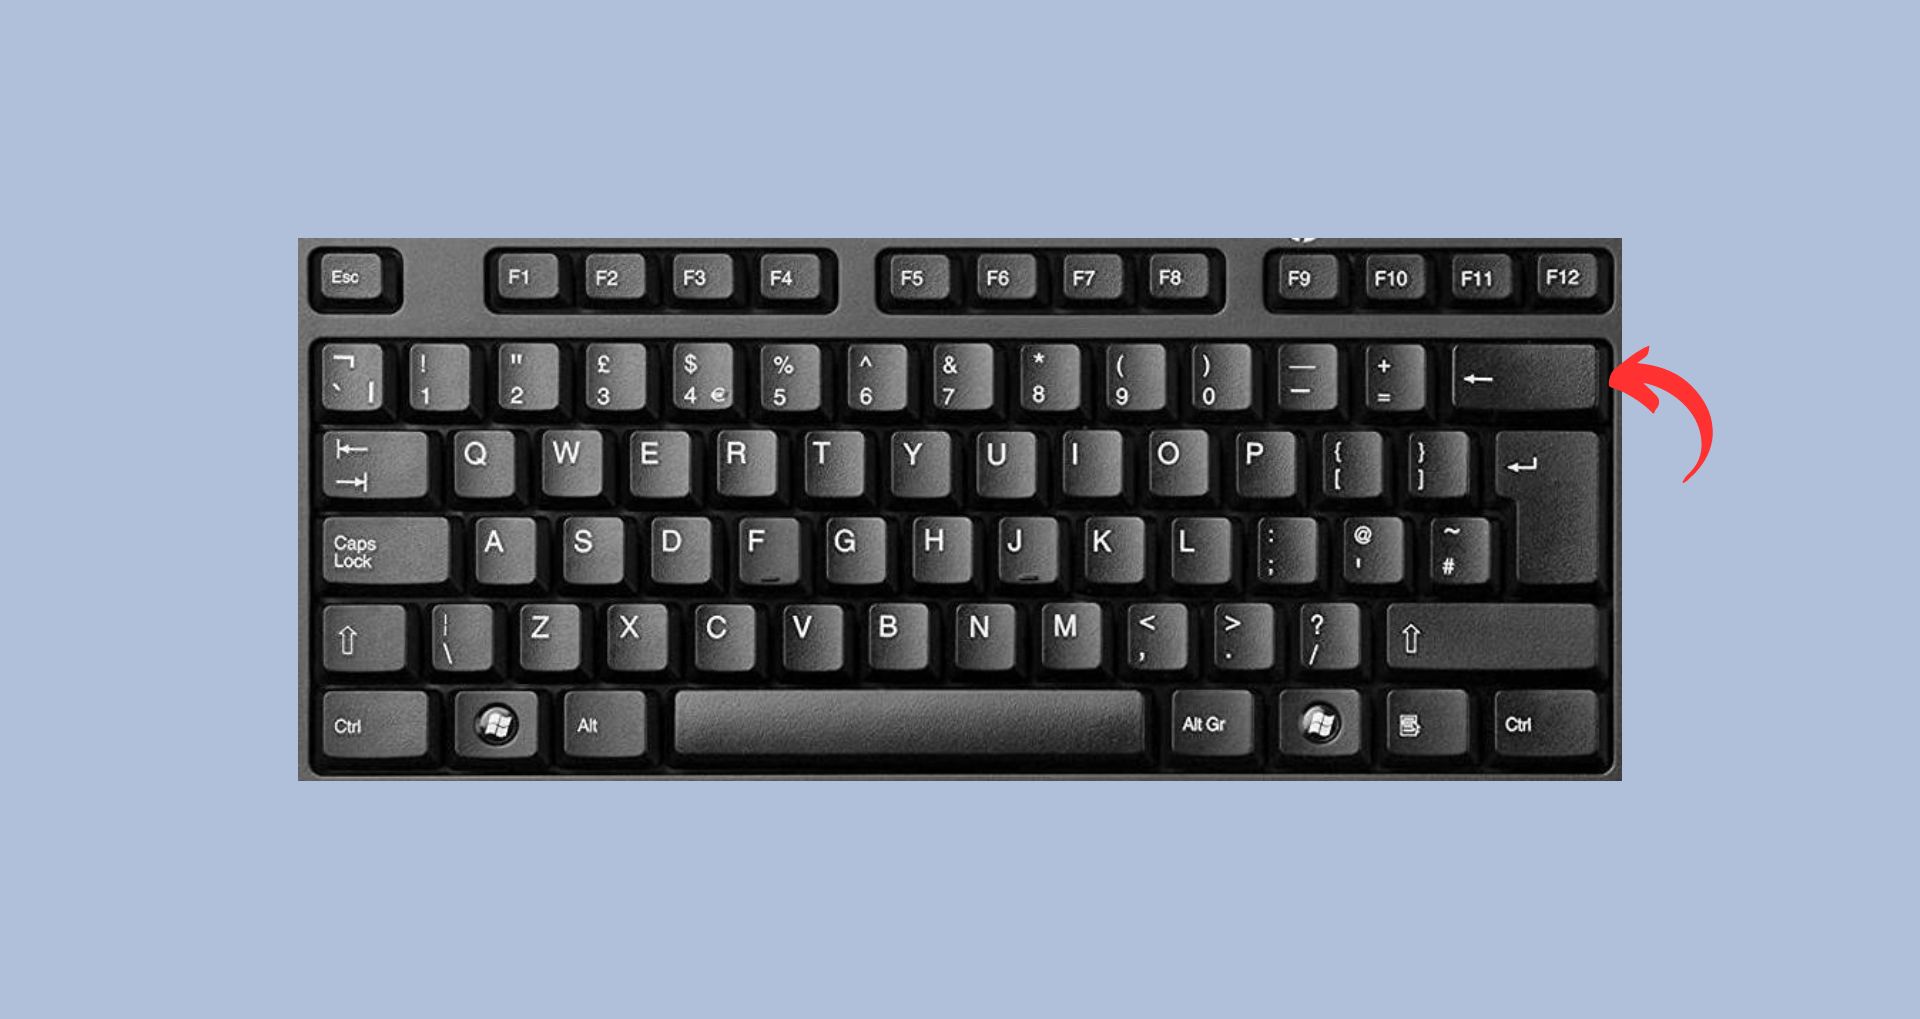
Select the whole content - Once everything on the page is highlighted, press the “Backspace” key (Windows) or “Delete” key (Mac) to remove the selected content. If the page is between other text, it will automatically be removed once empty.
Delete the content
2. Use the Navigation Pane
For more visual management of your document, significantly longer ones, the Navigation Pane in Microsoft Word provides an effective way to quickly find and delete blank pages. The Navigation Pane is available and functions the same in Word 2010, 2013, 2016, 2019, and Microsoft 365.
- Go to the “View” tab on the ribbon and check the box labeled “Navigation Pane.
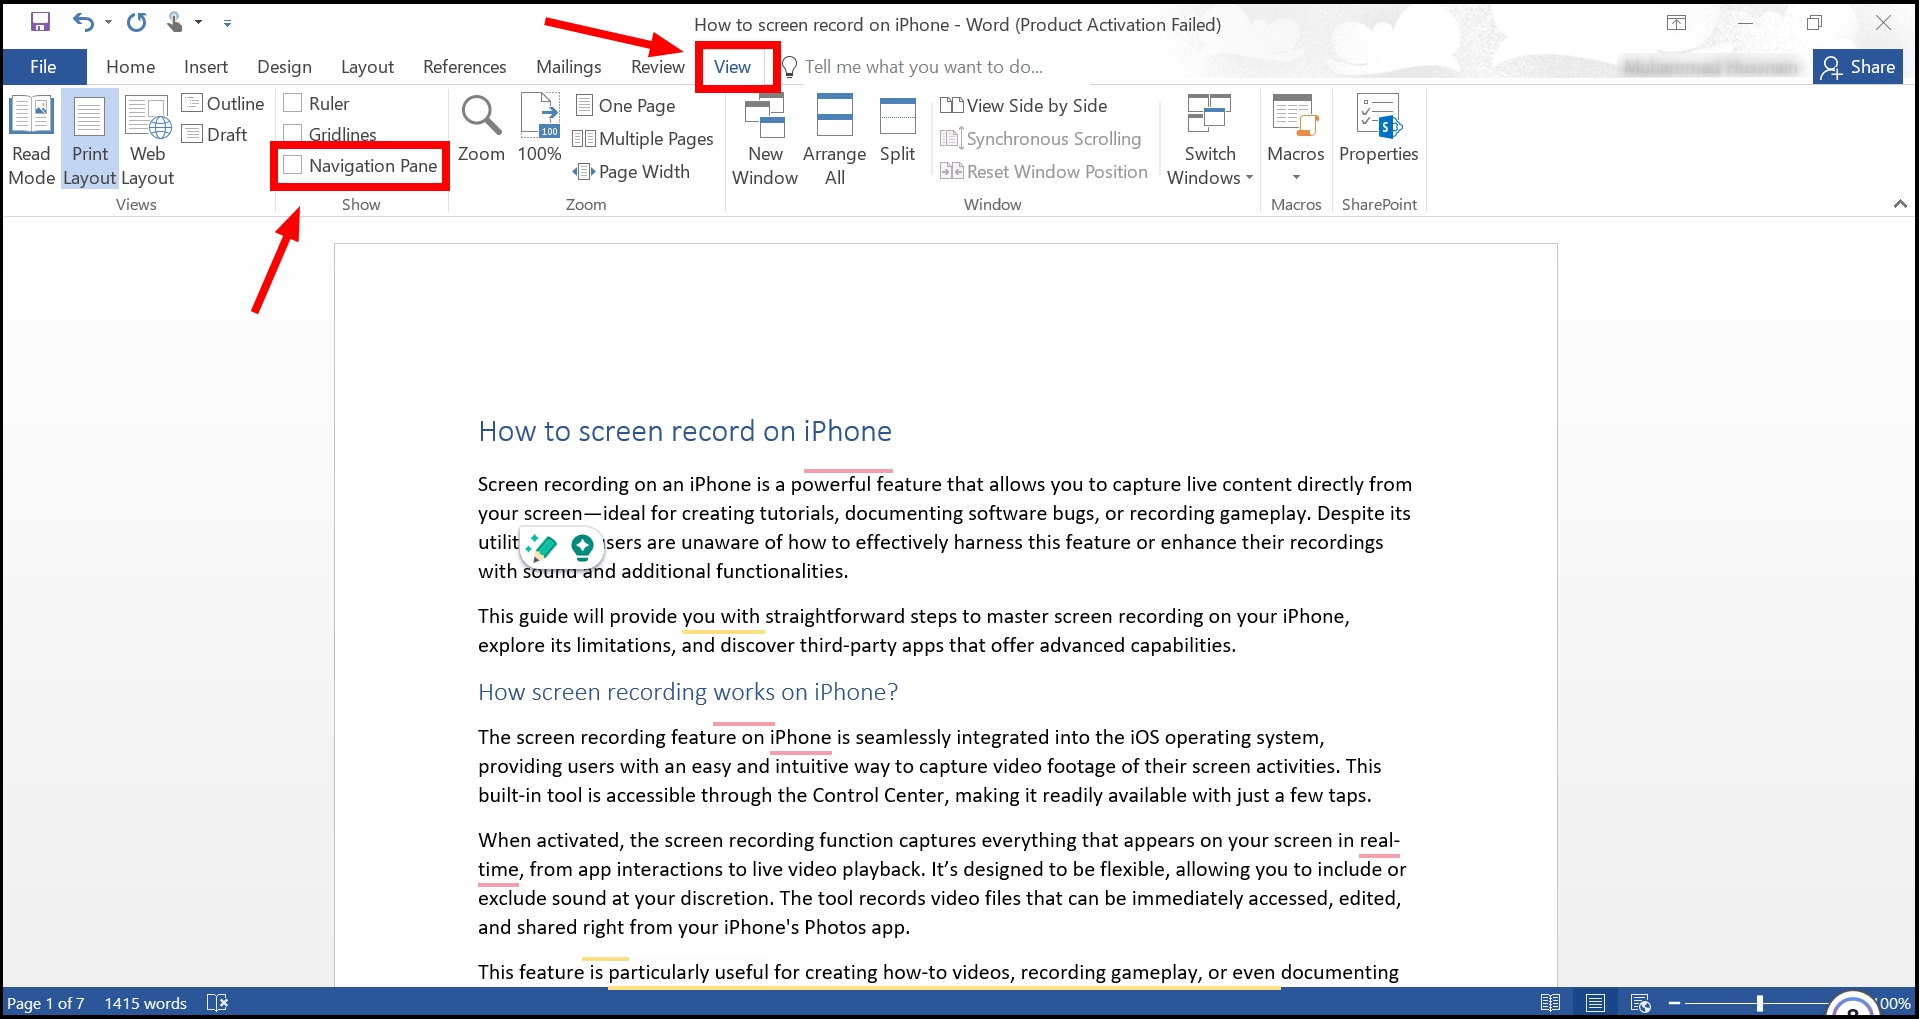
Click on Navigation pane - This will open a sidebar showing a thumbnail view of all the pages in your document.
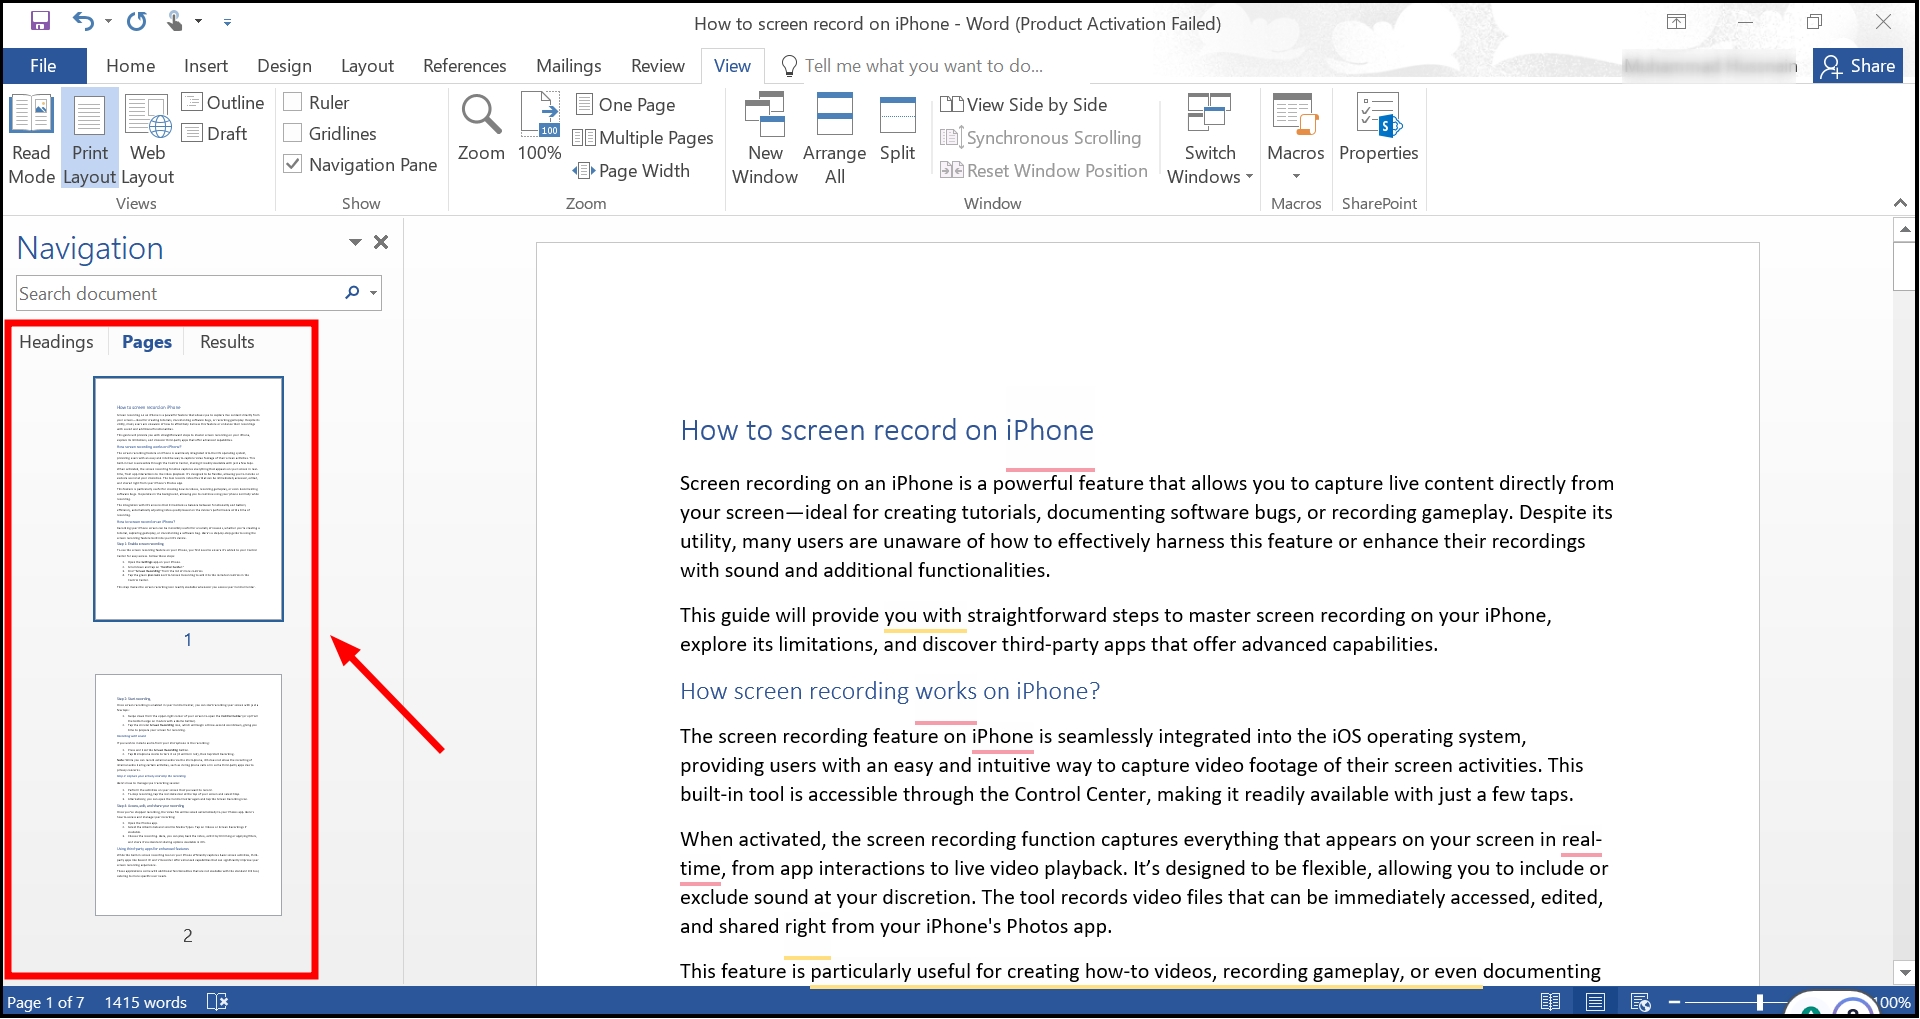
A new sidebar will open - Scroll through the thumbnails in the Navigation Pane to find the blank page. Click on the thumbnail to select it, then press the “Delete” key to remove it.
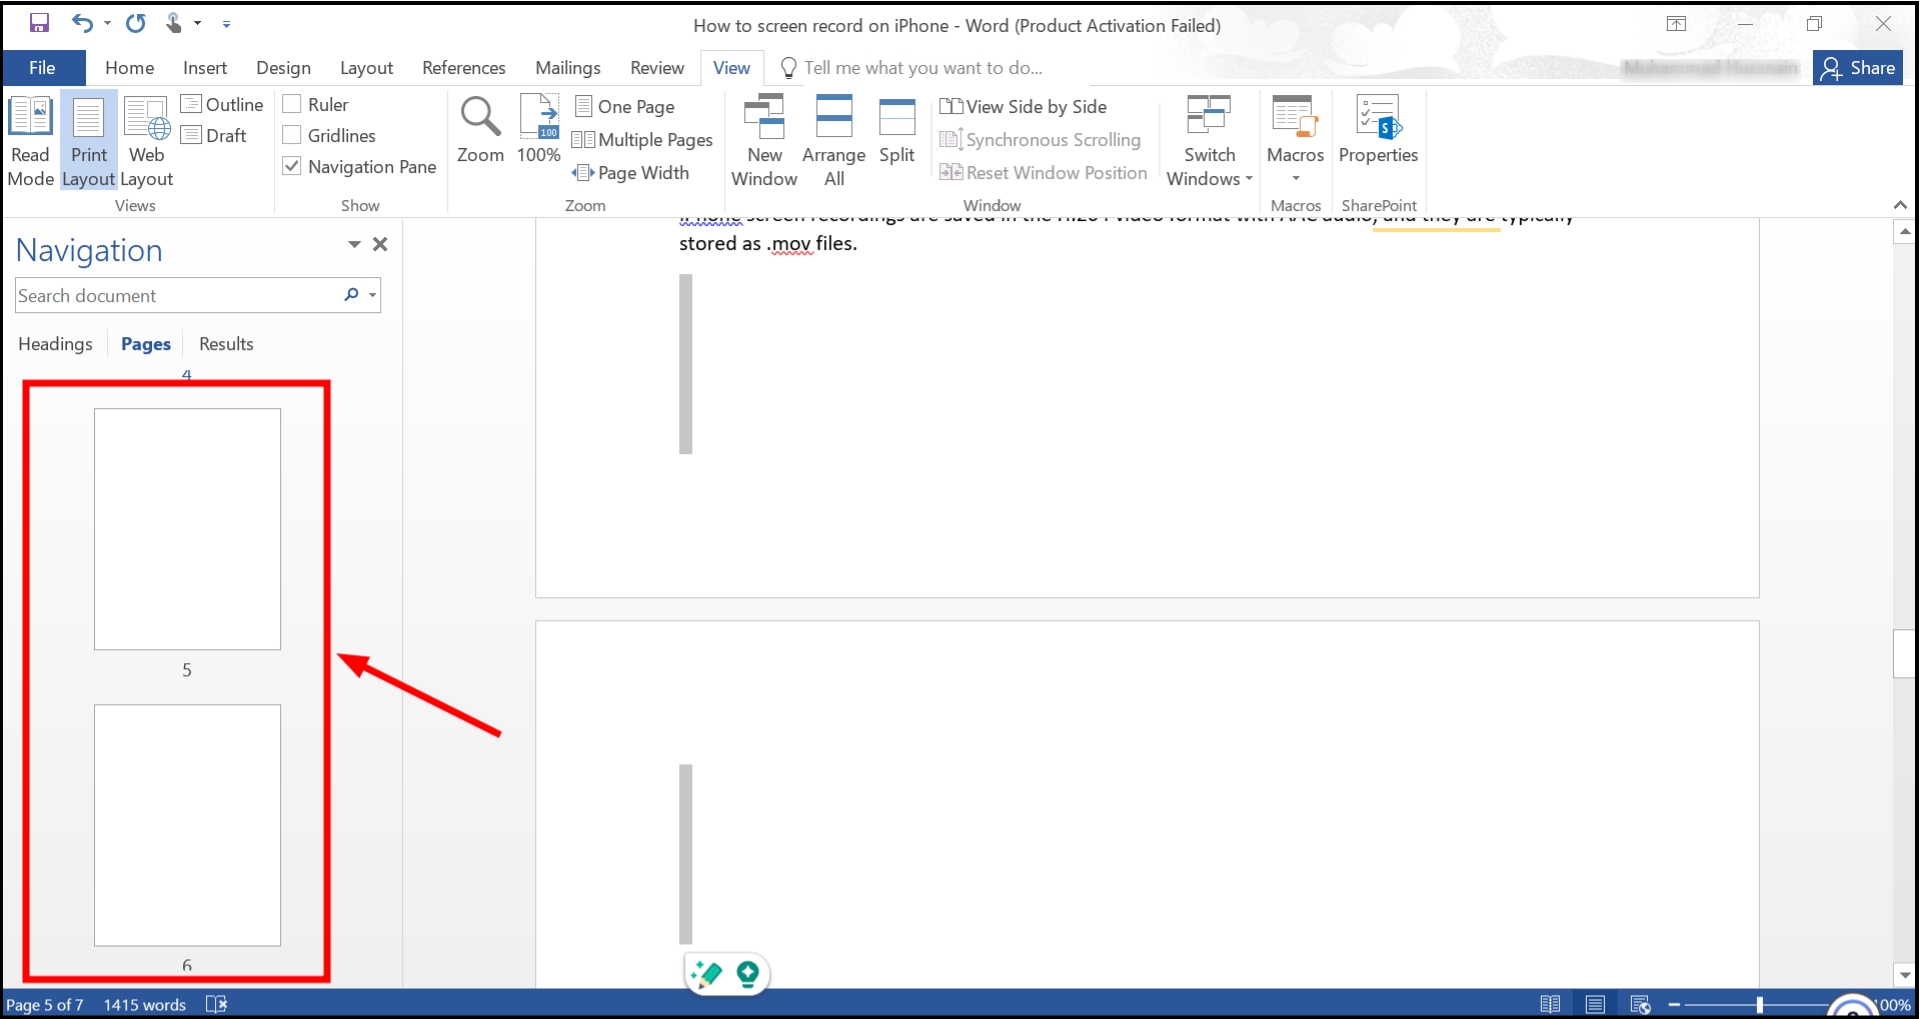
Press Delete
3. Using the Find and Replace tool
The Find and Replace tool can also be used to navigate to and delete specific pages. This method is consistent across recent versions of Word from Word 2007 onwards.
- Press Ctrl+G (Windows) or Option+Command+G (Mac) to open the “Go To” tab of the Find and Replace dialog box.
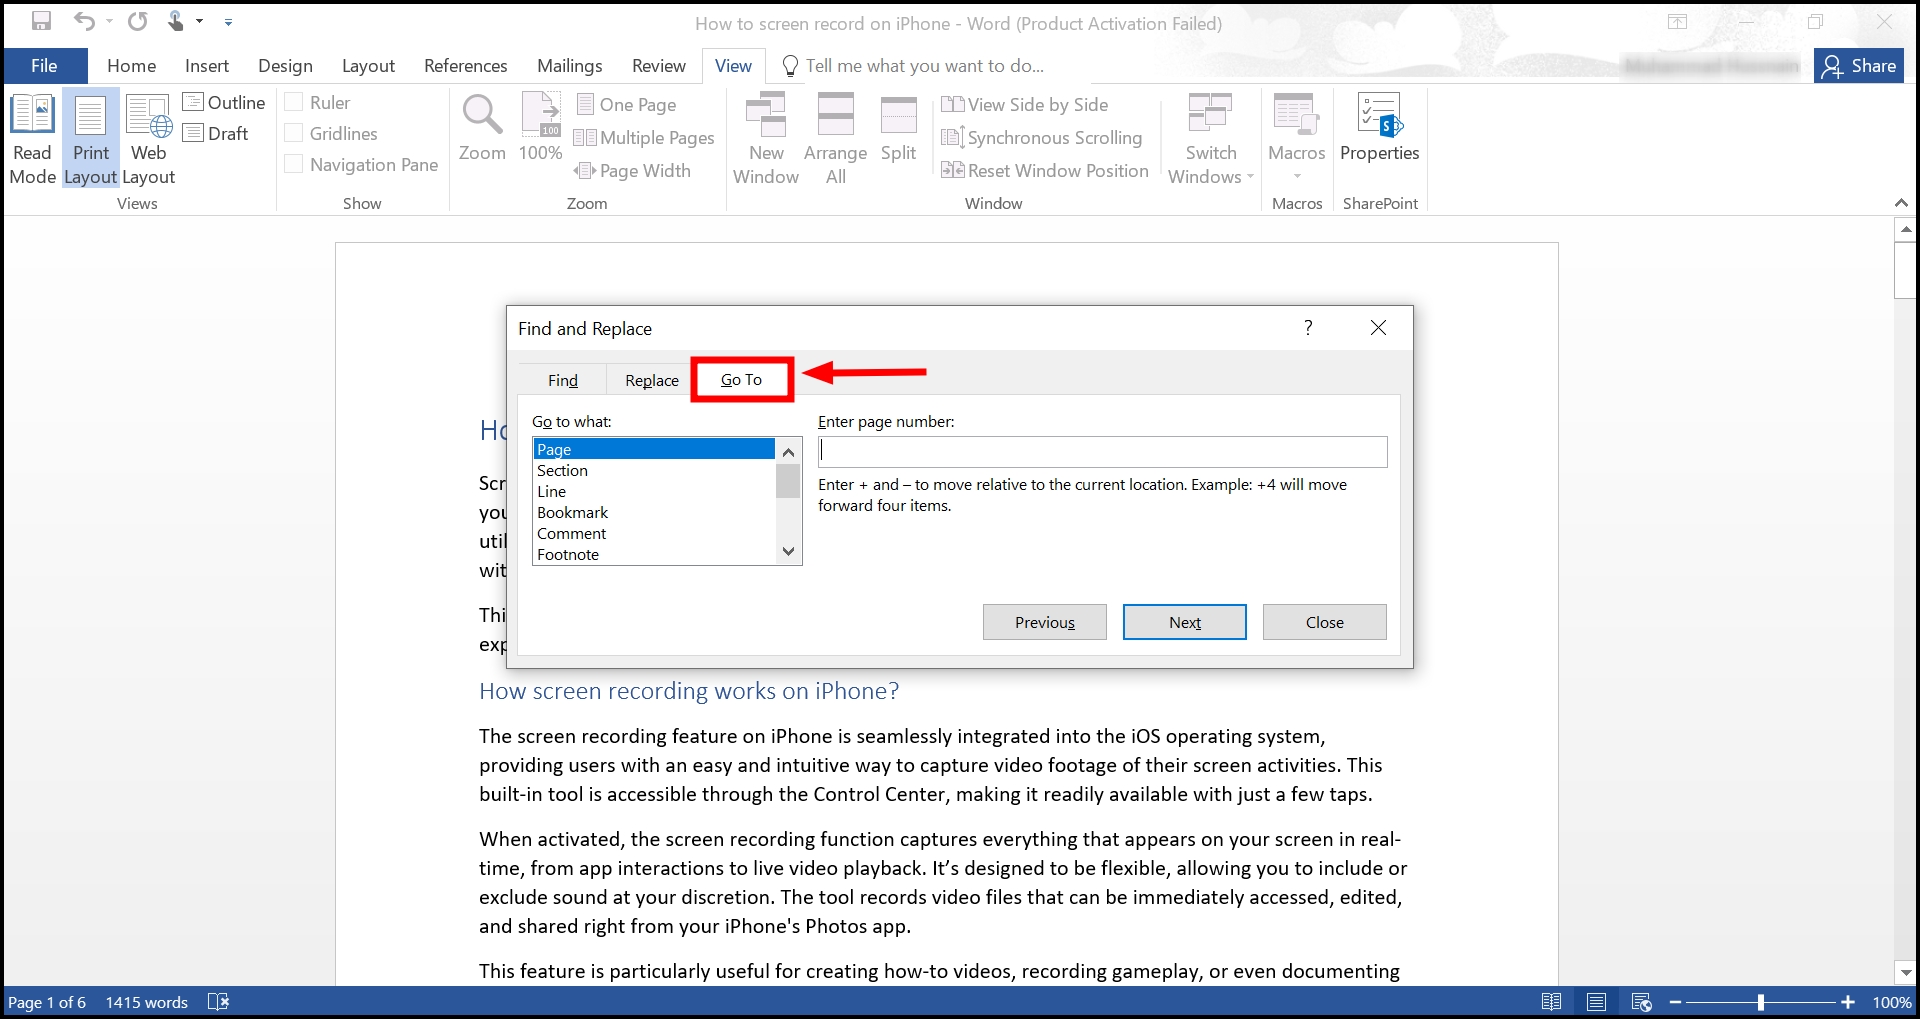
Open Find and Replace tool - In the “Enter page number” box, type “\page” to select the entire page.
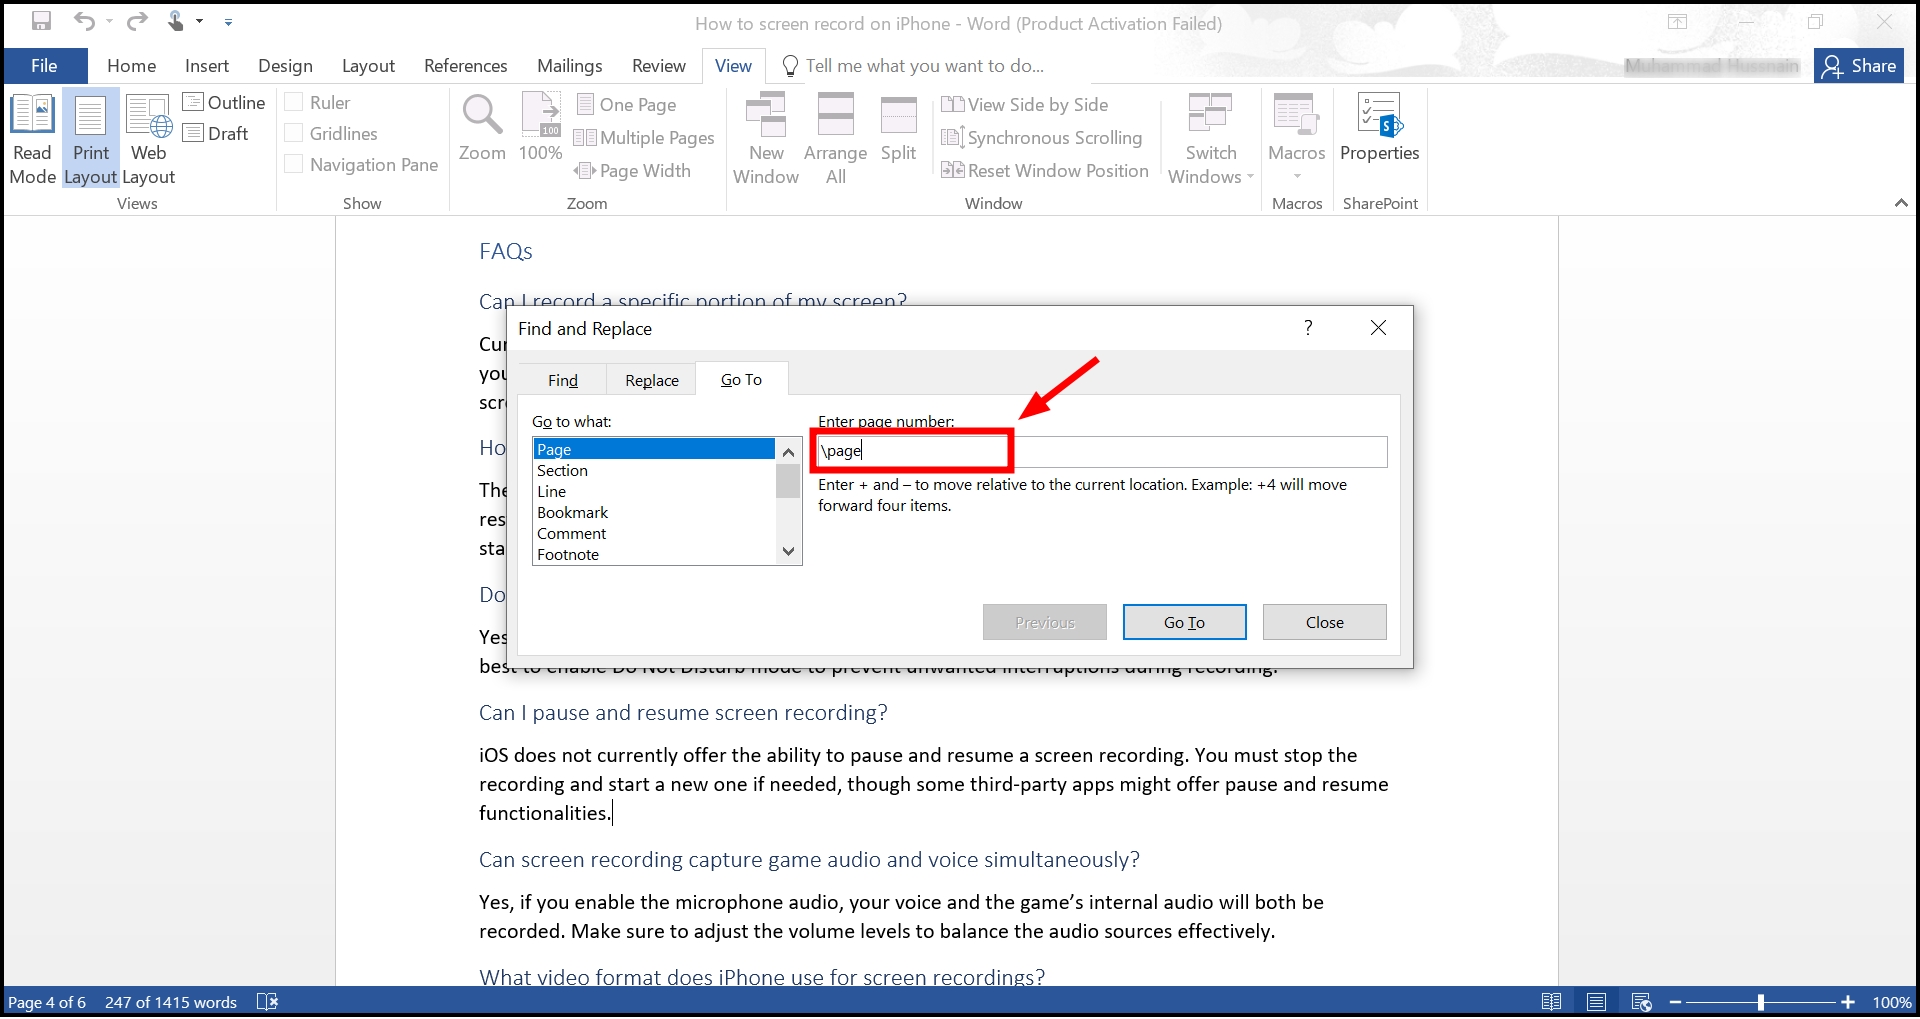
Enter page number - Press Enter to highlight the page, then hit “Close” in the dialog box. Once the page’s content is selected, press the Delete key to remove it.
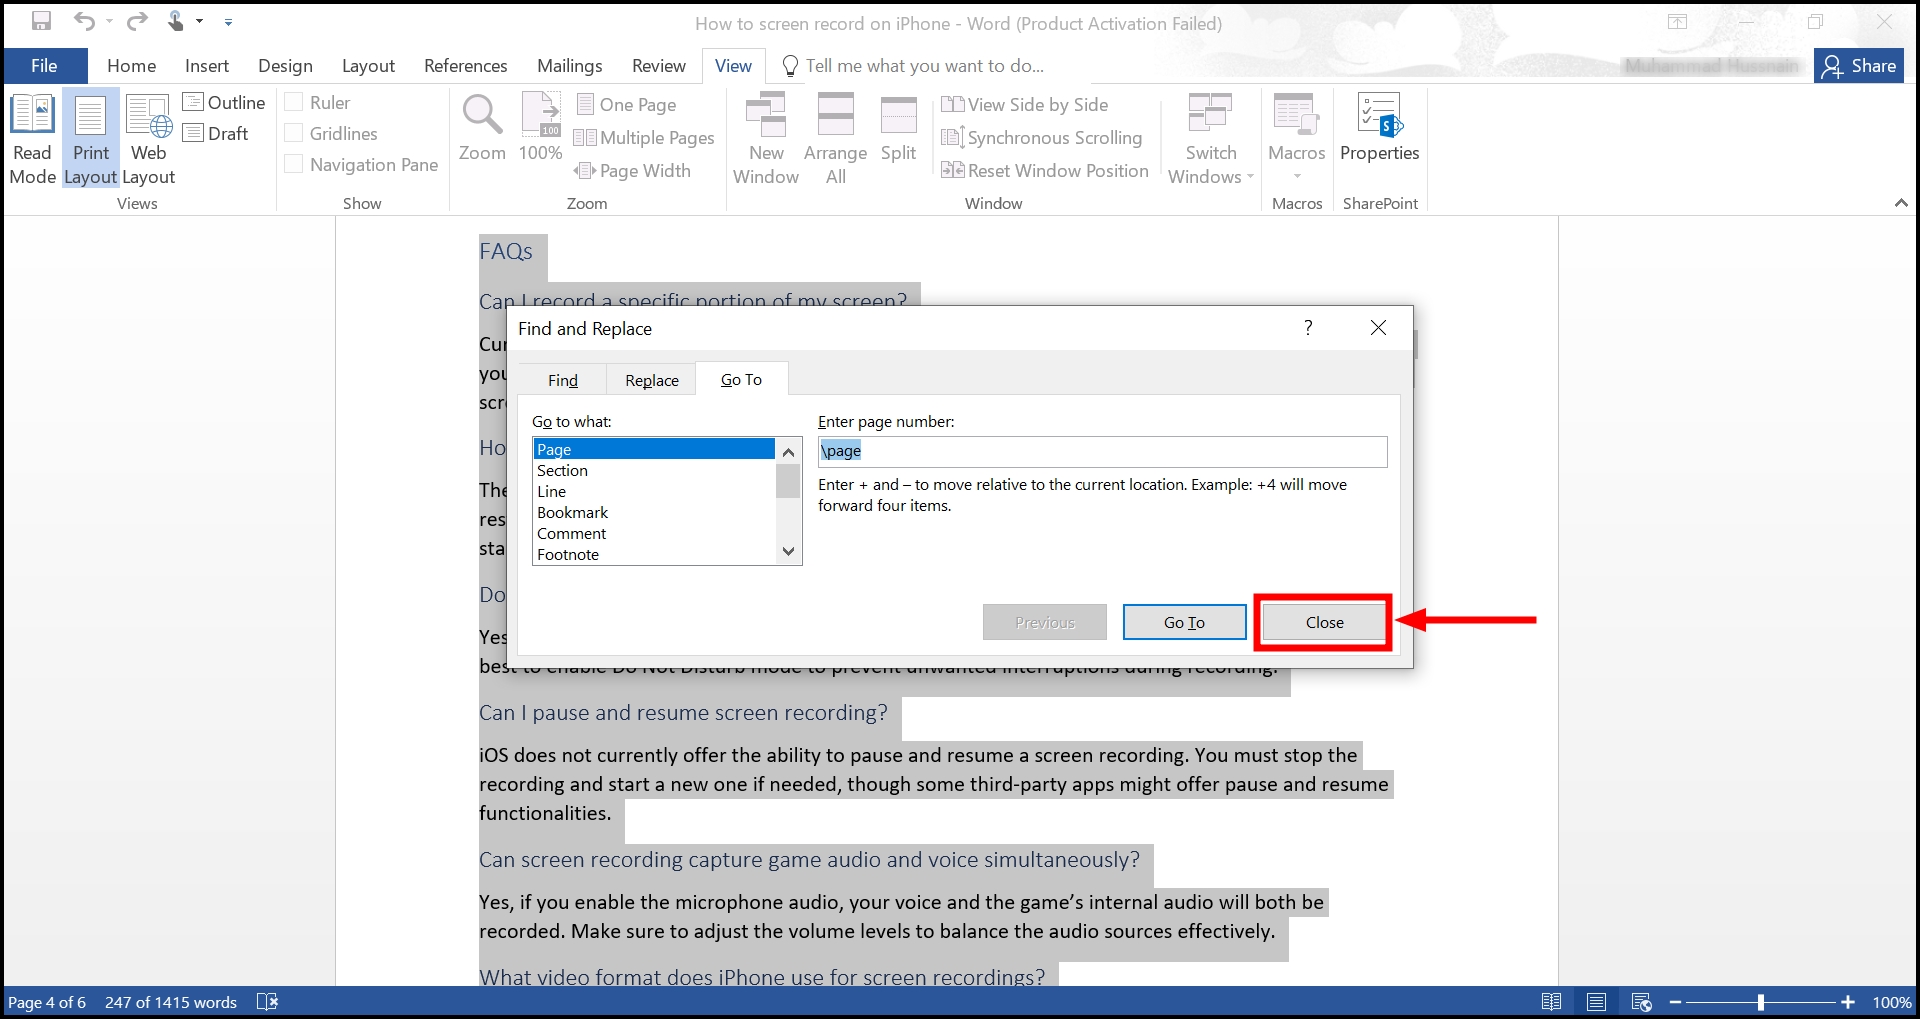
Press Delete key
4. Remove the blank page from the end
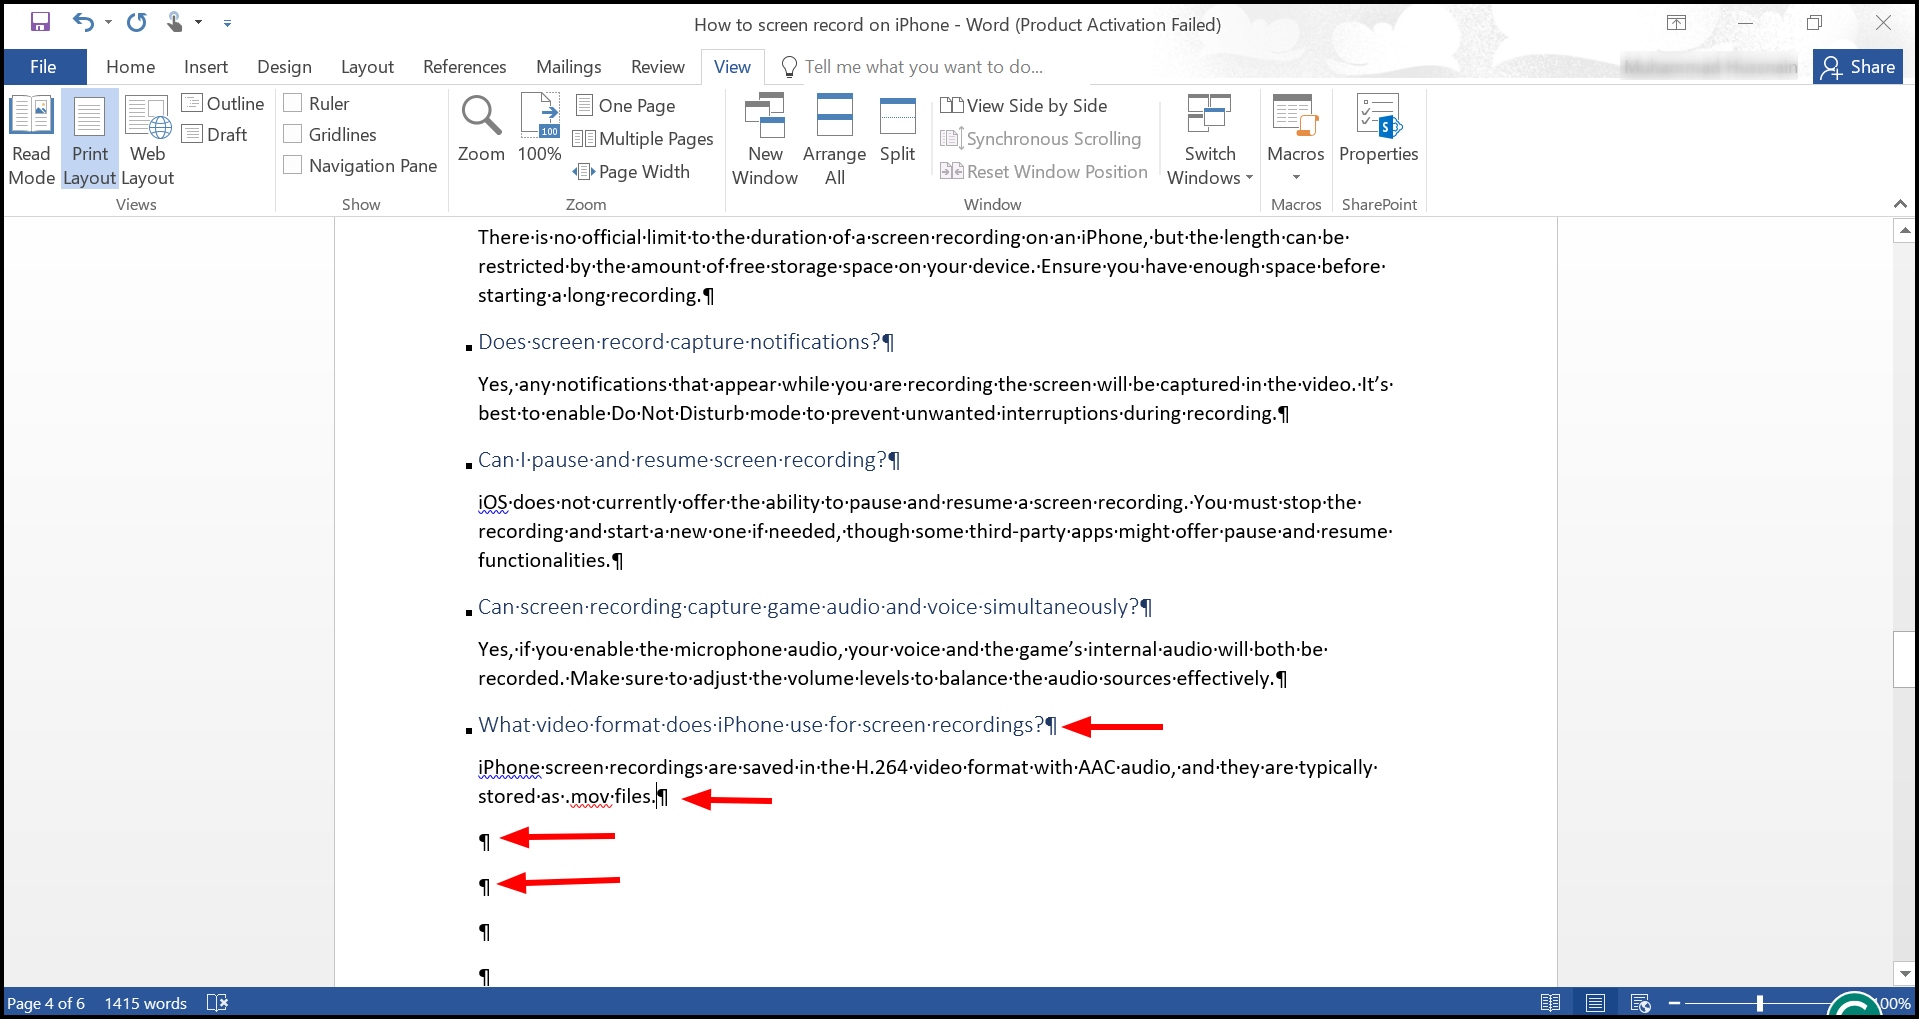
Sometimes, documents end with an unwanted blank page due to invisible paragraph marks or formatting.
- Press Ctrl+Shift+8 (Windows) or Command+8 (Mac) to reveal formatting marks, including paragraph marks.
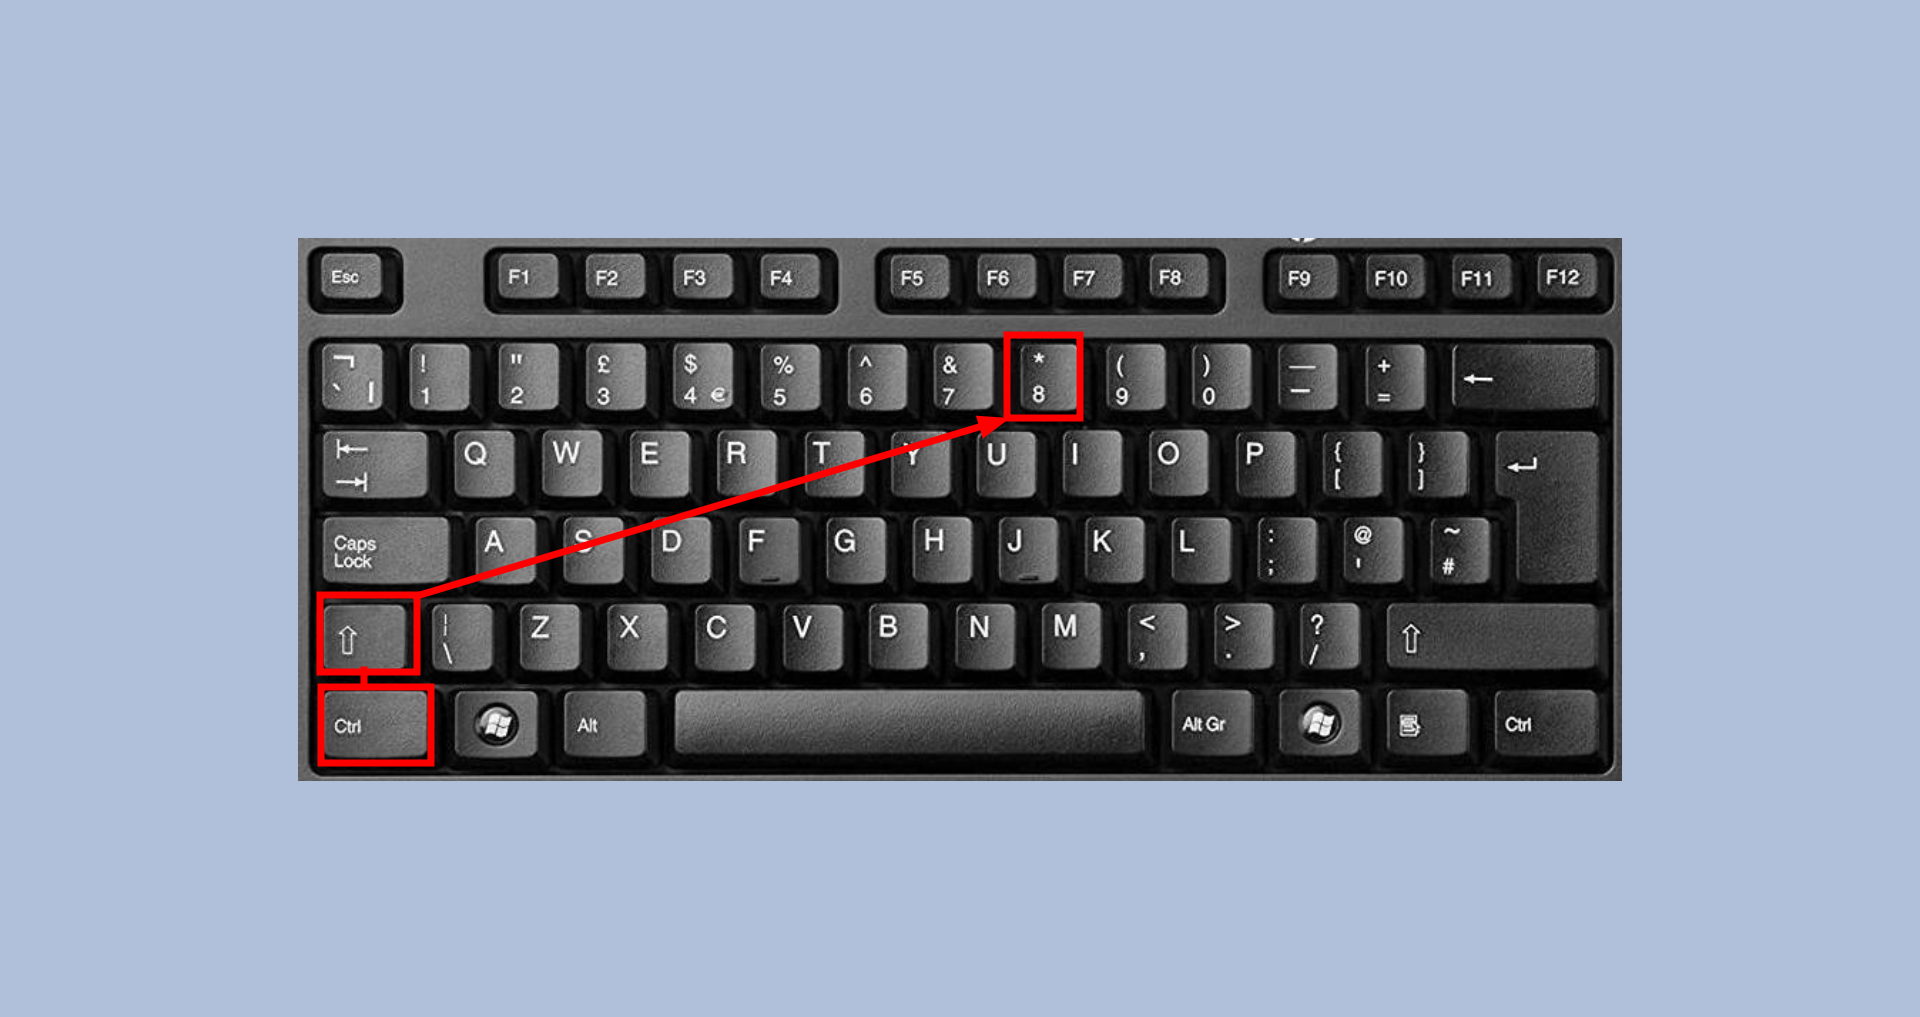
Press Ctrl+Shift+8 - Select the paragraph marker at the end of your document. Change its font size to the smallest possible (usually 1 pt) in the font size field to try and fit it on the preceding page.
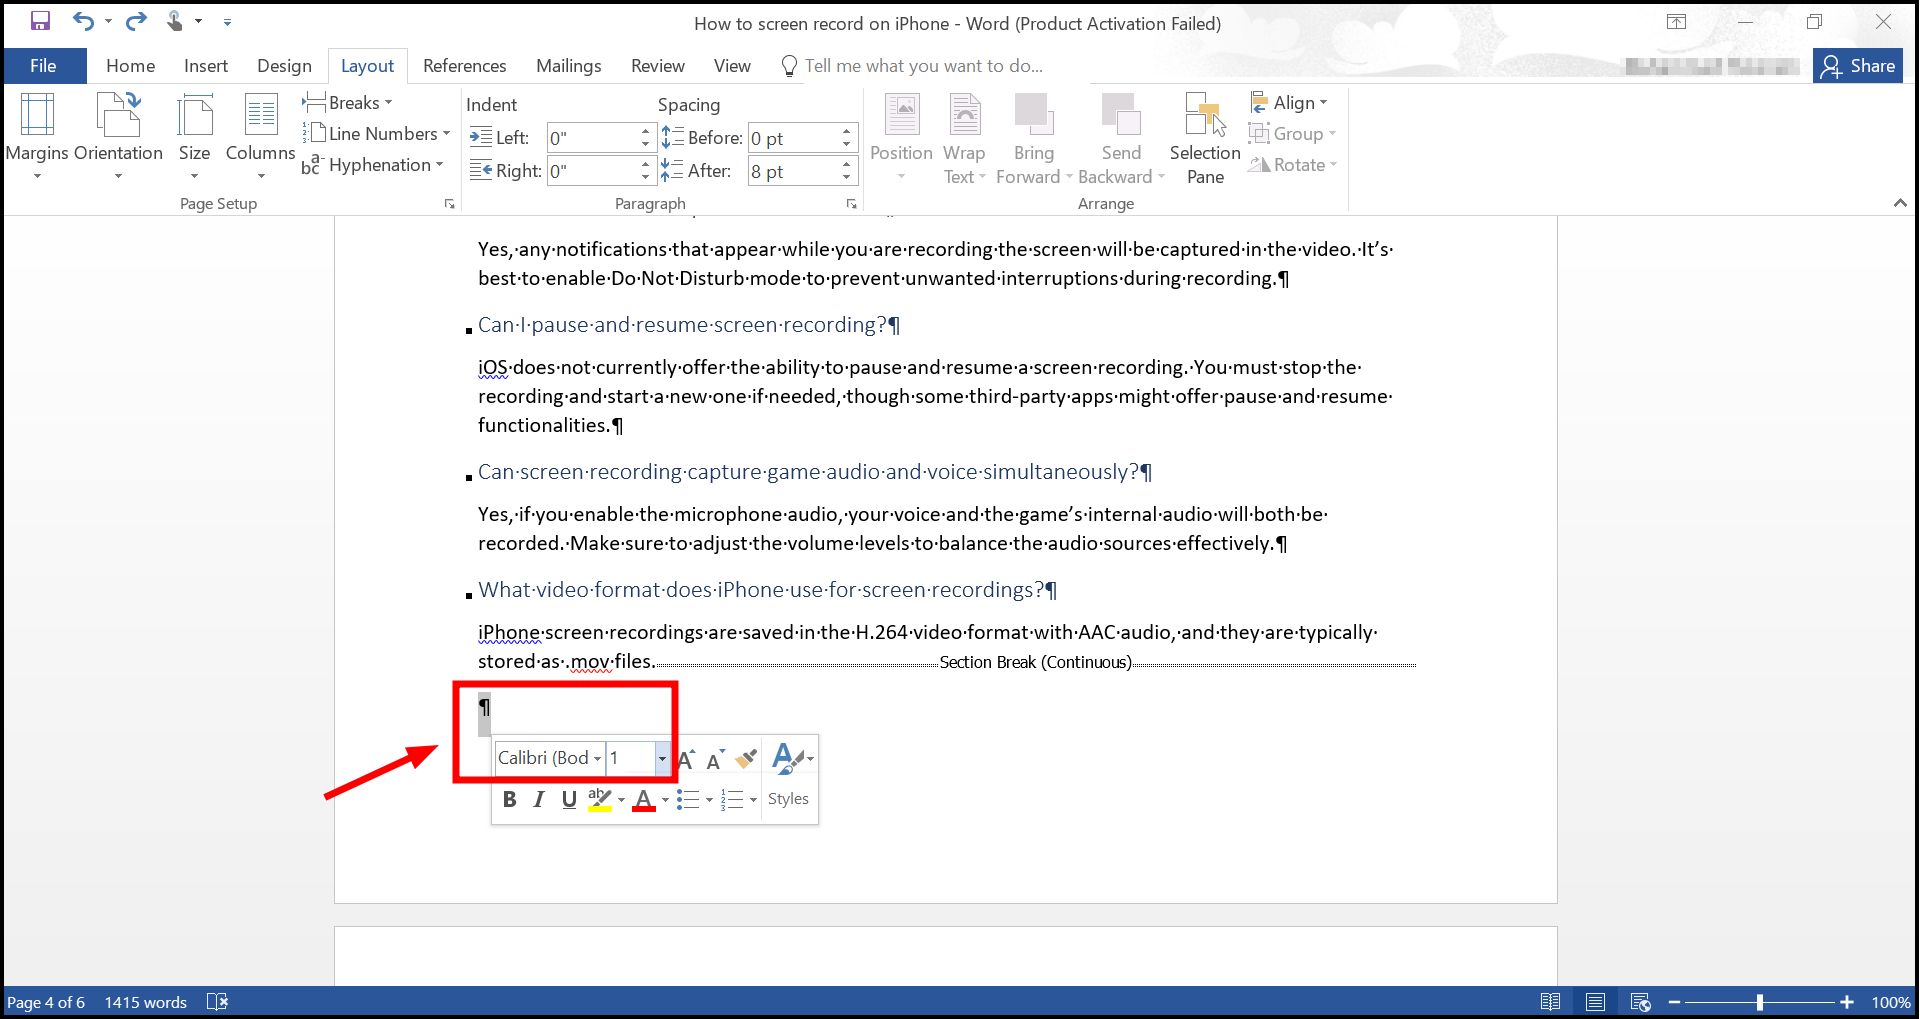
Make the text short
Additional tips and tricks
In Microsoft Word, managing pages efficiently is crucial for a polished document. Here are some additional tips and tricks to help you handle page breaks, section breaks, and tables that might cause unexpected blank pages:
↪ Using page breaks
Manual page breaks in Microsoft Word can often lead to unintentional blank pages within your document. To remove these blank pages, activate the paragraph marks by pressing Ctrl+Shift+8 (or Command+8 on a Mac).
This will reveal hidden formatting symbols, including page breaks. You can then select and delete these breaks to restore the continuity of your document.
↪ Dealing with section breaks
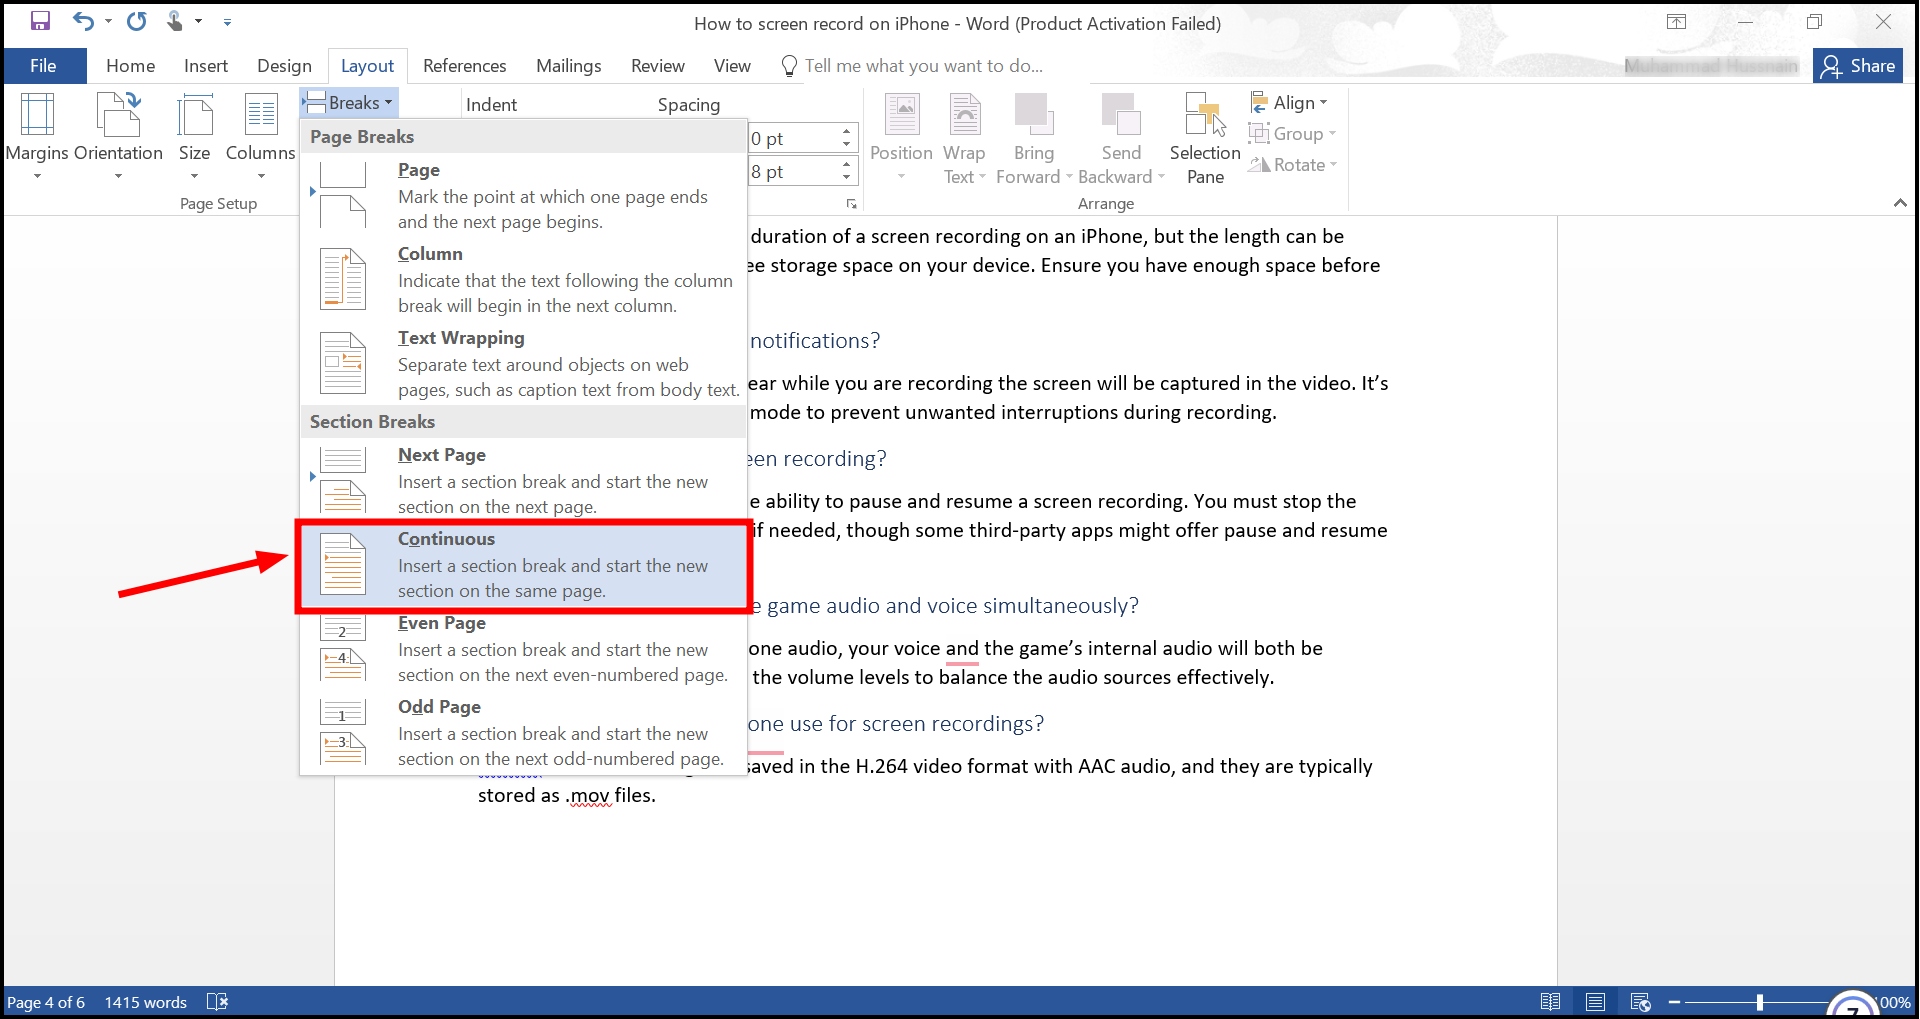
Section breaks can accidentally create blank pages, especially if they’re set to start a new page or section. To manage this, change the section break settings to Continuous. This adjustment ensures the text flows smoothly from one section to another without creating new pages.
Access this setting by double-clicking the section break and selecting Continuous under the section start dropdown in the Layout tab.
↪ Handling tables at the end of documents
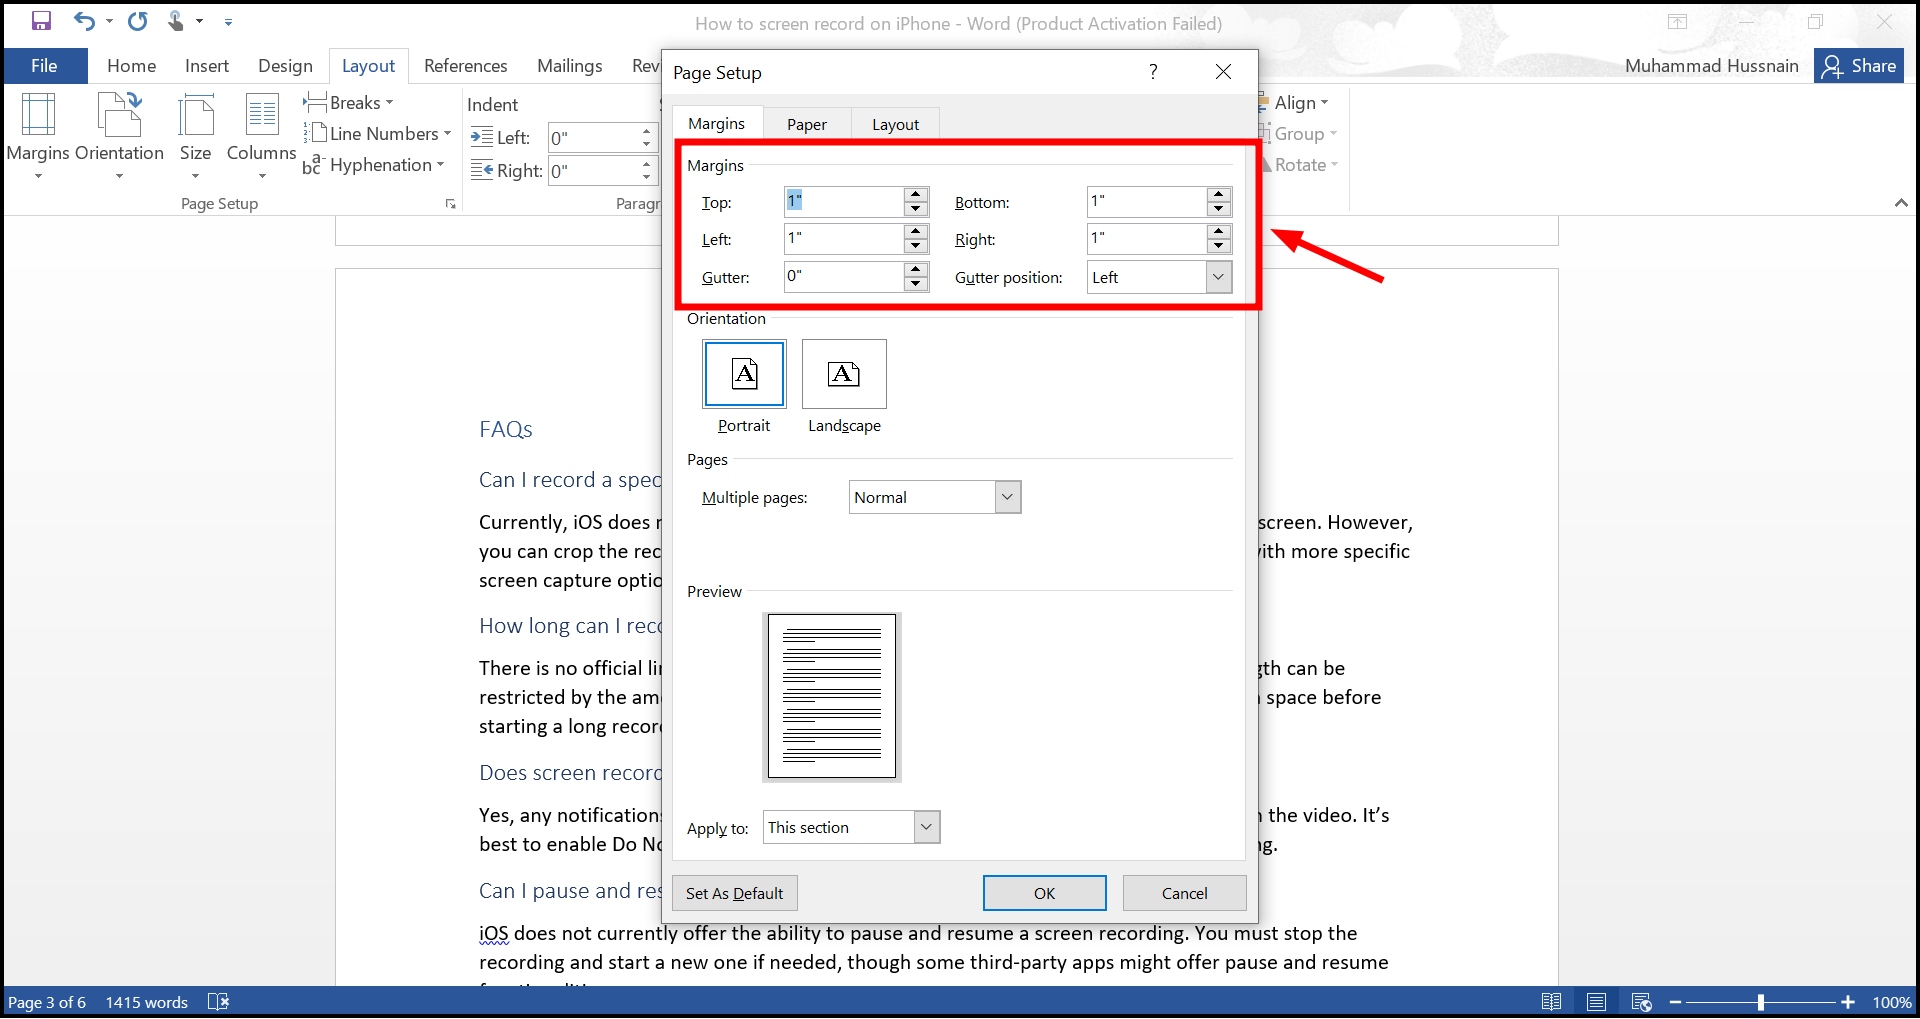
Tables placed at the end of a document can push paragraph marks onto the next page, creating an unwanted blank page. To fix this, reduce the font size of the paragraph markers immediately following the table to the smallest possible size (usually 1 pt), allowing the marker to fit on the preceding page.
Alternatively, you can adjust the document’s layout settings to decrease the bottom margin, making additional space for the paragraph marker without starting a new page.
Reviewed by Huzaifa Haroon


