Fix: Davinci “The GPU Failed to Perform Image Processing” Error Code 5
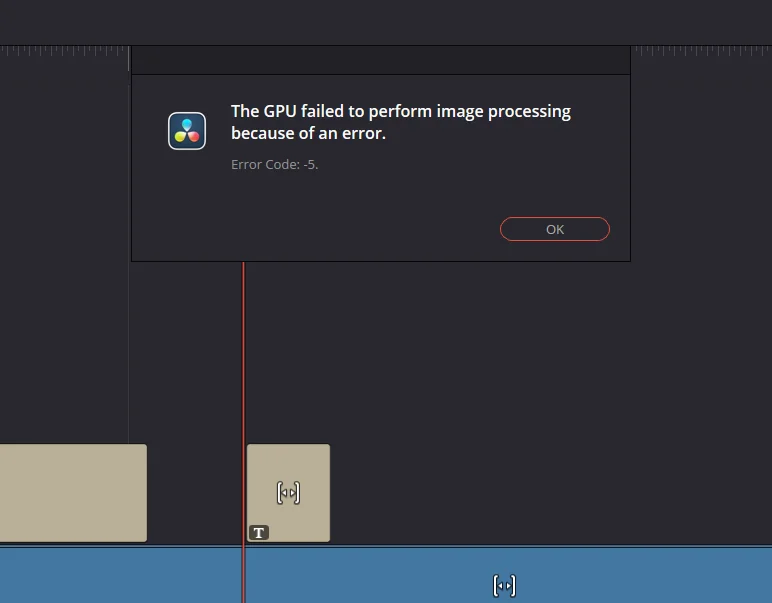
DaVinci Resolve may stop with “The GPU failed to perform image processing because of an error.” (Error Code 5). This can break playback, stop effects from rendering, or fail exports mid-way.
This error usually means Resolve’s GPU compute pipeline crashed. The most common triggers are driver instability, the wrong GPU processing mode (CUDA/OpenCL/Metal), or Resolve using the integrated GPU instead of the dedicated one. It can also happen when the timeline pushes VRAM too hard (Noise Reduction/AI/Fusion), when the GPU is running an overclock/undervolt, or when a specific OFX/plugin causes a GPU crash.
Quick checks: Close GPU-heavy apps (browser tabs, overlays, recorders), restart once, and revert any GPU tuning to stock. If it happens only in one project, duplicate the timeline and disable heavy effects to confirm whether it’s a load/plugin problem.
1. Update GPU Drivers (Prefer a Clean Install)
Resolve depends heavily on the GPU driver for compute, effects processing, and hardware acceleration. If the driver is buggy, partially corrupted, or installed over older components, Resolve can crash the GPU pipeline under load and throw Error Code 5. A clean install matters because it replaces broken files and resets driver-level settings that can break CUDA/OpenCL behavior.
- Update your driver using our detailed guide: Update Graphics Driver on Windows.
- Restart your PC and test the same timeline/export again.
- If the error started right after updating, roll back to the last stable driver you were using (new releases can be unstable for creative apps).
2. Install NVIDIA Studio Driver (If You’re on Game Ready)
If you’re on an NVIDIA GPU, Studio Drivers are typically tested more against creative workloads (Resolve, Premiere, Blender). Game Ready drivers are optimized for new game releases, but sometimes introduce compute/export bugs that show up as rendering errors. Switching to Studio is one of the fastest “stability-first” moves.
Note: If you haven’t updated drivers yet, do this instead of Step 1 (choose Studio as your update).
- Open the official NVIDIA Drivers page.
- Select your GPU and set download type to Studio Driver.
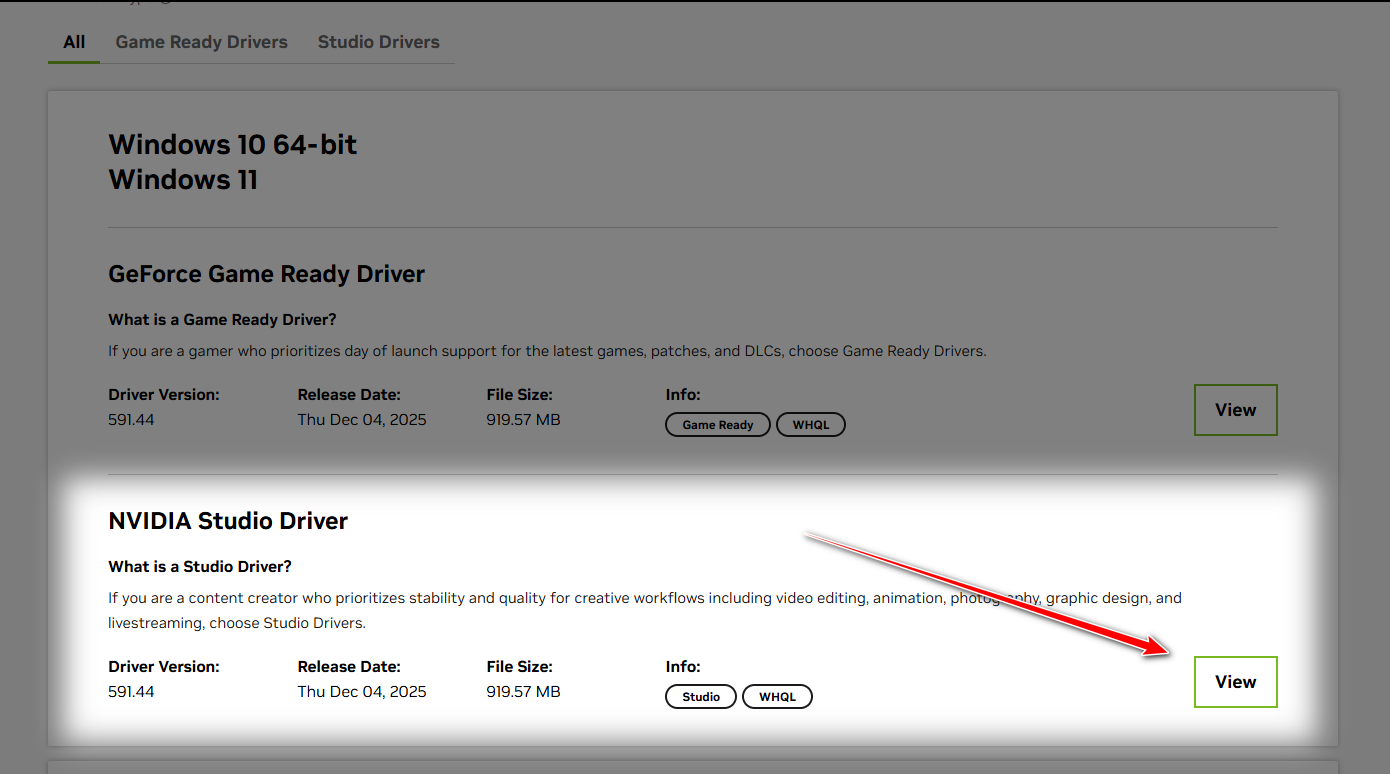
- Install it, restart Windows, then test playback/export again.
3. Change GPU Processing Mode (CUDA/OpenCL/Metal)
Resolve can run GPU compute using different backends. If your current backend is unstable with your driver/Resolve version, you can get GPU failures during effects processing or export. Switching modes helps you identify whether the crash is backend-specific (e.g., CUDA path crashing but OpenCL staying stable).
How to decide: On NVIDIA, CUDA is usually best for performance. If CUDA keeps crashing, switching to OpenCL is a strong stability test. If OpenCL fixes it, you can keep it for reliability (even if it’s slightly slower). On macOS, Metal is the correct backend.
- Open Resolve > Preferences.

- Go to System > Memory and GPU.
- Find GPU processing mode.
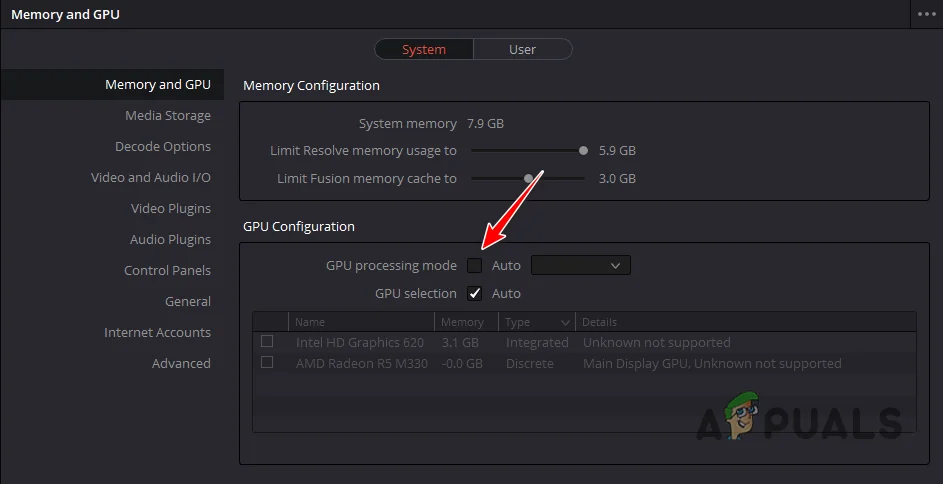
- Switch modes and test:
- Auto → try manual CUDA (NVIDIA) / OpenCL (Windows/Linux) / Metal (macOS).
- CUDA crashing → switch to OpenCL and retest.
- Save, restart Resolve, and try the same render/export.
4. Select Your Dedicated GPU (Avoid Running on the iGPU)
If Resolve is using the integrated GPU, it can hit VRAM/compute limits fast and crash under heavy effects. For laptops, Resolve may also “bounce” between GPUs depending on power mode, which can cause instability. Forcing the dedicated GPU ensures Resolve stays on the hardware that can actually sustain the workload.
- Resolve > Preferences > System > Memory and GPU.

- Enable GPU Selection and choose your dedicated GPU.
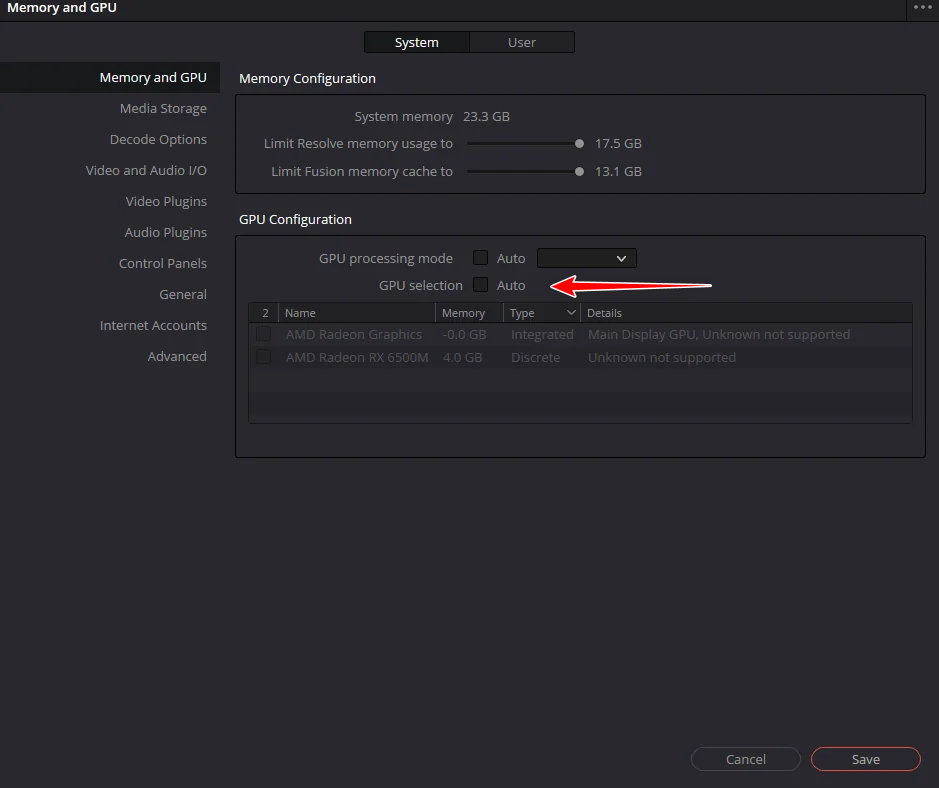
- Save, restart Resolve, and retest export/playback.


