How to Resolve Cricut Design Space Not Working Issue?
Issues with the Cricut Design Space not functioning can arise when the application is outdated or doesn’t meet the minimum system requirements. Unstable internet connections and incorrect network settings can also prevent Cricut Design Space from working or launching.

Several factors can cause this issue.
- Interference from Antivirus: Occasionally, third-party antivirus software or Windows Defender may block certain files due to perceived suspicious activity. To fix this, allow the application through the firewall settings.
- Incorrect Network Settings: If your network settings are incorrect or if your network adapters are corrupted, applications requiring an internet connection might not launch.
- Outdated Application: Cricut Design Space is periodically updated, and an outdated version may prevent the application from launching. Updating the application is the solution.
- Corrupted Cache Files: The official Cricut Design Space website suggests that corrupted cache files can cause problems, such as Design Space not loading or showing a blank screen.
1. Check Minimum Requirements
If you attempt to run an application without meeting the minimum requirements, problems may arise. Ensure that your system complies with these specifications:
- Windows® 10 or later
- CPU: Intel™ Dual-Core or equivalent AMD® processor
- RAM: 4GB
- 2 GB free disk space
- An available USB port or Bluetooth® connection
- Display: Minimum 1024px x 768px screen resolution
2. Check Internet Connection
Cricut Design Space requires a stable internet connection. If the internet is unresponsive, troubleshoot the connection. Your internet speed should be at least 2 MBPS to run Design Space properly.
- To check internet speed, open your browser and conduct a speed test by searching for ‘speed test’ and opening the first link.
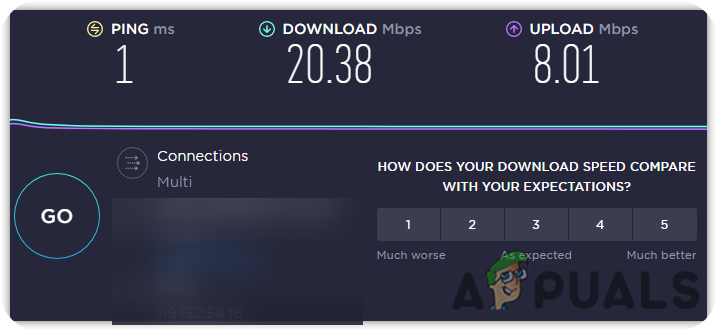
Check Internet Speed
3. Reset Network Settings
Incorrect network settings, such as the wrong DNS server or corrupt network adapters, can slow your internet speed or disrupt connectivity.
- Open the Command Prompt by clicking the Start Menu and typing ‘Command Prompt.’
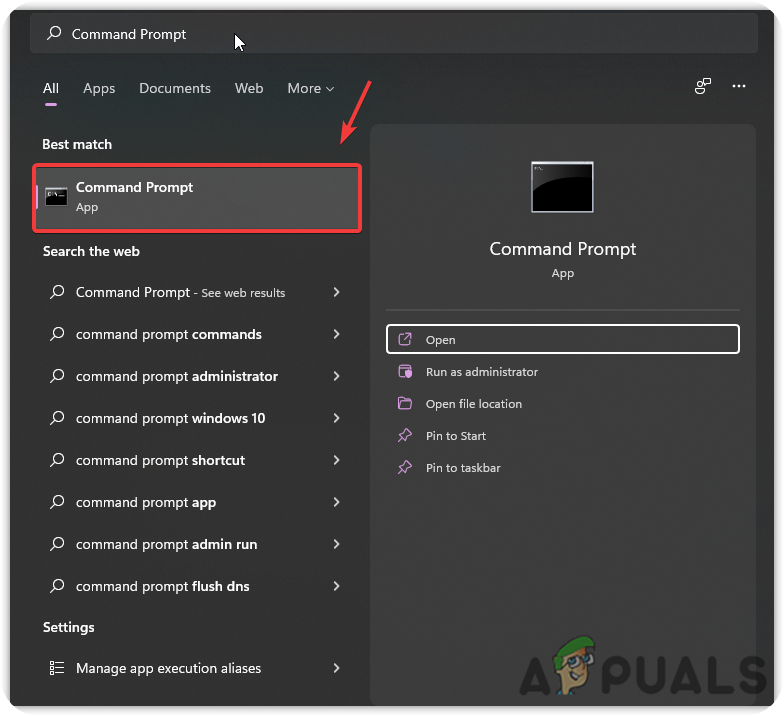
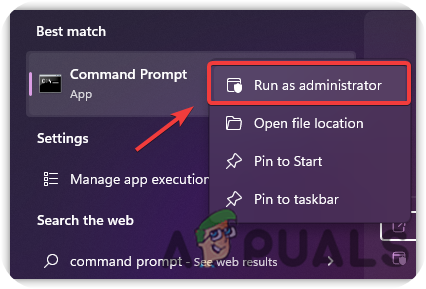
Open Command Prompt - Right-click on Command Prompt and choose ‘Run As Administrator’ from the options provided.
Run Command Prompt in Administrator Privileges - Enter the following commands one by one to reset network settings:
ipconfig /release
ipconfig /flushdns
ipconfig /renew
netsh int ip reset
netsh winsock reset
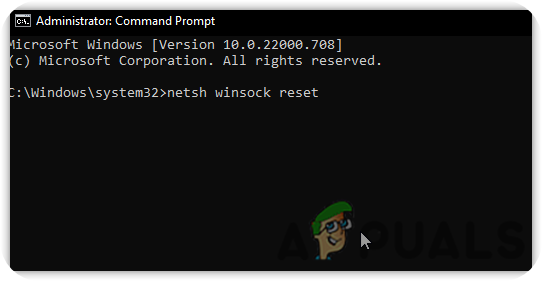
Run Commands to Reset Network Settings - Restart your computer to see if the issue has been resolved.
- If problems persist, consider applying advanced troubleshooting to your network.
4. Allow Application through Firewall
Windows Defender may block or delete files it deems suspicious or that consume high memory. Allow Cricut Design Space through the firewall settings to prevent blocks.
- Access the Control Panel by clicking the Start Menu and typing ‘Control Panel.’
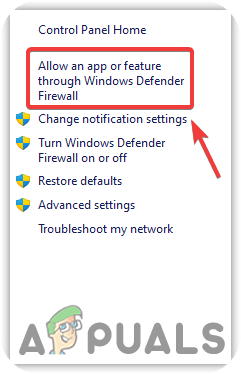
Open Control Panel - Navigate to System and Security > Windows Defender Firewall.
- Click on ‘Allow an app or feature through Windows Defender Firewall’ from the sidebar.
Navigate to Allowed Apps & Features - Click ‘Change Settings’ and find the ‘Cricut Design Space’ entry.
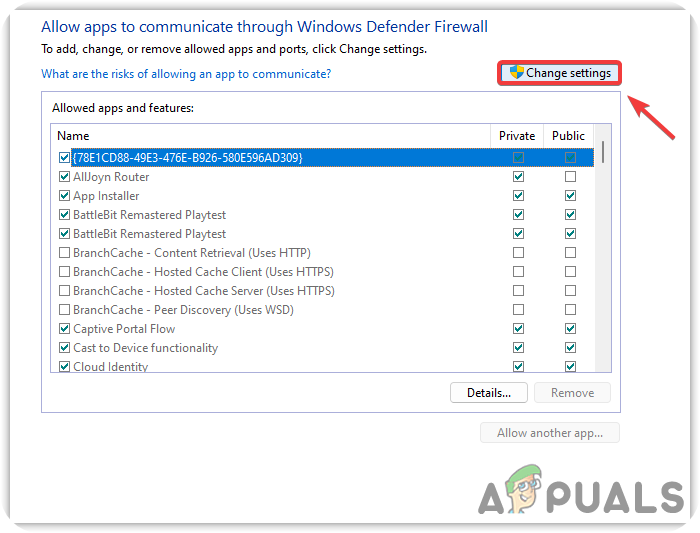
Click Change Settings to Add Another App - If ‘Cricut Design Space’ is not listed, click ‘Allow another app’ and navigate to its installation folder, typically located at ‘C:\Users\Username\AppData\Local\Programs\Cricut Design Space.’
- Select the application file, click ‘Open,’ and then ‘Add.’

Select Cricut Design Space Application - Ensure both ‘Private’ and ‘Public’ boxes are checked.
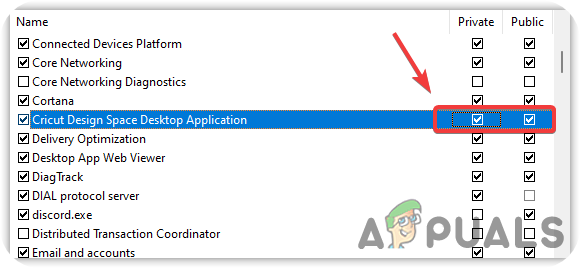
Check Boxes under Private and Public - After applying the changes, verify if ‘Cricut Design Space’ is now working.
5. Avoid VPN (if applicable)
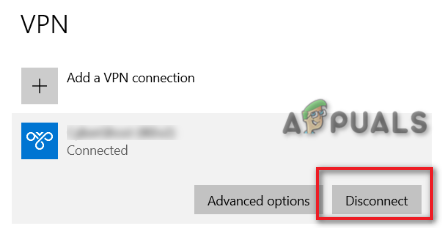
VPNs can interfere with application performance, so if you’re using one, consider disconnecting it to see if that resolves the issue.
- Simply open your VPN application and click the ‘Disconnect’ button.
6. Use Google DNS
Slow internet connection speeds can sometimes be improved by switching to Google DNS, which can aid in resolving issues with Cricut Design Space.
- Click the Start Menu and type ‘Settings.’
Navigate to Settings - Go to ‘Network & Internet’ from the settings options.
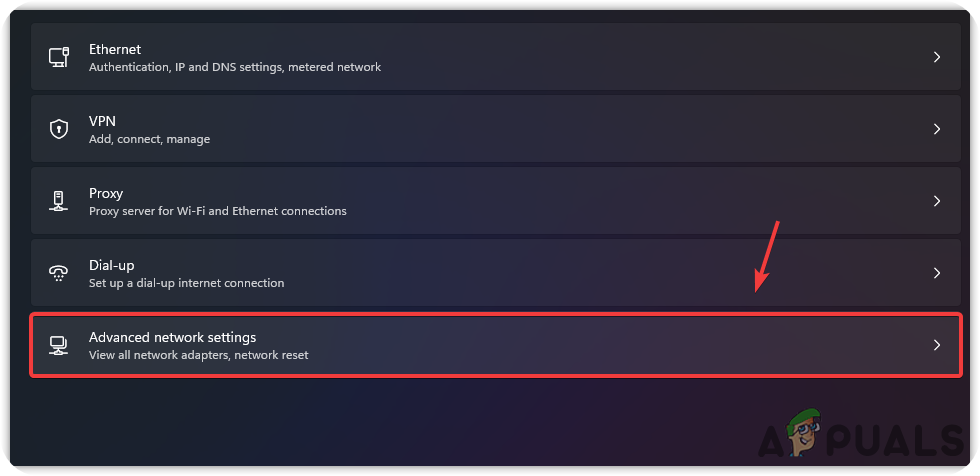
- Select ‘Advanced Network Settings’ and then ‘More Network Adapters’ under ‘Related Settings.’
Open Advanced Network Settings - Right-click on your current connection and choose ‘Properties.’
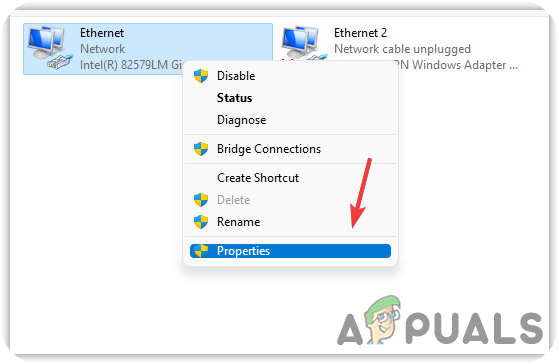
Click Ethernet Properties - Select ‘Internet Protocol Version 4 (TCP/IPV4)’ and click ‘Properties.’
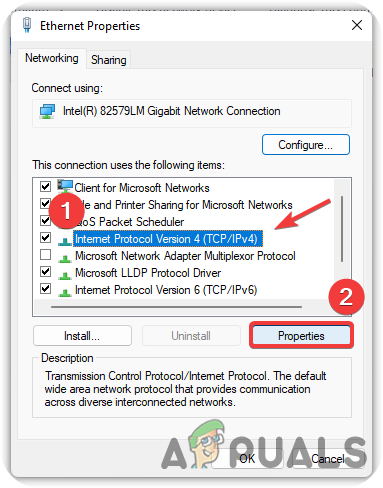
Select Internet Protocol Version - Select ‘Use the following DNS server addresses’ and enter:
8.8.8.8
8.8.4.4
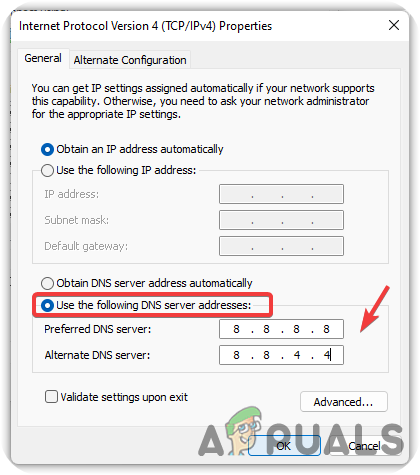
Using Google DNS - Press ‘OK’ and check if the ‘Cricut Design Space’ operates smoothly now.
7. Disable Proxy Server
A proxy server acts as a gateway between your computer and the internet, similar to a VPN. It can cause network connectivity issues if enabled.
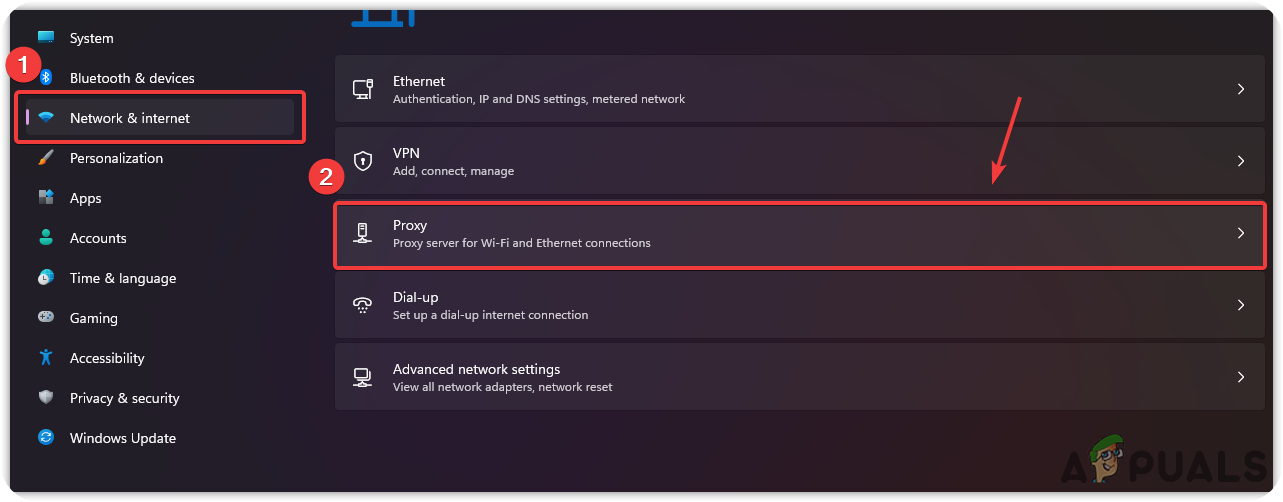
- Access ‘Settings’ via the Start Menu.
- Head to ‘Network & Internet.’
- In the ‘Proxy’ section, turn off ‘Automatically Detect Settings.’
Navigating to Proxy Settings - Under ‘Manual Proxy Setup,’ click ‘Set Up.’
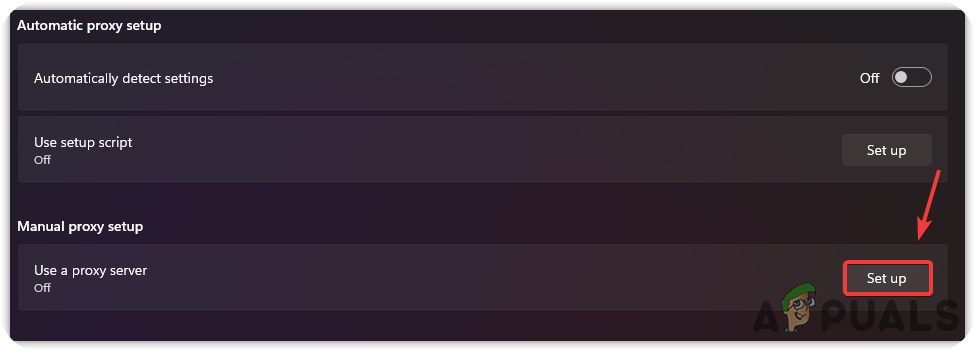
Setting up a Proxy Server - If a proxy is enabled, disable it by turning off ‘Use a Proxy server.’

Disable Proxy Server - Following these steps should help resolve your connectivity issues.
8. Clean Reinstall Application
An outdated application can cause Cricut Design Space to malfunction. When an update occurs, the older version may not launch. To update the application, you might need to perform a clean reinstall.
8.1 Uninstall Cricut Design Space
- To uninstall Cricut Design Space, open settings by pressing ‘Windows + I.’
- In Settings, navigate to ‘Apps‘ > ‘Apps & Features.‘
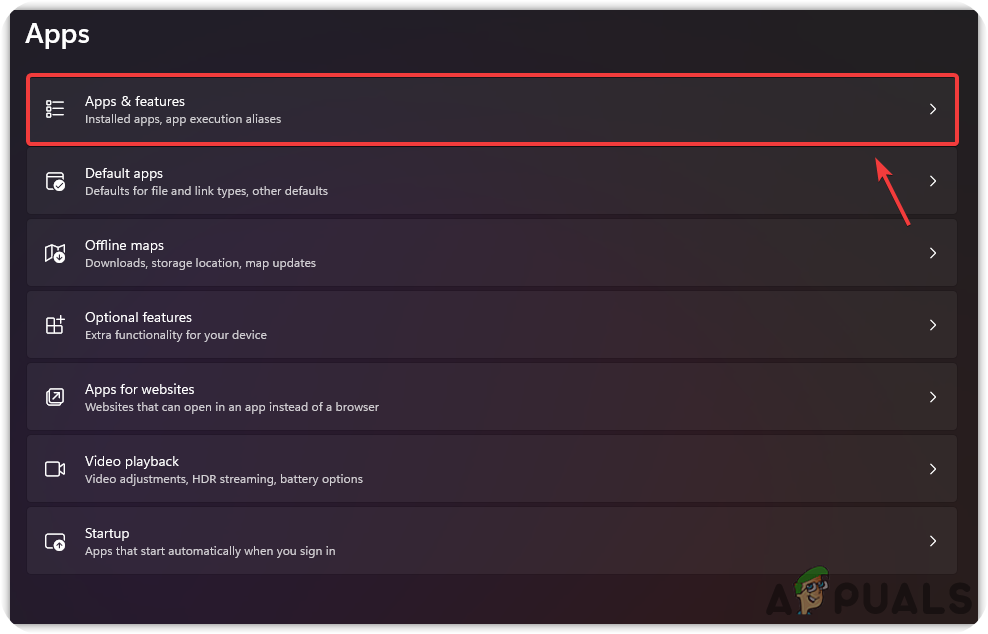
Navigate to Apps & Features - Locate ‘Cricut Design Space’ and click the three dots on the right.
- Choose ‘Uninstall’ from the options presented.
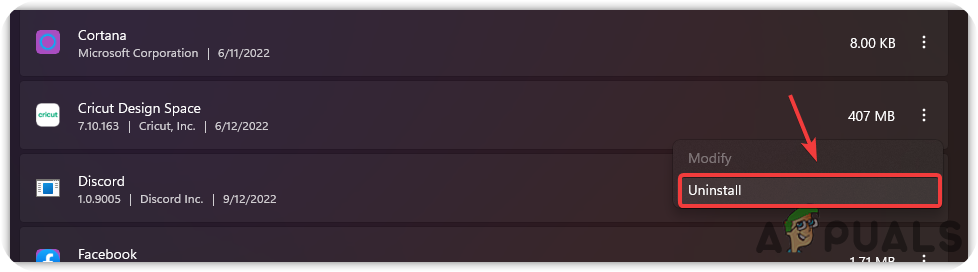
Uninstall Design Space Application - Confirm the uninstallation by clicking ‘Uninstall’ on the pop-up.
8.2 Clear Application Cache
- Clearing the application cache is the next step. Continue with the instructions below.
- Open File Explorer by clicking the Start Menu and typing ‘File Explorer.’
- Go to ‘This PC’ and navigate to the C Drive.
- Access the ‘Users’ directory.
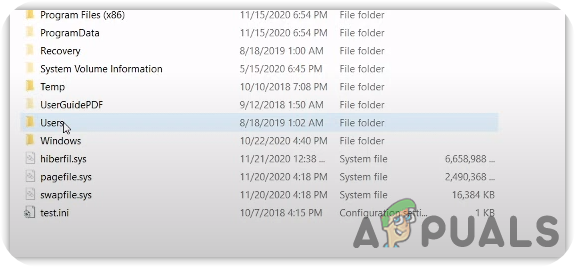
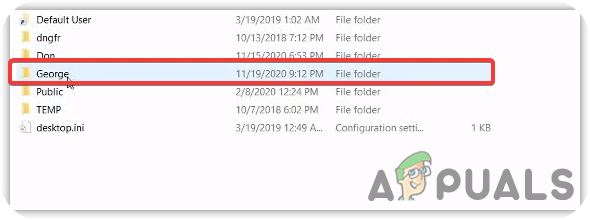
Navigate to Users - Open your user folder, which will vary by name.
- Locate and open the ‘.cricut-design-space’ folder within ‘LocalData.’
Open User Folder - In the LocalData folder, select all files with ‘Ctrl + A’ and delete them by pressing ‘Shift + Delete.’
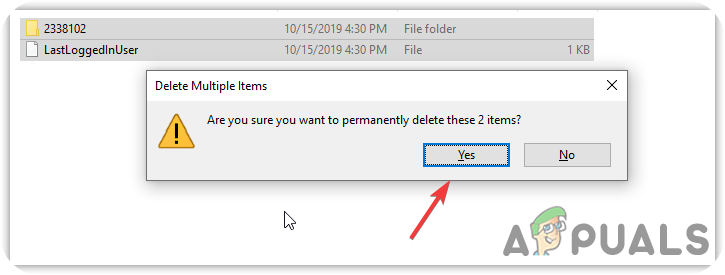
Clearing Cache Files - Restart your computer after clearing the cache.
8.3 Install Cricut Design Space
- Download the latest version of Cricut Design Space from the official site.
- Run the installer after the download completes to install the application.


