Creating and Printing Various Labels in Microsoft Word Professionally
A Label is the piece of paper that provides information about the product or item to which it is attached. Labels can be used for different purposes depending on the person/organization that wants to use it. In most common cases, labels are created and printed with Microsoft Word. However, many users have less knowledge about how to create and print labels in Microsoft Word. In this article, we will show you some methods of creating and printing labels in Microsoft Word.
Creating and Printing Labels in Microsoft Word
There are many ways to create labels for your needs. Labels can be used differently for everyone. Printing the labels are the same as printing any other document, however, a user should know how to adjust the labels on the page before printing. We will show you some of the basic methods in which you can create and print labels easily.
Method 1: Creating and Printing Labels for Single Name and Address
You can create a single label or the same type of label with a repetitive number on a page. This is the simplest method for creating and printing labels. Make sure you select the correct vendor that you are using for printing. Follow the below steps:
- Open Microsoft Word by double-clicking the shortcut on the desktop or by searching it in the Windows search feature.
- Create a new document in your Word. Go to the Mailings tab and click on the Labels.

Opening labels in mailing tab - A new window will open with all the available options for labels. Click on Options at the bottom.
Note: You can select the single label option or choose to have the full page of the same label.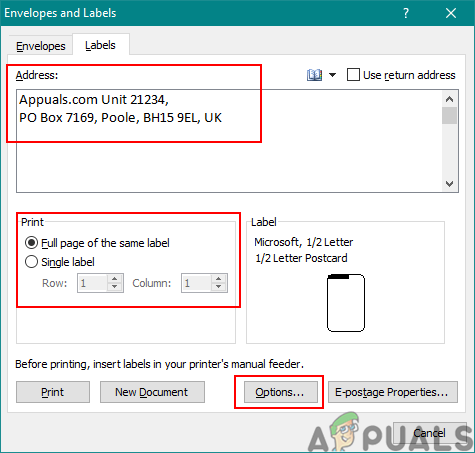
Opening options for label settings - Select the label vendor option and choose the vendor that you bought your labels from. Select the size of the product number list. If the size is not available in the list, you can click on the New Label button to manually add the size.
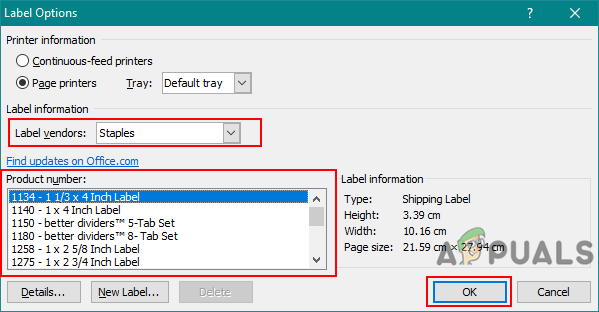
Choosing vendor and product size - Press the Ok button for label options. Now add your address information in the text box of the labels window. You can choose the full page option which will repeat the same label or you can choose a single label on a specific row and column.
- Click on the New Document button. It will create a new document with your address available on the page.
- Hold Ctrl and press P to get to the print page. Click on the Print button and it will be printed.
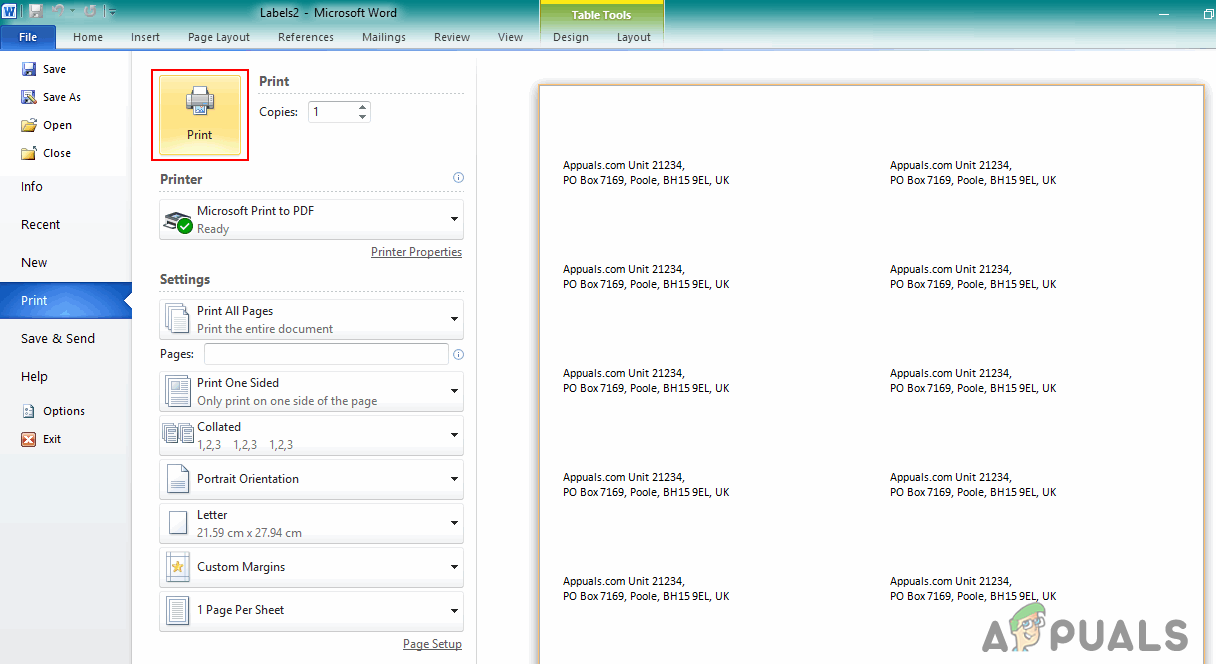
Printing labels in Word
Method 2: Creating and Printing Labels for Different Names and Addresses
In this method, we will be using the excel file to import the information for labels. This can be used to create multiple labels with different names and addresses. It will create labels for all the rows in the table of the excel file. Follow the below steps to try it:
- Create a spreadsheet in Microsoft Excel with different columns for different information as shown below and save the file:
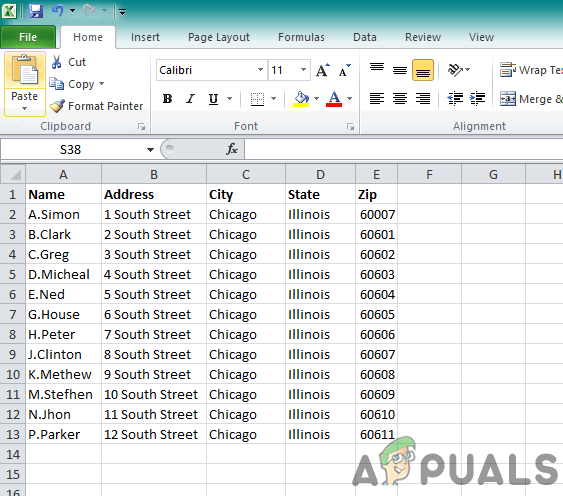
Creating an excel spreadsheet for information - Now open Microsoft Word by double-clicking the shortcut or searching in the Windows search feature. Select the Mailings tab, click on the Start Mail Merge and choose the Labels option.
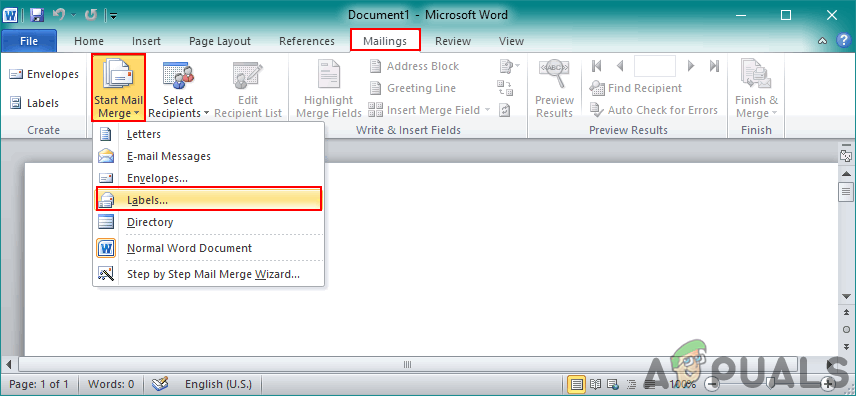
Opening labels in the mail merge option - Select your Label vendor and product number that you are using. Click the Ok button after selecting options.
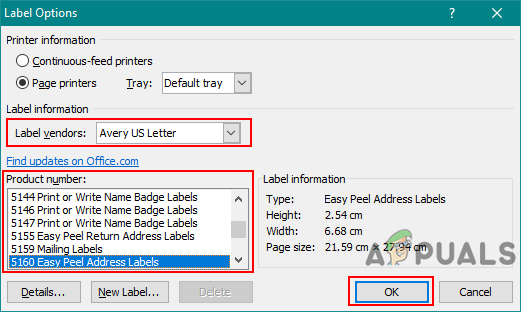
Selecting the vendor and product number - Click on Select Recipients and choose the Use an Existing List option. Locate and select the excel spreadsheet that you saved in step 1 and click on the Open button.
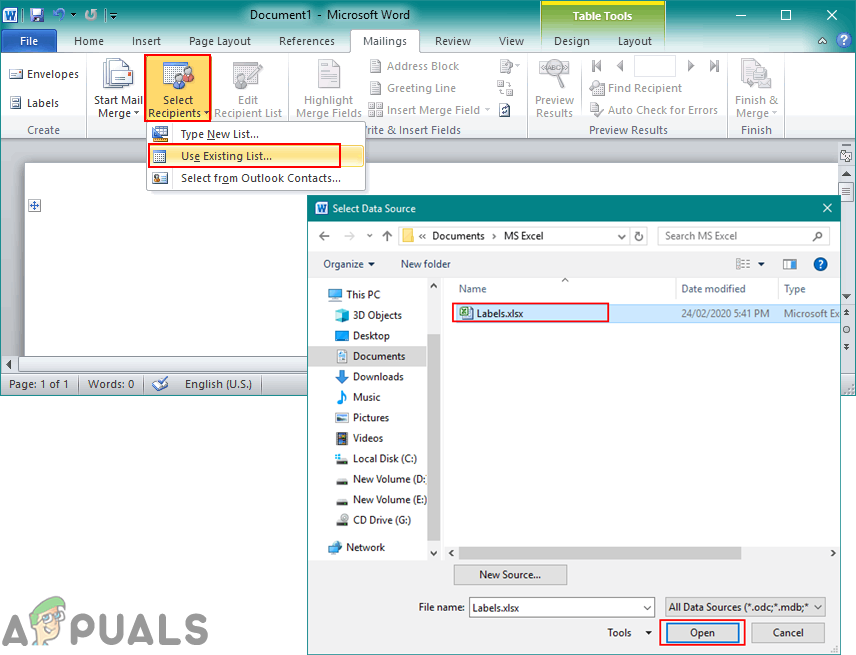
Opening the excel list - Select the Table, make sure you check the First row of data contains column headers option and Click Ok button.
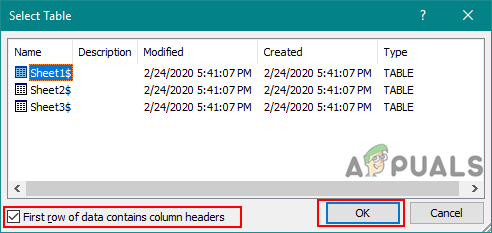
Choosing a table in the excel file and checking headers option - Click on Insert Merge Field and choose the columns information that you want to add to your labels.
Note: You can add space and next line between the Name, address and City columns.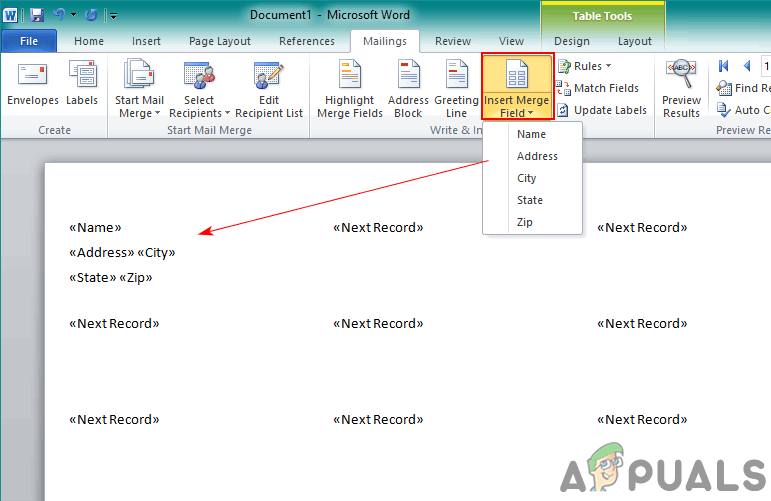
Adding the information available in columns - Click on the Update Labels button on the menu, it will change all the records to the same pattern that you made.
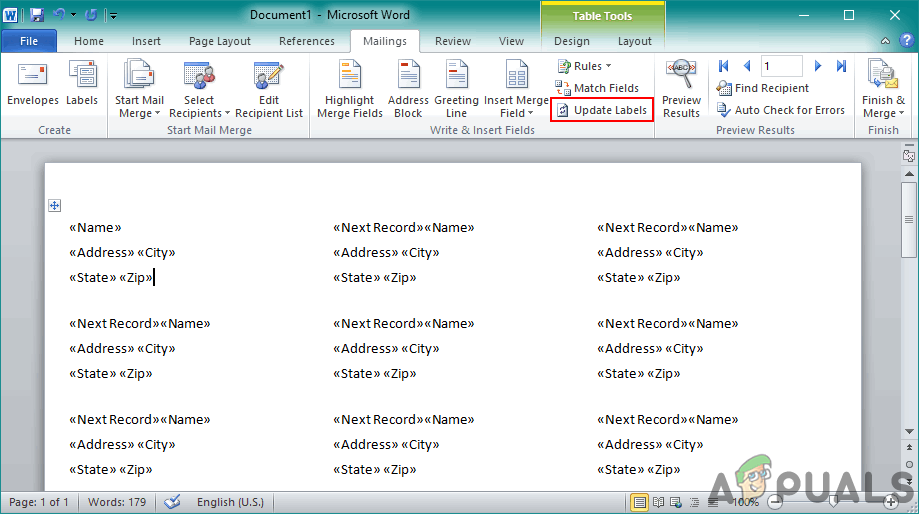
Updating all labels - Click on Preview Results in the menu. This will apply the information on the table that you created in excel to all the records.
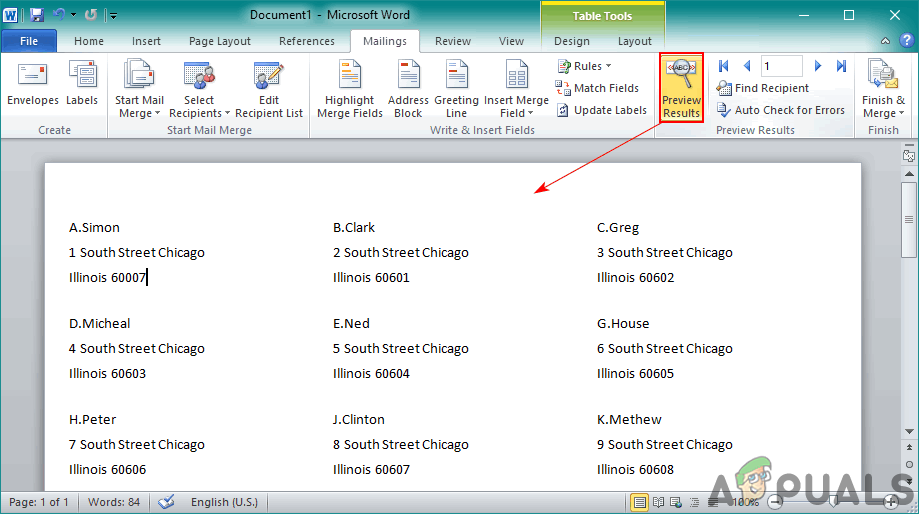
Changing the pattern into result with information - Finally, click on the Finish & Merge in the menu and choose Edit Individual Document option. This will merge all the records into a new document.
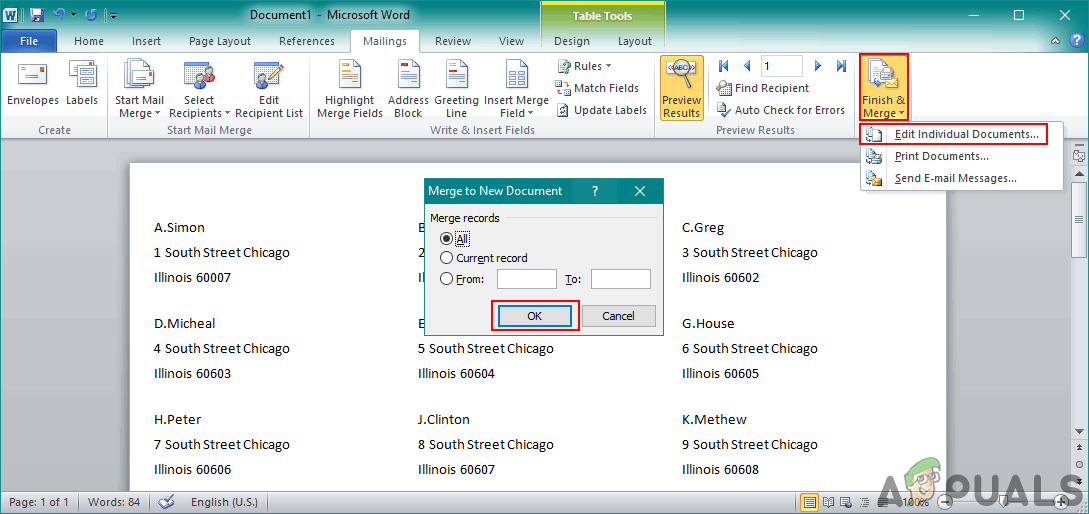
Finishing and merging labels - Hold the Ctrl key and press P to print the labels that you just created.


