How to Convert a Screenshot to a PDF in Android
Taking screenshots of important information is very handy especially if there’s no particular PDF file available to just keep. PDFs are a common format for storing important information in their original form, unlike other files like images whose format is constantly changed depending on where they’re shared.
PDFs are also preferred for information to be printed at some point in the future. This guide shows you three methods on how to easily convert screenshots to PDF on Android.
Solution 1: Use Google Photos App
I believe you are familiar with the Google Photos app because it pre-installed on pretty much all Android phones. Google Photos is an image management app by Google noticeably known for the powerful backup feature. Google Photos has an inbuilt feature that allows you to convert any image including screenshots to PDF. Follow the steps below to convert a screenshot to PDF.
- If your phone doesn’t have Google Photos installed, open Google Play Store, search for “Photos” and then install the app shown in the screenshot below
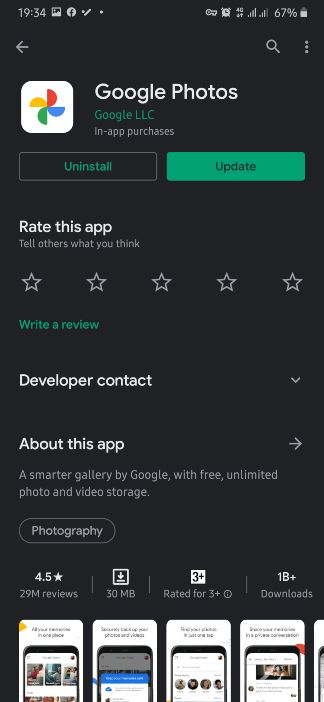
Google Photos Play Store Listing - Open Google Photos after installation or if you already had it installed and navigate to the screenshot or image that you want to convert into PDF
- Open the Google Photos option menu by clicking on the three vertical dots at the top right corner of the image
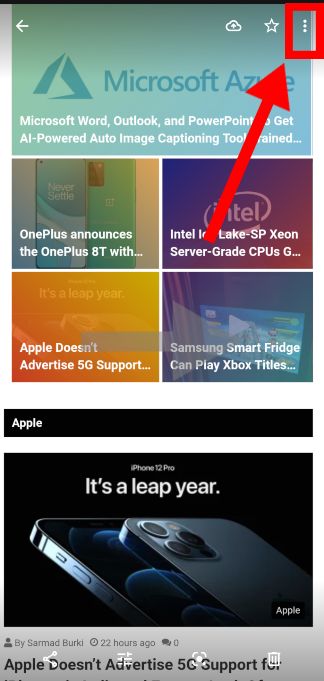
Google Photos options icon - Scroll horizontally through the available options until you see the Print label and click on it

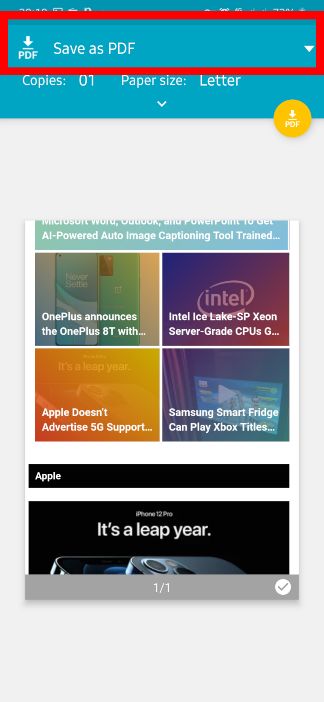
Google Photos Print Option - A preview of the image to be converted into PDF will be shown. The default paper size used is Letter but it can crop out some of the contents of the screenshots depending on the size of the phone screen.
- If some contents are cropped out of the screenshot, click on the arrow down icon just below the Paper size label. Under the opened options, you can change the paper size in order to accommodate all the contents of the screenshot.
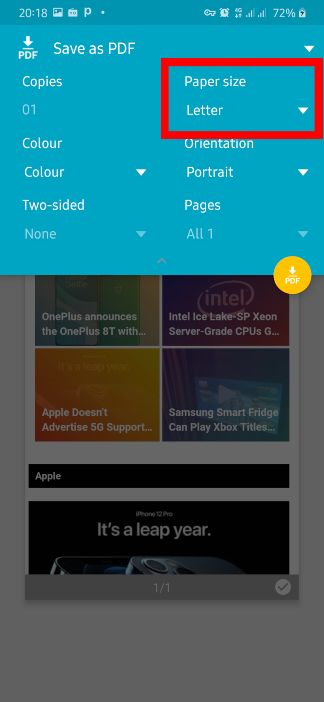
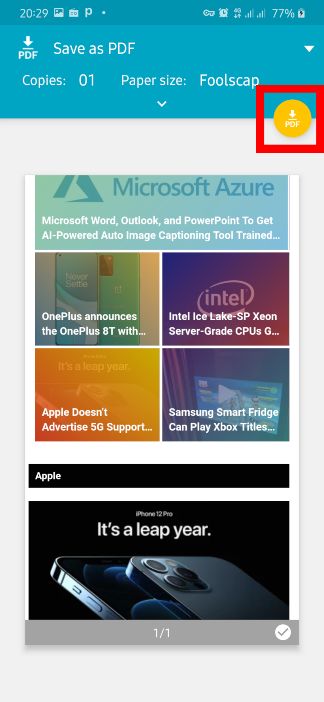
Edit Paper size Most of the screenshots will be accommodated by Foolscap paper size but if it doesn’t work for you, try out other options available
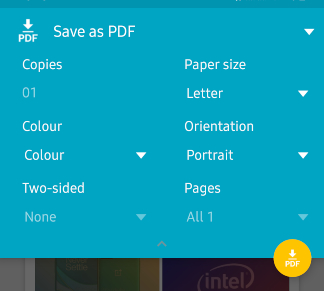
- After making sure all contents you want in the screenshot are displayed, click on the label at the top of the window and select Save as PDF as the print type.
Set Save as PDF - Click on the PDF icon located on the bottom right corner of the labels, navigate to the location where you want to save the PDF file, and finally click Save.
Save file
Solution 2: Use Microsoft Office Lens
Office Lens allows converting all kinds of images including screenshots to a number of formats which include PDF, Word, or PowerPoint. Unfortunately, Office Lens is not pre-installed on Android phones like Google Photos we’ve just seen, but you can easily download the app from Google Play Store. Follow the steps below to convert a screenshot to PDF.
- Open Google Play Store, search for “Office Lens” and install it on your phone by clicking on the Install button
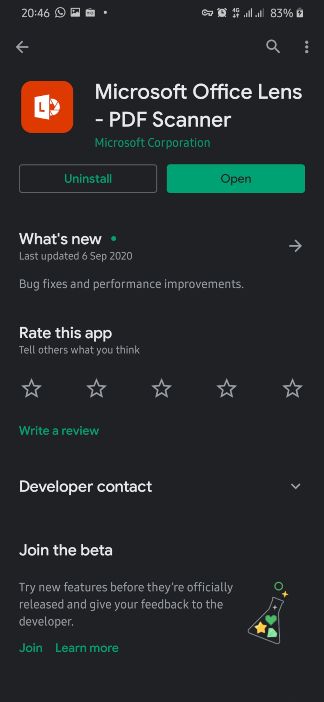
Microsoft Office Lens Play store listing - Open Office Lens after installation and give it access to required permissions which include accessing photos, taking photos, and recording videos
- On the Welcome page, click on the camera icon just above the Start Scanning label
- Read through the Privacy policy and click Next
- On the next screen, you will be required to either allow the app to collect data about your experience. Select any of the options (this won’t matter throughout the next steps) and then click Close on the next screen to finish with the initial onboarding process
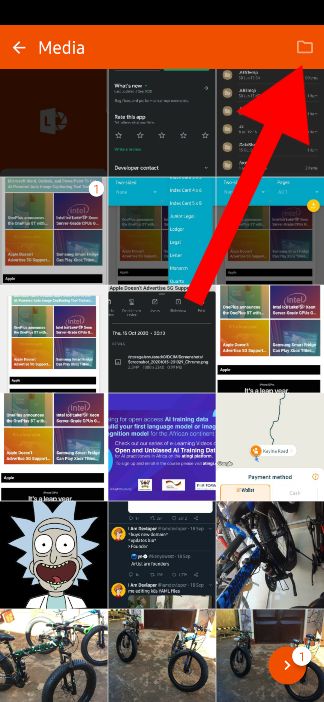
- The next screen contains the camera section, click on the images icon at the bottom left corner and select the screenshot you would want to convert into PDF.
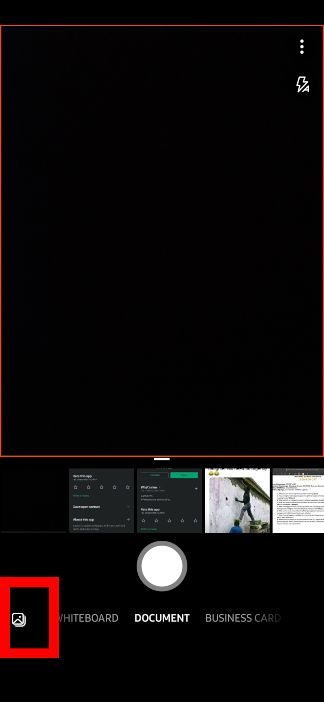
Open images in Office Lens In case you want to navigate to a specific image folder, you can click on the folder icon at the top right corner and then navigate to the desired folder.
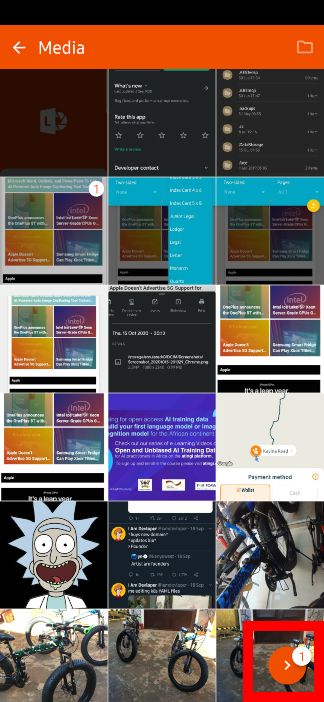
Open image folders - After selecting the screenshot, click on the arrow icon at the bottom right corner of the screen, it will also show the number of selected images, which in my case is 1
Select screenshot and proceed - If some contents of the screenshot are cut out, click on the Crop label and cover up the whole image and then click Done
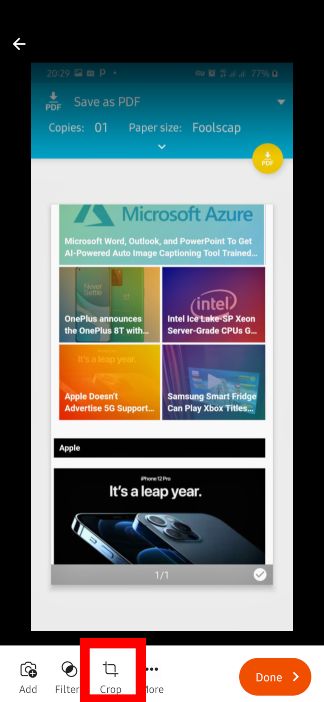
Crop screenshot to include all contents - On the next screen, you can edit the name of the file to be saved from the Title section at the top.
Under SAVE TO section, click on PDF, then select Phone Storage, and then click OK
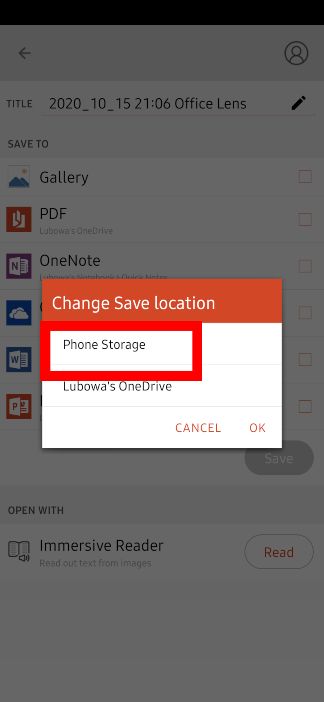
Select Phone storage as the storage type - Mark the check box on the right of the PDF label, click Save
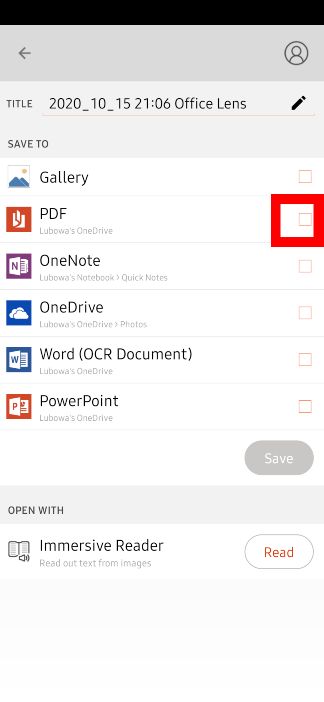
Mark PDF as save type - The saved PDF files are saved in Internal Storage/Documents/Office Lens
Solution 3: Use Adobe Scan
Adobe Scan is mostly known for scanning physical documents into soft copies but it can also be used to convert an existing screenshot or image to PDF. Just like Office Lens, you will need to install Adobe Scan from the Google Play store. Follow these steps to convert a screenshot into PDF using Adobe Scan:
- Open Google Play Store, search for “Adobe Scan” and install the app
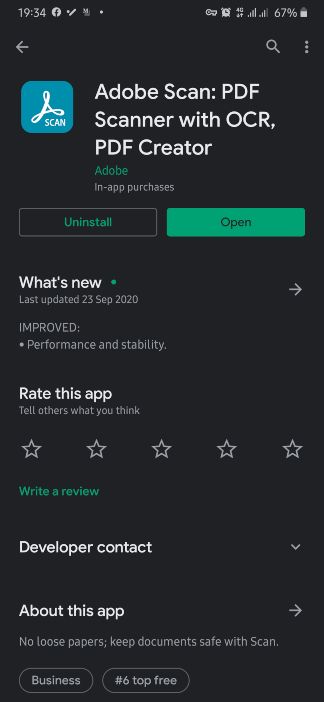
Adobe Scan Play Store Listing - Open Adobe Scan after installation, create or sign in to an existing Adobe account
- Grant the required permissions to the app which include access to the camera and photos
- Click on the images icon at the bottom left corner of the screen.
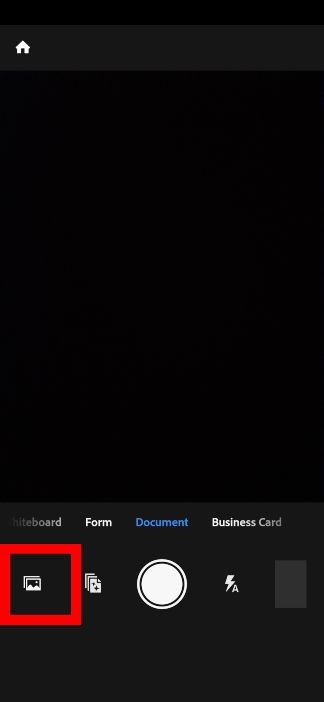
Open images in Adobe Scan - Navigate to the screenshot you would want to convert to PDF, select it and then click on the tick icon at the top right corner
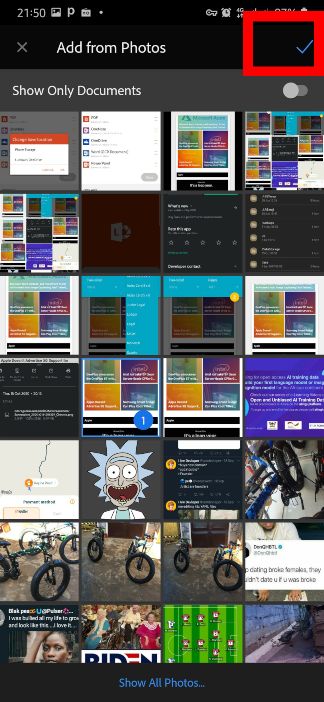
Select screenshot to convert to PDF - On the next screen, you can edit the name of the file and also do some other tweaks on the screenshot before you save it as a PDF.
Finally, click Save PDF at the top right corner of the screen to save the PDF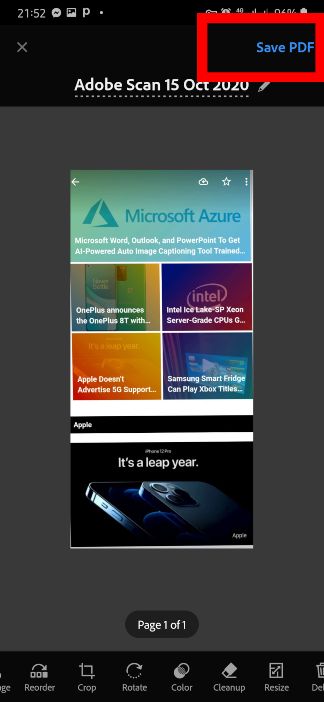
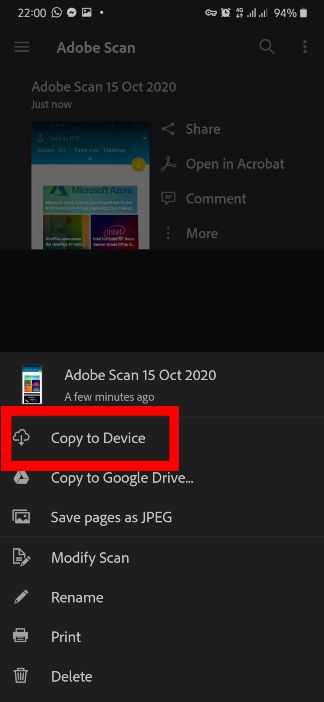
Save PDF - The PDF will automatically be uploaded to your Adobe account.
To save it locally in the phone storage, click on the More icon on the bottom right of the file - Click Copy to Device and navigate to the preferred location and finally click on the Save button
Save PDF to phone storage


