FIX Epic Games Launcher Cloud Syncing in 5 MINUTES!
Epic Games Cloud Syncing Stuck? Here's the Fix!
 Reviewed by Huzaifa Haroon
Epic Games Launcher stuck on Cloud Syncing when you try to open a game is an issue mainly caused by inconsistency with the connection the client is trying to establish with the Epic Game servers. This happens when the local saves cannot be uploaded to the cloud servers to ensure both the local and cloud versions are in sync.
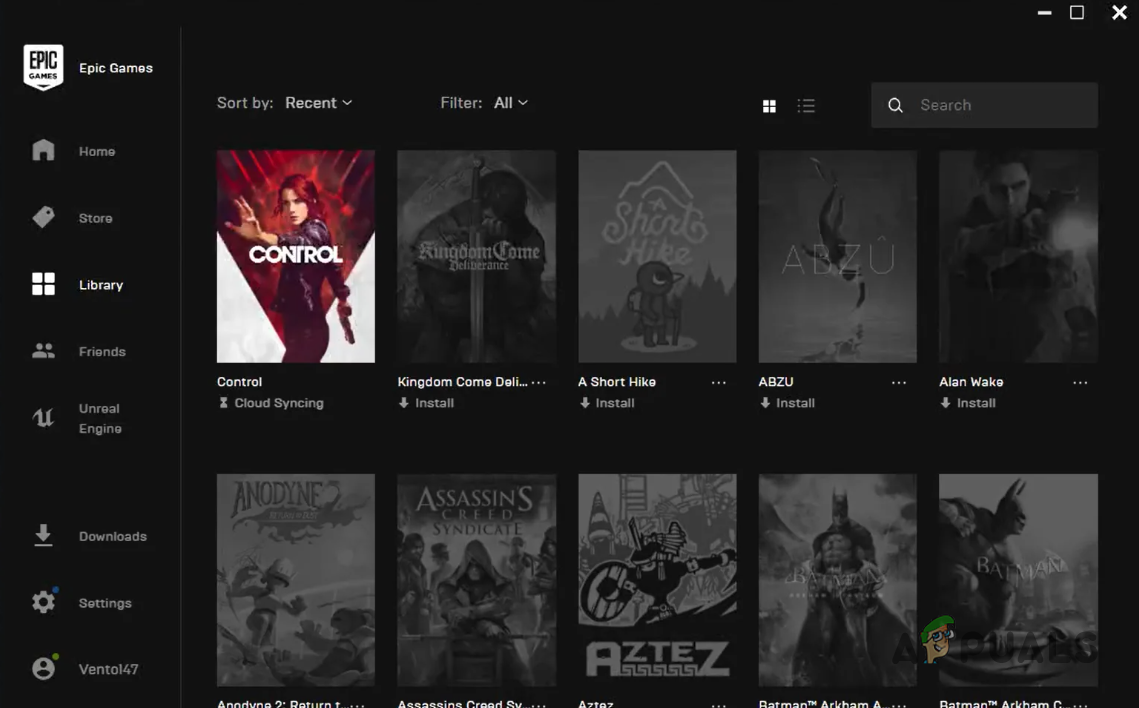
In most cases, you can get around the issue by simply restarting the Epic Games Launcher on your PC. However, when the problem persists after restarts, it refers to a more underlying issue with the app which you will need to resolve. We are going to show you how to get rid of the problem via a number of methods in this article.
1. End Epic Games Launcher via Task Manager
The first thing you should do to overcome the cloud sync message stuck in Epic Games Launcher is to restart the app on your computer. In some instances, the issue can occur due to a bad start of the application and a simple restart should allow you to bypass the issue.
However, instead of closing the application normally, you will need to use the Task Manager app. This closes the app forcefully which prevents the app from saving its current state. To do this, follow the instructions below:
- First, open the Task Manager by right-clicking the Start Menu icon.
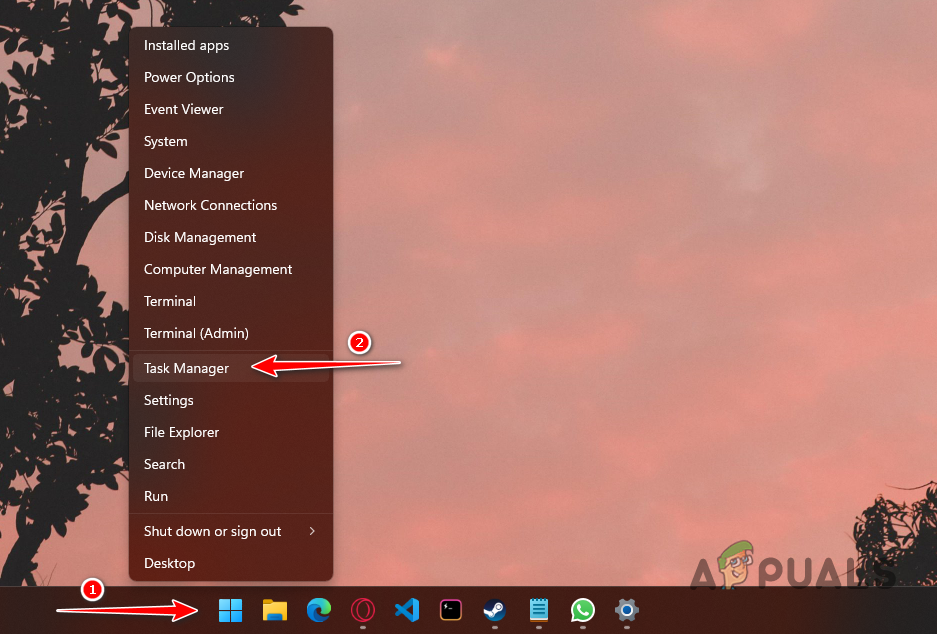
Opening Task Manager - Then, locate the Epic Games Launcher process in the Task Manager.
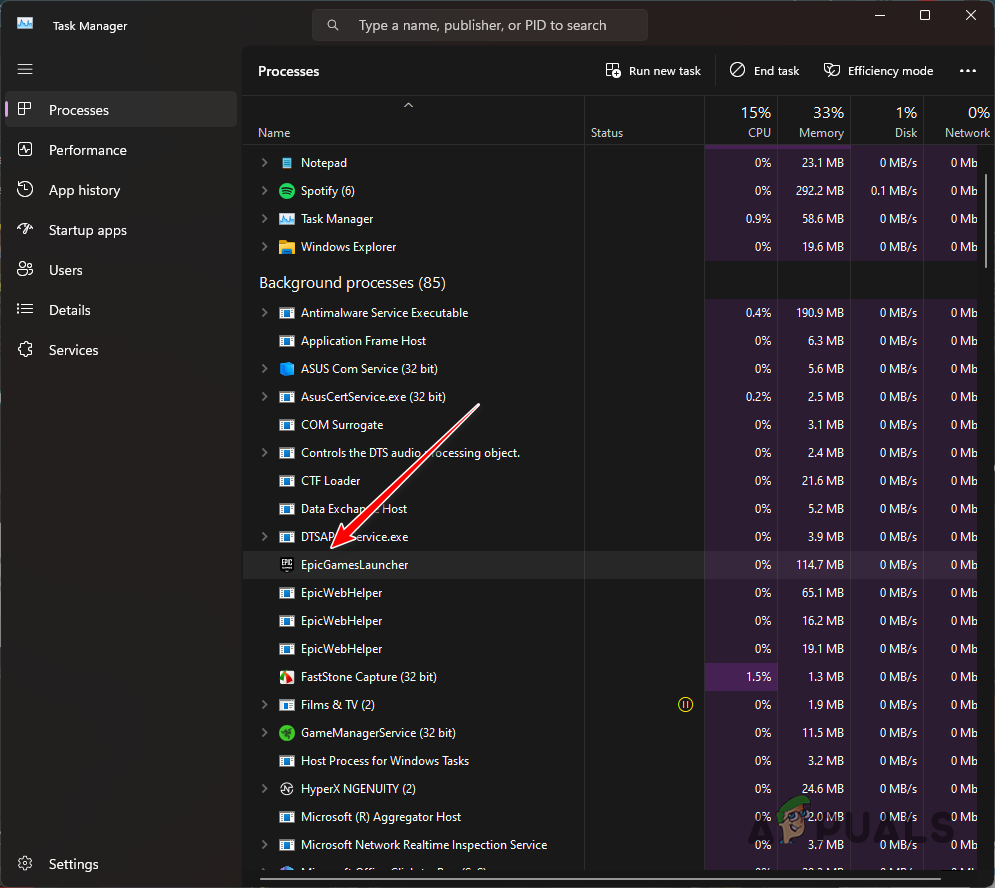
Epic Games Launcher Process - Select the process and click End Task.
- Once you do that, open Epic Games Launcher to see if the problem persists.
2. Launch the Game via the Taskbar Icon
Another way you can get past the cloud sync message is to use the taskbar icon of the Epic Games Launcher. If you were not already aware, game launchers run in the background when you close out the window.
You can use the minimized window in the form of the taskbar icon on your PC to open a game. However, you are only able to access the games that you have played recently from the taskbar menu. Thus, if you are playing a new game or a game that you have not played recently, skip this and move to the next method below.
Use the instructions to launch a game via the Epic Games Launcher taskbar icon:
- On your taskbar icon, click the up arrow.

Opening System Tray - Then, locate the Epic Games Launcher icon and right-click on it.
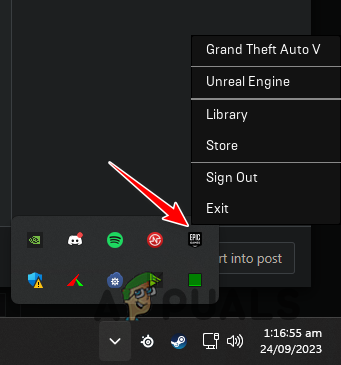
Epic Games Launcher Icon in Taskbar - From the menu, select the game that you wish to launch.
- See if that works.
3. Run Epic Games Launcher as Admin
In some scenarios, the cloud sync message can persist when the Epic Games Launcher does not have the required permissions to complete the operation. This prevents the game client from syncing your local and the cloud version of the game, and thus the client gets stuck on the cloud sync message.
One way to resolve this would be to run the Epic Games Launcher with administrative privileges. This will provide the required permissions to the game client to proceed with the cloud sync operation smoothly on your PC. Follow the instructions below to do this:
- First, close out the Epic Games Launcher completely. To do this, right-click on the taskbar icon and select Exit.
- Then, open the Start Menu and search for Epic Games Launcher.
- Finally, click the Run as administrator option on the right.
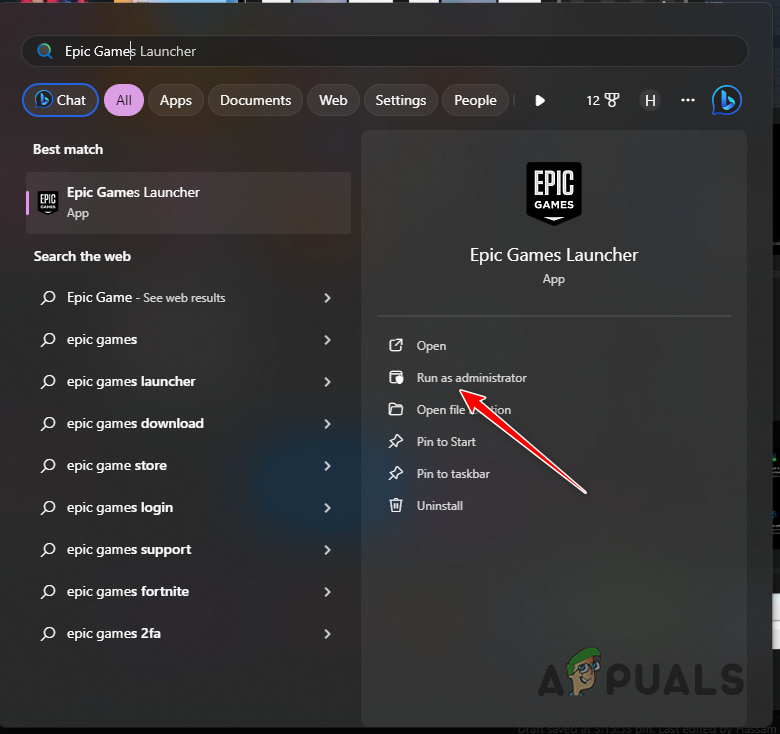
Running Epic Games Launcher as Admin - See if that resolves the issue.
4. Disable Internet Temporarily
Disabling your internet connection is another remedy that you can implement to get around the issue in question. Once you disconnect your PC from the internet, the game client will be forced to launch the game in offline mode, and only keep a local copy of the game progress.
However, not to worry, you can enable your internet once the game has been opened without any issues. In addition, the local save files will be synced with the cloud so no progress will be lost either. Follow the instructions below to disconnect your PC from the internet:
- First, open the Settings app. You can do this with the Win key + I shortcut.
- After that, navigate to Network and Internet > Advanced network settings.

Navigating to Advanced Network Settings - Then, click the Disable option next to your network adapter to disable it.
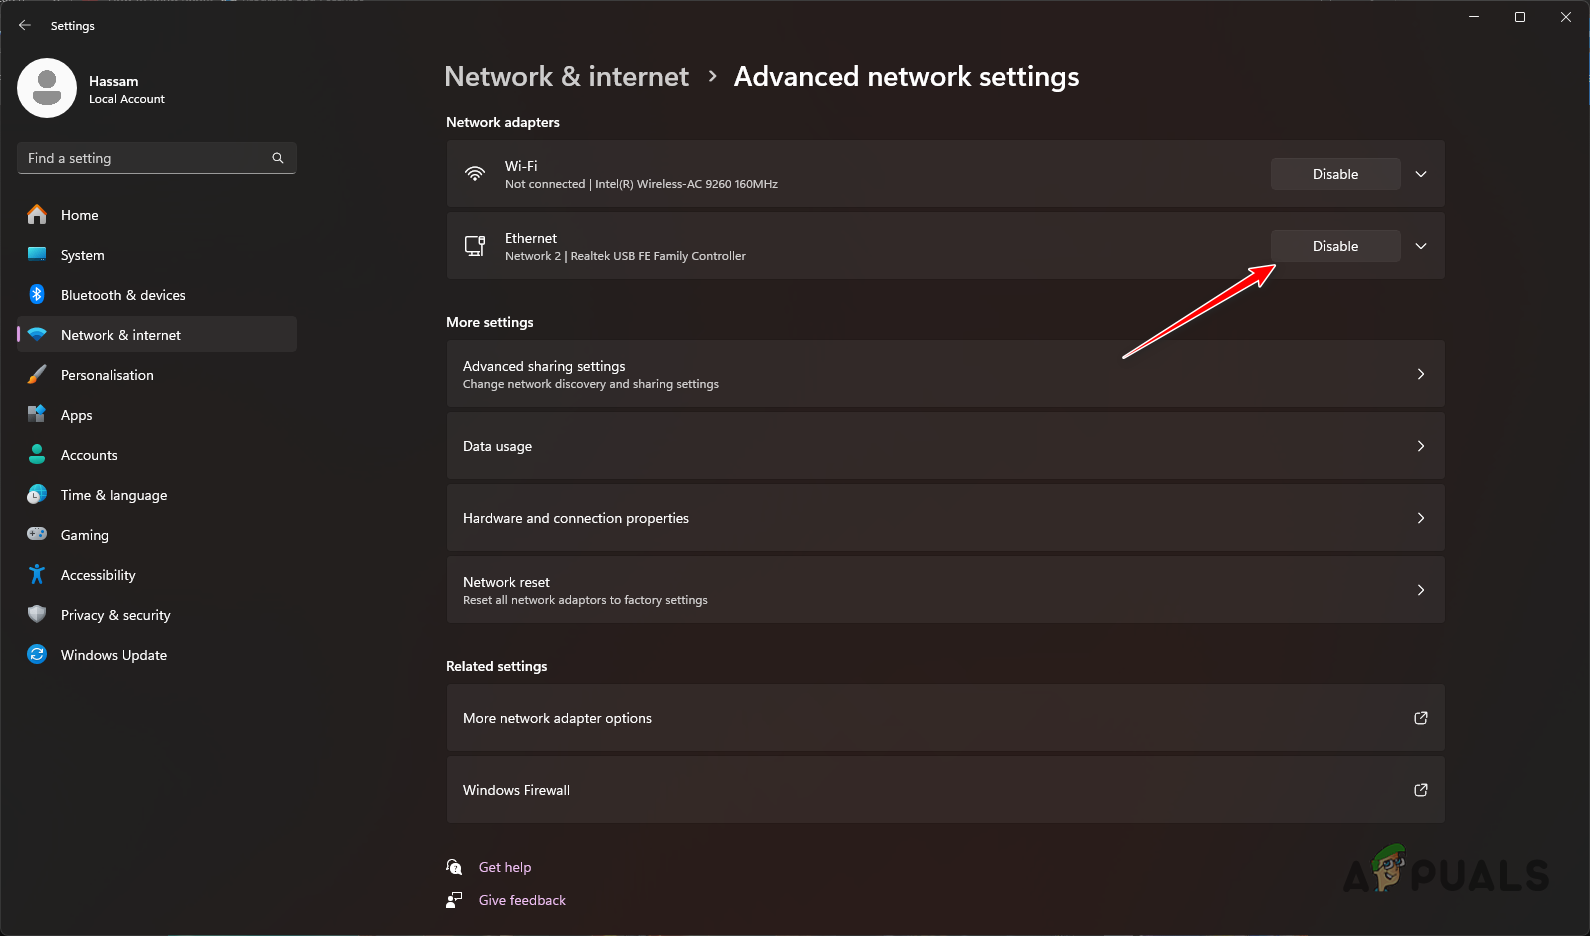
Disabling Network Adapter - If your motherboard comes with Wi-Fi, you will need to disable the Wi-Fi adapter as well.
5. Turn off Cloud Sync
You can also use the Cloud Sync in the Epic Games Launcher settings to overcome the problem in question. In some instances, the cloud sync feature can malfunction whereby you will have to turn it off to proceed with playing your games.
If you wish, you can enable the cloud sync feature after your gaming session. You will not lose any progress since the client stores a local copy of your progress. As such, when you enable cloud sync again, the local copy will be uploaded to keep everything in sync.
Follow the instructions below to turn off cloud sync:
- First, open the Epic Games Launcher app.
- Then, click on your profile icon in the top right corner and select Settings.
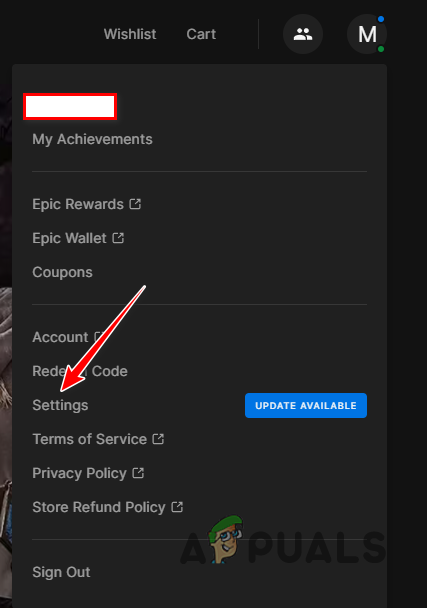
Opening Epic Games Launcher Settings - In the Settings menu, scroll down and locate the Enable Cloud Saves option.
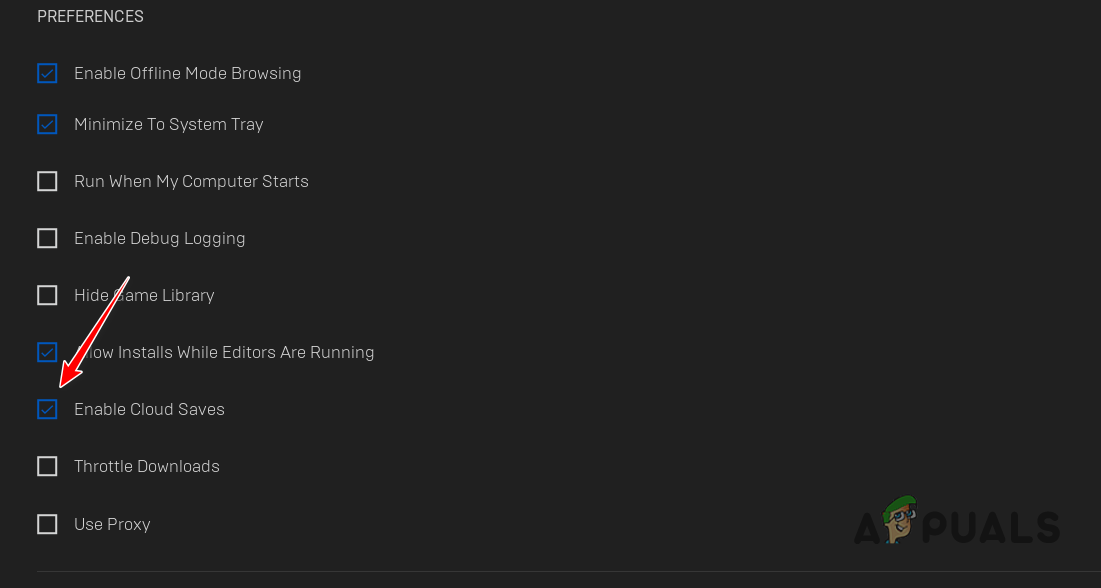
Disabling Cloud Saves - Untick the option to disable cloud sync.
6. Repair Epic Games Launcher
The installation of Epic Games Launcher on your system could be another reason for the problem in question. This happens when there is corruption in the installation files that need to be repaired.
In such an instance, you will need to repair the Epic Games Launcher on your computer. You can achieve this quite easily via the repair tool that can be accessed through the Control Panel. Follow the instructions below to do this:
- First, open the Start Menu and search for the Control Panel. Open it up.
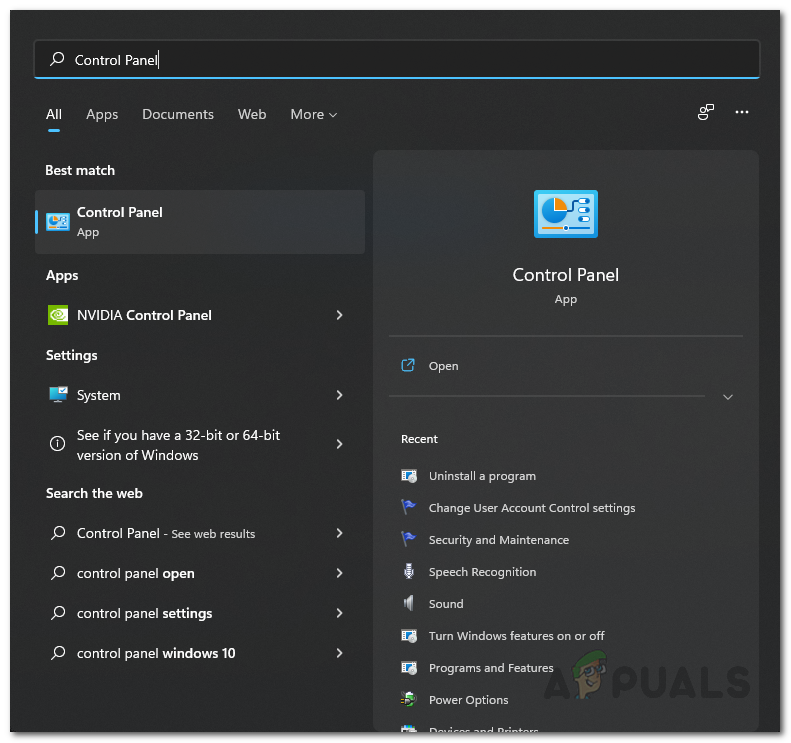
Opening Control Panel - Go to Uninstall a program in the Control Panel window.
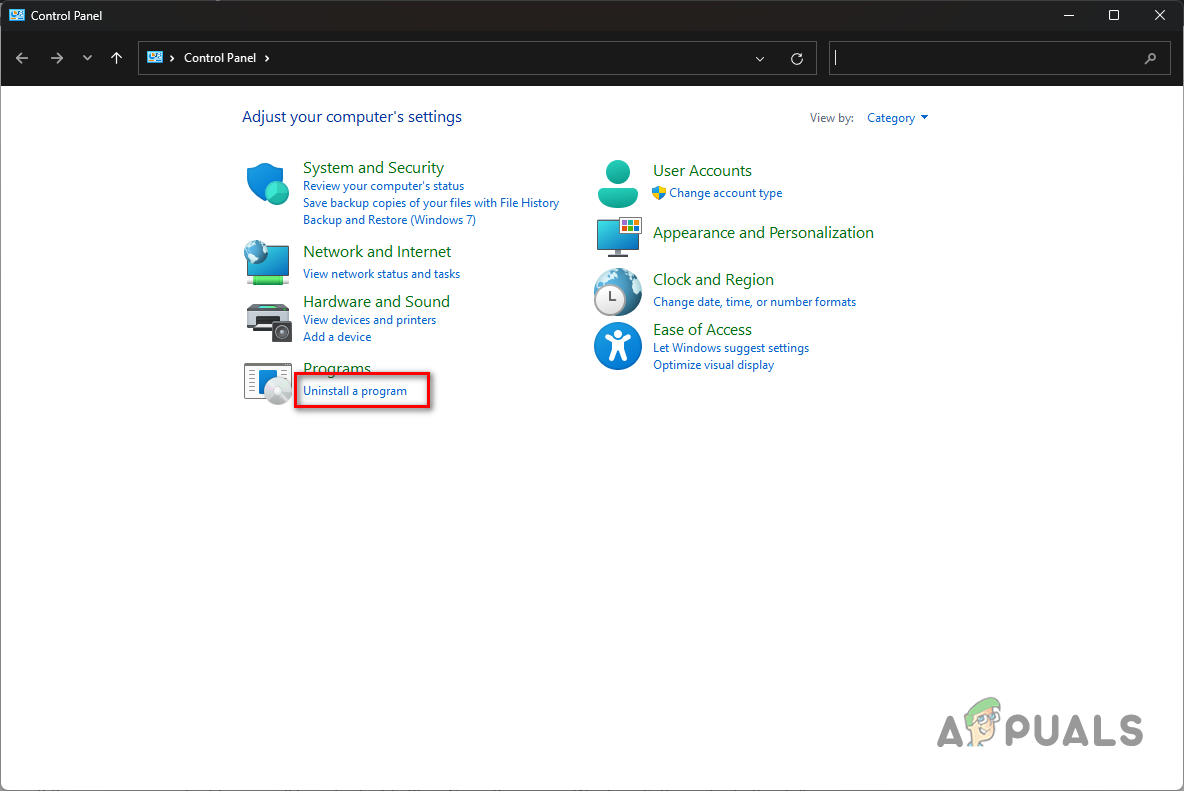
Navigating to Uninstall a Program - After that, locate Epic Games Launcher from the list of apps.
- Select the app and click Repair at the top.
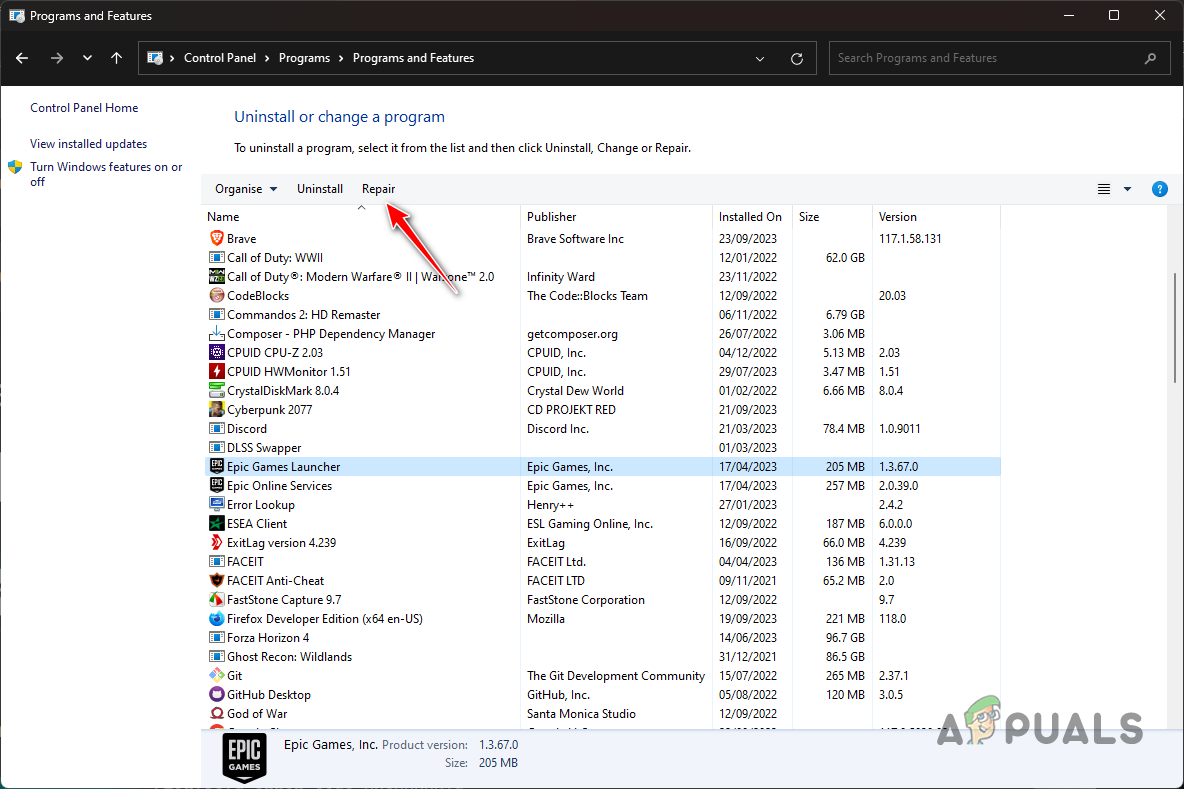
Repairing Epic Games Launcher - Wait for the client to be repaired and see if that resolves the issue.
The cloud sync stuck issue should go away once you use the remedies above. You can usually overcome the issue in question by restarting your application or repairing the Epic Games Launcher on your computer to resolve any inconsistencies with the cloud sync feature.
Is Epic Games Launcher still stuck on Cloud Sync?
If the game client on your PC is still getting stuck on the Cloud Sync message, you will need to seek help from Riot’s customer support team via their official support website. The customer support agents will be better equipped to resolve the problem for you so you can get back to your gaming as soon as possible.
Reviewed by Huzaifa Haroon


