How to do a Clean Installation of Nvidia Drivers?
A clean Nvidia driver installation involves completely uninstalling the existing driver before installing a fresh version. This process is particularly beneficial if you’ve accidentally installed a problematic driver, as it can lead to GPU performance issues like stuttering, frequent game crashes, black screens, and overheating. Often, these issues arise when remnants of old drivers interfere with newly updated ones. Performing a clean installation can resolve these performance problems and ensure your GPU operates smoothly.
You don’t need to do a clean install every time your driver updates, as usually, all you need to do is just update the driver and everything is okay. However, sometimes you have to do a clean install to prevent conflicts and issues that a corrupted driver might cause.
A clean installation is also recommended when you have replaced your graphics card, as the old graphics drivers might interfere with the performance of the new graphics card.
Now that you know about clean installation and its uses, let’s move on to how to clean install a driver.
STEP 1. Download New Drivers
- Download the latest drivers from Nvidia’s Official Driver Webpage.
- Choose the specific model of your Nvidia graphics card and download the latest driver version.

Now, once your driver is downloaded, we will uninstall the existing driver.
STEP 2. Uninstall the Existing Driver
There are two ways to perform a clean install of an Nvidia driver:
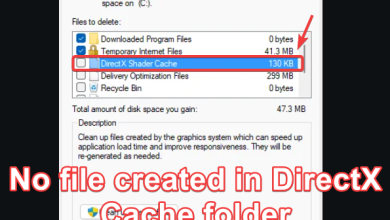
- Using the built-in “Perform a clean installation” checkbox.
- Using “DDU (Display Driver Uninstaller)” – A well-known and reputable program specifically designed to remove all residual files and configurations.
Usually, the first method works fine for most users. However, in some cases, using DDU may be necessary to ensure no residual files and settings conflict with your current driver.
Note: Clean installation will remove all the settings and configurations. So, be prepared to reconfigure your graphics driver once you follow the methods mentioned below.
Now that we know about both methods, let’s check the step-by-step procedure of both methods.
Method 1. Clean Installation Through Nvidia Installer:
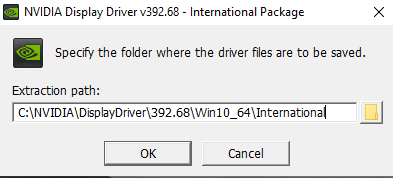
- Launch the setup file of the downloaded driver.
- Select the directory where you want to extract the drivers and wait for the process to complete.
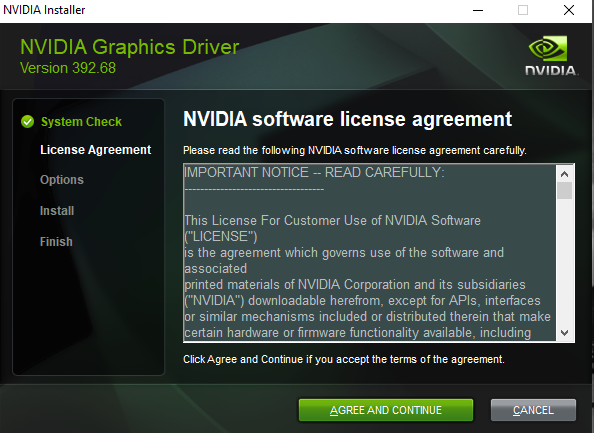
- The setup will perform a system check to ensure compatibility and correct GPU connection.
- Click ‘Agree and Continue’ to proceed.
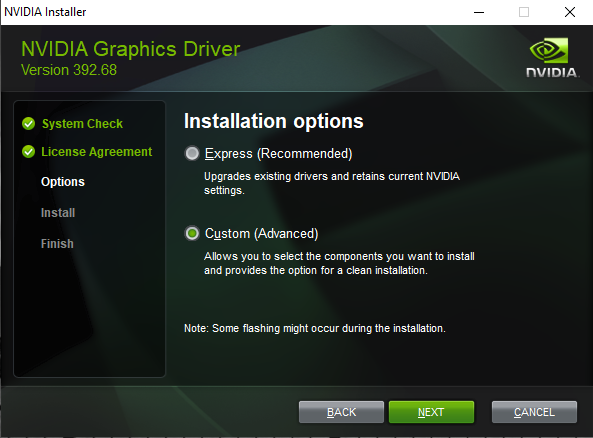
- Choose ‘Custom (Advanced)’ and click ‘Next’.
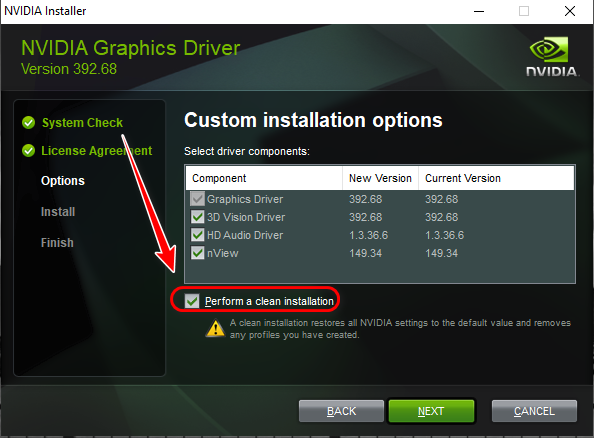
- Check the ‘Perform a clean installation’ box and click ‘Next’.
- Wait for the installation to complete. Note: If your screen flickers during the installation process, it’s completely normal and expected, so don’t worry about it.
- Follow the prompts to restart your PC.

- After the restart, the driver installation will continue. Click ‘Close’ once the installation is complete.
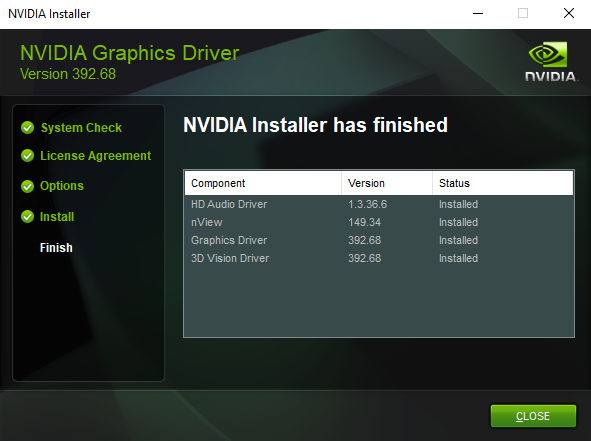
- After the drivers have been installed, click on Close.
Now, test and check if everything is working properly and reconfigure your settings and configurations. If anything is wrong, you can follow the procedure using DDU below.
Method 2. Clean Install using Display Driver Uninstaller (DDU):
- Go to the DDU download page.
- Download and extract the file using a zip file extracting tool such as 7zip or WinRAR.
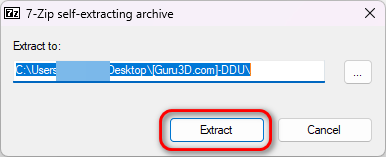
- Launch the “DDU v*****” file, select a directory to unpack the installer, and then press the “Extract” button.
 Note: “v******” corresponds to the version number of DDU, as it might be different at the time you view this article. We mentioned it like that for your understanding.
 - Once extracted, go to the directory (where you unpacked the installer) and launch the “Display Driver Uninstall.exe” file.
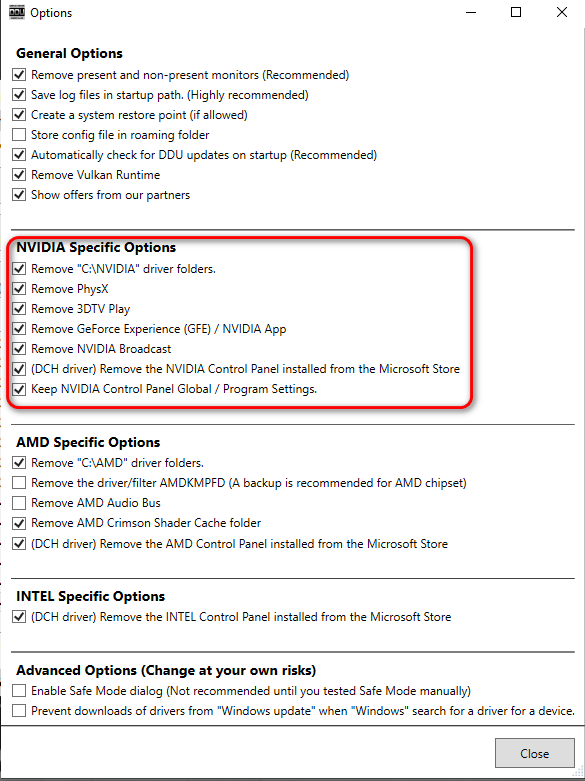
- Once the program opens, press “OK” and check all boxes under ‘Nvidia Specific Options’. Then press Close.
- Choose ‘GPU’ for the device type and ‘Nvidia’ for the manufacturer.
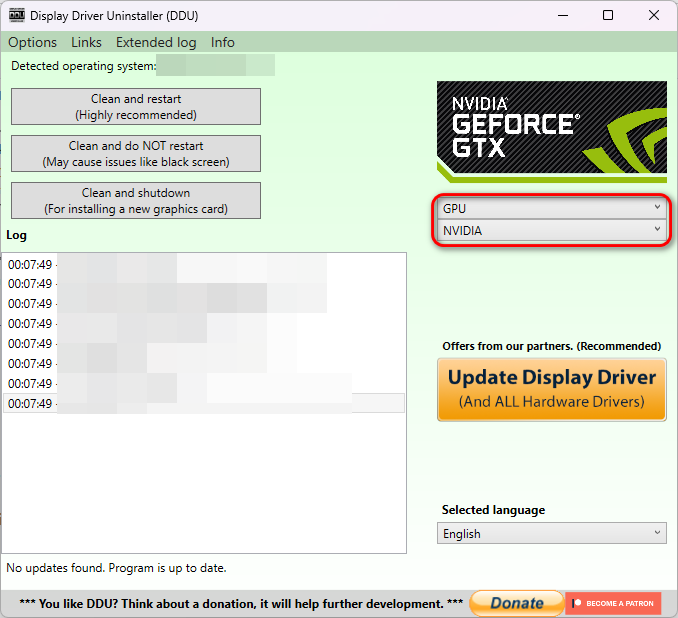
- Click ‘Clean and Restart’. If installing a new graphics card, select ‘Clean and Shut Down’ instead, install your graphics card, and then turn ON your computer again.
Now your computer will boot up again and it might have a weird low-resolution mode. Do not be alarmed by that, as it’s completely normal for Windows to boot your computer in low-resolution mode if it doesn’t find any driver installed for your graphics card.
At this point, it might be necessary to pause Windows updates for 1-2 hours, as it may try to install Nvidia drivers automatically. This can ruin the installation process, as it’s been reported many times that Windows updates install older or buggy drivers that aren’t usually compatible with your graphics driver properly.
This is especially the case with laptops, as their manufacturers tend to customize the Nvidia driver before deploying it to better optimize the driver for that specific hardware.
To stop Windows updates temporarily:
“Select Start > Settings > Windows Update. Next to Pause updates, in the dropdown list, select Pause for 1 week, then click Pause for 1 week.”
You can learn more about this on the official Dell support article.
Once paused, we can continue with the installation process. Installation steps are the same as those mentioned in the first method, so just follow those steps and you should be good to go.