Chromecast Error “Something went wrong”? Try these fixes
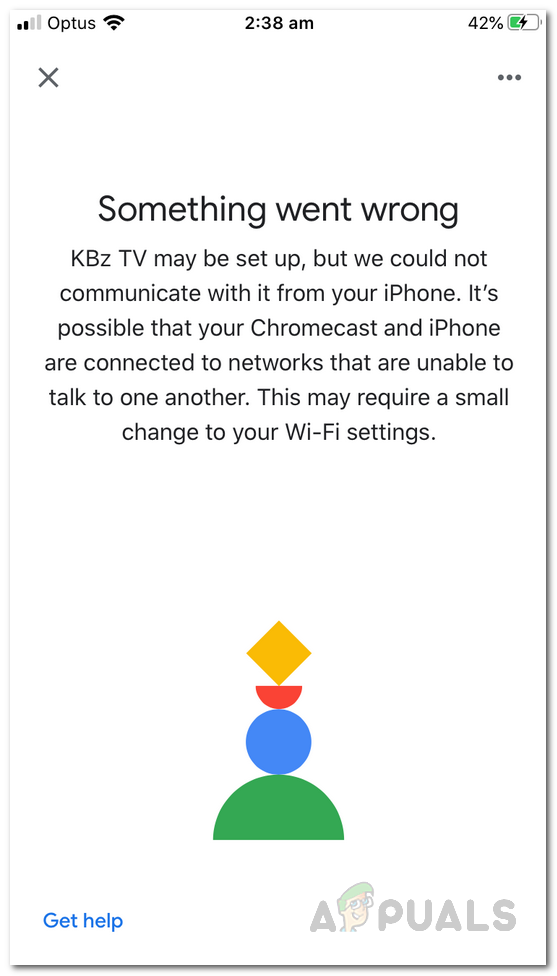
The “Something went wrong” error message shows up when you are trying to set up your Chromecast device. As it turns out, the error message is thrown when Chromecast is about to connect over the network. In some cases, it even connects momentarily and then out of nowhere displays the error message in question. This usually happens when you have something wrong with your network connection which is often highlighted in the description of the error message.
As it turns out, the root cause of the issue here is the network connection that you are using to establish a connection between the Chromecast device and the device you are casting from. Usually, this can be restricted to AP isolation; however, that may not always be the case. To understand this further, let us have a quick look at the potential causes of the error message.
- AP Isolation — Access Point or AP isolation is basically a feature that comes in your WiFi routers that makes a separate virtual network for each device that is connected to the network. With this feature enabled, your Chromecast won’t be able to communicate with other devices over the network and thus it essentially fails at establishing a connection. That could be why you are facing the error in question. This is something that can be turned off from your network connection settings.
- Chromecast Settings — In another scenario, the issue can also be triggered by your Chromecast settings. In such a case, you will have to reset your Chromecast device’s settings to its factory defaults. That should help out in rectifying the issue.
Now that we have gone through the potential causes of the issue, let us get into the solutions that you can implement to get everything back up. So, without any further delay, let us jump right into it.
Disable AP Isolation
As we have mentioned earlier, AP isolation is a feature that comes with wireless routers for security purposes. This is because it essentially hides the other devices that are connected to the same network from each other. This, as a result, prevents them from communicating with each other over the same network and therefore, enforces security over the network. However, this may be a disadvantage for your local network where all the devices connected to the network are known to you. Chromecast connects to other devices over the network and therefore, for it to work properly, it will need to be able to communicate with the other devices on the network.
Access Point isolation can be disabled from your router’s wireless settings. For this, you will need your default gateway and the admin credentials that are usually located behind or under the router or are provided to you by the ISP. Follow the instructions down below to do this:
- First of all, on your laptop or PC, open up the Start Menu and type in cmd.
- Open up the Command Prompt.
- Then, inside the command prompt window, enter ipconfig and hit Enter.
- From the details shown, locate the Default Gateway and copy it.

Default Gateway - Now, open up a browser and put the default gateway IP in the address bar. Hit Enter.
- At this point, you will be asked for the login credentials. These can be found on your router so go ahead and look for them and then log in.
- Once you have logged in, make your way to Wireless settings. The path may be different depending upon the router that you are using so a simple Google search here might be helpful.
- From there, you can disable AP Isolation and then save. In some cases, it might be written as AP Mode instead of AP isolation.
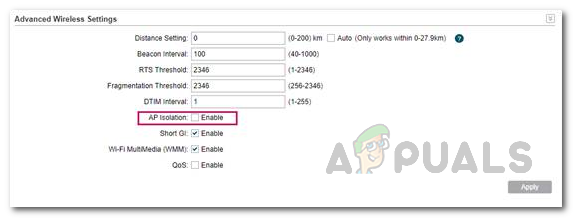
Disabling AP Isolation - If you are unable to find AP isolation, you can simply look it up on Google by searching for it along with the manufacturer that your router is from.
- Once you have disabled AP isolation, connect to your WiFi network again and go through the setup process. See if the issue persists.
Reset Network Settings on your Phone
If disabling AP isolation does not fix the issue for you, it is likely that the issue is being caused by your phone’s network settings. In such a case, what you will have to do is simply reset your WiFi settings. This will remove your network configuration from your phone and you will have to provide the password in order to connect again. Follow the below steps to reset network settings:
Android
- First of all, open up the Settings app.
- There, depending on your phone’s model, you will have to either go to General Management or System.
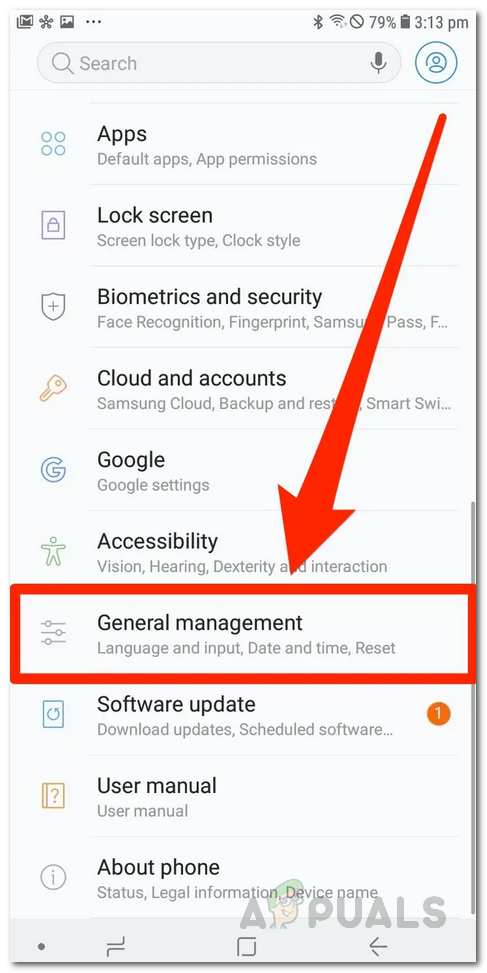
Android Settings - There, tap on the Reset option.
- Finally, on the Reset screen, tap on the Reset network settings option.
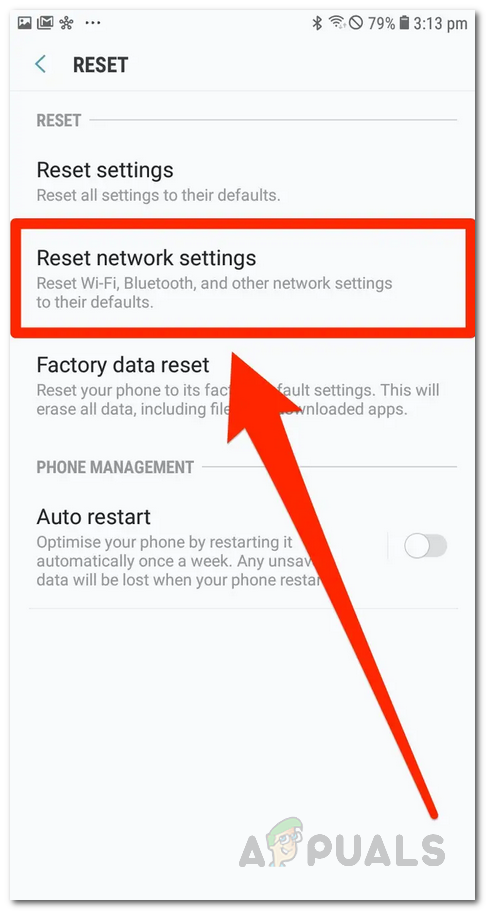
Resetting Network Settings - Confirm the action and wait for it to complete.
iOS
- On your iPhone or iPad, open up the Settings app.
- There, click on the General option.
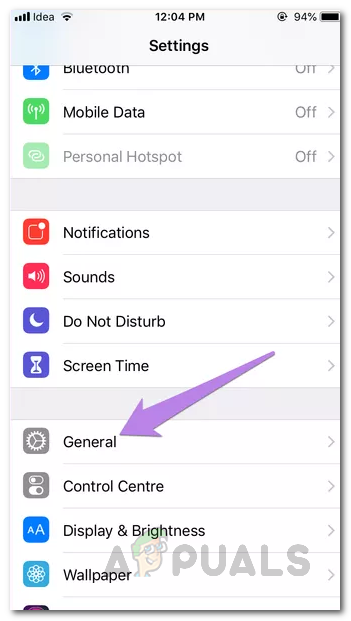
iOS Settings - Under General, locate Reset and tap on it.
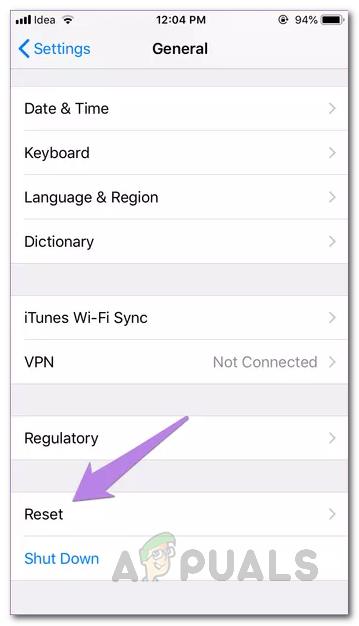
iOS General Settings - Finally, tap on the Reset Network Settings option to reset your network settings.
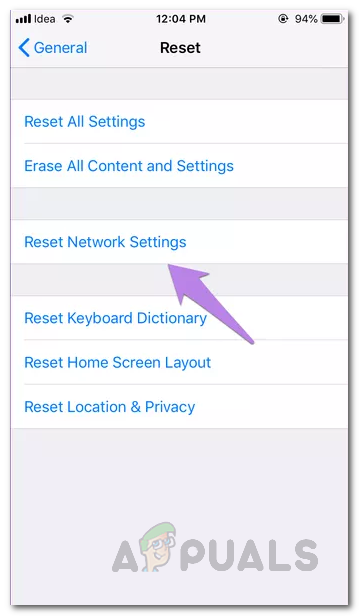
Resetting Network Settings - Confirm the action and once completed, try using Chromecast again to see if it works.
Reset Chromecast
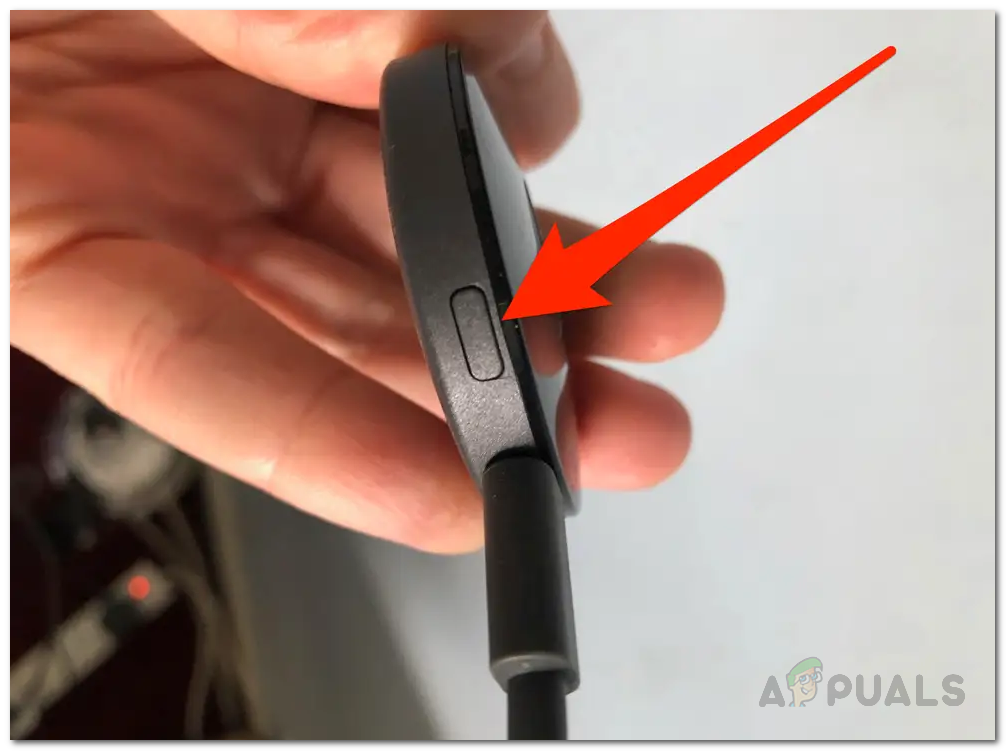
As it turns out, the issue can sometimes be caused by your Chromecast settings. In such a case, you will have to reset your Chromecast device so that it reverts back to the factory defaults. This will remove any settings stored on your device and as a result, help you get back on track. To reset your Chromecast device, first of all, make sure that it is plugged in. Then, hold the small button on the side of the device for about 20 to 25 seconds. You will see a message on the screen confirming that the device is reverting to factory settings.
In addition to this, you can also reset it through the Google Home app. Follow the below instructions to do it via the Google Home app:
- First of all, open up the Google Home app on your device.
- Then, tap on the Devices icon at the top-right corner.
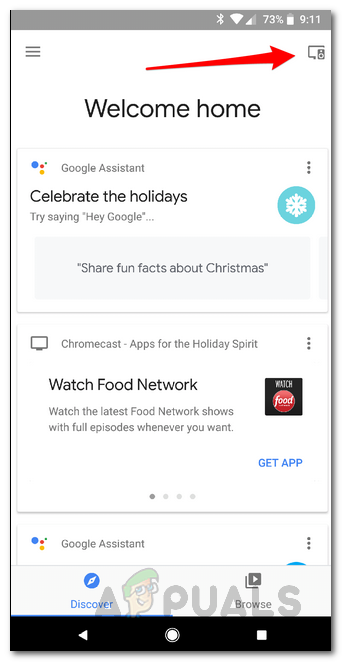
Google Home App - On the Devices screen, locate your device and then tap the three vertical dots.
- From the drop-down menu, tap on Settings.
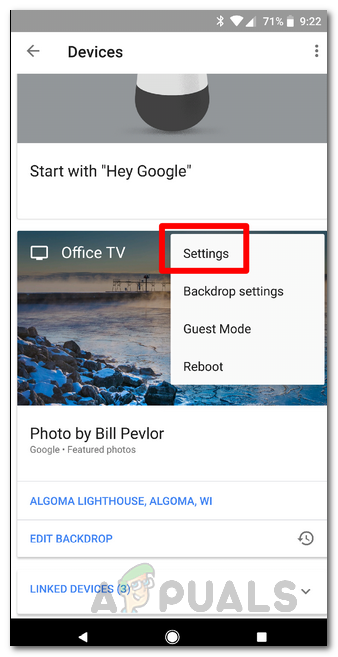
Device Settings - On the Device Settings window, tap the three vertical dots in the top-right corner again.
- Finally, choose Factory reset from the drop-down menu and then wait for it to complete.
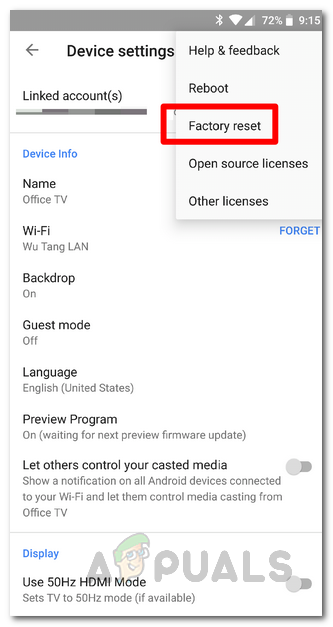
Resetting Chromecast - Once done, go through the setup again to see if the issue is still there.


